
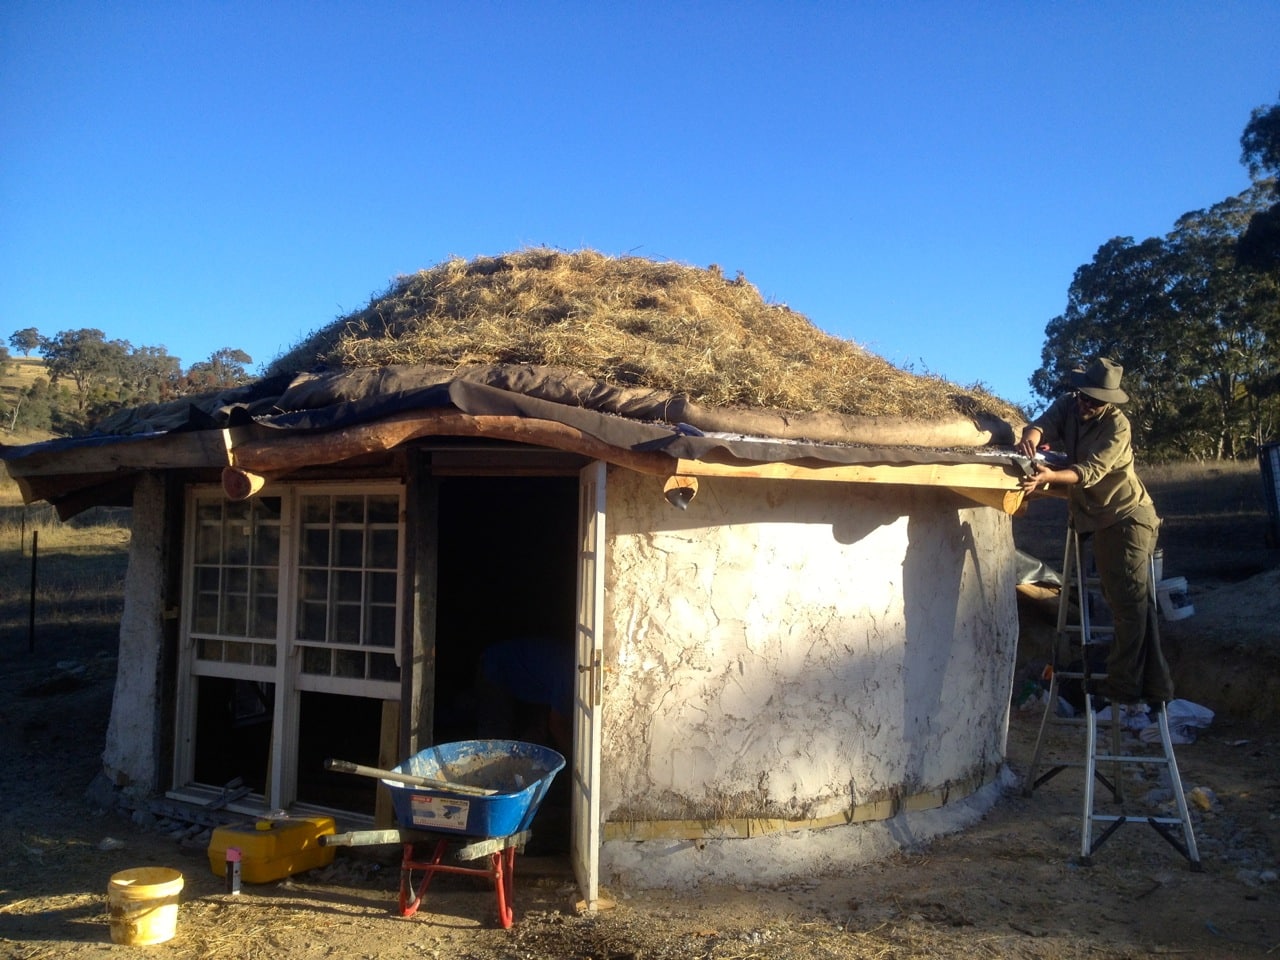
The final stage of building the roof of our roundhouse was to transform it into a garden.
Living roofs can help insulate the building below, provide pollination sources for surrounding wildlife and help the building blend into the landscape.
However, this roof is far from flat. It’s made on a reciprocal frame, to create great strength for the roof without needing central posts. So a sloping garden in the round was the aim. It turned out beautifully, and we learned a lot in the process

Wait! Are you confused what’s going on here? Want the full backstory? Read about the round house build up until this point first. Or do it later, if you like. Right ho – onward…
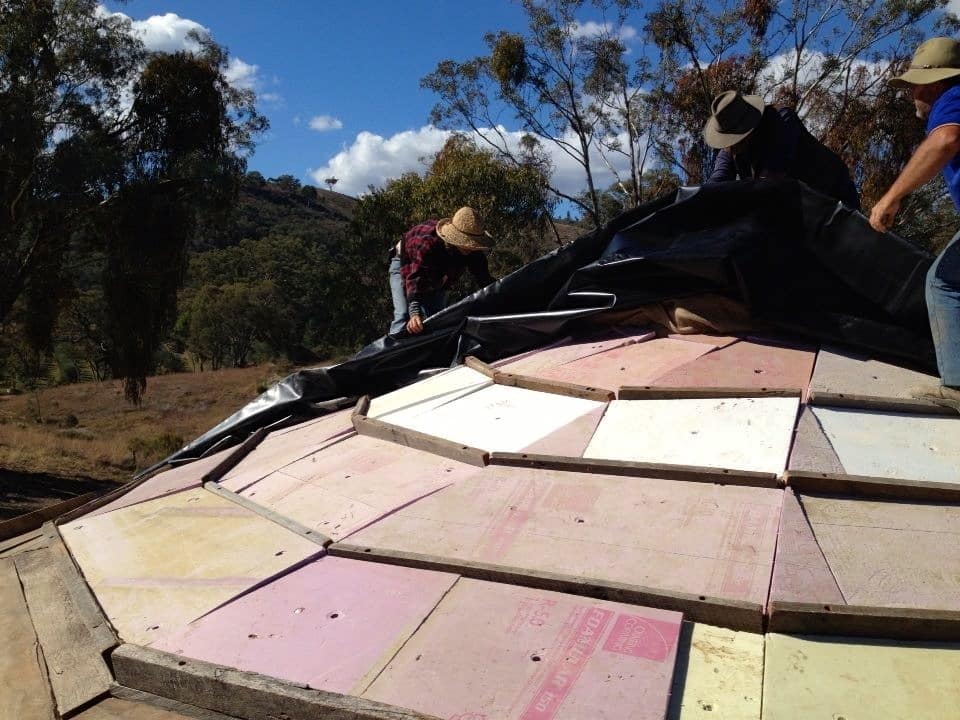
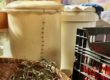
The above photo shows the bones that the living roof was built apon – a reciprocal roundwood frame, covered with hardwood planking.
Super sturdy, as it needs to be to hold a large amount of water-logged soil (when we’re lucky and it rains) on top.
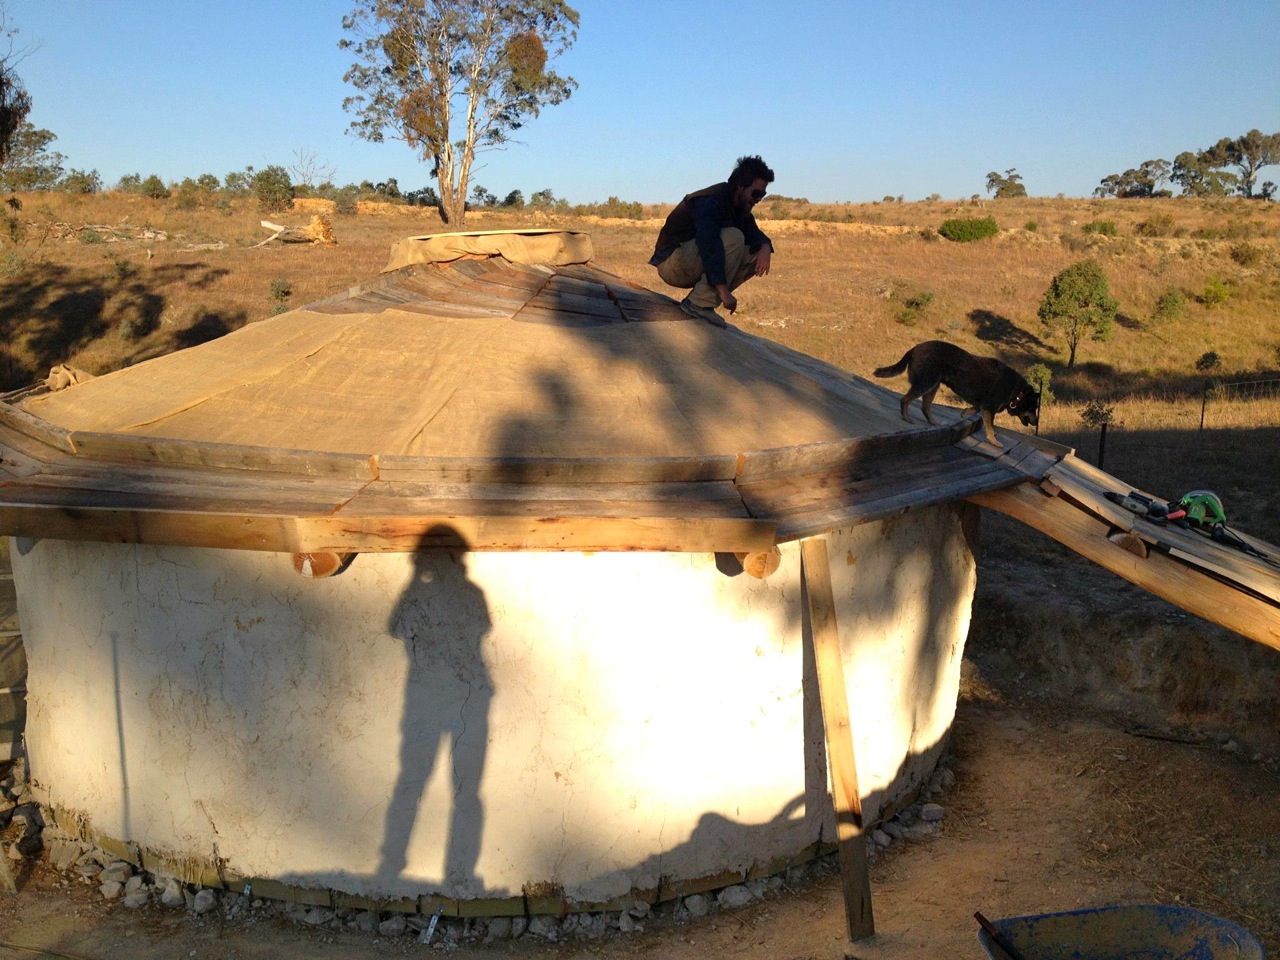
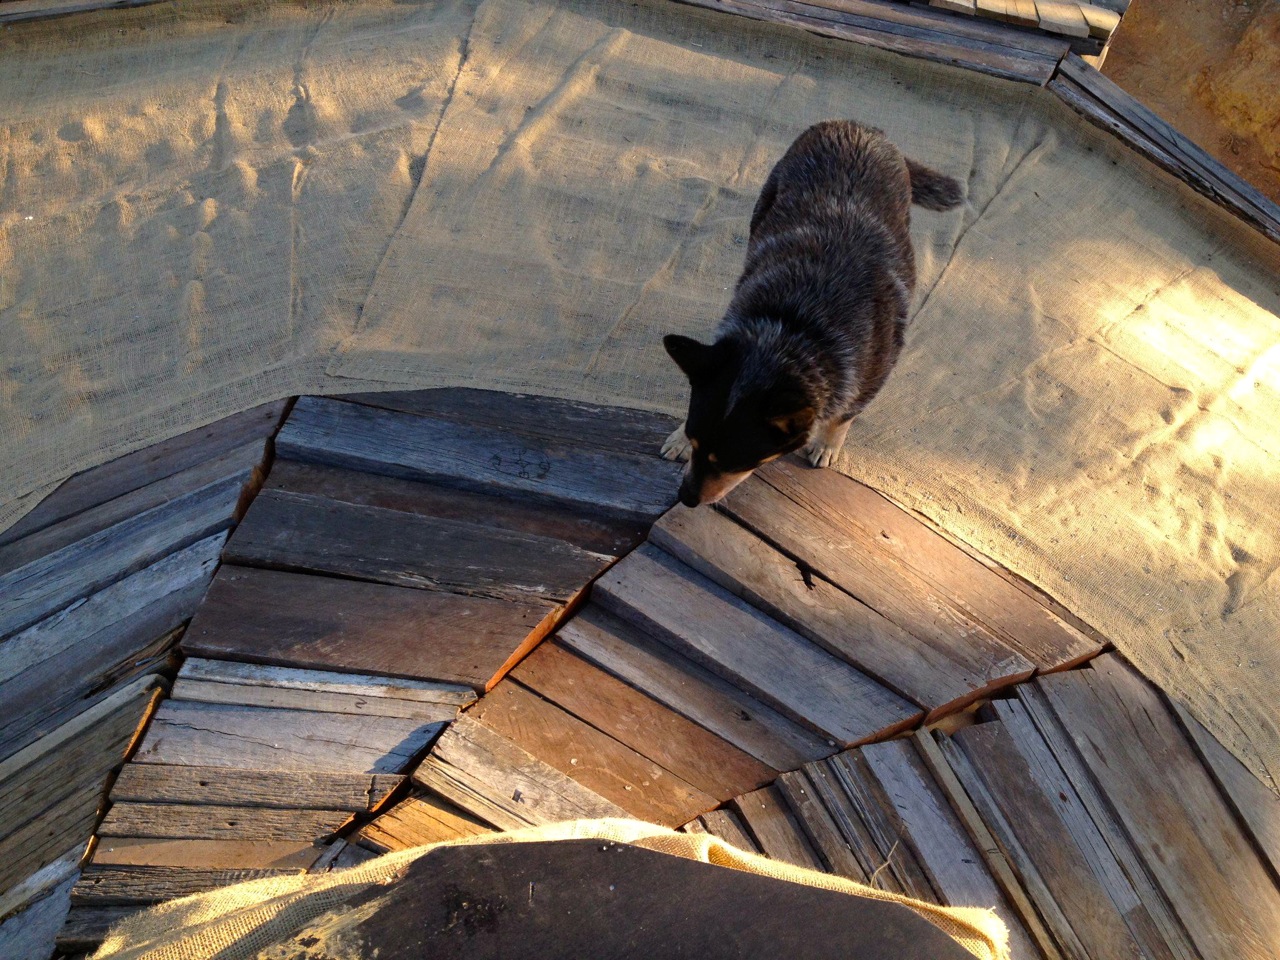
The first step was applying hessian over the hardwood. The insulation going on next is recycled cool-room panels, and it happens to be a lovely shade of pink.
So to prevent looking up at the beautiful roundwood and hardwood ceiling and seeing bits of pink styrofoam peeking through when inside the roundhouse, we put hessian in between.
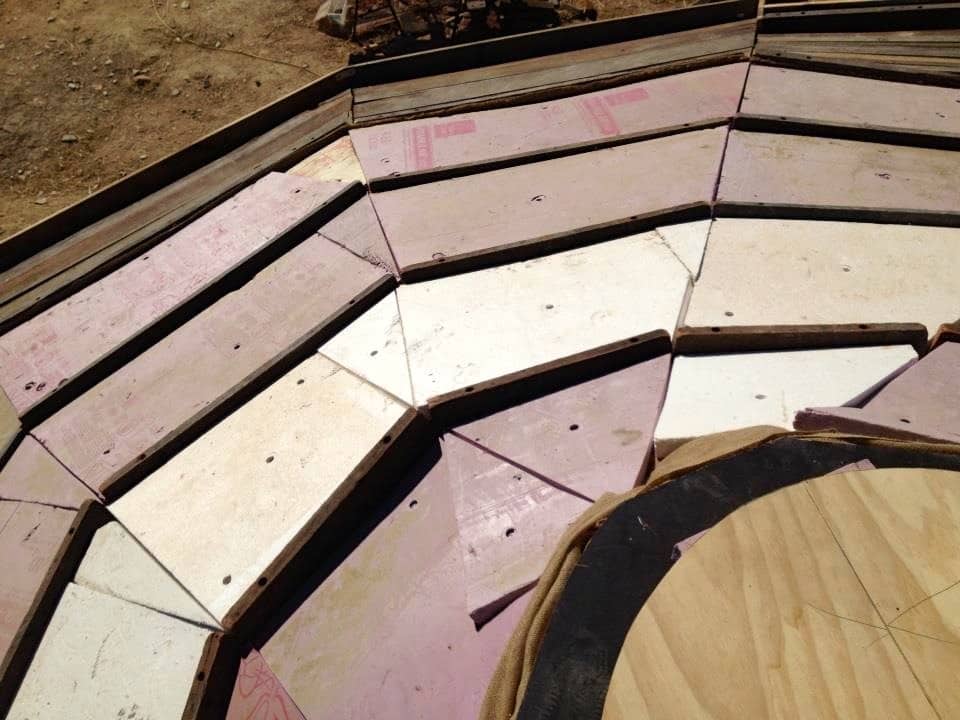
Recycled coolroom panels applied, to create an insulated space below. In between the rows, we fixed hardwood battens.
These battens will create some traction once the soil goes on, and help stop the soil from slumping to the bottom of the roof in the first decent rain.
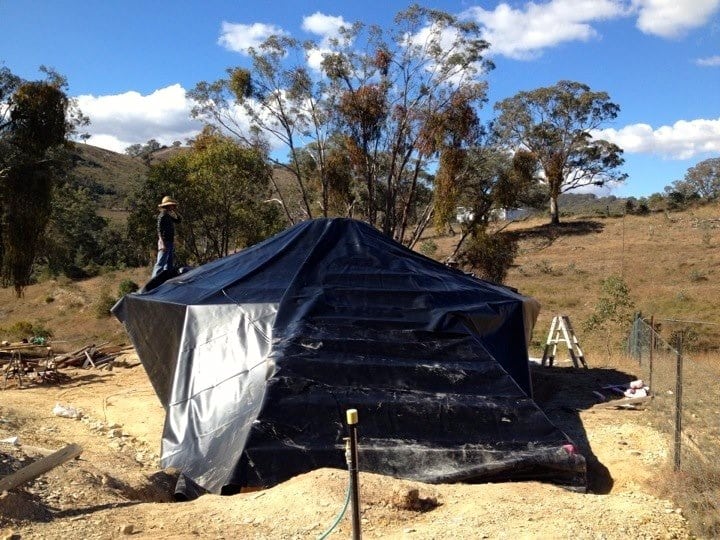
Next step: make your roundhouse look like Darth Vader.
This tank liner is flexible and sturdy, and will waterproof the space below. We were very careful putting it on, to avoid puncturing it in any way.
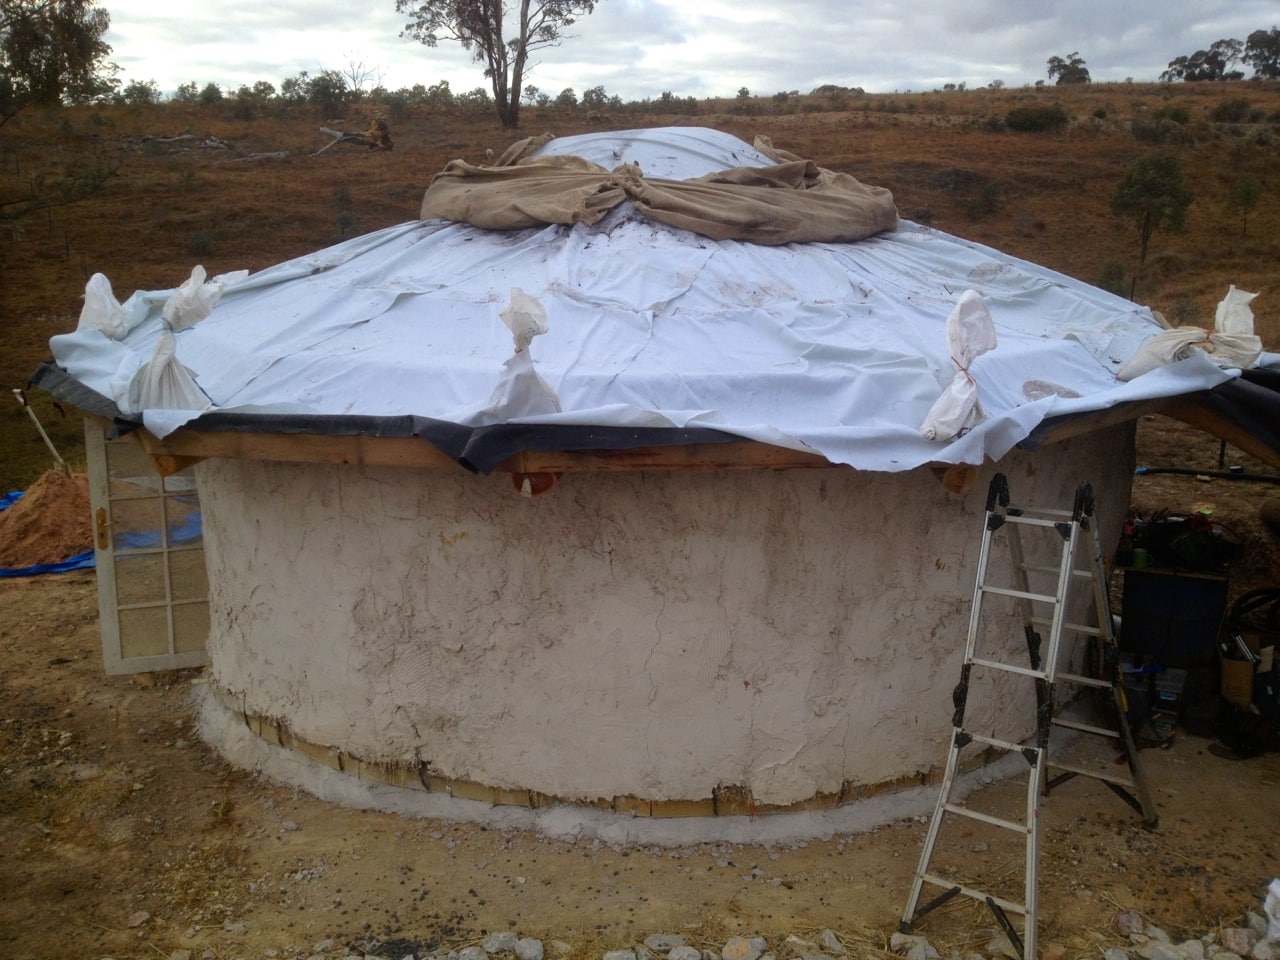
Next step: geotextile. This layer should, in time, help improve the water quality from the roof catchment, as well as providing a layer of traction between the slippery pond liner and the soil and gravel going on top.
Around the base of the living roof, Floyd added a circle of hessian-wrapped soil, to serve as a berm for the garden above…
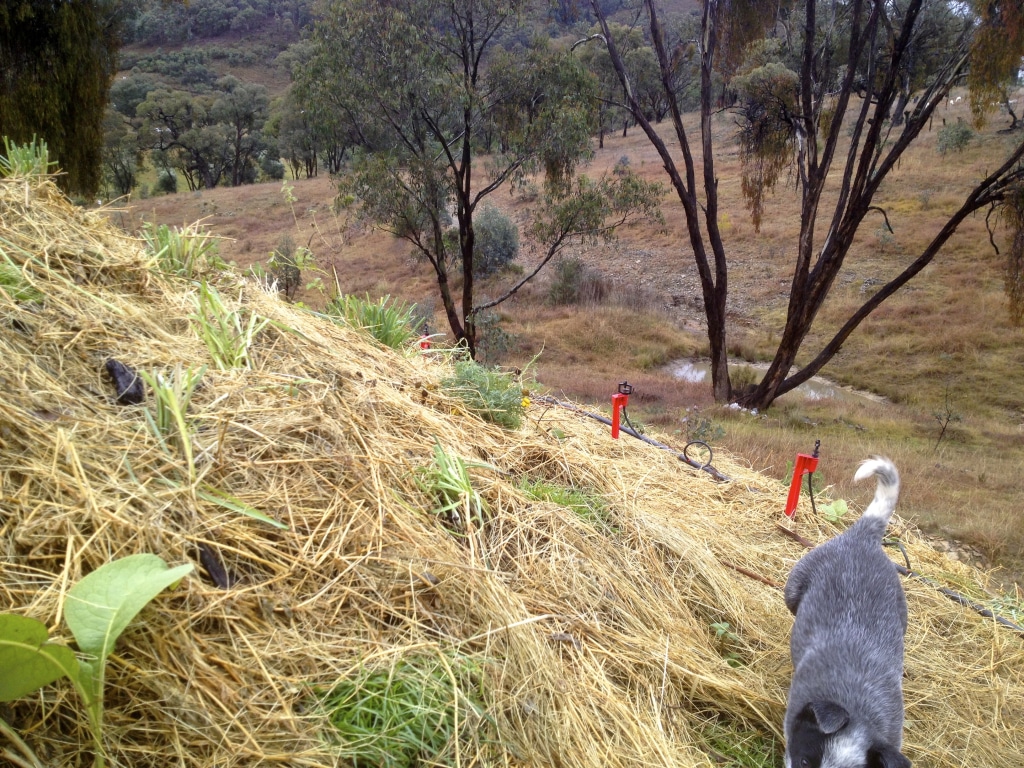
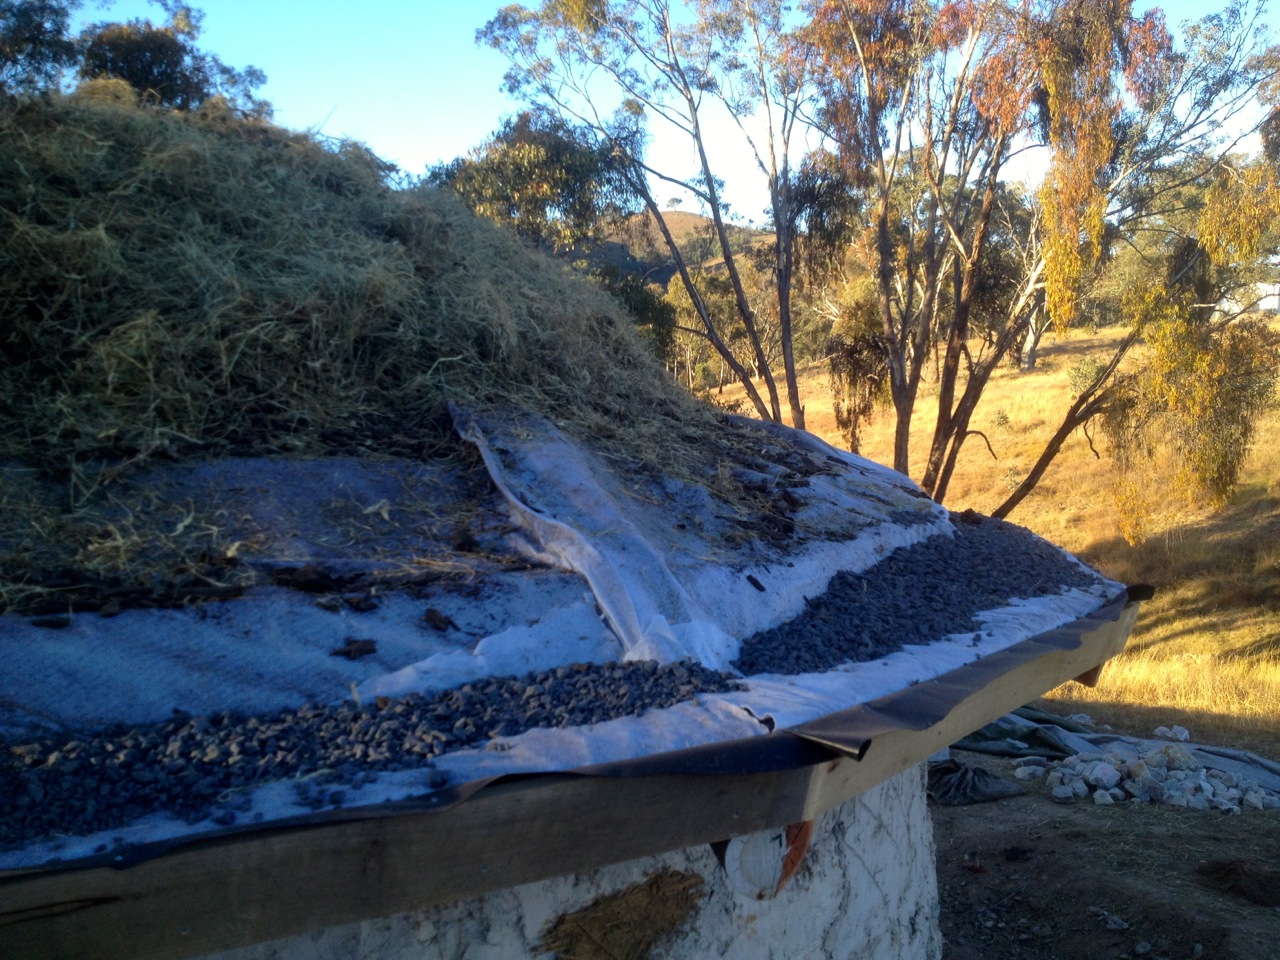
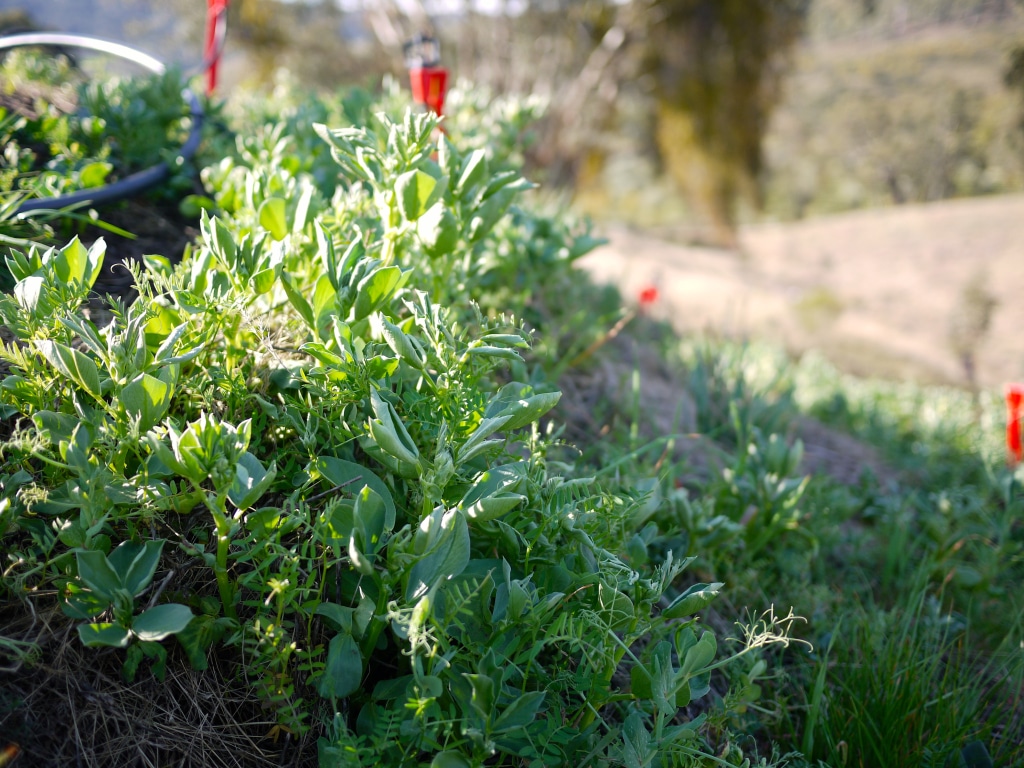
Next step – gravel, soil, plants, mulch. Lots of mulch. Lots of plants.
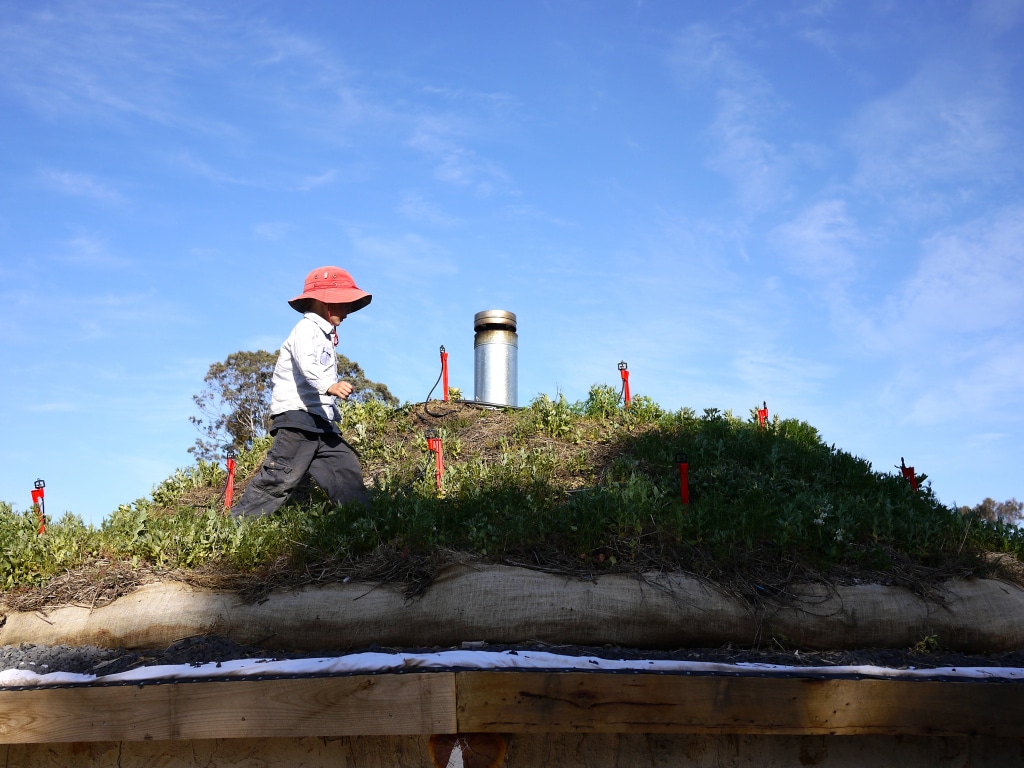
What will grow? We do not know exactly. This is our first living roof, so how our planting choices will respond to the conditions up there remains to be seen.
We planted: garlic chives, thyme, strawberries, sage, marjoram, comfrey, parsley and house leeks (sempervivum)
We sowed: broadbeans, vetch, oats and clover
What we planted was based on what we know thrives in this place with little or no attention, and also what was available in May/June and would grow (or at least not die) over winter with our frosts.
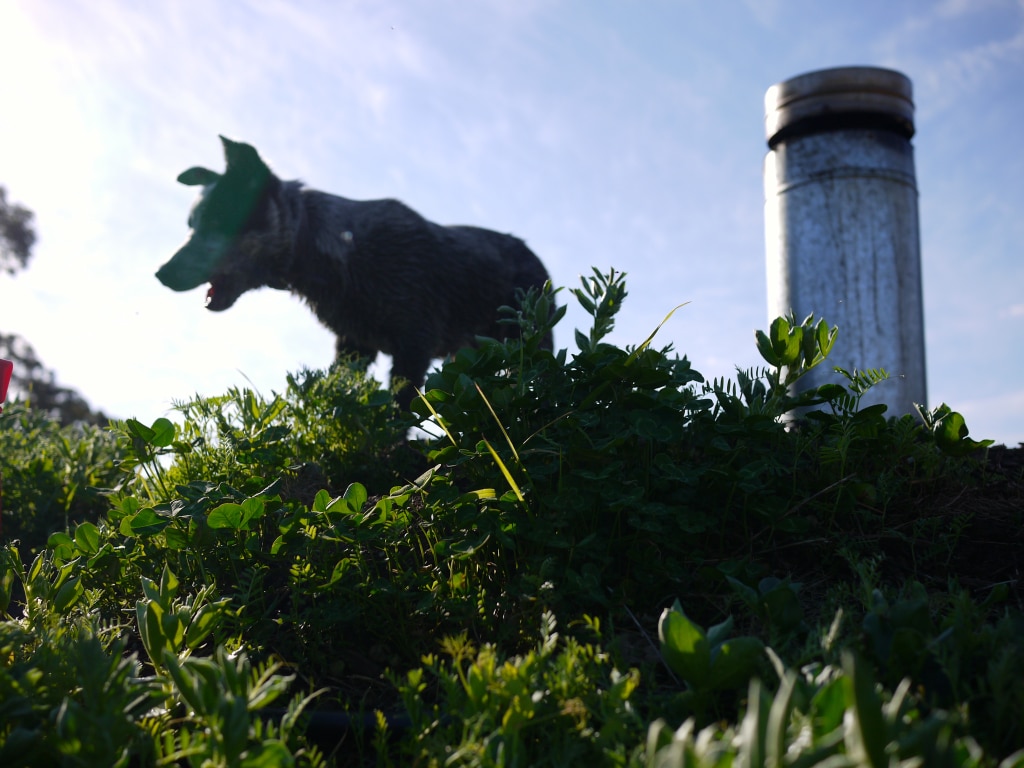
More perennial net-rooted ground covers will follow, once the weather warms up…
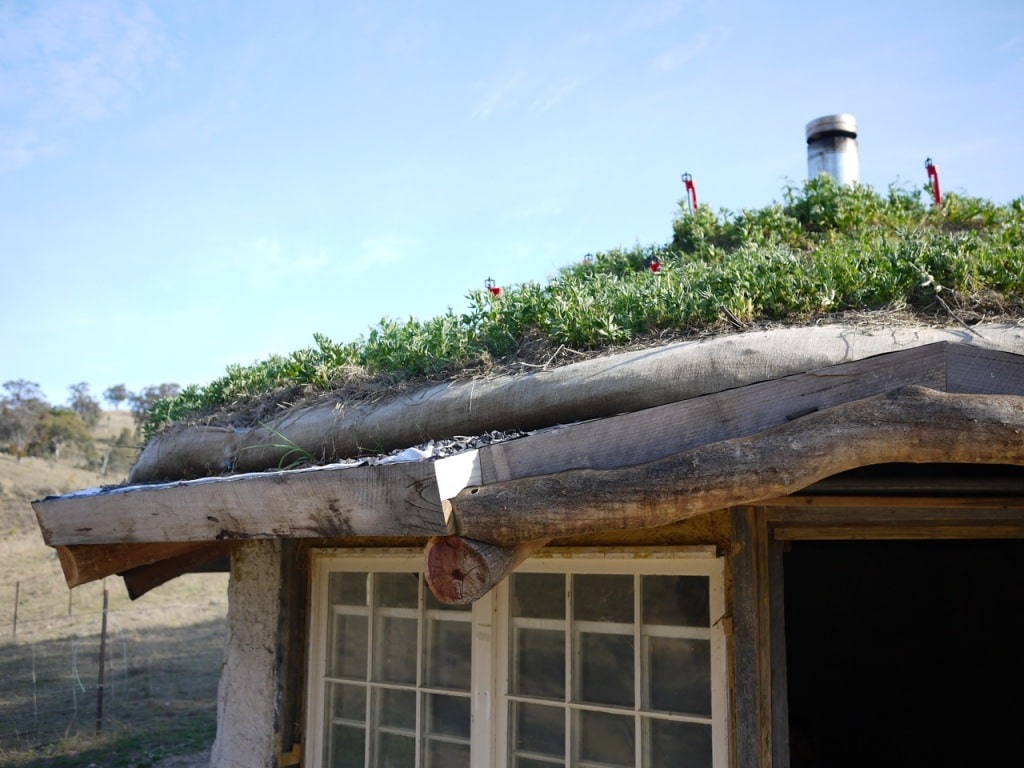
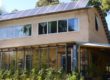
It’s been an exceptionally dry Winter here, so the red sprinklers (repurposed from the olive groves), while less than aesthetic, turned out to be essential to get this living roof growing.
We’re yet to have a really decent downpour soak this living roof, so I’ll report back with how it holds up. However, we have every reason to expect it will handle even torrential rain perfectly.
The drainage for the roof exits at 6 points at the outer edge of the eaves, which can be hooked up to a drainpipe so the water can be collected. Currently, the water off the roof runs brown, from the soil it filters through.
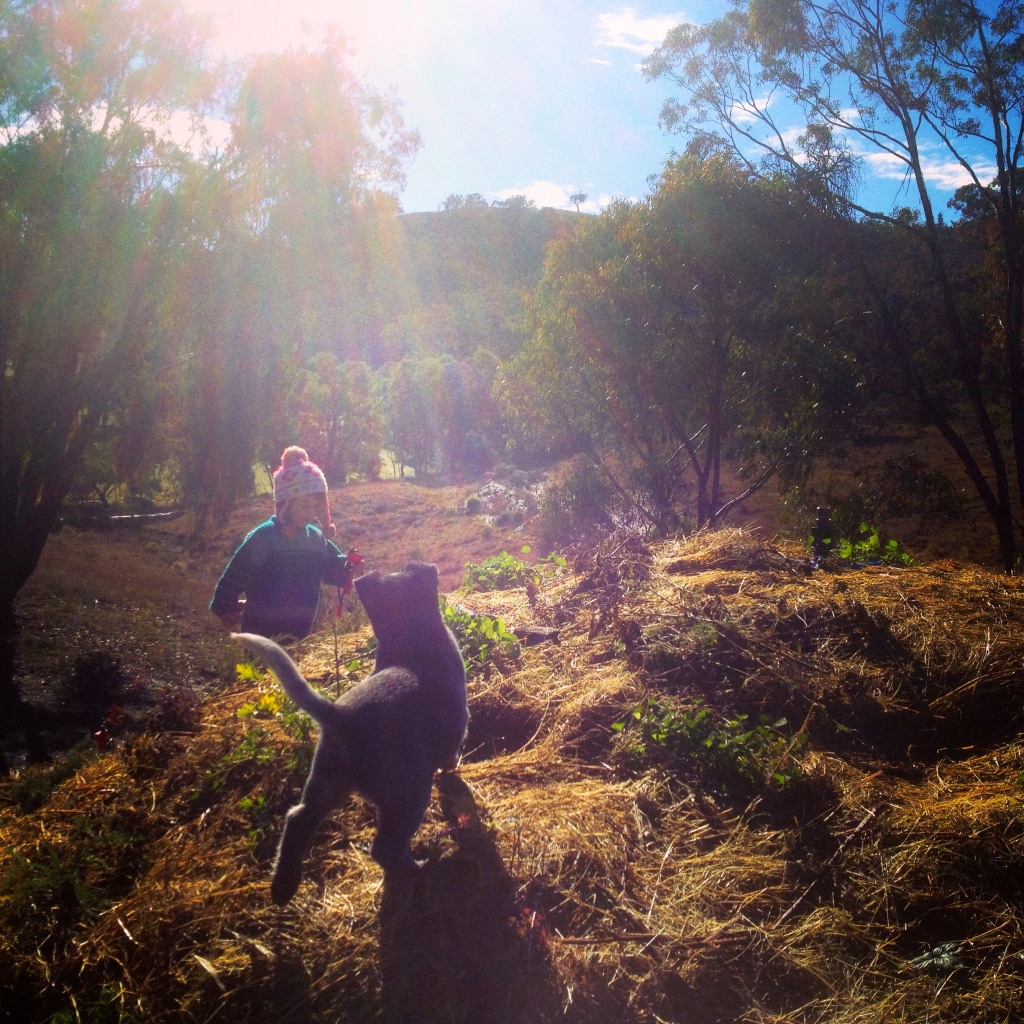
In time, the water may clear up, once the living roof stabilises into a little ecosystem. We’ll use the water coming off the roof to water nearby plantings, to make a cosy green microclimate around this structure.
Now there’s only the final coat of inside render, two coats of outside render, and the making of the earth floor to go! Wheee.
Natural DIY building is certainly not as quick as whacking up a kit home, but jeepers it’s taught us a thing or two… about this place, ourselves, and the act of creating shelter.
We’re grateful to have the opportunity to learn the lessons offered.
We run Natural Building courses twice a year that are 4 days of intensive hands on knowledge for future home builders.
>> More posts about Natural Building here…
Big hurrahs to Floyd and also Shane, Nick and attendant helpers, and of course Sam Vivers, for collectively puzzling out how to create this roundhouse. And then building it.


Reblogged this on Hakkerikartano and commented:
Hieman työläämpää, mutta kyllä viihtyvyyden vuoksi kannattaa tehdä työtä.
THAT. Is AWESOME.
This is fantastic – you doing a great job, (me thinks you ARE the real ‘greenies’ not just running around screaming ‘stop the coal mine – but doing something! Bravo!)
Thanks Norbert – Be rest assured, we do think some things warrant screaming, and we support those who take that on. There’s many roles to play in creating a resilient future for our communities 🙂
Great idea – will look spectacular in the summer I’m sure.
I reckon there are plenty of Greenies who are doing the screaming along with sorting out their own backyard at the same time. In fact I am sure of that.
I so want to live in your roundhouse!
Reblogged this on X_trous Notes.
Ive heard sedums are good plants for roofs. They come in many colours
Sedums are great for the look on roofs and if you want low maintenance as they only need a shallow root depth. If, however, your aim is stormwater mitigation, some recent studies at Melbourne Uni show that sedums actually retain less water in a green roof than bare soil, as their water needs are so very low. Wildflower plantings for green roofs are beautiful as well and quite low maintenance.
Gorgeous. I coveted these in Norway and Scotland. Will be planting one on my tiny house xx