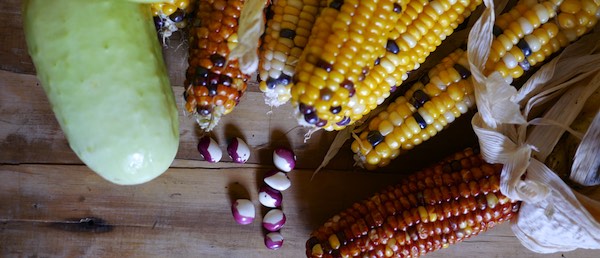
This year we finally got a chance to try out a three sisters garden planting – maize, beans and squash, growing symbiotically. It was an awesome success.
Stacking in space and time is one of my favourite ways to grow things – you can minimise ground prep and maximise harvests while letting the different plants support each other and do most of the work for you.
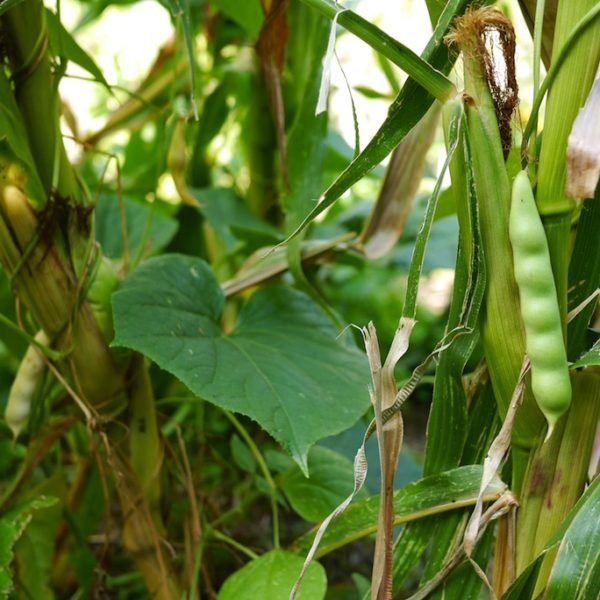
History
The knowledge of the three sisters garden comes to us via indigenous american agricultural traditions, existing in many nations practice, in different forms, for a long, long time.
Three staple foods: maize (corn that you grind to a nutritious flour), beans and squash were grown together in this three sisters system.
And this combination provided just about all the fatty acids, complex carbohydrates and all 8 essential amino acids (assuming the cornmeal was prepared properly, using nixtamalization) required for a balanced diet.
Some nations also included a ‘fourth sister’ – a bee balm herb – to encourage pollination of the squash (beans and corn are both self-pollinating). Some nations used sunflowers as a fourth sister, to attract native pollen-focussed ‘squash bees’ (not applicable to Australia, but still).
Together, this companion planting combination benefited the people and the soil, and provided a form of regenerative agriculture that provided a complex harvest in a small space, with only one round of cultivation required for three different crops.
This technique also took the land forwards in fertility each year.
Heirloom seeds for this type of garden farming were closely kept and saved over generations, some of which we all can still access today, thanks to the hard work of many indigenous american farmers, families and seed savers.
Precious knowledge worth having, continuing, and regenerating where possible. You can see why we were super keen to get this technique growing at Melliodora.
Why + How it works
There’s a couple of synergies going on here in the three sisters planting, as well as a few things to consider re plant types – we’re not talking just any squash/corn/bean varieties here… we’re talking about ones that will symbiotically relate.
For example: to plant corn that will grow well, the ground needs to be well cultivated and fertilized, as corn is a heavy feeder. Traditionally, often fish or eel waste (or the whole thing) were planted beneath this corn crop. So, the neccessary cultivation + fertilization required for corn also benefits the beans and squash, which grow extra well in this nicely prepped garden, without you needing to prepare three beds. Yay.
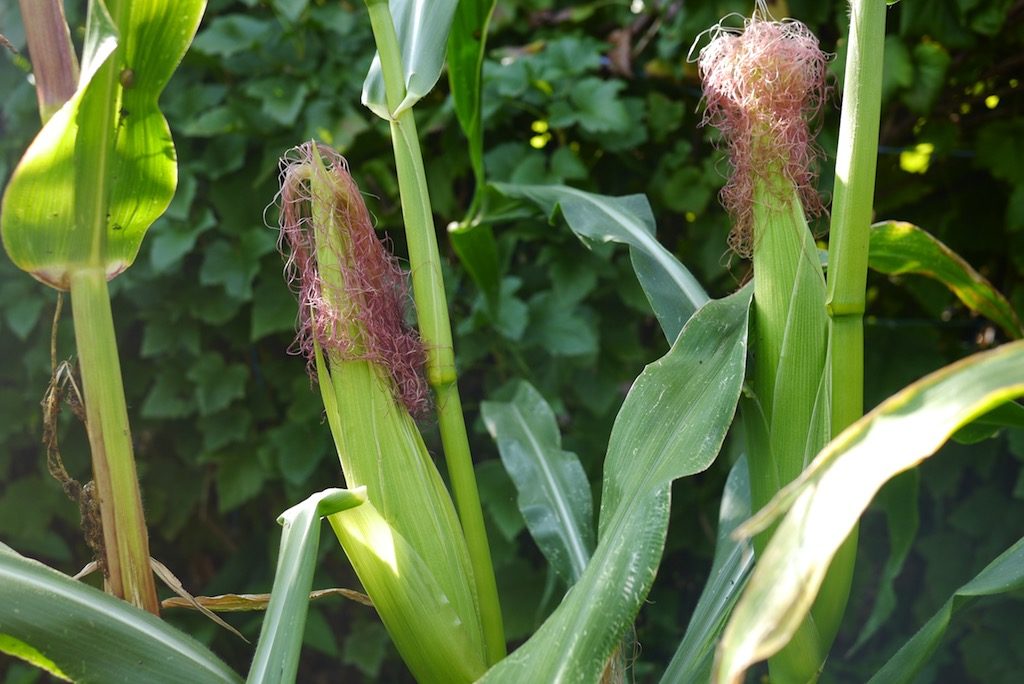
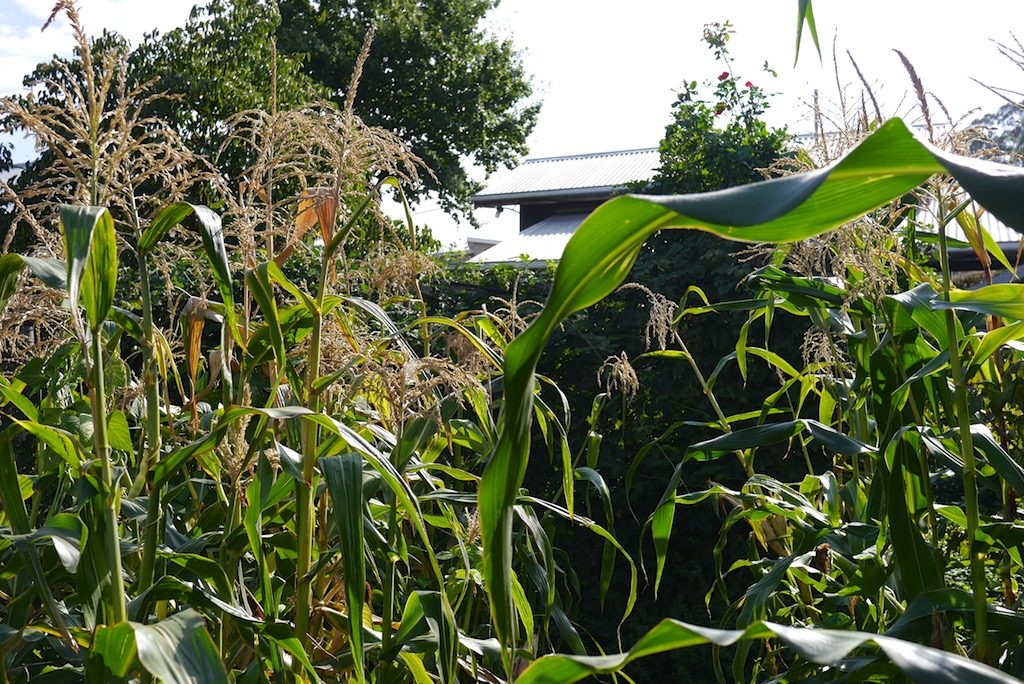
The corn is planted first and starts growing straight upwards to the sky – then, at the point where it’s 10-15cm high, the bean and squash seeds are planted around the cornstalks base, alternating between beans and squash at each cornstalk. This way, the corn has the jump on the other two sisters in terms of height, so there’s no danger of the corn being smothered or tangled by the other two crops.
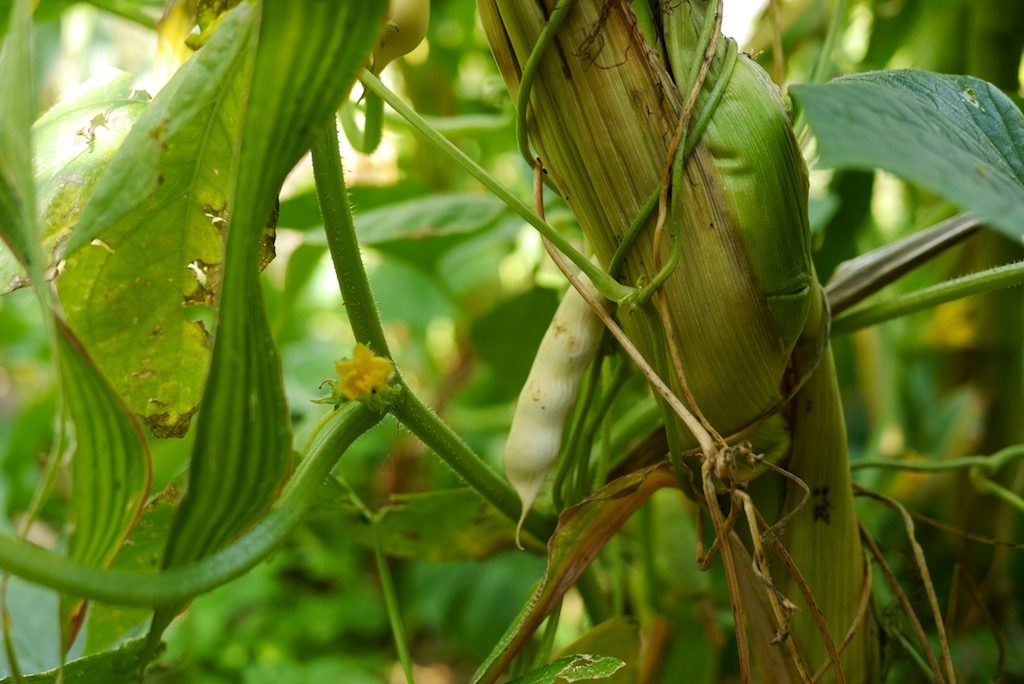
The climbing beans then grow up the cornstalks, using them as a trellis. The beans fix nitrogen in the soil as they grow, further supporting the corn’s nutritional needs.
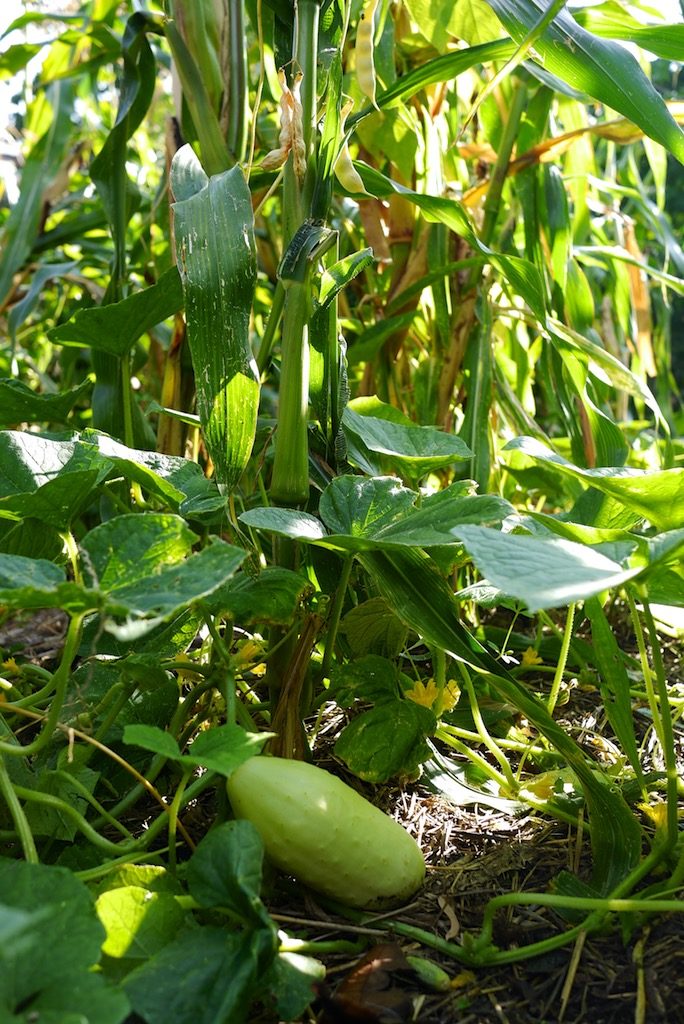
The squash grows to scramble across the ground, beneath the corn stalks. Acting as a living mulch, the squash suppresses weeds with its shady leaves, and predators with it’s spiky stems. By creating a ground-level microclimate with it’s transpiration, the squash also limits the need for frequent watering of the three sisters patch, which is great because corn is also thirsty.
Throughout this process, depending on the variety of beans + squash that you grow, and also on your planting design, a consistent harvest can be obtained in the form of green beans and squash.
Or, if you opt for a 100% storage crop approach to all three sisters, you might just tend this patch and harvest it all once the season is done. This, as far as I can tell from my research, is the traditional way it’s done – set up the patch, tend it harvest all at the end of season. Three crop harvests at once. Boom.
This technique is partly about using the space below the soil, too – not just the space above. Corn, bean and squash root structures are all different – and they occupy different stratas of the soil, using the underground space your your patch to maximum effect also.
This system is focussed on storage varieties of cron, beans and squash – things that you harvest all at once, and the end of the season, to give a supply of dry corn + beans, with a side of storable squash.
Corn varieties: traditionally maize corn is used, as opposed to sweet corn. This is because obtaining a storable yield, in the form of dry corn, is the name of the game.
Also, harvesting sweet corn intermittently from a block-style patch where the ground is covered in squash and beans is pretty tricky and not really suited to this technique – unless you sort out some design variation to make it possible to regularly harvest the corn while keeping that close-knit synergy.
Bean varieties: climbing or pole (rather than dwarf or bush) beans are used for this technique – because a single plant will grow up the corn to the light, but are not too heavy, even when laden with beans, to pull said cornstalk over.
Squash varieties: the squash family (Cucurbitaceae) is a big one. Pumpkins, cucumbers, squash, zucchini and gourds all fit within it, but some will suit this technique better than others.
Traditionally, winter squash was grown – ie storage squash for winter that would scramble across the ground but which didn’t have a climbing tendendancy, including what we in Australia would call small pumpkins. However, depending on your needs, other squash like cucumbers could be used, so that you can get a summer harvest from this particular sister, instead of a winter one.
Fourth sister: if you need the extra pollination, various bee-loved plants like lemon balm, or any of the Monarda genus, like bee balm or bergamot, will definitely help things along.
What we planted
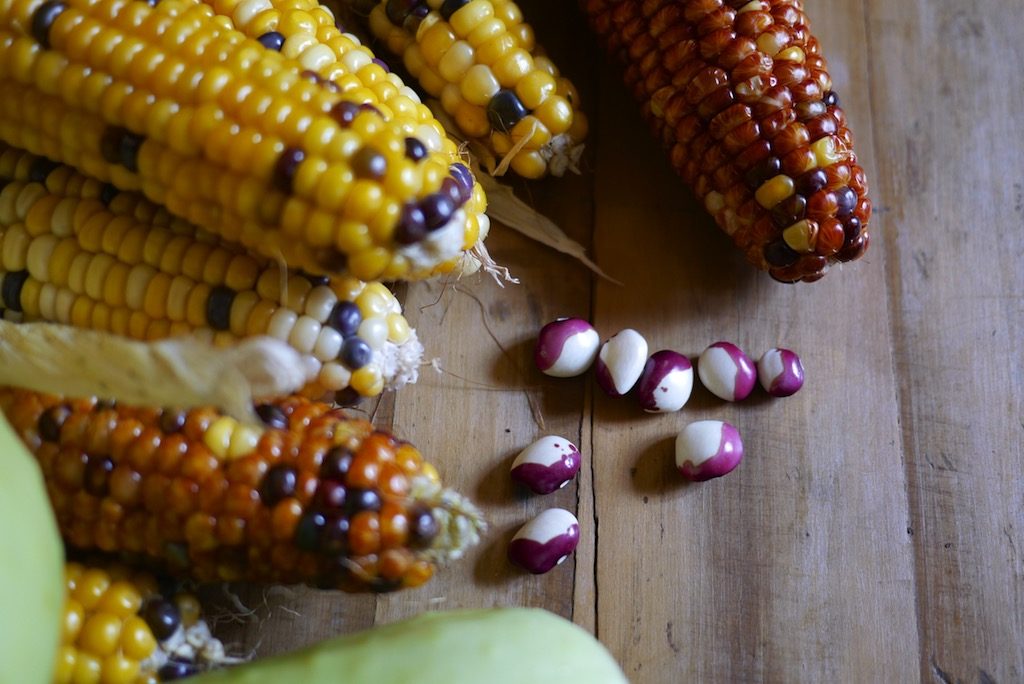
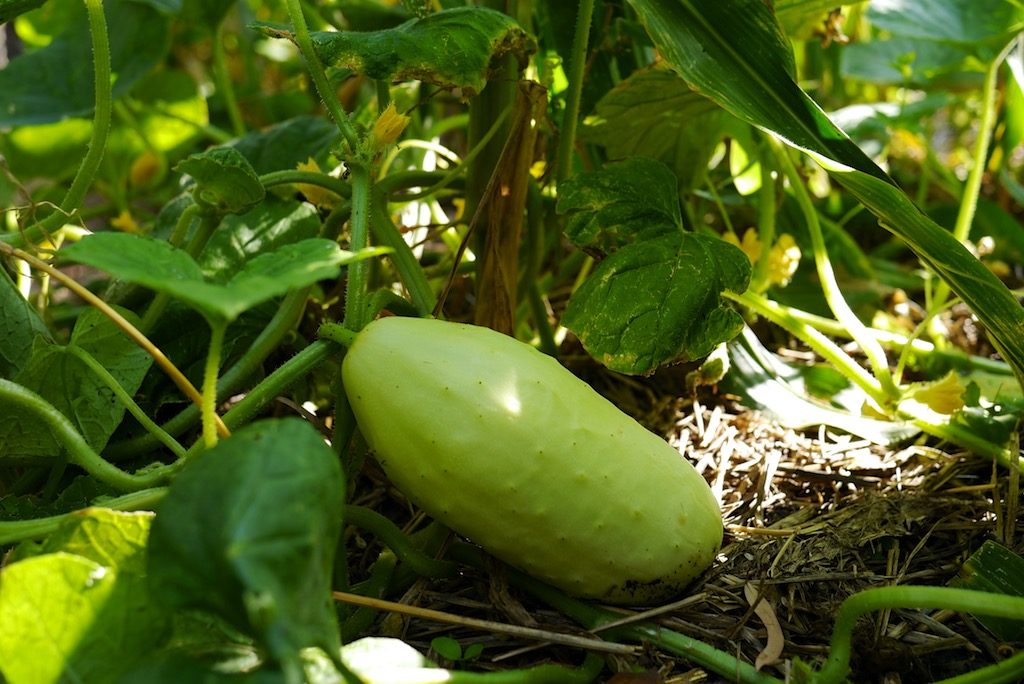
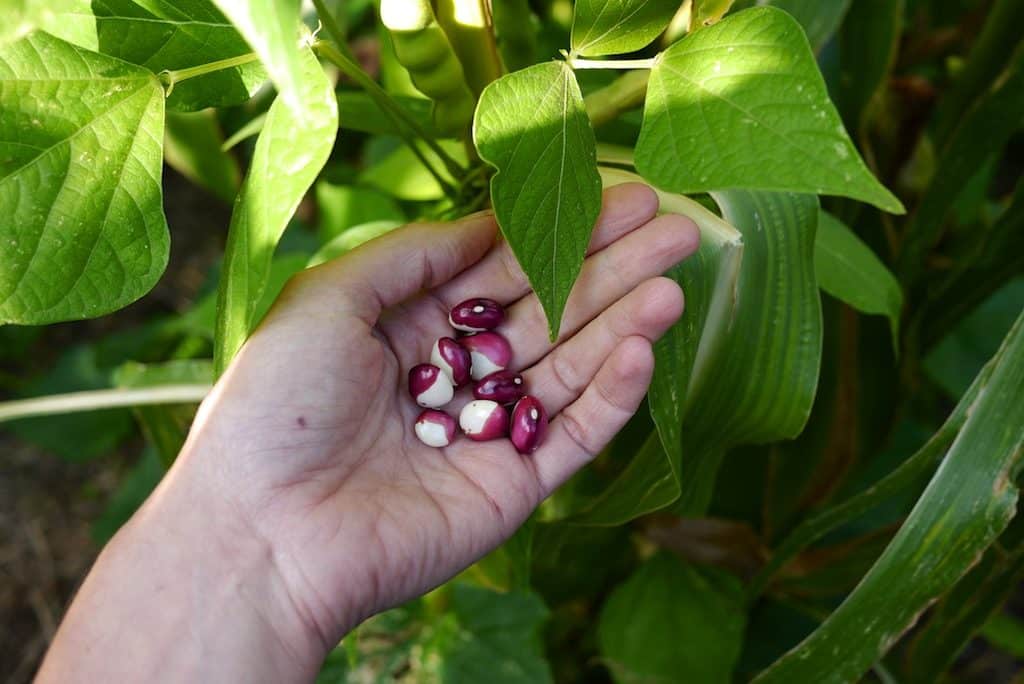
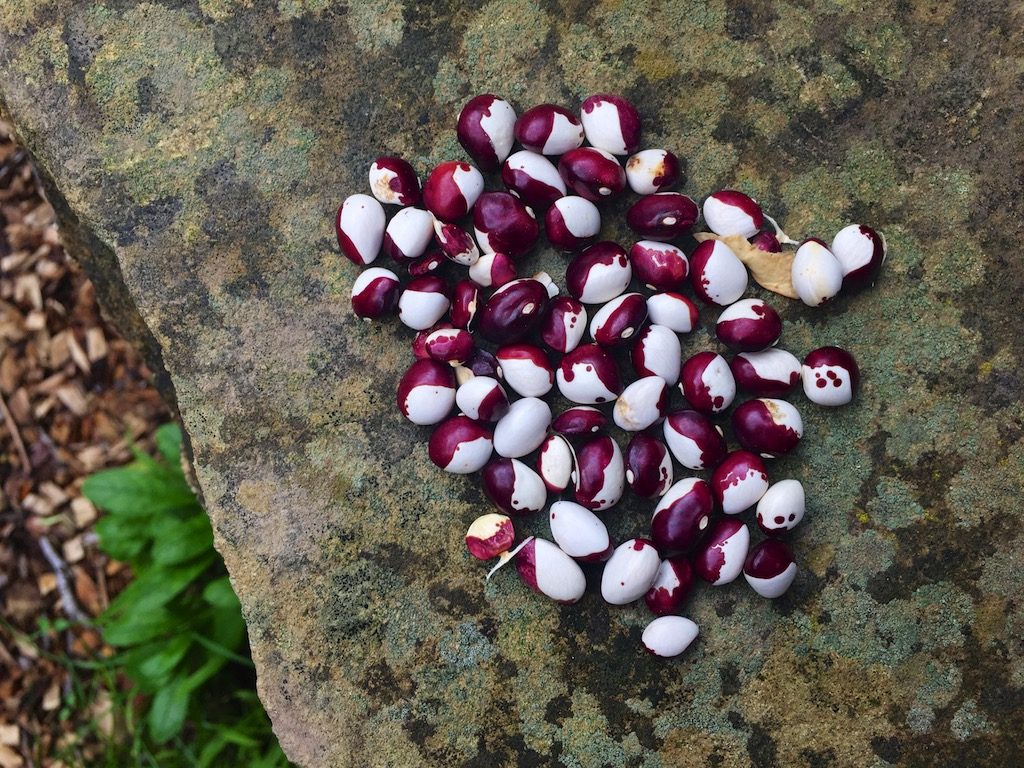
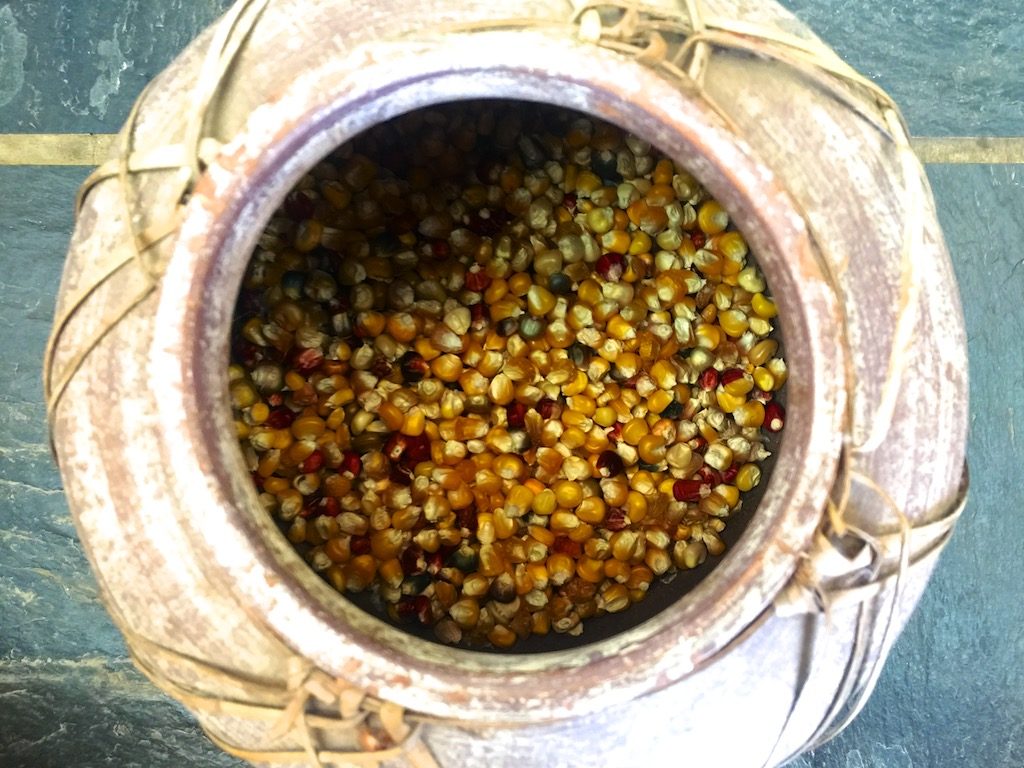
For our three sisters patch at Melliodora, we used painted mountain corn (a favourite flour corn of Su’s) calypso beans, and syrian cucumbers.
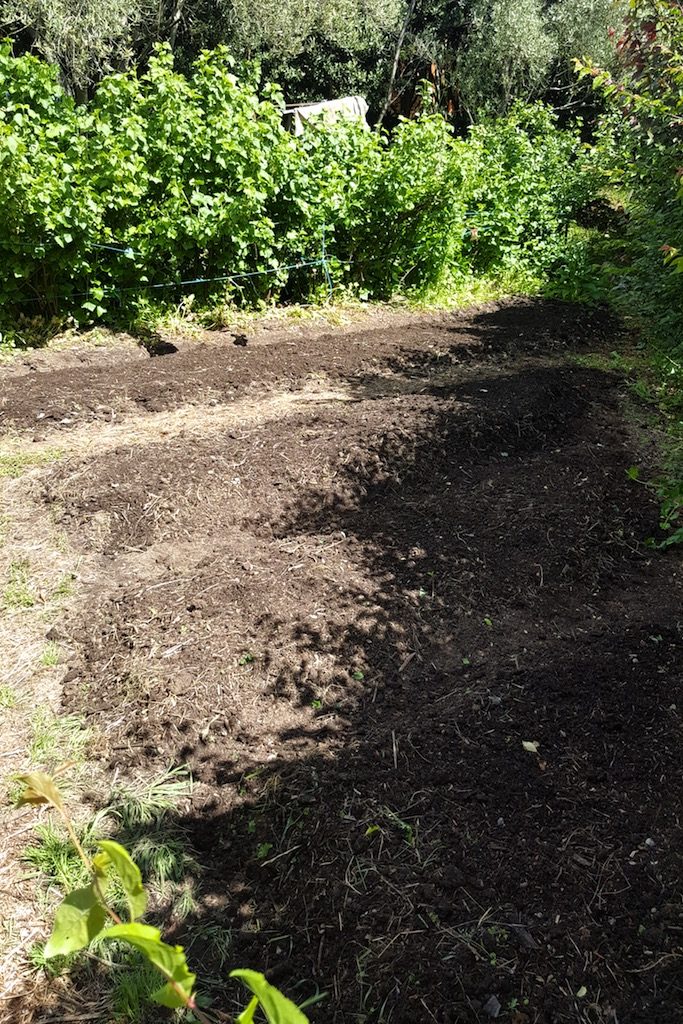
The bed we had to work with is known as the ‘runoff bed’ – a bed intermittently watered by overlow runoff from the main garden and the big house’s greywater system. It’s a triangle-shaped patch between the currants, the plum hedge, and the berry-covered chicken yard. The soil is good but we were ready to make it better, and this bed had just had a rotation of late winter brassicas pulled out.
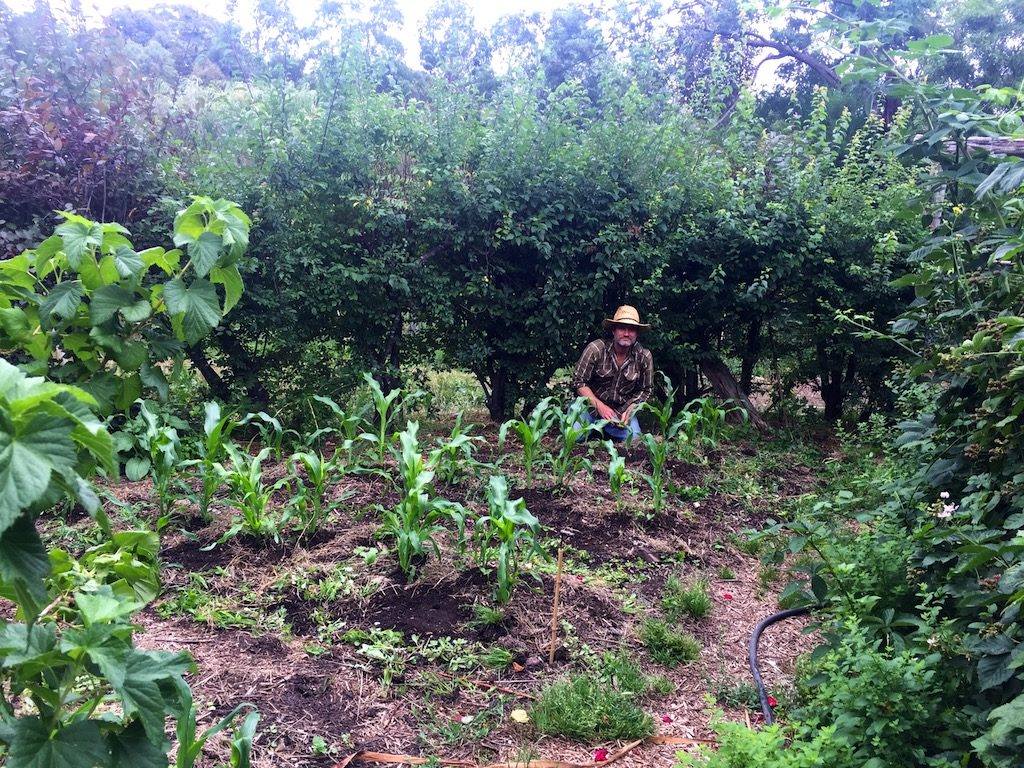
We prepped the bed by forking it with our gundaroo tiller broadfork and then adding a good layer of compost (no eels, sadly, as we were a bit too busy to go fishing that week), then formed it into rows for easy access, and planted the corn kernels in a biointensive style planting pattern (30cm apart in a honeycomb array), in late November.
Then, about 3 weeks later, when the corn was about 10cm high, we gave the patch a good weeding (the only weeding we needed to do), followed by planting the calypso beans, and the syrian cucumbers, with a light mulch on top.
The main energy inputs from this point on was regular watering (it was a dry, dry few months). The corn grew high, the beans twined up, and the cucumbers scrambled across. It was also aways damp and good-smelling in this corner of the garden, all summer long.

Harvest
Throughout the next few months, we got a steady supply of syrian cucumbers, which I’d recommend to anyone looking for a hardy + super tasty cucumber variety. Having a well established pumpkin patch up the top of the garden, we didn’t need another pumpkin patch. But we did need more cucumbers, because you always need more cucumbers. They were also easy to spot because they’re white, which made for easy harvesting also.
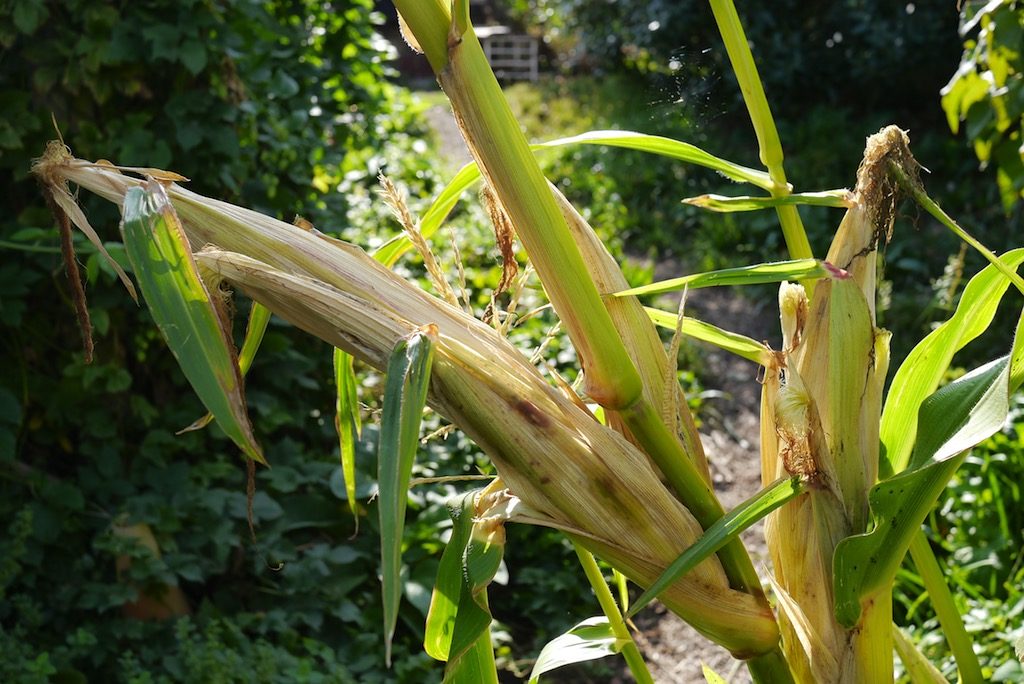
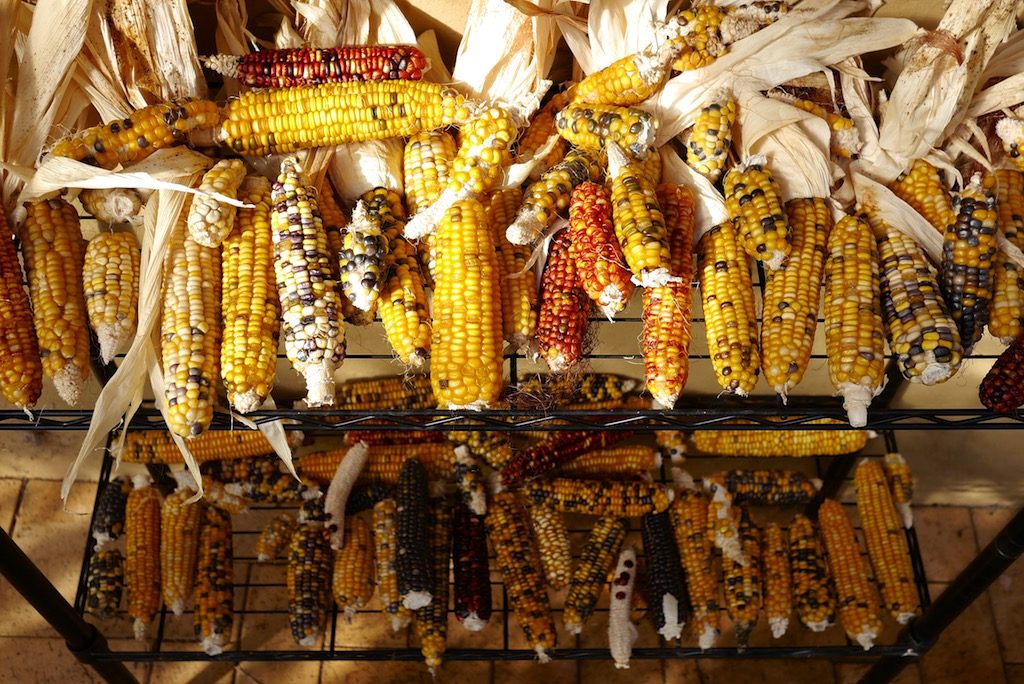
By the start of April, just over 4 months from planting, we harvested the painted mountain corn as it dried on the cornstalks, leaving the cornstalks standing to finish off the calypso beans, that weren’t quite ready. We transferred the corn to our passive solar greenhouse to dry for a few weeks.
And then soon after, it was time for the calypso beans to come off, to be dried in the sun and then jarred.
It’s tricky to say the exact amount of harvest collected off this patch, as we weren’t weighing as we went. But we’ve been growing long enough to know what’s impressive and what’s disappointing in terms of yield from a patch – and we were quietly impressed.
Considering the small amount of inputs + labour that went in, this technique yielded a very good harvest for the space used.


Eating
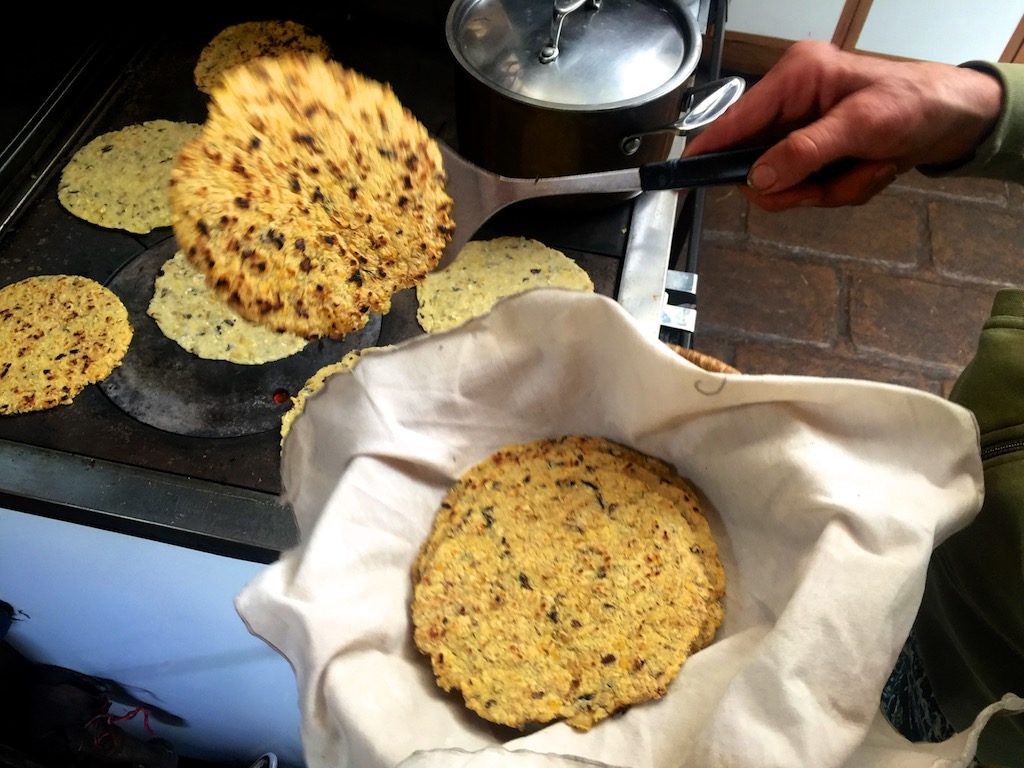
The best part of any harvest. Cucumber salads + pickles, bean-rich stews, tacos and burritos, and of course corn tortillas, made from the dried maize. Ah, tortillas.
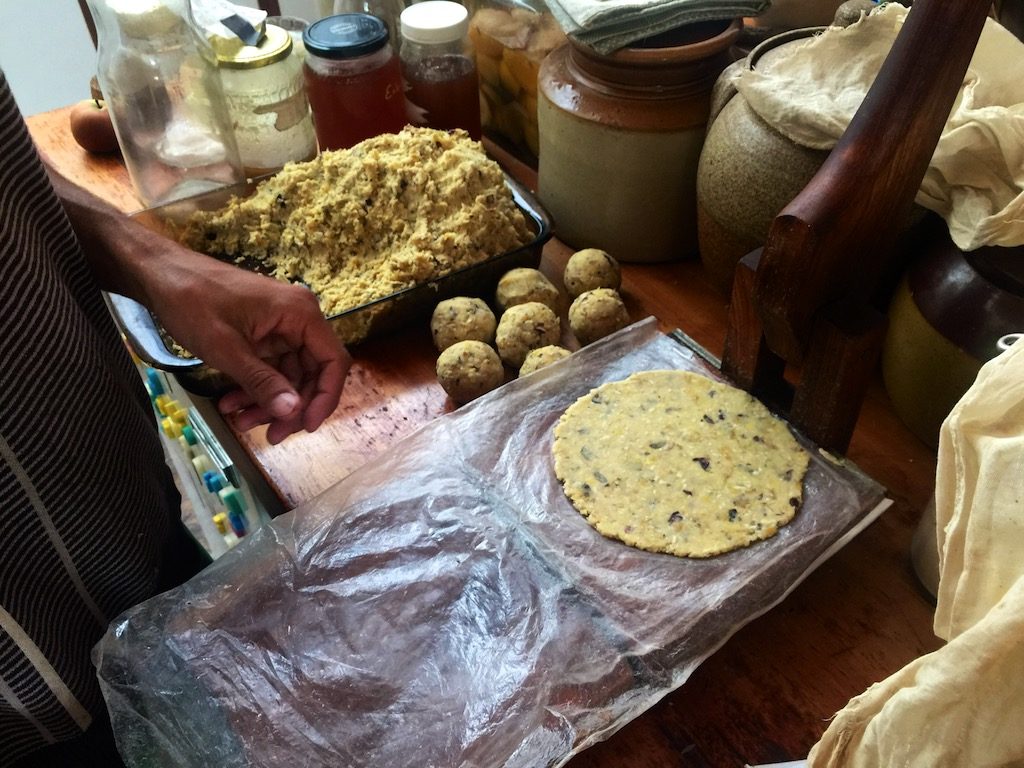
We’ve been learning to make tortillas in Su’s kitchen, where they’re a bit like a party food – only brought out occasionally as a treat, using home-grown corn. The process of tortilla making is about 48 hours, which has something to do with it. And the fact that Su only has so much tortilla corn that is grown each year, and therefore is is a precious substance.
The process of tortilla making is an article in itself, but in summary, the corn needs to be nixtamalized, then ground, then flattened, then cooked.
Nixtamalisation is the process of removing mycotoxins from the corn, while increasing its nutritional value and aroma markedly. This is done by increasing the alkalinity of the corn, traditionally with lime or woodash.
The corn is soaked, boiled and soaked again, the hulls are sometimes rubbed off, then the corn is dried, ground, made into a dough, balled, flattened, and then baked on a hot griddle or stovetop. It’s worth every step. Delicious and nutritious, home made goodness.
We all ate Su’s last batch of tortillas with chickpea curry, cauliflower and salad, but everything goes well with tortillas. For a three sisters special, a beany stew with cucumber chutney + yogurt to accompany home made tortillas would be heaven.
And it’s possible! So very possible. With respect and love to those who have gone before, who over thousands of years developed the three sisters planting philosophy and technique. We now get to eat good food, grown symbiotically, with minimum effort and maximum return. Thanks be.
Three Sister Excerpt: Braiding Sweetgrass
“I hold in my hand the genius of indigenous agriculture, the Three Sisters. Together these plants— corn, beans, and squash—feed the people, feed the land, and feed our imaginations, telling us how we might live.
For millennia, from Mexico to Montana, women have mounded up the earth and laid these three seeds in the ground, all in the same square foot of soil. When the colonists on the Massachusetts shore first saw indigenous gardens, they inferred that the savages did not know how to farm. To their minds, a garden meant straight rows of single species, not a three-dimensional sprawl of abundance. And yet they ate their fill and asked for more, and more again.
Once planted in the May-moist earth, the corn seed takes on water quickly, its seed coat thin and its starchy contents, the endosperm, drawing water to it. The moisture triggers enzymes under the skin that cleave the starch into sugars, fueling the growth of the corn embryo that is nestled in the point of the seed. Thus corn is the first to emerge from the ground, a slender white spike that greens within hours of finding the light. A single leaf unfurls, and then another. Corn is all alone at first, while the others are getting ready.”
— Robin Wall Kimmerer, Braiding Sweetgrass

Resources:
- Three Sisters + more – a good rundown at Mother Earth News
- Understanding the Historic Wampanoag Three Sisters Garden
- Native Seeds / SEARCH – legendary indigenous american-run seed savers
- Trail of Tears bean – follow the links through for an idea of how much seed saving matters
- Nixtamalisation – with pics
- All our gardening how-tos and resources




Hi everyone, I grew up in Tassie but now live in Sunshine Coast Sub-tropical Queensland. I’ve been a hairdresser for many years and am now working from the house that my sis and myself bought in 2007. For the past 2 years I have been studying Sustainable Living through UTAS online MyLo. I will graduate this year and am also studying The Permaculture Educators Program and Teachers program through ‘My Permaculture Life’ with Morag Gamble who lives here. Thank you all for the fabulous presentations and information. My Grandad was Wally Hudson at Adventure Bay, Bruny Island and he would… Read more »
Hi Deborah! 🙂
I’m going to try this for fun as well as nourishing results. Hopefully! Isn’t if funny how bees love plants beginning with B? I have borage growing all over my patch and it buzzes!
Thanks for all these details, gonna try this again soon.
Typo? :
“ alternating between beans and SQUASH at each cornstalk”
thanks Leon! Fixed.
Love this! The natural efficiencies are so satisfying!
Curious – my veggie patch out back doesn’t get full sun so a lot of things don’t thrive – do you thinkg this could still work?
hey Anthea – ergh a lack of sun is a big deal…. though you could design accordingly, for a wetter, coolish garden, with all the amazing things that love that shady environment? Thinking ferns and ponds and pepperberries etc. Most leafy greens should still do well, also?