
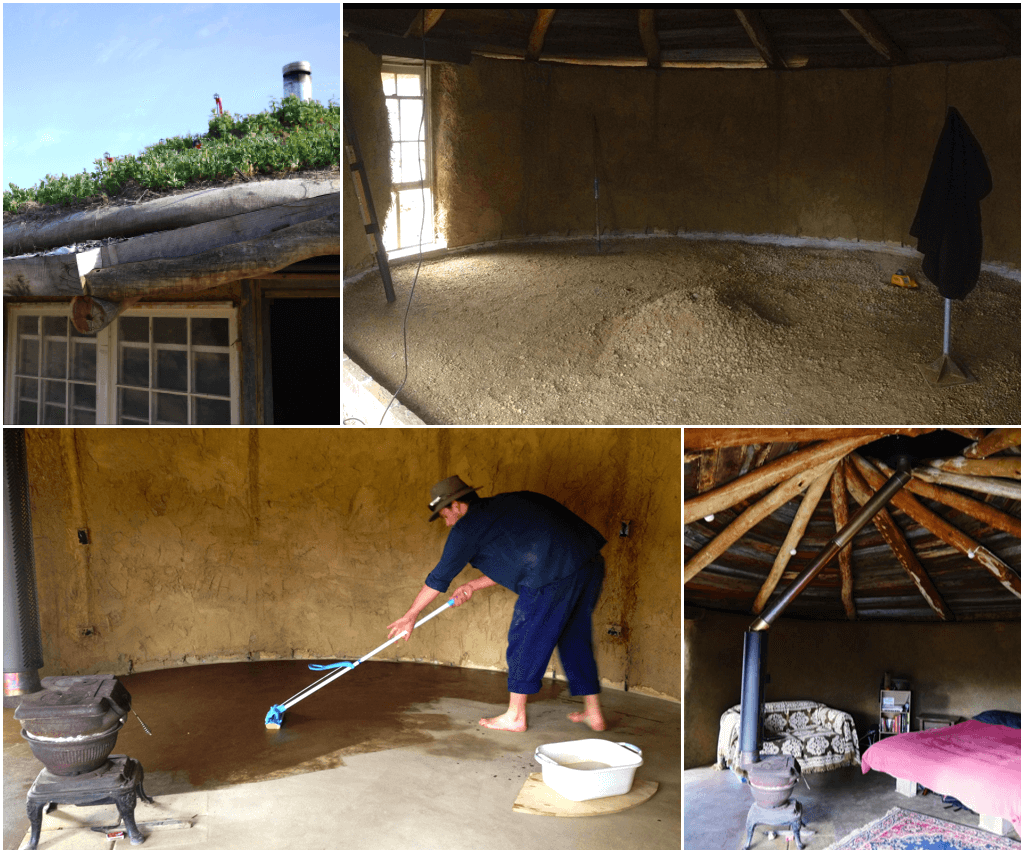
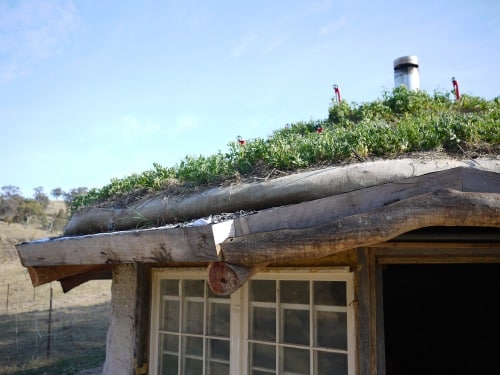
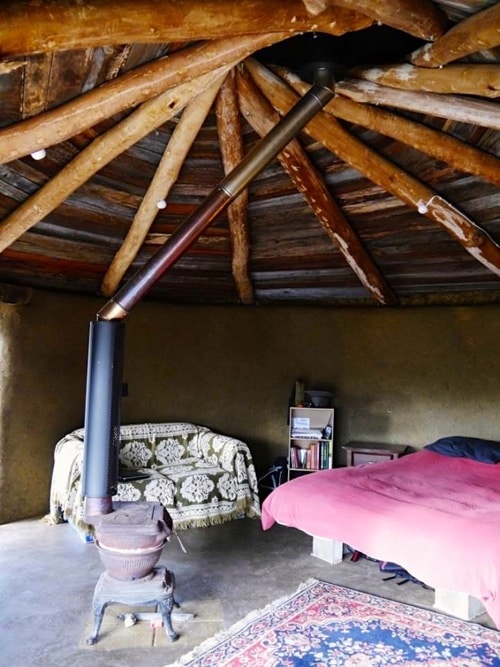
After completing the strawbale walls and the roundwood, reciprocal roof of the Milkwood Roundhouse, we wanted a gorgeous floor to complete this hand-crafted natural building. So an earthen floor was a natural choice.
There’s not much easily accessible info out there on how to make your own earth floor, however. So we’d like to share what we learned with you…
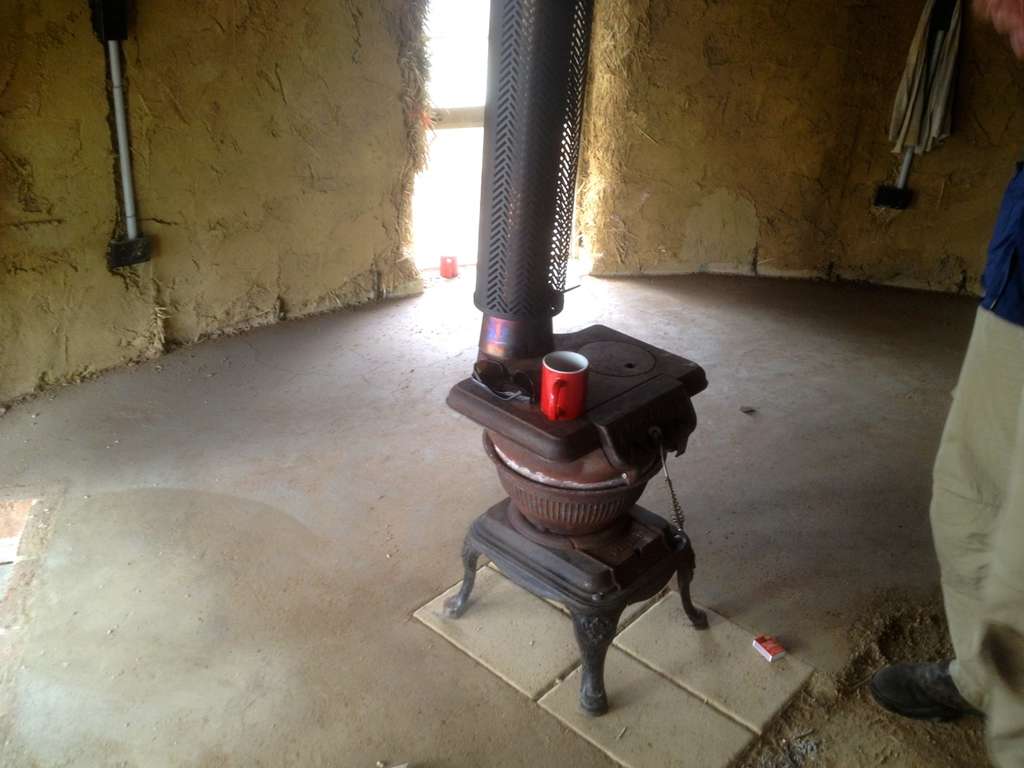
All this happened last Autumn. The walls and the roof of the roundhouse were up, and looking mighty fine.
Our floor options, as we saw them, was to make either a poured concrete or earth floor. In the interests of learning a craft and also minimising the embodied energy of the building, we really wanted to take the earthen route.
We had one problem – we didn’t know how to do it. And the info available was minimal. And most folks who suggested we do it, hadn’t done one either. So it was in all our minds, but not in anyone’s skillset.
Eventually, we settled on two possible techniques.
One technique offered low cost but extended drying time, and the other was going to be more pricey but would, in theory, get Floyd and Gigi into their new house faster.
We settled on the option with a higher cost and quicker drying time. If we had our time again, we’d probably use the other method. Live and learn.
Brickies Sand method – step by step
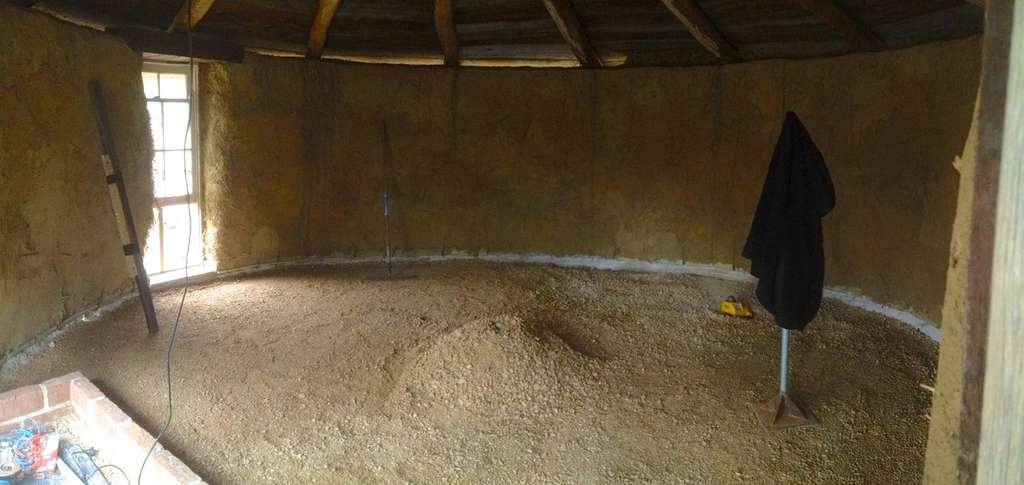
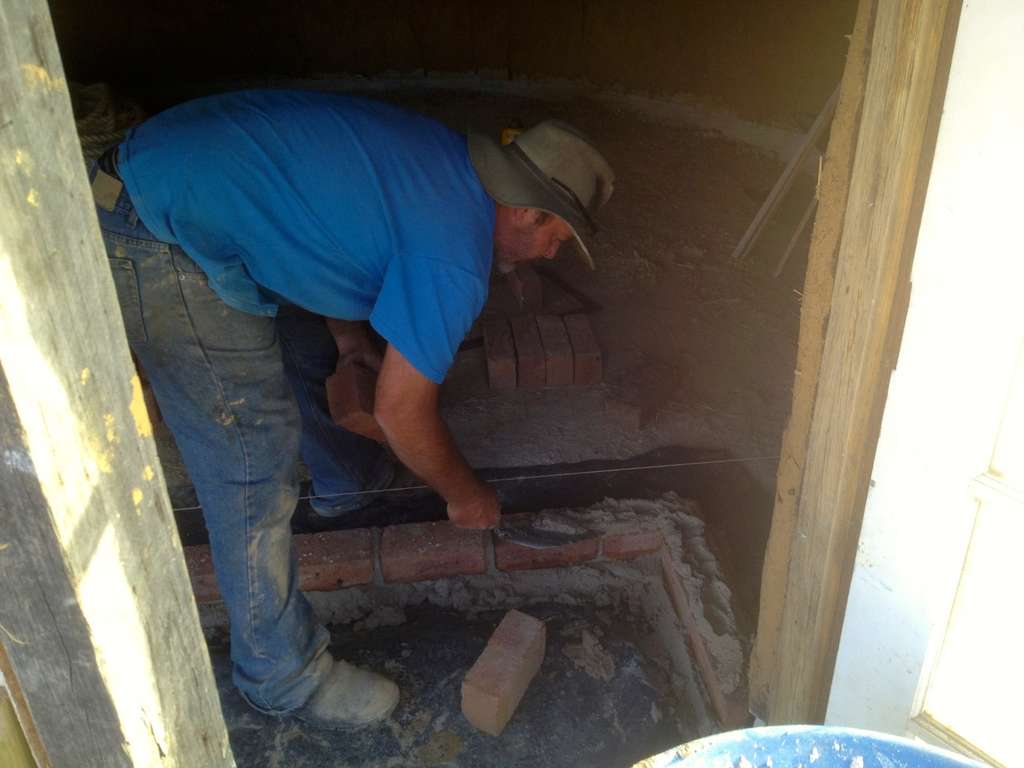
Firstly, we laid down and compacted
- 100mm of road base
- 10-20mm of any sand available – (we used river sand) to protect the waterproof membrane above
Then we put down a waterproof layer (we used builder’s plastic) – this was to halt the possibility of rising damp in a very wet year
Next we laid down and compacted a 75mm layer of moistened brickies sand, and then it was time for the top layer.
The top layer
Ingredients: a 25mm layer of 4 parts of brickies sand, to 3 parts renderers clay
Method:
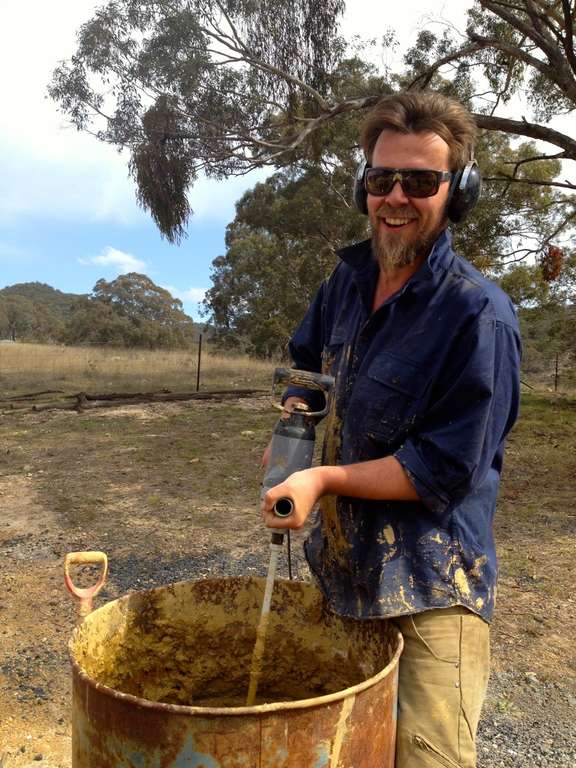
- Make the mix in shovelfuls, the smaller the better, in a wheelbarrow. Mix well.
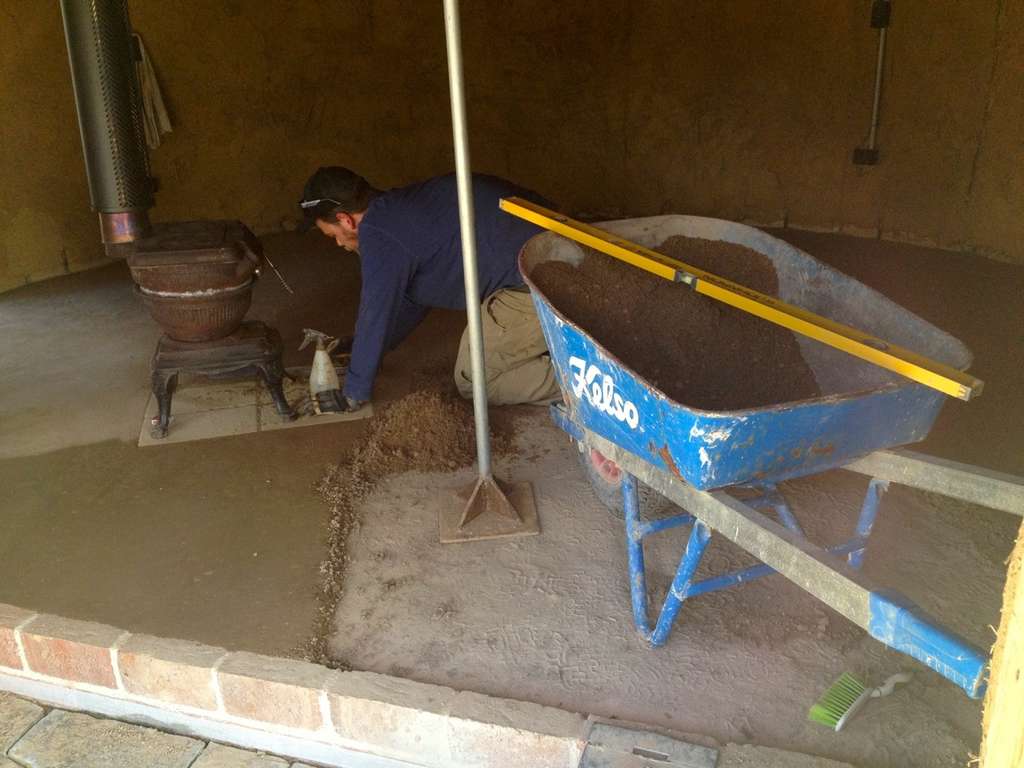
- Spread it with a spirit level or screed, about 10mm higher than the desired finish level
- Then compact it down with a steel compactor – still a few mm higher than the desired level
- Screed it with the spirit level – to get it to the right height and level
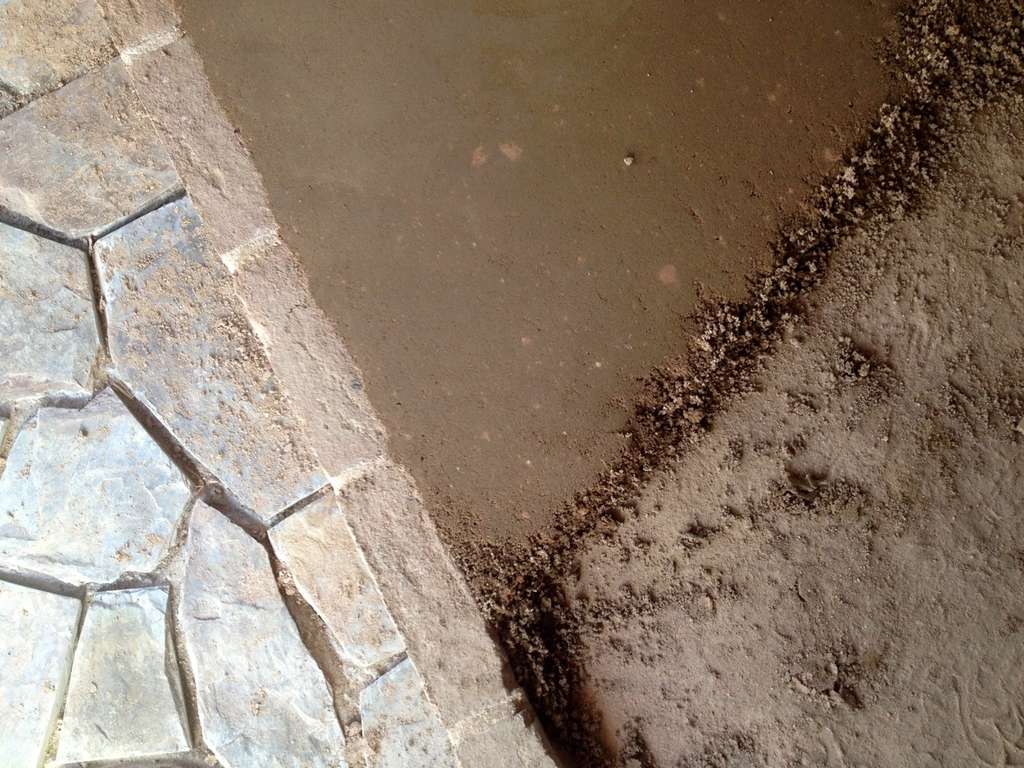
- Polish the floor with a steel trowel and a spray bottle with water to make it nice and smooth and fill in the cracks
The top layer must fully dry in order to go to the next step – curing the floor. Please be aware that in late Autumn, this drying process takes much, much longer than you might like it to.
Curing the floor
Once all that was laid down, it was time to cure the floor. This step is magical (if a little long-winded) – the linseed oil and gum turps bond together around the sand grains to create this hard, smooth, gorgeous surface. Eventually.
The first primary ingredient for curing is boiled linseed oil – if you can, make sure you use RAW linseed oil, because it works as effectively as the other stuff and has less far less toxins in it.
The second primary ingredient is gum turps, or Gum Turpentine – this is derived from distilled wood. Not to be confused with Mineral Turpentine, which is a petroleum solvent. Just because gum turps is natural doesn’t mean it’s inert, however – you need lots of airflow and skin protection to work with it.
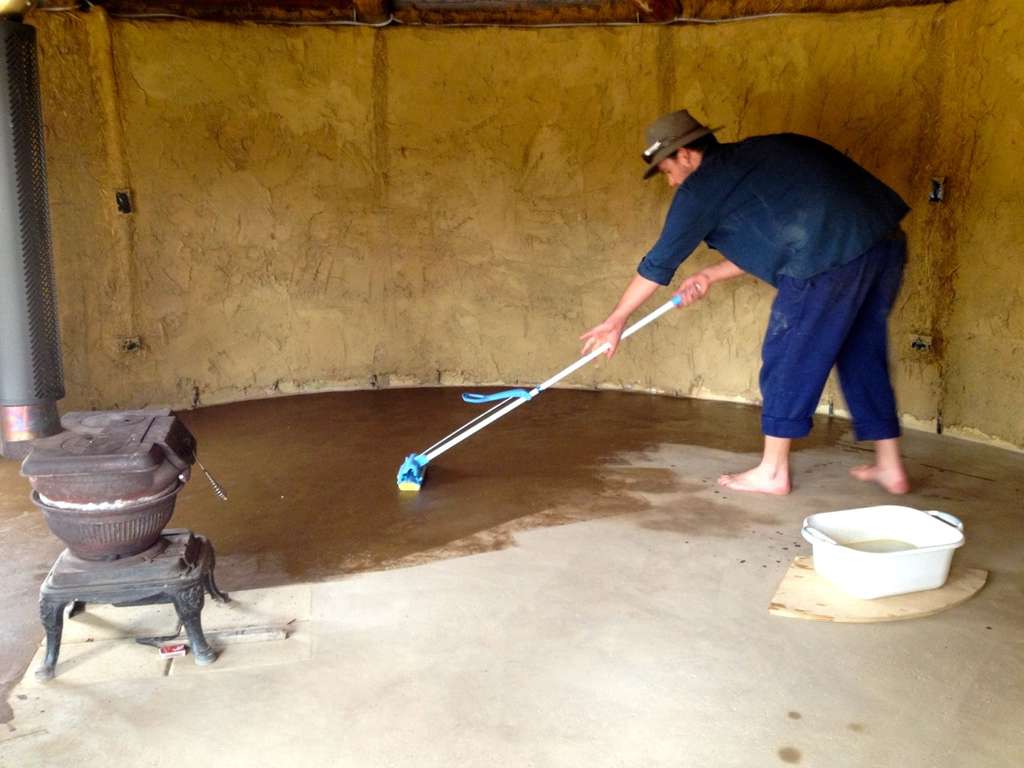
For the 28 square meters of the roundhouse floor’s surface, we used 8 litres of linseed oil. For each coat we mixed the ratio then poured as much as possible onto the floor without it pooling. We then applied it with a sponge mop.
Once each coat was absorbed, on went the next one. We did 5 coats all up:
1st coat – 100% linseed
2nd coat – 80% linseed to 20% turps
3rd coat – 60% linseed to 40% turps
4th coat – 40% linseed to 60% turps
5th coat – 20% linseed to 80% turps
6th coat – 100% turps
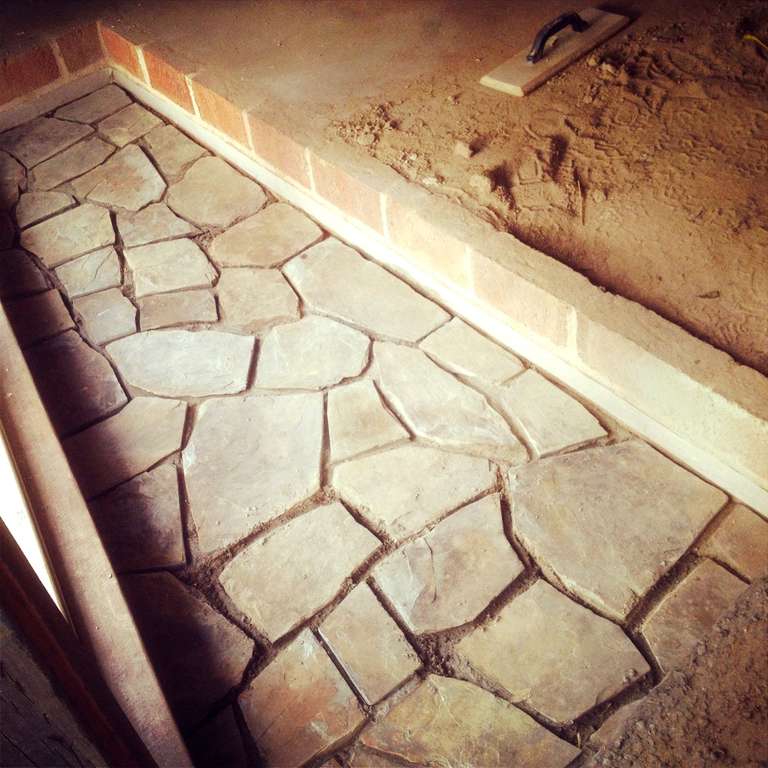
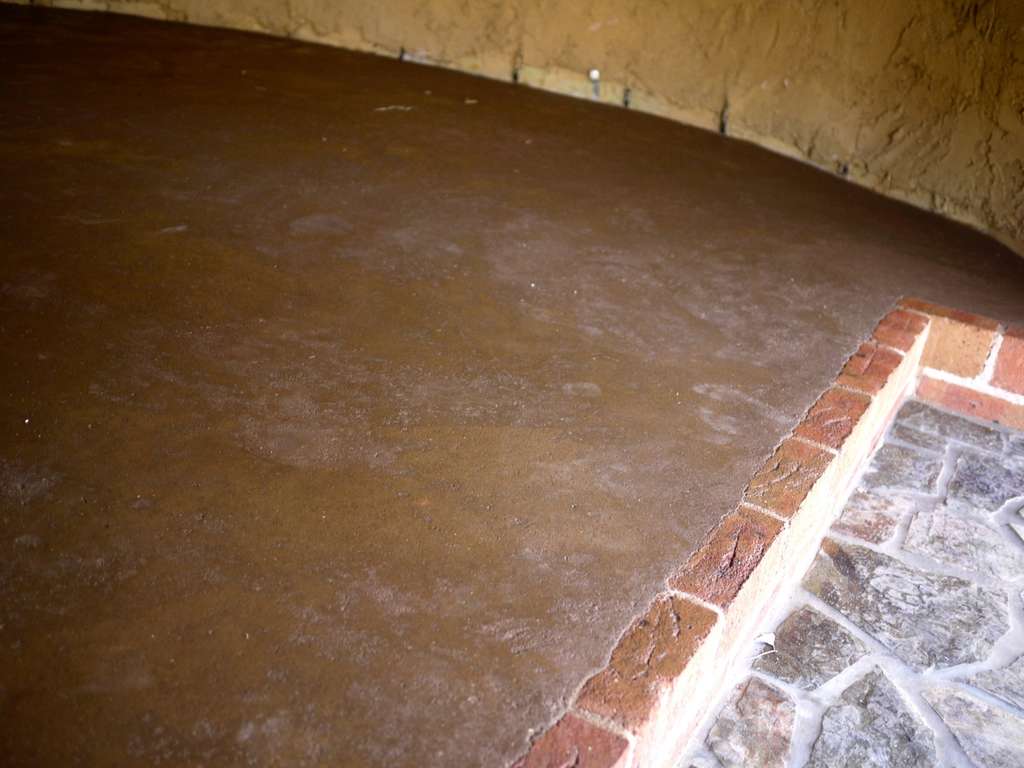
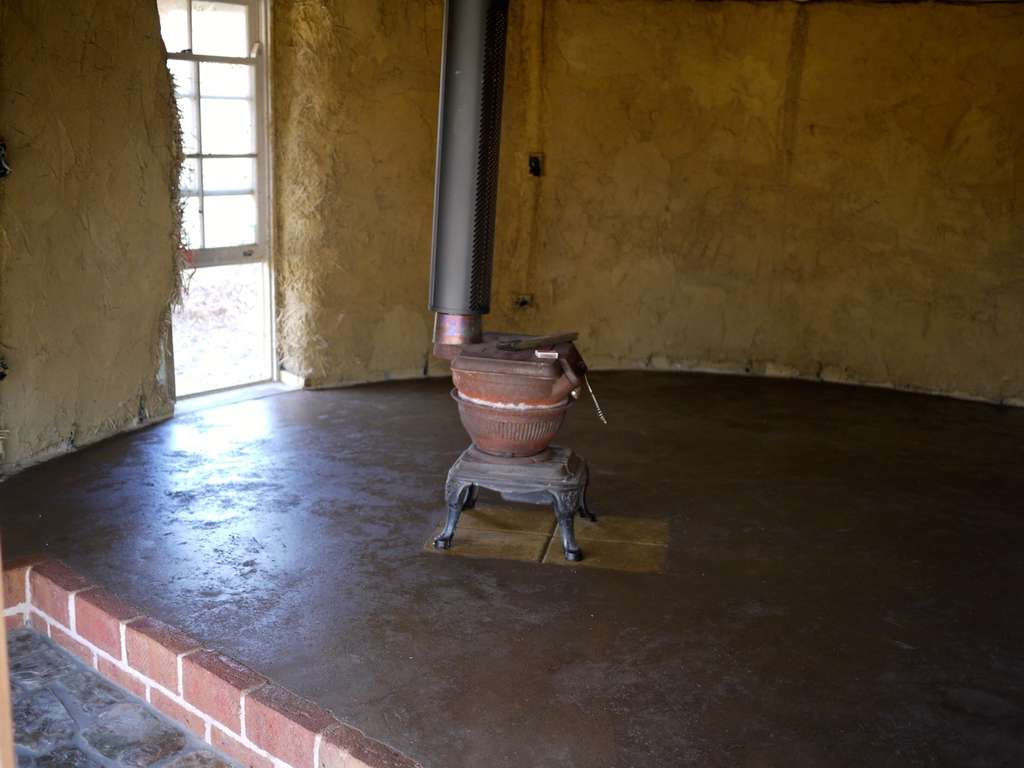
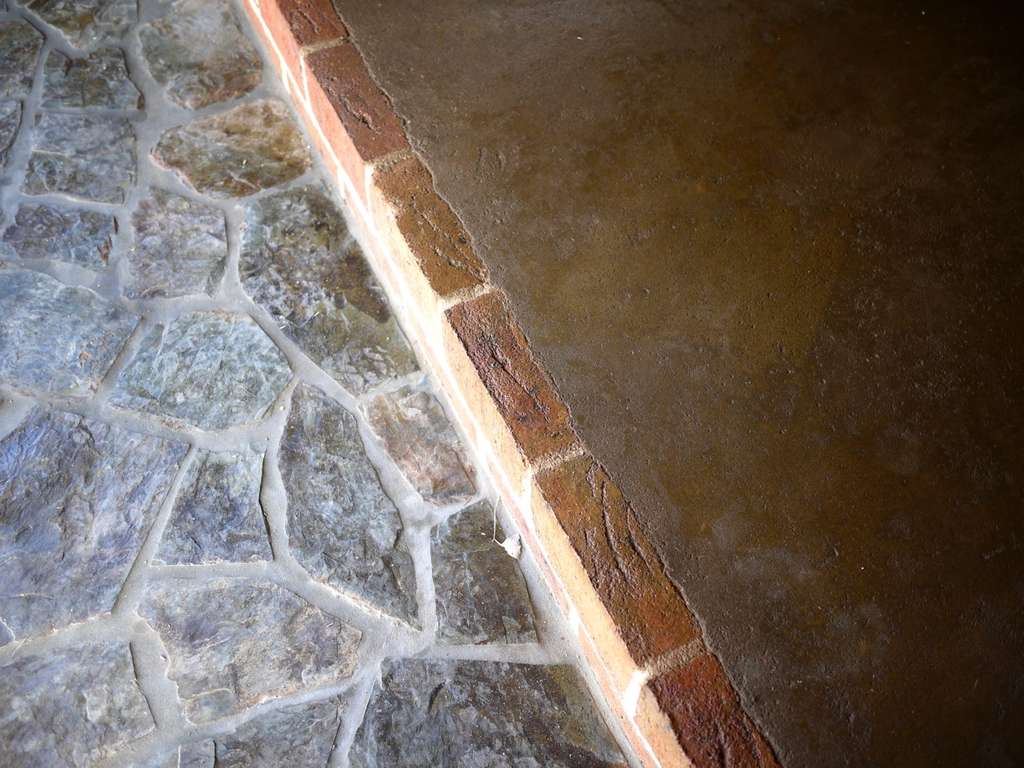
The end result is a very beautiful, slightly textured, very hard earth floor. It’s a pleasure to walk on, works as a thermal sink in colder weather, and is a beautiful addition to the roundhouse.
This method took 8 weeks from start to finish, with high input costs due to all the brickies sand we used, and the endless hours of labour (mostly Floyd’s).
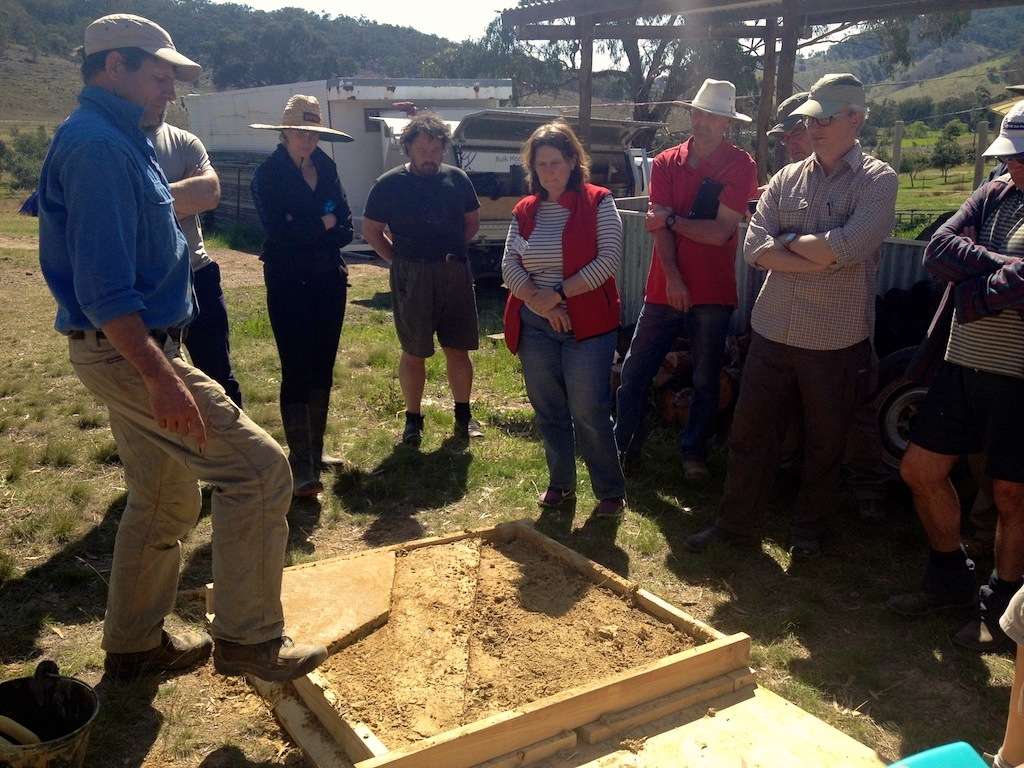
Next time, we will make an earth floor the way Sam Vivers, the natural builder that teaches the Milkwood Natural Building Workshops, suggested.
This method would result in lower material costs and less labor (though possibly longer drying time, depending on the climate).
Earthen Floor method 2 – the Sam Vivers method
- Lay down 100mm of blue metal as base layer, then a thin layer of sand to protect waterproofing layer
- Lay down builder’s plastic to provide waterproofing
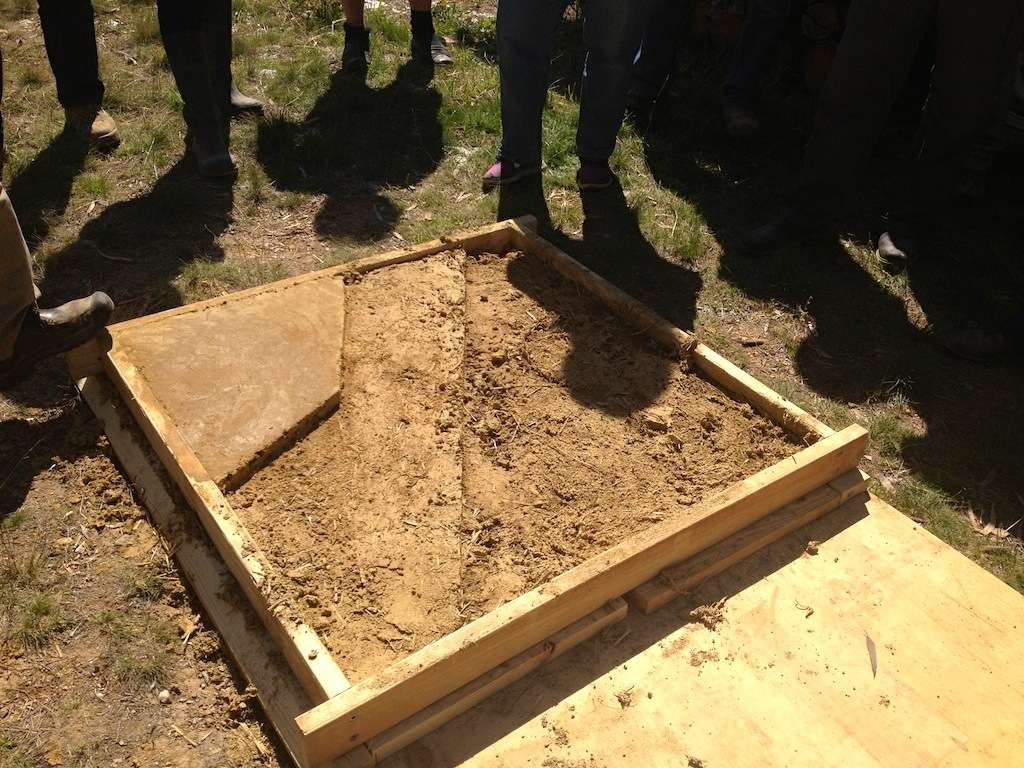
Lay down 100mm of a cobbish mix – clay, sand and straw: 1 part of sand to 1 part of clay (depending on the quality of the clay) and long straw
Lay down 50mm layer of a thinner cobbish mix with added chaff (chopped straw) – 2 or 3 parts of sand to 1 clay (depending on the quality of the clay) and chaff
Lay down 10mm final layer of thin mix without straw – 3 parts sand to 1 part clay, using finer sand
Cure floor with linseed oil process as per the previous method
Note: each of the layers in this method needs to be completely dry before starting the next layer
So there you go – there are many other ways to build a long-wearing earthen floor other than these two methods, but that’s a start.
However you achieve it, an earthen floor is a beautiful addition to a natural home.
It’s a hard-wearing surface, it looks gorgeous and , if the building has good passive solar design, this floor will collect and release heat into the house in the cooler months, and help to mediate the internal temperature of the house in the warmer months.
Do you know of any other methods that work well? We’d love to hear about them!







Reblogged this on know it Now and commented:
Great work really!
Very interesting, thanks. On a trip to the Gibb River Road we saw a termite nest earth floor. There seems to be something the ants leave behind that help it bond well with long lasting properties. The mortar used in the walls was also from the termite nests which may be particular to that region.
Reblogged this on Oldschool's Notebook.
Fantastic! Can’t wait to make my own! =)
How does it wear? Will it scratch under chair legs or chip/dent if something is dropped? I love the idea but wonder how durable it would be for our family of five plus dogs (who come inside). Do you sweep it? Can you mop it? We want to build our house using natural materials but it needs to be durable and easy to live with. It looks beautiful.
it’s hard wearing so far – yes you can mop it – chairs need those rubber thingies on their leg ends, and if you dropped a brick on it’s end on it i’d say you’d get a small chip or dent… but that would be the case with many floors 🙂
It’s not concrete, that’s for sure. But it’s bloody hard.
Thanks for the info- it’s good to know 🙂
This post couldn’t have come at a better time. I didn’t realise that a clay flood could be so simple, and require so few materials. I think I’m sold.
This is the home of my dreams. Beautiful small things that make’s our lives pleasant .
What a fantastic how-to and explanation of what you’d have done differently. The end result is truly beautiful.
You floor looks fantastic! I did mine more along the lines of the second method you described and I wouldn’t recommend it. It looked and felt fantastic initially, but then I discovered that it was actually pretty fragile. Once the surface is broken it is loose sand underneath. Appears the sand and clay somehow separated in the drying process. Haven’t figured a good way to patch it as the linseed/terps sealant has made the surrounding surface impossible to stick new mud onto. For the reader above with dogs, I would definitely ask someone who has lived with dogs on a… Read more »
when you say builders plastic, is it a plastic sheet you lay down or is it a plastic mixture?
Plastic sheeting – anything available what is thick enough now to fall apart, really –
Great job guys. I intend to build a strawbale home and I’m thinking of a straw bale round house for a studio. A earthen floor is a great idea. Thanks for the advice and great post.
Reblogged this on The People's Caravan.
Is the linseed/gum terps sealant sufficient to prevent swelling and cracking during periods of extreme wet/dry?
With a 4:3 mixture I’d imagine you would end up with a pretty stiff material. It would be absolutely imperative that you get your subbase compacted well. Any settlement in it, with a stiff floor on top, would result in cracking of the floor and then moisture ingress through the cracks.
It looks to be a delightfully warm, inviting floor. It would have good thermal properties too I’d imagine?
it’s pretty darn hard. And yes, the subbase was VERY well compacted – we don’t expect there to be any further settling.
A 93 y o. bushie I knew told me that termite nest soil is indeed a very hard durable floor surface !–but I would definitely not use linseed oil–which smells horrible ! & I suspect-will always smell horrible.
Actually, it smells great – the combo of turps and linseed smells like a natural furniture shop – or that’s the comments we’ve got so far 🙂
Nice work, we are installing an earth floor in our new house after being inspired by a mate having done one up north nearly 20 years ago.
For those who are looking to get this kind of floor ‘approved’ this drawing from our engineer, Martin Chambers, might help: https://picasaweb.google.com/lh/photo/DVrGyB4FdEXCJquG4_2RtdMTjNZETYmyPJy0liipFm0?feat=directlink
Our building surveyor has indicated that whilst this is outside of the code, he is likely to apply a ‘deemed to comply’ assessment such that the floor treatment passes muster.
Thanks again and great work as always,
Cheers, Darren Doherty
@ Darren Dogherty who provided the engineers drawing of an earth floor that was deemed to comply with BCA and approved by the building surveyor.
You absolute legend! Thanks so much for posting, I was just about to give up on my earth floor as has been declined by my building surveyor. Now I think this just might do it. Thanks again, and I’d love to hear of anyone else, particularly in Victoria that has had an earth floor that passed code.
I have heard of people in India (I think) using cow dung in the mix, which might help the sand and clay glue together better than straw alone.
We’ve been living on an oiled earthen floor for 6 years. Incredibly beautiful, hard wearing, moppable and great at storing that winter sun and keeping cool in these hot summers. A slightly different technique – we put in a base of aggregate of varied sizes for it to all key in with a clay/sand mix on top. We put carpet down and lived on it for a year to compact it naturally. Then added the final clay/sand mix with stalks of our microlaena grass (native weeping grass) instead of straw. As this final layer was only about an inch thick… Read more »
Beautiful 🙂
Oxblood use to be the cure method of the pioneers I’ve seen one and which was pretty impressive shiny finish ,the floor was over a hundred years old.
Reblogged this on X_trous Notes and commented:
Mesti rumah ni sejuk, lantai tanah liat. Hihi~
I tripped across this link 18 or more months ago and saved it for future reference. http://www.enn.com/green_building/article/29222 It has links attached. I have no experience to tell if it’s good or not but it’s so awesome to see someone doing it and reporting such success. 🙂
Thank you guys for sharing these wonderfull ideas. I am planing my big build next year and I’ll be using natural building methods, no doubt about it. I’ll post my side of story how it goes. Thank you
Love it! Any chance you could clarify for the building-impaired, what is ‘road base’ and what is ‘blue metal?’
Colloquially road base is a densely graded crushed rock, generally with a maximum stone size of 20mm and a good mix of finer stones, sand and fines.
Blue metal, or aggregate is a hard – generally a basalt – rock gravel of a single size (5, 7, 10, 14 or 20mm). It’s the stuff they put down onto bitumen when they seal a road.
We were much more slaphappy. I wanted to be connected directly to the earth so we didnt use any plastic, but we are midslope so in a well-drained position. We used just brickies sand straight onto the ground which had been levelled with a bulldozer and been walked on for four years while we built the round stone house. Original plan had been for 10cms thick but we ended up with less (6-8cms?) as we ran out of sand and were under a tight time constraint so no time to get more. It was raining the day we did it… Read more »
you were an inspiration for our floor, Jolieske! Thanks for all your help 🙂
Kirsten, about to build in forbes with a floor similar to this, how has yours gone for hairline cracks and crevices etc??
I have seen some floors that are riddled with cracks although a contrasting grout can be added so as to simulate the flagstone effect.
thanks in advance.
James
No cracks in ours yet!
can you suggest an alternative for blue metal?
I find this very interesting. Have done some tests, like its compressive strength?
I would advise against using blue metal (aggregate) of a single size anywhere in a pavement (after all what is being built is a pavement in function). Material of a singular size will tend not to compact well and by extension it will be very difficult to compact any material on top of it. You need a material with a reasonable grading (that is particles of varying size) to fill the voids left by the largest particle in the material and ‘lock’ the granular matrix together. A fine crushed rock product (road base) – maximum stone size ~20mm or so… Read more »
Thank you! i was planning to make a sample of this and test its strength.
I am a big fan of this, looks great. I was just wondering what the detail between the earthen floor construction and the rubble trench / straw bale wall looked like? The earthen floor method 2 construction is about 290mm deep. If this 290mm was added onto the existing floor level, was there a barrier between the straw bales and the floor construction? If 290mm was excavated for the floor construction, was there a barrier between the rubble trench and the floor construction? Thanks in advance for you help!
do you guys have any suggestion other than linseed oil? Thanks in advance!
the thing about linseed oil apparently (from an industrial chemist staying with us) is that it has a very complex molecular structure and that is why it is such a good sealant. we were advised double boiled as that stops it going rancid.
Your floor looks nice. Would love to know how to do the earthen floor and where or how to put in the water and sewer lines? If anyone knows where I can find or see how this is done, please let me know. If I can’t figure it out soon, I will just do a raised floor. Thanks
Thanks for the inspiration. Also, I would appriciate it greatly if you could write an article sometime that gives a rough approximation of the cash and time imputs for the roundhouse so far. My partner and I expect to purchace land in the not to distant future and I am trying to figure out if a similler progect would be a viable alternative to our broad plan of erecting a steel shell and lining, insulating & fitting it out over time. Whatever we choose must be non toxic or I simply will not be able to live in my new… Read more »
Yep the energy budget is a big thing on builds like this. you’re either looking at embodied energy on get-it-up-quick materials, or your own (or someone elses) energy in the time it takes to build. Time budget wise, this build took one person working on it solidly for about 2 months, plus the wall and roof raising that was done quickly due to all hands on deck. Materials wise, it cost no more than $12K all up, and I rekon you could easily get that down to $8K if you didn’t overclock the roof like we did 🙂 – so… Read more »
Thanks Kirsten, that is quite helpfull. It is so much easier to weigh things up with a little solid information. rather than mearly some vague posibilities. By the way, what do you mean by overclock the roof? Are you refering to the plactic lining for the sod roof rather than an iron one or something else? Also, does that figure allow for exavations or was that a side benefit of having farm machinery?
I think she just meant… making the roof a lot stronger than it had to be 🙂
I think she meant that the roof is a spiral.
I’m an artist that has worked in oils and for decades and to my knowledge the fumes from turps and linseed oil are toxic carcinogens that cause lung cancer and brain polyps. Ive known many of my old lecturers that have suffer health complaints from long term exposure to both these things. This is why many artists are moving away from using them or use extreme caution regarding ventilation when working. if you can smell it, you’re breathing it. Turps and linseed oil is absorbed by the skin so gloves should always be worn.
Made a little floor myself, doing much experimentation on the way… so reading this now, I just kept nodding the whole time! And what a result you got! Mine came out a little more ‘rustic’, shall we say! The only thing different that I would (even dare) to suggest is to do with the use of linseed oil. *Totally* with you – raw is the way to go. But I got away with no gum turps for thinning purposes (although maybe that helps prevent pests too?) by gently heating it. Sure, it was a little harder to work with –… Read more »
thanks for the thoughts!
Could I ask a really dumb question? By moistened, how much water would you add to the mix?
Also for building a natural building, what method would be better? The plan is to do away with a vapor barrier and any non natural chemicals or materials.
Referring to the brickies sand, by moistened, we mean just enough water to mean it’s not dusty and it packs hard…. less is more.
Your preferred method will mostly be based on time. It’s hard to find a vapour barrier that does not include plastic. You could do away with it if you did a fantastic job on the drainage around and under the building. Although a building inspector would be very unlikely to approve of that.
I’m 75 yrs old, and in the first house o owned, I built in the entire basement, family rm, 2 bedrooms and a bathroom. Absolutely no experience in building. Wanted a shower at one end of the bathroom, installed all the plumbing, but what for shower floor. Used base of gravel, then sand, compacted, then used premix concrete. Didn’t know anything about tile, so what to do. I don’t remember who told me, but – boiled linseed oil & Turpentine – I think 1/2 to 1/2. It worked and, was waterproof, non skid, and a nice warm look. Best wishes… Read more »
Hi. I am having an issue with mould growing in my clay floor. Floor has been down for 3 years, was originally sealed with the linseed oil & gum turps regime. Unfortunate one side is struggling with damp issues & mould is out of control. Any suggestions on how to get rid of it without harsh chemicals & should i reseal it?
Hi
How could a house with straw walls and clay render pass through the council approval?
Thank you
Great article, thank you! I would just love to hear a little bit more info on drying times… In the first method and the second, how long would expect to wait before being able to apply oil? Assuming we are talking about warmer months – day temperature 20C or so. Then how long do you wait between each layers of linseed oil?
Many Thanks!
Charlie
It’s going to depend on your humidity and airflow, as well as temp… from memory, we left 3-4 days between coats of linseed?
sorry, what is blue metal?
ah yes – crushed bassalt rock
We have just layed a sub-floor of builders plastic over which we put a 100 mm depth of aircrete. We wanted to use air-crete as it cures hard, is great insulation and easy and cheap to make, if you have the equipment. We want to put over this a 35 mm mud floor. I looked at both of your suggestions and decided to lean towards first option as it required less clay etc which we are digging out of our small dam. I am curious thst you stated in your blog that in hindsight, you would have done the 2nd… Read more »
Andrew a GREAT instructional book by Sukita Reay Crimmel called ‘Earthen Floors-A modern approach to an ancient practice’ is an OUTSTANDING resource for anyone considering installing an earthen floor ! Sukita is one of the top alfa earthen floor and plaster specialist, you can’t go wrong following her methods ! Good luck on your job !
Howdy! I know this was posted FOREVER ago, but we just finished the linseed/turpentine layers on our earthen floor over a week ago and the final surface is still tacky. We will eventually wax and buff the floor, but is there any way to reduce the tackiness of the final turpentine coat?
Thank you!
Sorry for the delay in replying. I’m sure it’s nice a dry by now. For others wondering, I just think it takes time, longer if it’s cool and moist where you live, quicker if it’s warm and dry.
We are soon to install an earthen floor in an earthbag house we are constructing. it’s two domes joined by a large room which has to be over two levels. The lower level will have the kitchen area in it. Do you think we should look at trying to do a different material on that level? It will get lots of footfall as it’s how you get between the bedrooms and also the front and back doors (and we have two kids and two dogs) I’m not concerned about the surface as I’ve done some research I’m happy with for… Read more »
Edwina we’ve seen homes use this technique and material in the main high-traffic areas and it’s been fine, though some folks re-seal their floors every 5 years or so… we also lived in a mudbrick house at melliodora for 3 years with a floor like this one, sealed as described, and it was very excellent in terms of how it wore over time. Bricks or flat stones at entranceway (you could also use a plank of very hard wood) are a good idea though – good luck with your build! 🙂
this is a great tutorial – thanks ! i live in tassie and am keen to do this. a couple questions – how long do the oil coats take to dry roughly? can you walk on the floor while its drying or is it a no go zone? also with sam’s method – why are there 3 layers? i don’t have that much height to play with – is it ok to make the first layer thinner?
Hi Grant, it depends a lot on the temperature and humidity. In a cool wet winter in Tassie it might take weeks AND an additional source of heat to dry each layer. Sam uses three layers to minimise the risk of cracking (the fibres) while still giving a good final surface (no fibres). Going thinner risks cracking, if i was going to try and save height it would be by making the bottom layer thinner.
awesome thanks ! and can I walk on the floor where Ike this floor while the oil is soaking ?