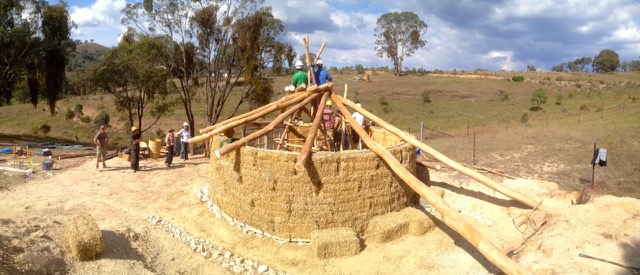
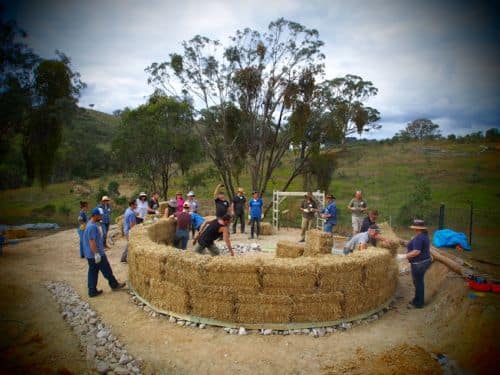
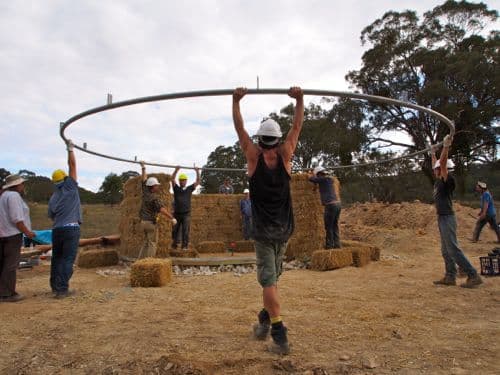
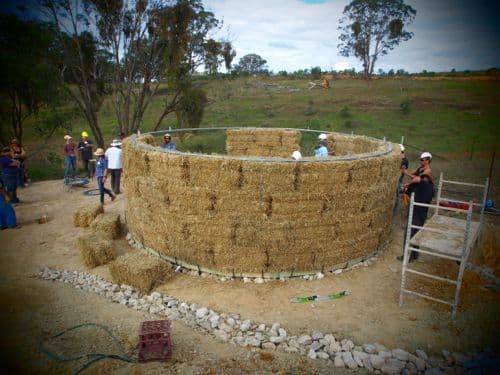
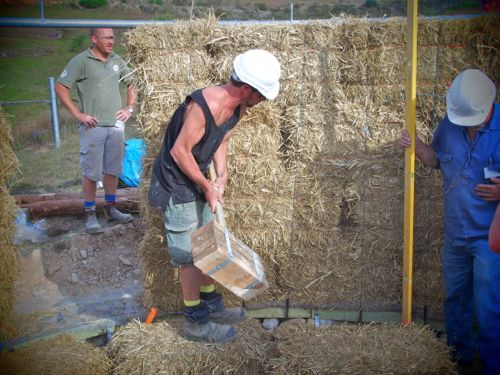
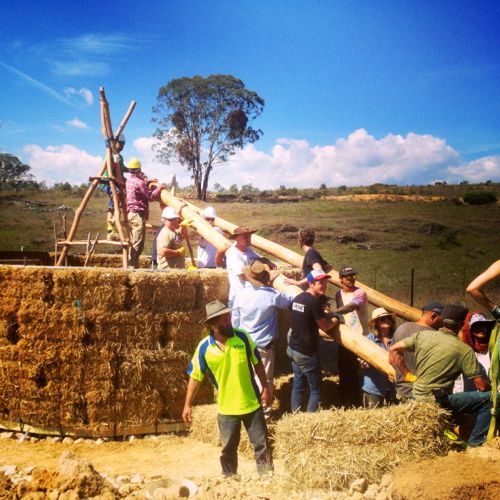
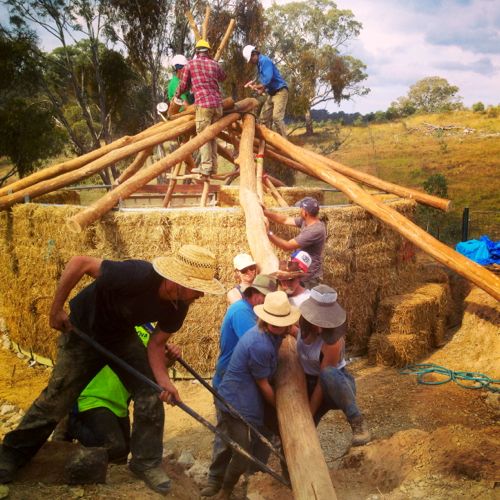
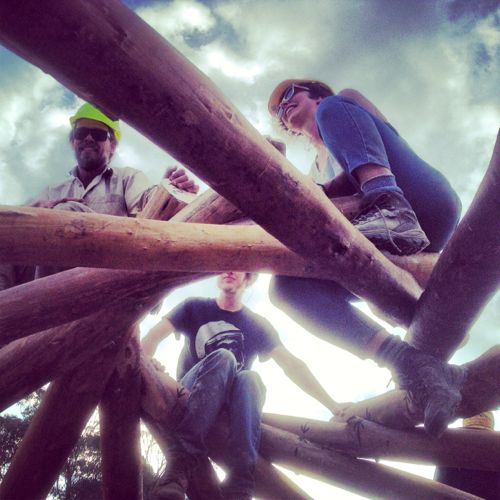
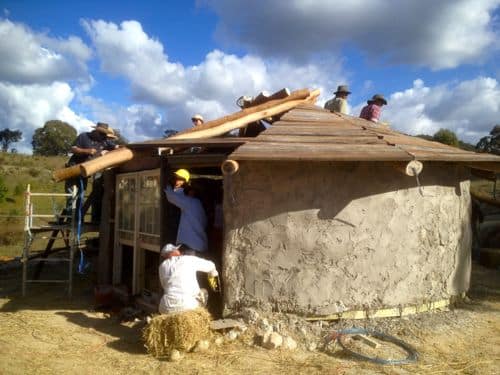
Last week we built a home. A round, load-bearing strawbale tiny house with a roundwood reciprocating living roof, to be precise. And when I say ‘built’ I suppose I mean that we got it mostly done. It was amazing to be a part of.
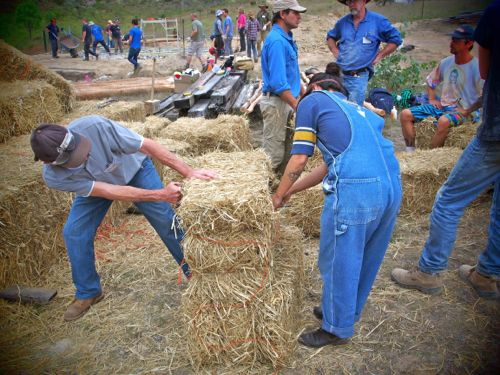
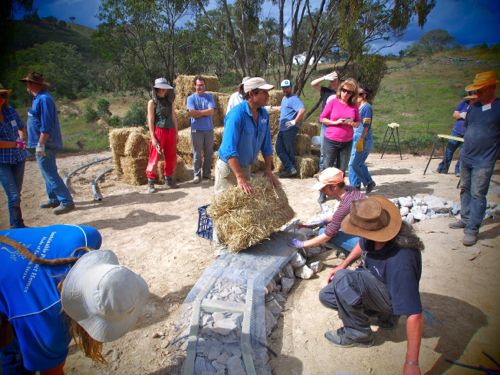
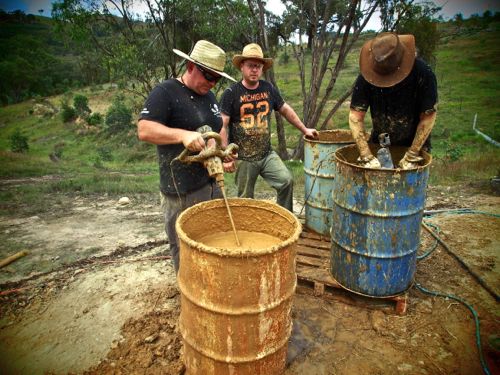
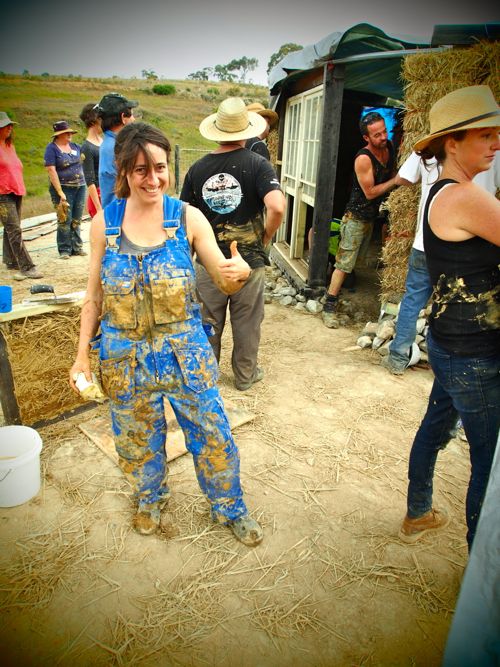
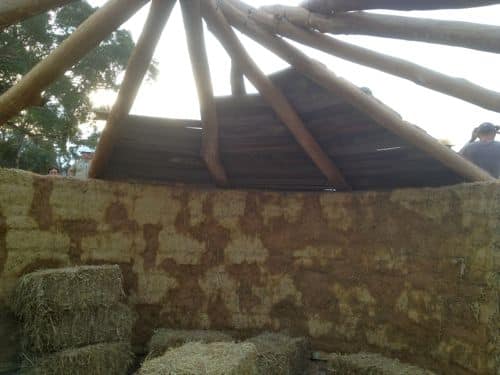
I’m going to go into the construction of this building piece by piece, but for this weekend, here’s an overview of the process from bare ground to where we got to, 4 days later…
A massive and muddy THANK YOU to Sam Vivas from Viva Eco Homes for being such an excellent teacher, and to all the crew and students who worked their proverbials off to make this build so good…
I’ll break down the process into detailed article chunks shortly. But in the meantime, isn’t it great to know that with a burst of communal effort that a natural home can rise from the earth in such a short time?
Something to chew on. With good planning and the right knowledge, amazing feats are possible. What an inspiring week it’s been…

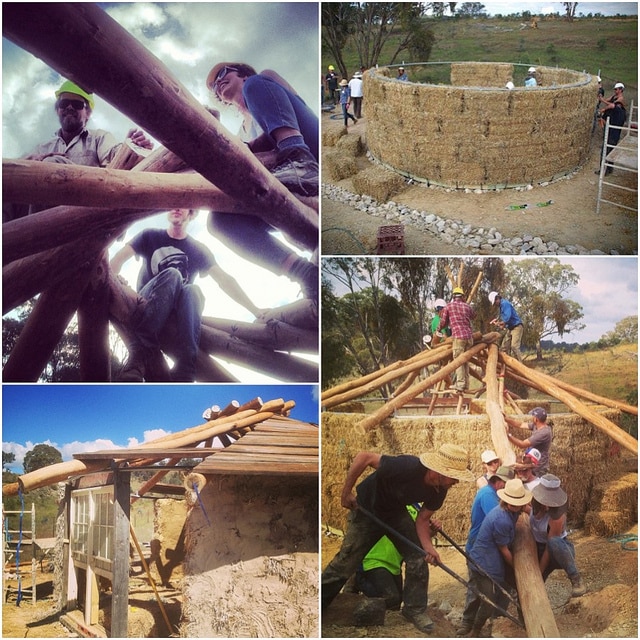
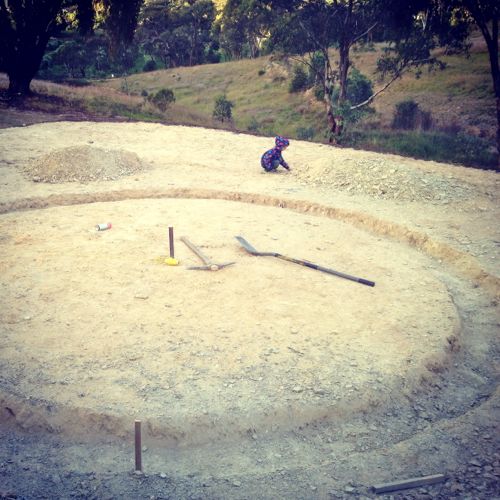
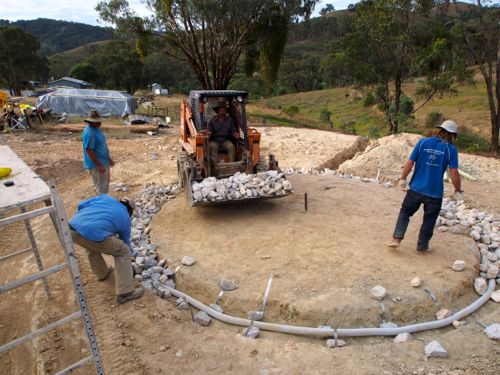

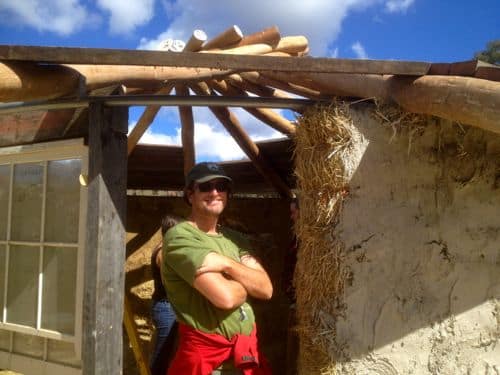




This looks superb – I’m very much looking forward to the follow-ups describing the process in more detail. Any chance of larger images on the links?
yeah, “4 days” with 20+ friends and heavy machinery.
Yep, that’s right… We ain’t claiming it was a solo effort! 🙂
$30G each… there’s a viable business in it then.
@Hooty have you ever seen how many people and machines are used to build a standard house?
what do you reckon, another 4 days?10 people working 8days… let’s call it $8000 labor cost. Materials what, maybe $15G.. and then 5G for the expert to plan and direct. $28G is a good price if you’re someone without the ability to attract volunteers yeah?
No heavy machinery that I saw Hooty. I didn’t see them sig the drainage trench though. Otherwise it was all man power and significant girl power 😉
Dig, not sig.
This is brilliant. I just think that 4 days is a tribute to how well you have done. Yes you had 20+ friends but that only happens if you have 20+ friends! We are at the start of our journey and enjoying making friends! We bought 300 Blueberries a while ago and they needed potting on and 2 friends turned up and worked with my wife and all was done quickly. In case you’re wondering I ended up in bed with flu – nearly 8 days in bed. What will the home be used for please? It looks like a… Read more »
Reblogged this on Watching paint dry and commented:
One day at Wild Woods maybe?
Just like an Amish barn-raising!
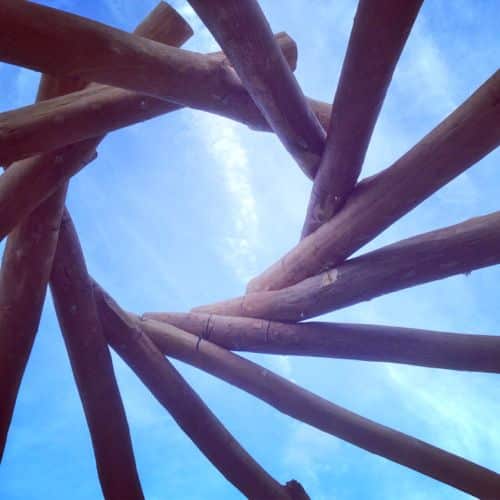
Fantastic effort! Love that roof, would be good to see more detail as I can’t picture how it comes together. Looking forward to seeing photos of the inside too – I’ve put some designs together for my strawbale place and I’m worried that it will be a bit dark inside the house. Balance as always between natural light in and unwanted heat loss/gain through the windows.
Hey Sharn – we had the same concerns about our place when we designed it, and even after it was first built it seemed a bit dark. But now it’s just gorgeous inside – we lime-washed, which made a big difference to the brightness. Don’t compromise your passive solar power for more light – just keep the windows in the north and you’ll be right.
Wonderful, I love the the entire design but mostly the way the roof beams come together and how the exterior walls are left so raw. given me some inspiring thoughts.
Wow! I think it would make a great shed. In the shade I think it would work to store dry herbs, maybe even roots?
No it is NOT allowed to raining during load-bearing strawbale construction, but sometimes it does… and you survive. I’m BUSTING to know what your ‘top plate’ is made from, and how it went with the pre-compression. Our is about a bajillion times more hefty than that one!! Yay for strawbale! Great to see some finally happening at Milkwood. But then I would say that – I’m a card-carrying strawbale evangelist…
Wow you guys are amazing!
Love this, but a good friend wondered, and I now wonder too, how does a strawbale wall look after 30 years? Anyone got images and or videos or assessment reports to share please? Does it decompose over this time period, does the plaster need redoing at some point, do bugs get in to it and eat it, and so on
Doug, there are examples in the states of 100+ year old strawbale houses that are still going strong. Most good strawbale books will have a picture of at least one of these buildings.
Doug, as ever a lot depends on your environment, and how much care you give the structure over its (or more accurately your) life. I gather in a dry climate, a proper moisture and insect barrier, with a wide verandah to keep most of the rain off, and a competent initial rendering, they’re quite low maintenance and long-lasting. Straw is fairly unpalatable to almost everything, including termites.
How do these structures hold up to harsh winters? If one layer weren’t enough for say a Chicago winter, would adding another layer of straw bale do the trick? I hope to someday own one of these, I’ve been inside one before where you couldn’t even tell the home was made from this alternative building material. My final question would be what are/is the best type of grass or shrub to make the hay bales out of? Would this even matter? Any feed back is appreciated.
Thanks @annie and @jedd; although I was wondering if there is ‘independent’ research out there done by governmental building engineers, universities, or so on (who ever comes up with building codes, etc). I don’t necessarily trust a book about strawbale houses (could be biased/conflict of interest). Yes @jedd, agreed on the maintenance factors, although I thought there would be at least one termite species (or ants) that would love to eat straw (and to live in the inherent dark place under the rendering).
Doug from our friends that have strawbale houses, they havent had any problems with termites. the strawbales are under some pretty heavy compression. Also talking to builders, they havent seen any problems so far in properly built strawbale houses – drainage and not having dampness in the walls seems to be a key factor of termite invasion, as well as proper rendering techniques… if you dont trust what the builders who stake their livelihoods on it say or write, by all means choose another building technique… there’s plenty to choose from 🙂
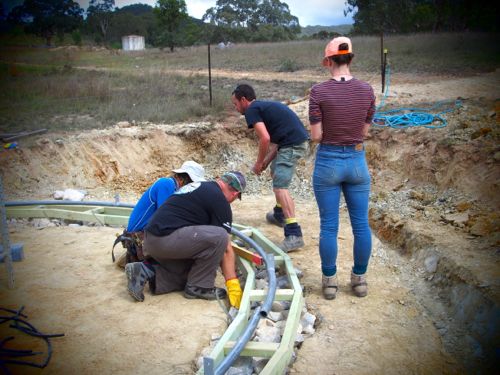
Doug – independent or government? Pick one. 🙂 Having lived in a few modern (post-1990) multi-tenant buildings, I’m less assured by building codes. If you check photos numbered -04 and -08 you’ll see the drainage and (what I assume is) the termite mesh. Very much looking forward to in-depth follow-ups with bigger pictures.
Have been interested in Haybale Houses for a longtime.The key is keeping Everything dry in the long term by good site drainage and wide actually very wide overhangs. Termites just love the dark and damp.My serious doubt is the ‘Structural Adequacy’ – the most important being tie down. This prevents the roof from being torn off in high wind. To achieve this the ring beam must be held down to the footing at the Ground Level , this has not been done.Just don’t expect me to be in it with excessive Wind speeds, you may well be picking up the… Read more »
Actually the roof ring *is* wired to the footings, with high tensile wire 🙂
At what centres are these wire ties? What is the total number of these ties? And what is it tied to in the footing – a few rocks.
One would hope the tieing is a lot better and more secure than at the roofs
Apex.
Given your jolly tone Anthony I’ll let you wait for the detailed articles of each part of the build to come out, which will thankfully answer all your Qs + provide details that this building is, infact, happily over-engineered to be quite safe. Certainly the 6 certified builders and two architects on the course all saw no problems with the techniques employed… all the best till then.
High tensile wires at 500mm centres… so that makes about 30 of them (each with at least 1000kgs of compression) going right around the top and bottom plates… the bottom plate is tied with steel strapping under the rubble trench and around the drainage line under it. Several of the massively oversized roof members extend to ground level where they are tied to concrete footings. All the roof members are bolted to the 2″ steel ring/top plate The ceiling/roof is 2″ thick hardwood… covered with scavenged 2″ thick styrofoam insulation. This is covered with a waterproof pond/tank liner, then geotextile,… Read more »
Oh and the ties at the apex are 12mm brooker rod.. and even before they were put in the structure was self supporting. The rods are not structural.. for the roof to fail multiple 150mm diametre hardwood beams would have to snap and then shear the brooker rods.
Glad to hear your concerns (and tie downs are often overlooked by home builders ) but the concensus amongst those present was that we over did it quite a bit.
Phooey to all the naysayers! Yay for you getting your amazing house built!
Very cool guys! I really love the reciprocal roof! Might have to work that into my house design!