‘Next year, we’ll build a proper greenhouse’ – how many years in a row have we said that? At least five. But at last, it’s happened.
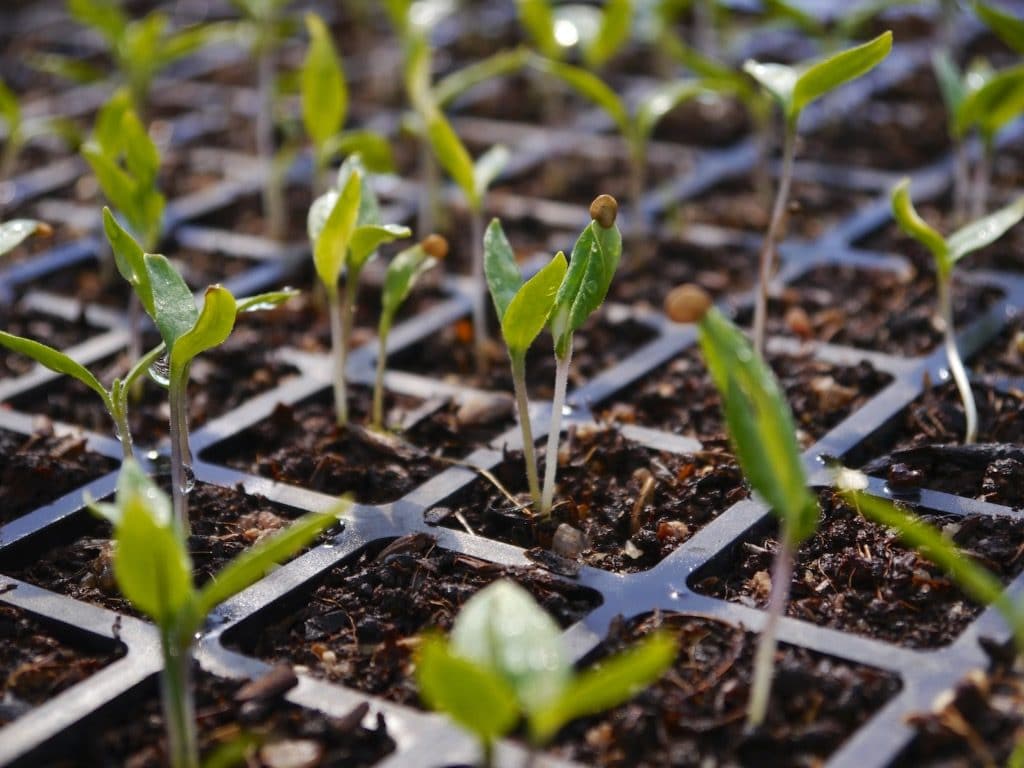
Given the frosty conditions and temperamental weather here, a happy space for our spring seedlings to germinate and grow has been a wonderful, powerful thing. No more seed raising in the loungeroom and everywhere else they will fit! Huzzah. Here’s how we did it.
The collective brief for this greenhouse was thus: keep it cheap, make it strong. So how best to make do?
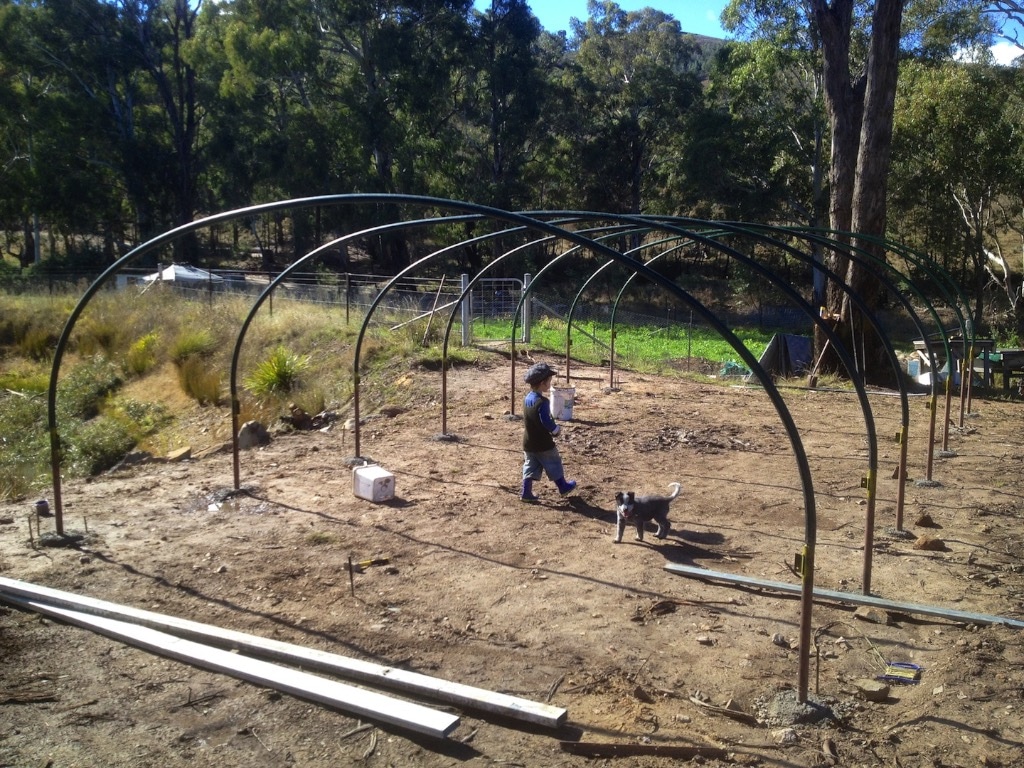
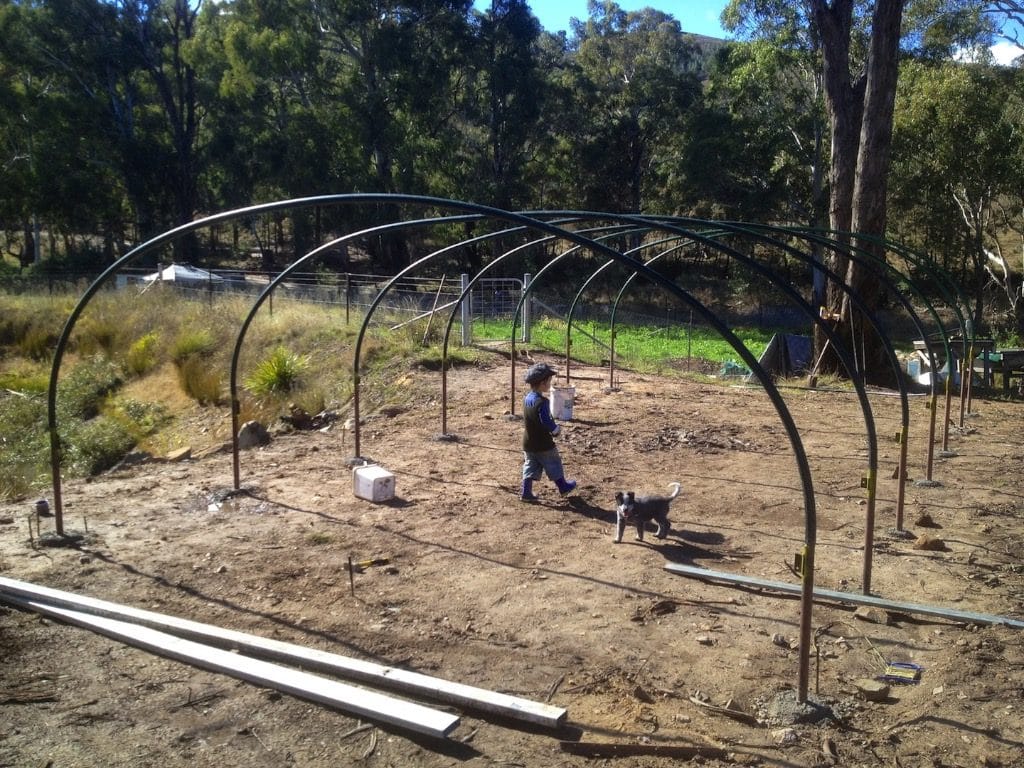
Simple polypipe loops bent over star pickets, stretch the plastic across, and hope for the best? With the windspeeds we get up here, that was unlikely to last a season.
Buy a second hand frame? Possibly, but we couldn’t find an option in the area after a few years of searching (until just after we’d built ours, as per Murphy’s Law), and all the ones we could find for sale further afield were gigantic in size.
Buy a greenhouse kit new? Er, maybe one day. But not this day. Thems kits are pricey.
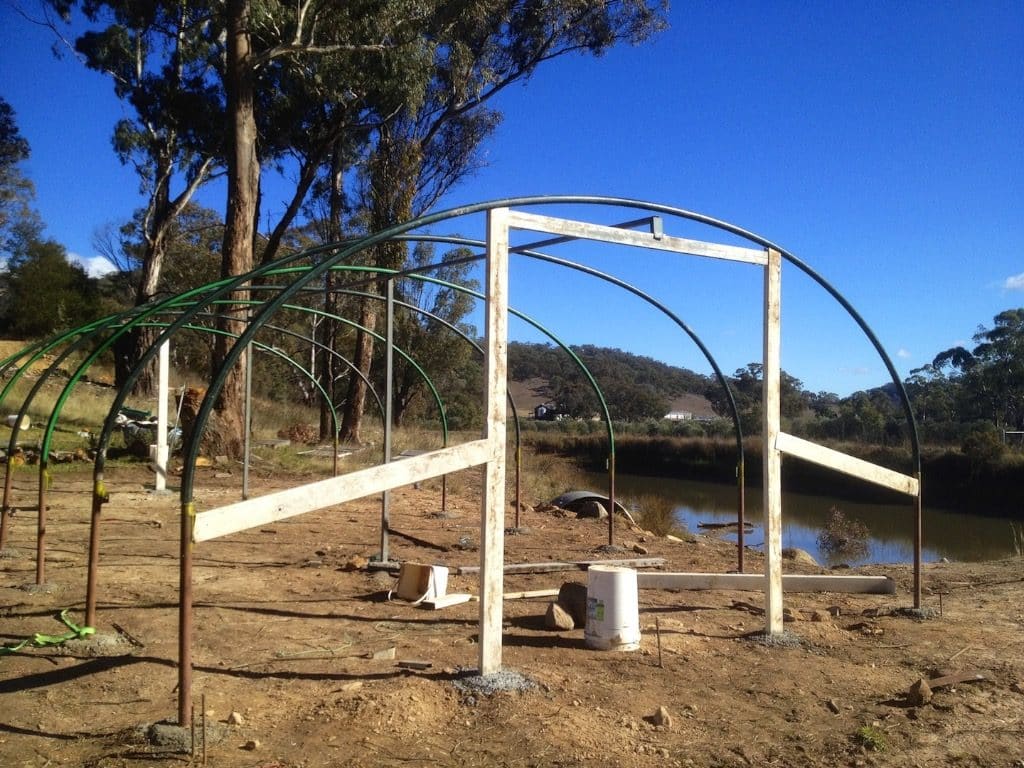
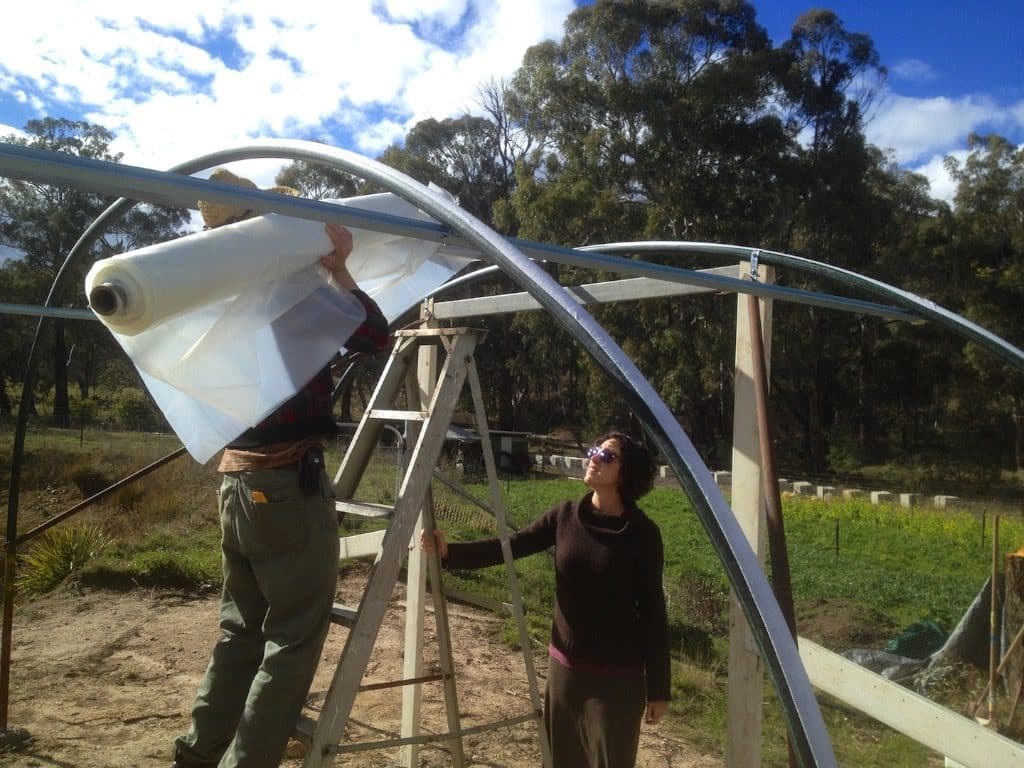
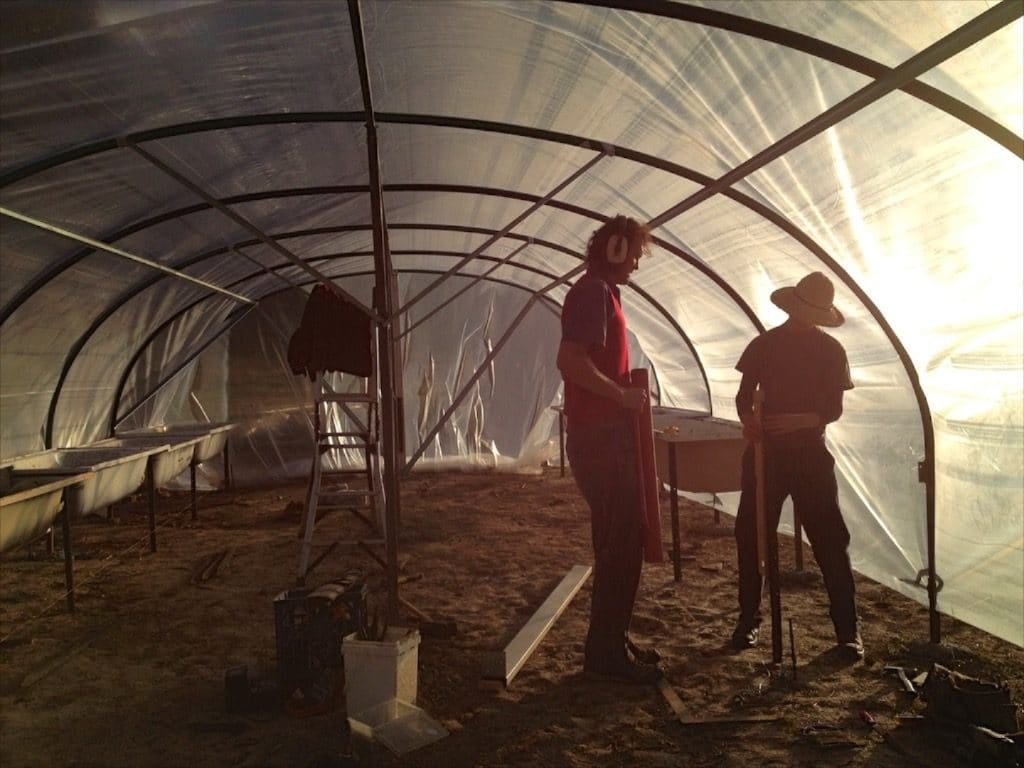
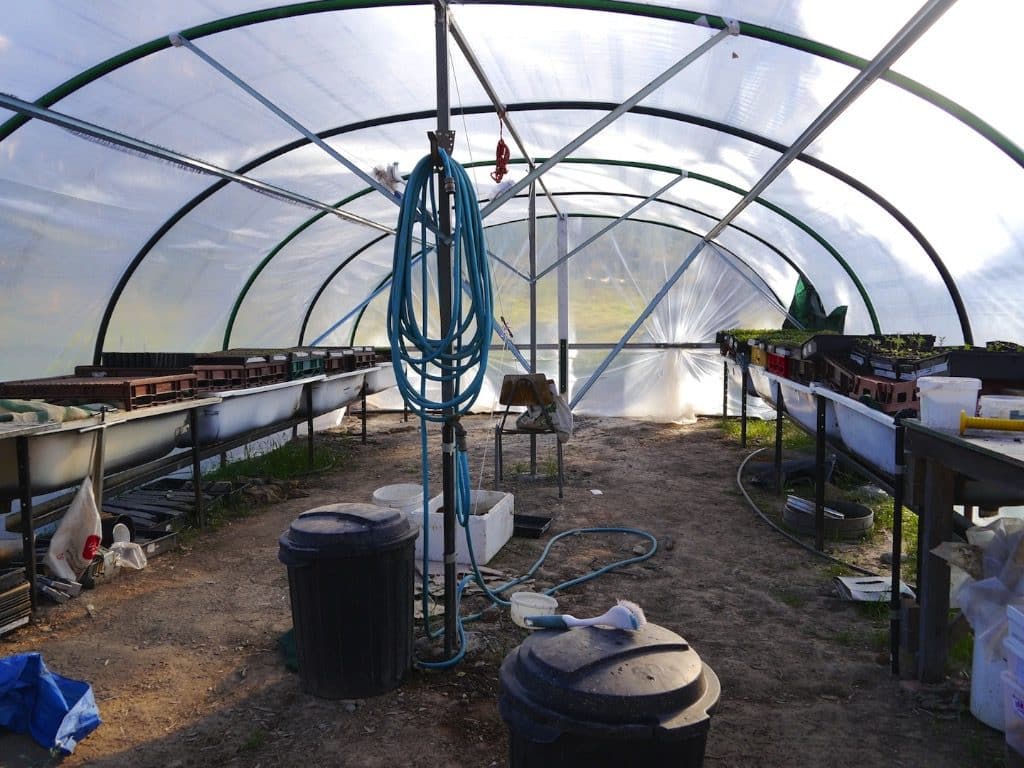
So. The answer was somewhere in between… polypipe rafters with cross bracing and welded uprights, to ensure stability and ceiling height for comfortable working. A door frame. And a proper greenhouse skin.
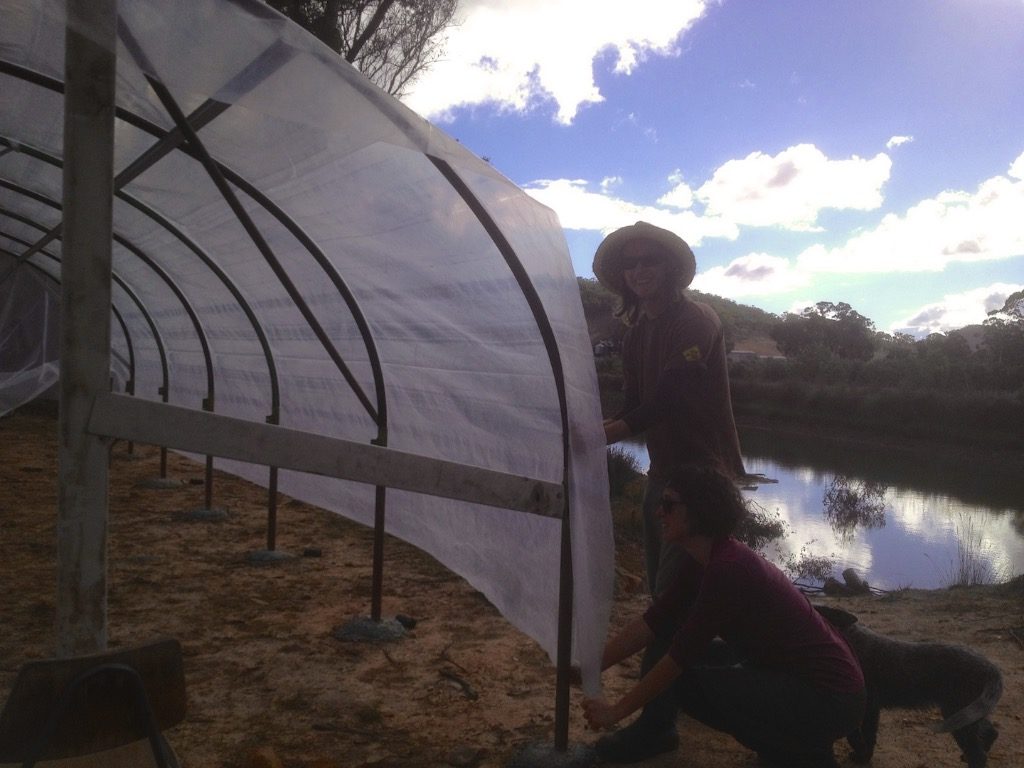
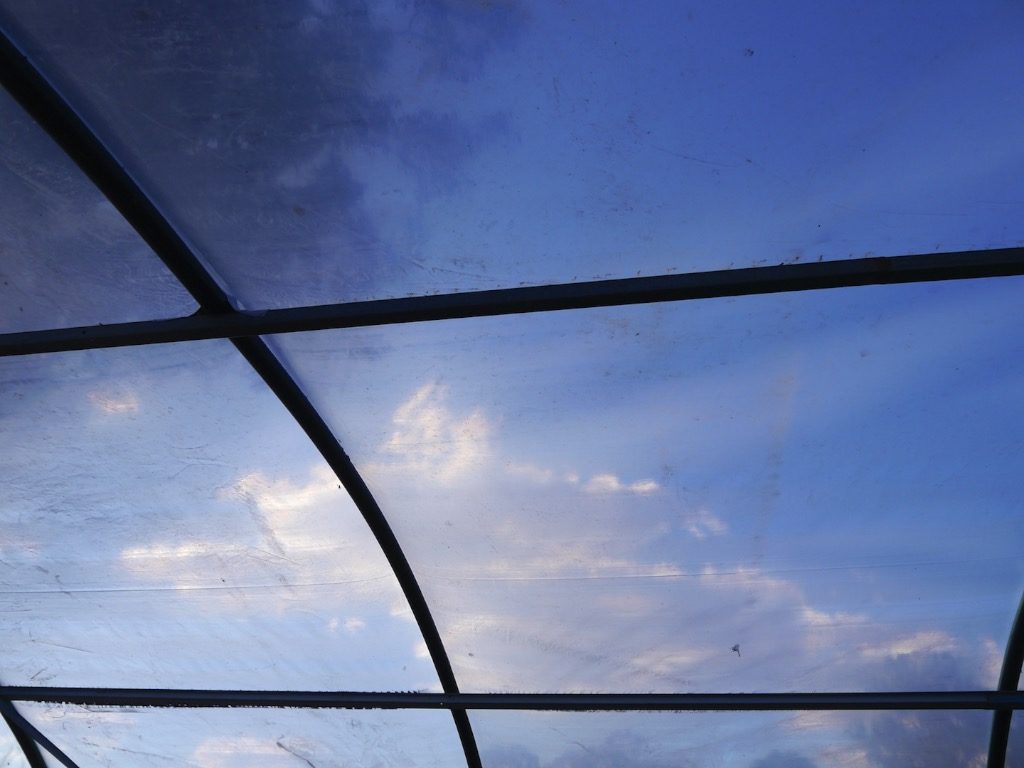
The greenhouse skin Michael sourced was a Hortiplus 180, and we’re happy with it thus far. Everything else was scrap and scrounged materials.
The greenhouse was sited above our bottom dam, to make the most of the reflected light and thermal mass of that body of water. And also because of that site is right next to the to the market garden, where everything gets planted out to…
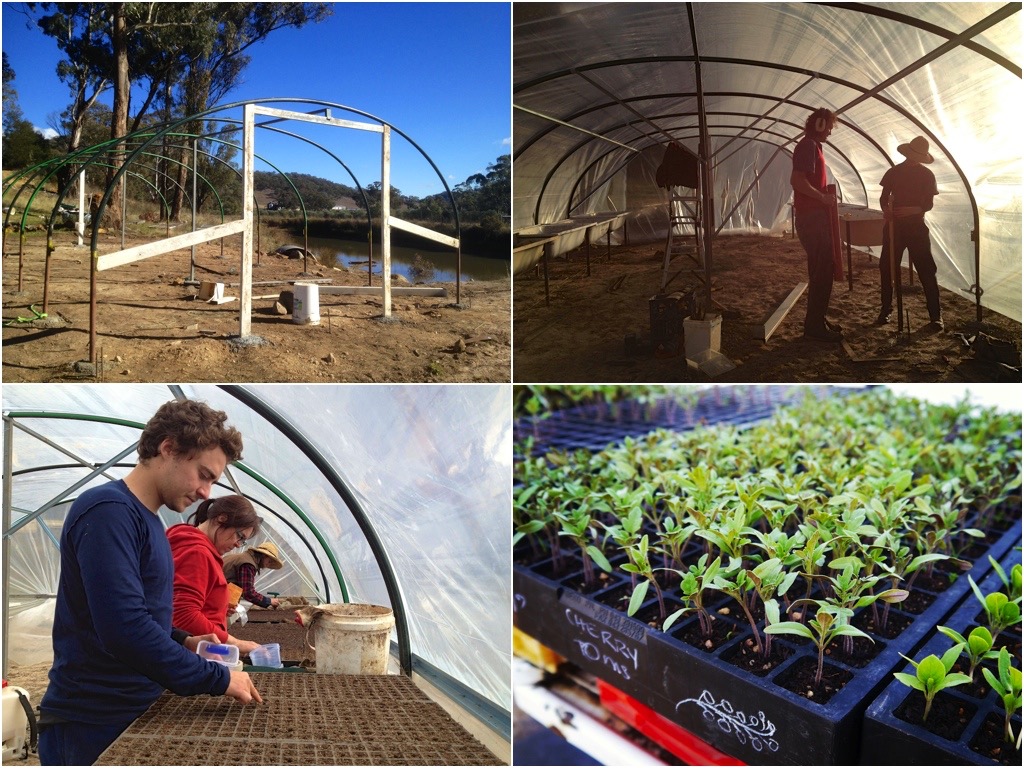
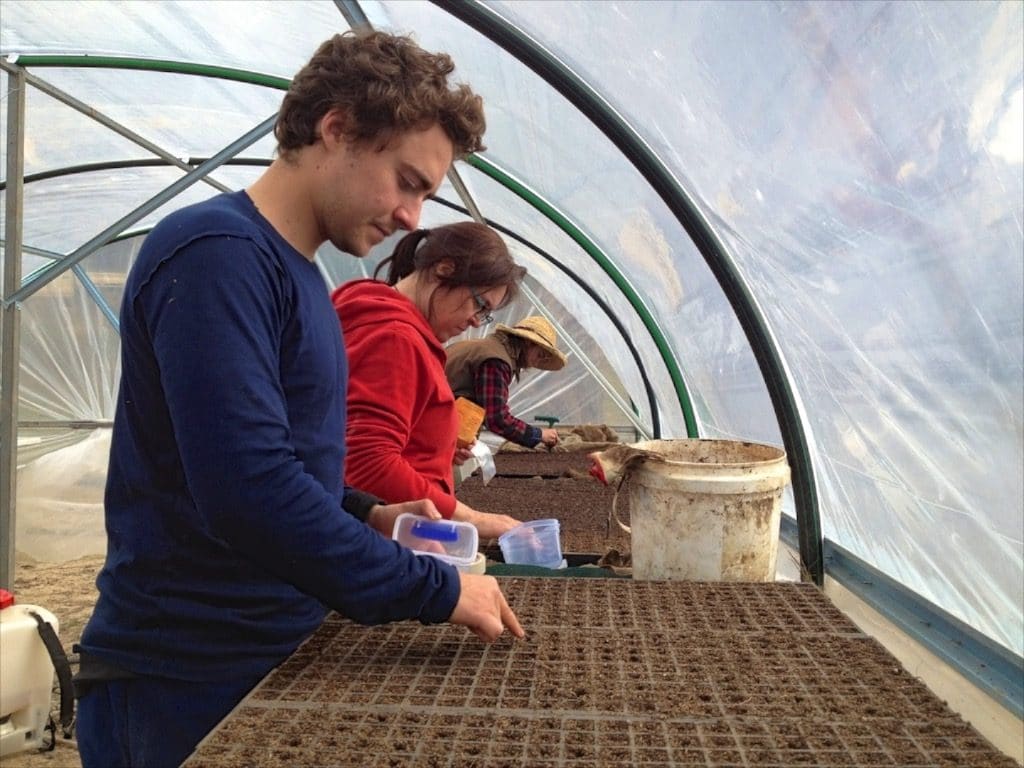
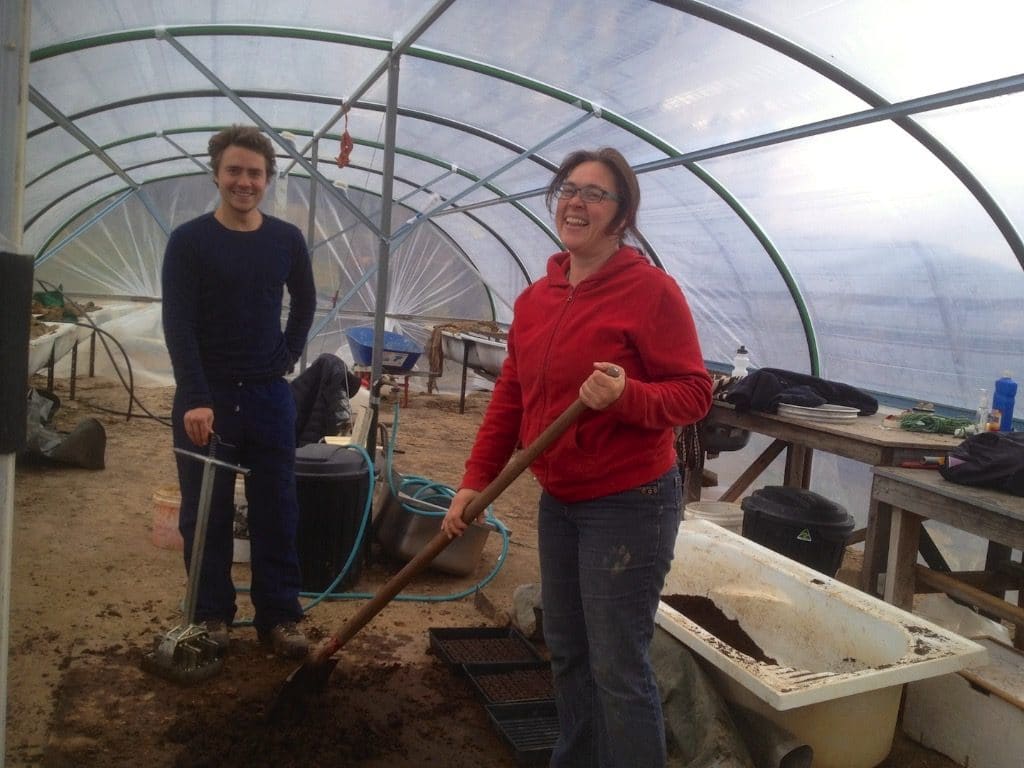
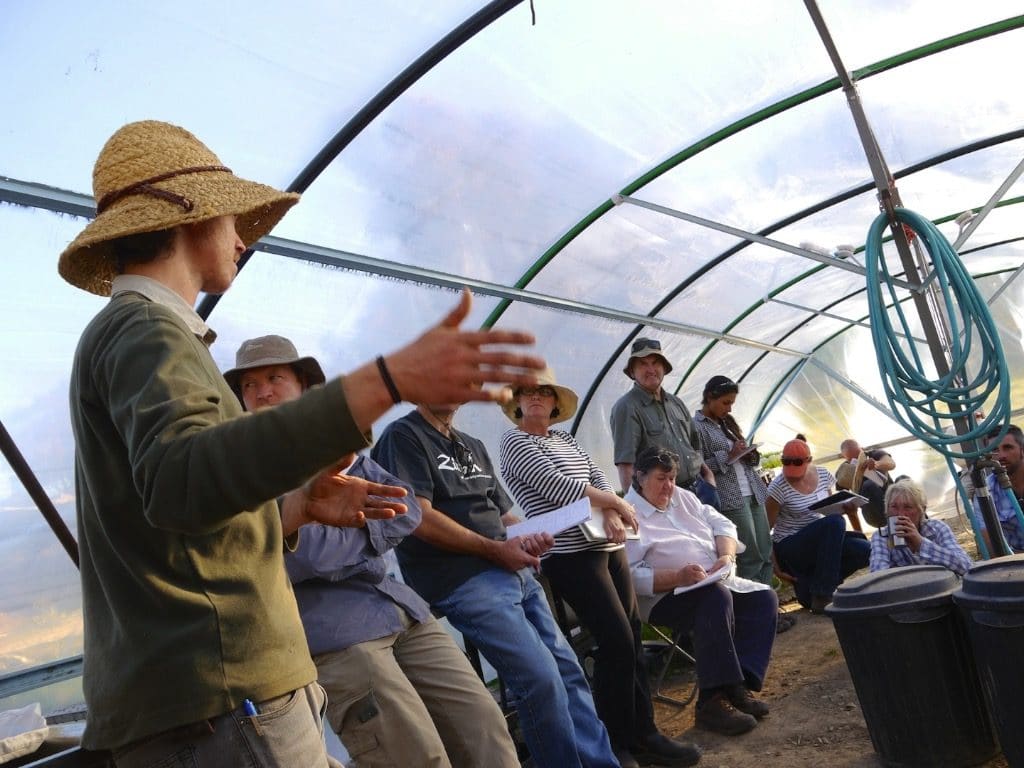
Once it was all up and happening, Michael and his fabulous intern team of Felipe + Heather got planting…
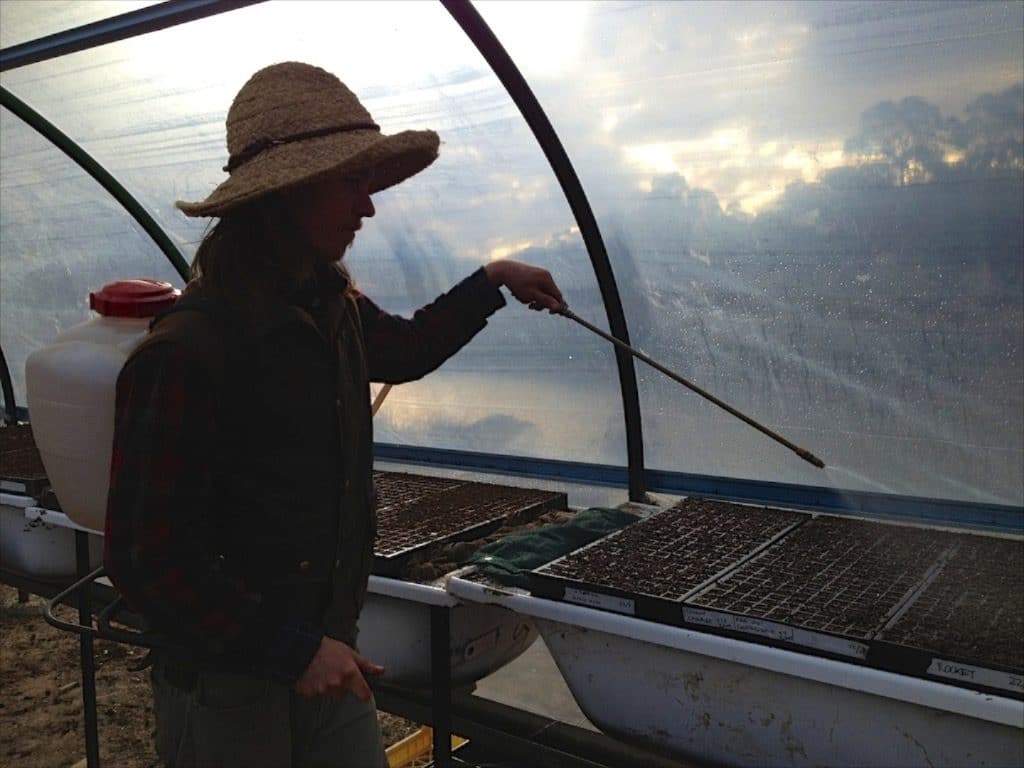
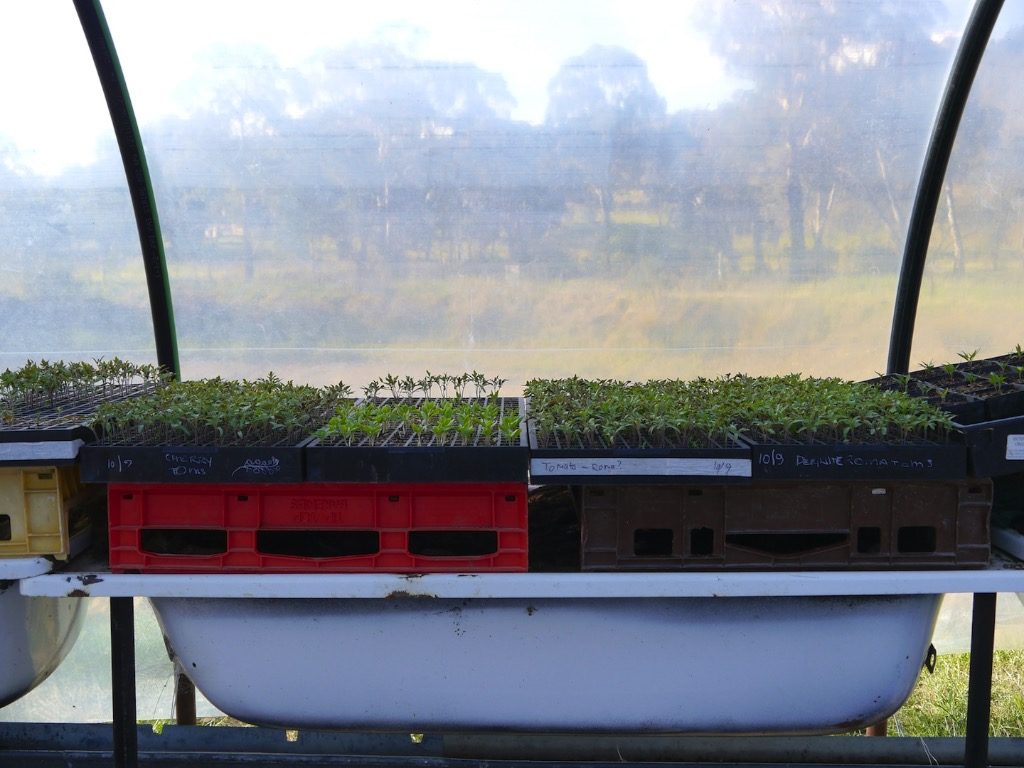
The benches in the greenhouse are all bathtub wormfarms, which provide valuable nutrients for seedlings and the greater garden.
The wormfarm benches have another benefit too – they provide thermal mass, and heat the seedling trays from below. Only slightly, but every little bit helps in our climate, especially on those frosty nights.
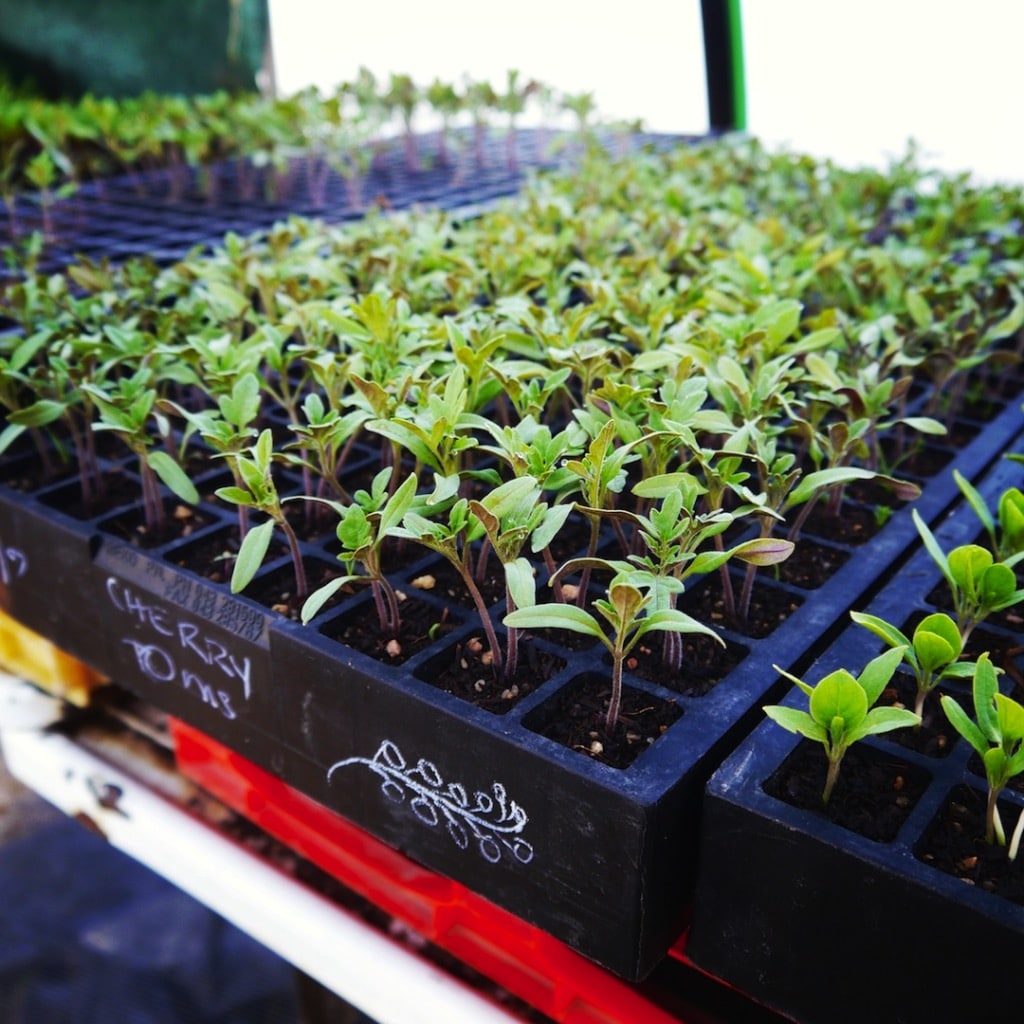
The solarium effect of the greenhouses made our lettuces and greens and onions jump out of their seedling trays before being planted out, and we’re now eating them with gusto.
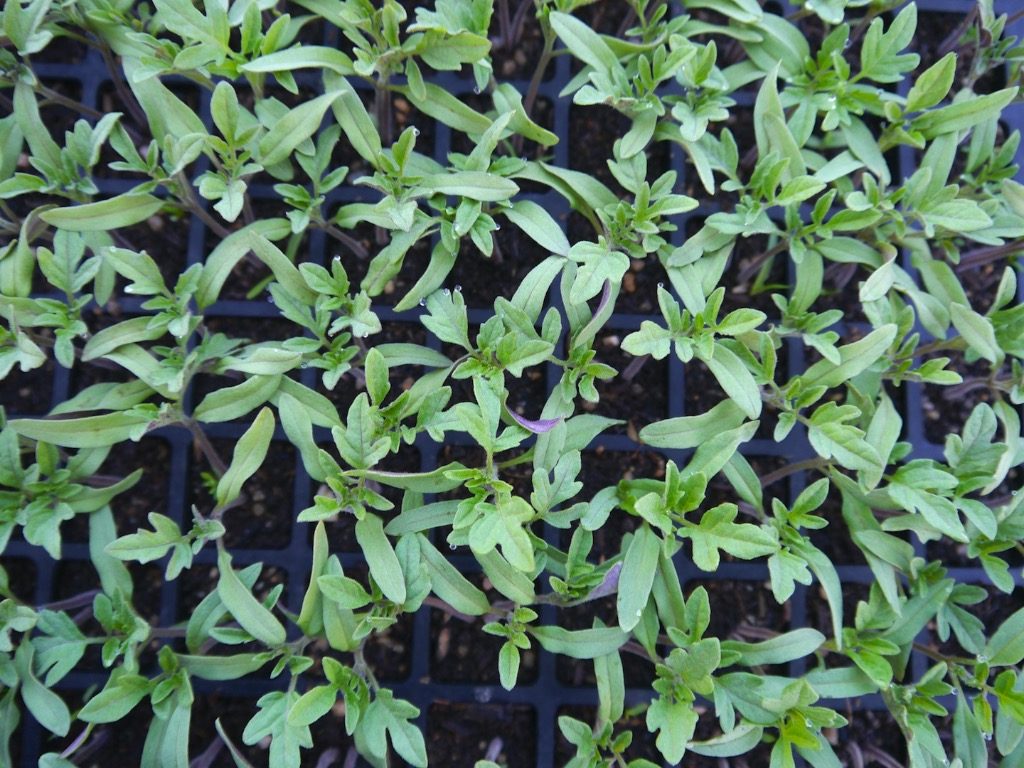
The tomatoes will all be planted out to the garden next week, once all risk of frost has passed. And then our growing season will really start to take off.
We’re pretty happy with the results of this communal effort – it’s strong and sturdy, a great space to work in, and making solar-powered food production possible, without inputs of artificial heat.
Big thanks to Michael, Talib, Shane, Felipe, Heather, Floyd, Karl and Nick for all contributing to the creation of this much needed seed raising area.












Reblogged this on disconnectedlandscapes.
Worm farms as potting benches … ingenious!!
As always, fascinating to see, but with the tiny image sizes, and not much detail, just inspires many more questions! What dimensions did you actually build, and was that influenced by plastic skin widths? How did you anchor the skin? Looks like lightweight top-hats, one either side, to brace the 1.5″ (?) poly – attached with self-tappers? Looks like the diagonal braces from center poles are sticky-taped in place? What will you use to exhaust mid-summer air – a passive or an electric system? If you were building another one this week, what would you do differently? It’s possible that… Read more »
Hey Jedd, I’ll get back to you with some answers 🙂
A couple of questions further to Jedds’s post if I may:
1. What was the tape on the outward facing surface of the poly pipes, was it some sort of double sided adhesive?
2. Were the vertical sidewalls clad where there appeared to be a gap between the plastic skin and the ground?
3. As Jedd asked about anchoring the plastic skin, what method was used to accommodate for windy conditions?
4. Was there a requirement to seal or join ends of the plastic skin and if so, what with?
Thanks in advance
Andy
Hi Milkwood, it’s a long time ago but I too would love the dimensions and details.
I wond be building a greenhouse though, rather using the same approach to build a netted veg garden to protect the produce from all of the voracious wildlife here on Gumbaynggirr Country.
Hi Hope, I’m sorry, don;t really have the dimensions anymore – as said in the post – “Simple polypipe loops bent over star pickets, stretch the plastic across, and hope for the best?” – the skin supplier is in the post also?
Nice work! Love the integrated worm farms.
by beautiful greenhouse! We know how difficult it is to build, even if we make plans! Like the model of the greenhouse and maybe we will build an equal here in Brazil.
I follow the daily blog posts. Success!
PS: sorry if the text has confused words, because I used the google translator.
Lovely! Milkwood looks like a true heaven on earth! Community effort makes it all the more rewarding.
Dan
http://www.growingfruitandveggies.com
Did you leave the bath plug open so that the worms don’t drown? Maybe with a bucket underneath to catch the worm casting goodness?
picked up another bathtub off a skip in the suburbs yesterday for my poly iteration… ipI love the way those 198 cell trays fit so nicely across the tubs.
grow milkwood!
How exciting! Particularly dazzled by your worm farm propagation benches. Genius!
Hi there, I am thinking exactly what Jedd was so can you please post the details here or do you prefer to email them?
Great work btw!!!
Cheers
Andy
Brilliant! We were going to run a “How To Build a Polyface Poly Tunnel” workshop as part of the Tazzy Permaculture skill share event here in Poatina. We couldn’t find a company that would sell us the plastic. They all sayed the design would never hold up in the Tazzy winds. One company had said (implying they were superiour builders) they have engineer specs on their structures but even still one of theirs had just recently failed in 100kmhr winds that theeir crew had build. Ours would never hold. Well… I watched Joel Salatin’s poly tunnels in 200kmhr winds (a… Read more »
It has the bones of what i am after. Thanks