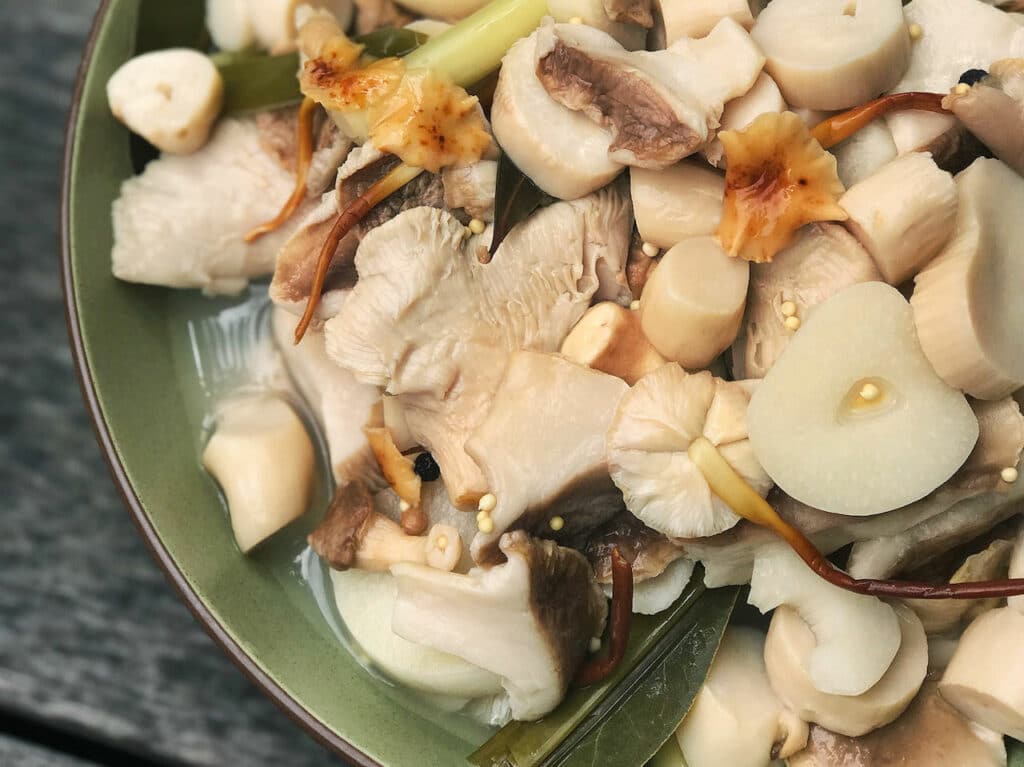
Garlicky, tangy and a bit sour – probiotic pickled mushrooms are so delish!
Here’s two easy recipes to make them at home, using the basic biological pickling method of lacto-fermentation, which relies on little more than salt, water and time.
These pickled mushrooms make great bruschetta with butter and herbs, or you can serve them as a side dish with just about anything…
Btw, this recipe is one of many we share inside our deeply excellent online Home Mushroom Cultivation course. Because, when you cultivate your own mushrooms, you’ll often end up with a bumper harvest. Which creates a wonderful opportunity to try new recipes for preserving your mushrooms, so they last for many months to come.
There is a long tradition of pickling mushrooms, which comes to us from cultures in Poland, Russia and Northern Asia – and there are many ways to pickle a mushroom.
A classic preservation method for foraged mushrooms was simply layering mushrooms with salt in a barrel. The salt extracts the water in the mushrooms, and creates a sort of self-brining pickle.
Using lacto-fermentation to preserve mushrooms for longer
The recipes below focus on lacto-fermentation – used as a super-easy and nutritious pickling method for classics across the globe, such as sauerkraut, kimchi, and dill pickles, to name but a few.
Lacto-ferments require only vegetables (or fungi), salt and filtered water. Don’t be fooled by the name, you don’t need to include lactose or dairy, it’s named after the lactobacillus bacteria, a microscopic, probiotic bacteria that’s great for your gut – and is naturally found hanging out on the surface of most veggies and fungi.
Lacto-ferments are a bit magic – and it’s all about the amount of salt we use. Too little salt, and a whole bunch of moulds and bacteria, including the ones we don’t want to eat, will crash the party. Too much salt and we kill everything, including the good guys.
If you get the salty brine just right, the harmful bacteria can’t survive, but the gut-friendly lactobacillus thrives. It gets busy eating the sugars in the mushrooms and producing lactic acid – which not only preserves your mushrooms, but it also creates that classic salty-sour flavour that tastes so good.
Alrighty, let’s learn how to do it…
Salted mushroom pickle recipe
Ingredients:
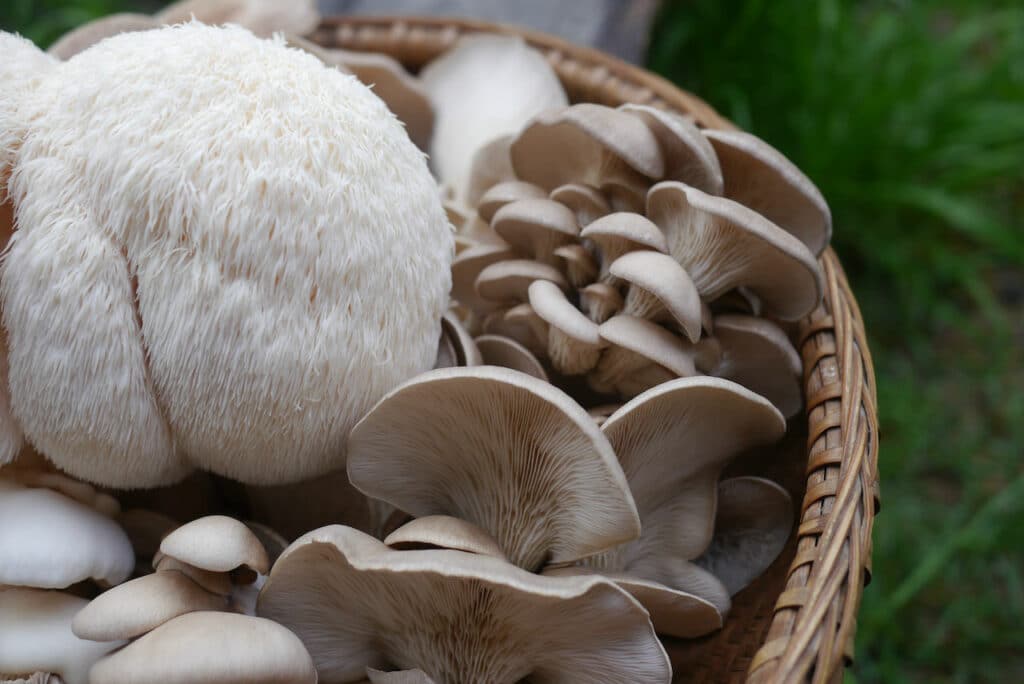
- Edible mushrooms – either wild or home cultivated. Shiitake, oyster or saffron milk cap mushrooms work particularly well.
- Water – use filtered or rainwater if you can.
- Salt – good-quality, non-iodised.
- LOTS of fresh garlic.
- Fresh, tannin-rich leaves – for example: grape, cherry, oak or even some green tea.
- Spices – such as dill, fennel, coriander and pepper.
- Big cabbage leaves.
Method:
- Bring a large pot of water to the boil. Also, fill up the kettle and turn it on.
- Use the boiled kettle water to mix up a 4% brine solution – for every 2 cups of water, add 1 tbsp salt. Stir ’til dissolved, set aside to cool.
- Slice mushrooms into 1cm strips then blanch them, an important step for food safety. Turn the boiling pot of water off, add mushrooms, wait 2mins, drain, set aside to cool.
- Take a large, clean jar, place the tannin-rich leaves, spices and garlic in the bottom.
- Weigh the cooled mushrooms. Work out 4% of their weight in salt. Eg: if you have 1 kg of mushrooms, you need 40g of salt. Mix together.
- Add the salted mushrooms to the jar and cover them with the brine solution. Squash cabbage leaves into the top, to help hold the mushrooms below the brine. Lightly screw the lid on.
- Leave the jar at room temp for 7-10 days, with a plate underneath to catch any dribbles. Every day, jiggle the jar and ensure the mushrooms are still submerged in the brine.
- After a week, taste your mushrooms – they should be tangy and a bit sour – and VERY salty. If not, leave them for another day or so – maybe longer in a cool climate.
- When the mushrooms taste good, refrigerate, and use in recipes – rinse firth though, to get rid of the excess salt. Then eat with gusto. You’ve just made seriously delicious probiotic mushrooms.
Now, just like growing mushrooms, fermenting mushrooms will be impacted by the climate where you live.
The secret is to keep a close eye on them. You’ll learn after a few goes what works best for your particular climate and home: If you live somewhere very warm, maybe you’re best off putting your jar of pickled mushrooms into the fridge door after a week to slow it down. Or maybe, if your place is cold, it will take longer, and you’ll find your ferments work best on top of the fridge near the back where they can get some of the warmth.
When the pickled mushrooms taste good, tightly seal the jar and place somewhere cool (probably your fridge, unless you happen to have a cool cellar) and eat with gusto. They should last for months – if you can stop yourself from gobbling them all up immediately, that is.

Brined mushroom pickle recipe
So for this recipe, you’re going for a simpler, quicker lacto-ferment – a bit like dill pickles, but with mushrooms. This recipe is highly delicious, and quick – it’s ready in a week.
Basically, you’re going to blanch your fresh mushrooms, then pickle them in a 3% brine for about a week – after which you can eat them, or store in refrigerator for a few weeks.
You will need
- Fresh edible mushrooms – we usually use oysters for this recipe, but sliced shiitake, enokitake and the more ‘delicate’ mushrooms all work well.
- A jar that will fit all your mushrooms – note that your mushrooms will shrink once they’re blanched.
- Pure salt – sea salt or rock salt, without any additives
- Filtered water
- Spices and flavours – garlic cloves, peppercorns, un-cut chives, whatever you like
Method
- Take your mushrooms, and look over them to ensure they’re clean and great. For large mushrooms (shiitakes etc), slice them up a bit
- Bring a pot of water to a rolling boil, and add your mushrooms – let boil for 2 minutes.
- Drain your mushrooms and leave to cool – while they’re cooling, make your brine
- Make up a 3% salt brine – so 30g of salt to 1000ml (one litre) of water. You can add a little boiling water to the salt to help dissolve it, then add the rest of the water cold. Stir until all salt is dissolved.
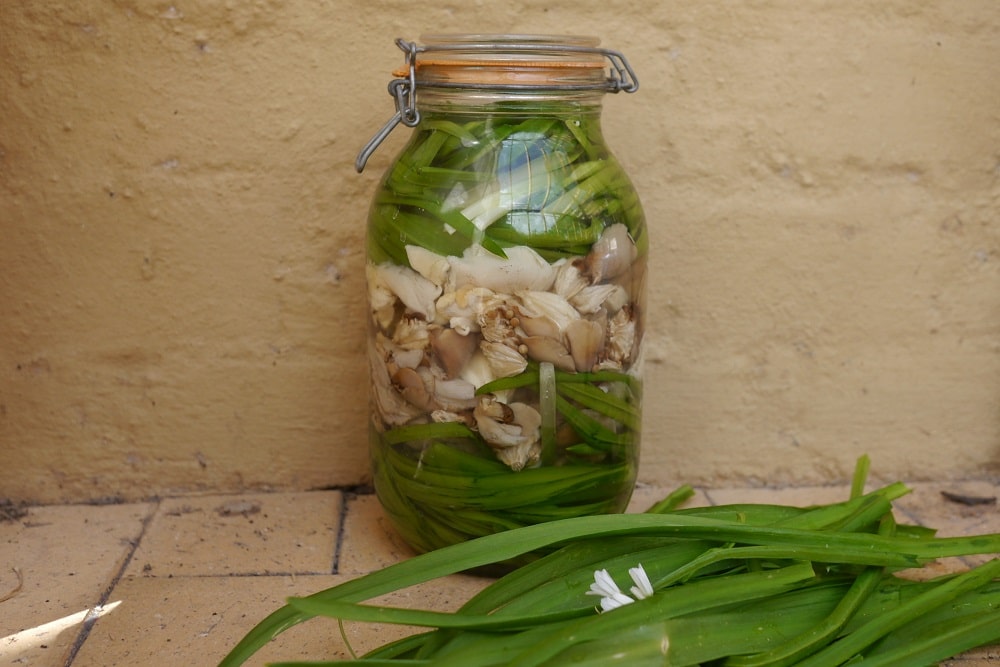
- Grab your jar, and put some delicious spices in it – a head of garlic cut crossways, some peppercorns, whatever you think will go well. We often make a ‘bed’ of herbs like chives (or three cornered leek, as you can see in the photo above) to put the mushrooms on.
- Take a handful of your mushrooms, squeeze to release the water, and pack them into the jar – continue until they’re all in there.
- Cover your mushrooms with something, to keep them under the brine. You could use more herbs, a cabbage leaf, vine leaves, black currant leaves, or fermenting weights.
- Once everything is in the jar, pour in your 3% brine – right up to the top of the jar.
- Lid lightly, add a plate under the jar, and leave on your kitchen bench to ferment for 4-7 days, depending on your room temperature – it may bubble over slightly as it ferments, hence the plate underneath.
- Taste your mushrooms – when they’re slightly sour and all-round delicious, halt the ferment by placing your jar in your fridge
- Eat your lacto-fermented mushrooms in salads, in dumplings, with bread and cheese, as part of a rice bowl type situation, or however you like them.
More mushroomy resources
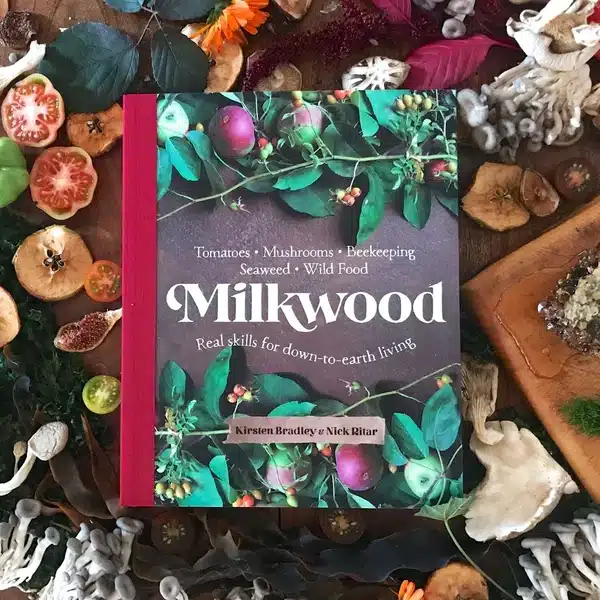
- Our book – Milkwood: Real Skills for Down-to-Earth Living includes an entire Mushrooms Chapter, with loads of information on how to grow your own at home, and plenty of recipes too.
- Our online Mushroom Cultivation courses – there’s a free, get-you-started Mushrooms Mini-course, and the full Home Mushroom Cultivation – an excellent way to gain the skills to grow edible & medicinal mushrooms aplenty – on logs, in buckets, in gardens and more.
- How To Pickle & Lacto-ferment Veggies – a handy video and recipe guide, for if you’d like to branch out beyond fungi and have a go at pickling veggies too.
- And here’s all our past articles on all things mushrooms.





I’ve found a kilogram of horse mushrooms today! Do you think these will pickle well?
eep this reply is a bit late for that batch (sorry) but yep, they should?
I’m very keen to try these recipes. If I can preserve my oyster mushies like this it will be a real boon.
Adrian
let us know how you go? So many amazing options 🙂