

A mushroom garden is a low cost, DIY way to increase the diversity of your home-grown produce, as well as your overall resilience. It’s also surprisingly simple to do, once you understand the basics of how and why.
Recently Nick was over in the US doing some training with Paul Stamets at Fungi Perfecti, and one of the many techniques they covered in the the myco-remidation training was making simple mushroom gardens with king stropharia mushrooms…

King Stropharia growing in woodchip in Stamets’ forest. Not a bad little meal there.
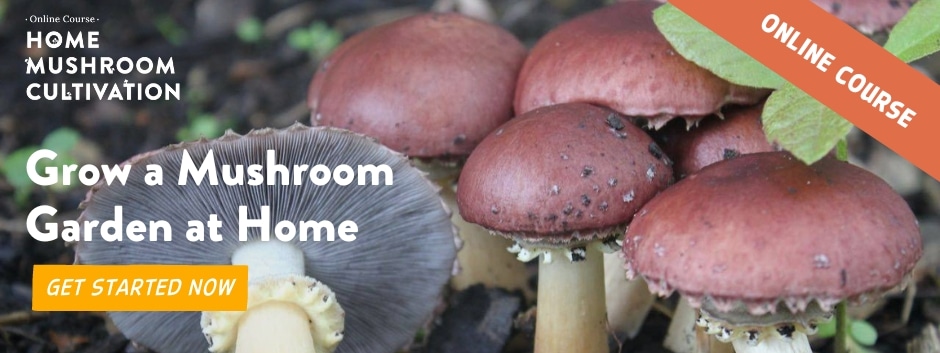
Stropharia rugosoannulata are known as King Stropharia, Wine cap mushrooms or Garden Giants. They are a tasty addition to any garden and grow up to 30cm across.
King Stropharia are native to the Northern Hemisphere but are a hardy fungi that will do well with the right growing conditions, which is mainly woodchips, with partial shade. A simple mushroom garden is a great way to grow them.

Step 1: dig your hole in a shady place: A shallow semi-circle is dug around the base of a tree (in this case an alder) to provide the fungi with shade, and some scrap cardboard is laid down.

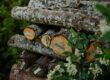
Step 2: add your woodchips. These woodchips had been soaking (and therefore fermenting) in the barrel in this pic for a week prior to draining for use in this garden.
Soaking the woodchips in this was is a lo-fi way of semi sterilizing them: all the aerobic spores/bacteria die off during the soak, and the anaerobic spores/bacteria die off once the woodchips are drained. It’s not perfect, but it’s quick and it’s simple and it works.
As with cultivating any mushrooms, you are trying to provide your chosen mycelium with a neutral substrate (in this case the woodchips), so the mycelium can feed on said substrate and grow you many mushrooms without having to compete for supremacy with whatever spores or fungi might already be in residence.


Step 3: take your bag of spawn (in this case King Stropharia grown on sawdust) and break it up, ready for application.

Step 4: sprinkle that spawn good. All over your woodchips. Many mushrooms will you grow.

Step 5: top with more semi-sterilized woodchips. And that’s your mushroom garden done. You can water it occasionally if the weather is dry, or let it fend for itself, if you’re trying to cultivate the most resilient strain for your location possible.

Step 6: in due course, the woodchips will be fully colonised and one morning after rain, you’ll be able to harvest the first of your delicious mushrooms. And eat them with herbs and butter and lemon. Or whatever else you like with them.
The actual timing after setup that this harvest occurs will depend on your site, the garden’s aspect, relative humidity, soil temperature, rainfall and a heap of other factors. So dont watch it like a kettle, go and make another 10 mushroom gardens while you wait.
Once you get the hang of this technique, you can make your mushroom gardens here, there and everywhere.
Some will produce faster than others. Some might not work. Some will be amazing. It’s a great way to enhance your garden’s overall offerings while introducing a touch of mystery and drama into your planting plans…
If you’d like to learn comprehensive mushroom cultivation, we run online Mushroom Cultivation Courses for students around the world.
See here for a list of mushroom grain spawn suppliers, including our recommendations.
>> More posts about Mushroom Cultivation at Milkwood.net
Big thanks to the crew at Fungi Perfecti for being world-class legends and for continuing to innovate in mushroom cultivation techniques of all types and at all scales. With these folks around, Mushrooms might just infact save the world.