Soil blocks are a nifty technique for starting seedlings in a ‘pot-less’ way. They’re DIY home-pressed blocks of soil with a seed inside, and their construction is just sturdy enough to stay together until you plant them out into your garden once the seedling is growing strongly.
The idea behind soil blocks is primarily to reduce transplant shock, which can occur when you take your itty-bitty seedling out of it’s pot and plant it in your garden bed. With a soil block, the idea is that your seedling doesn’t even notice. There’s still a few tricks to it however…
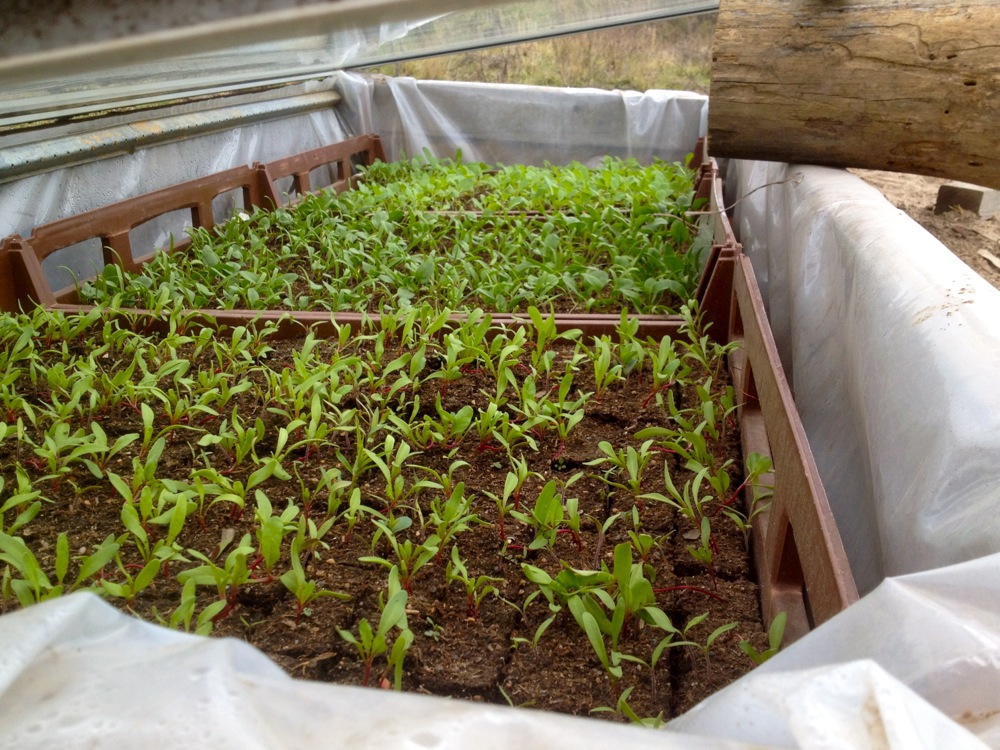
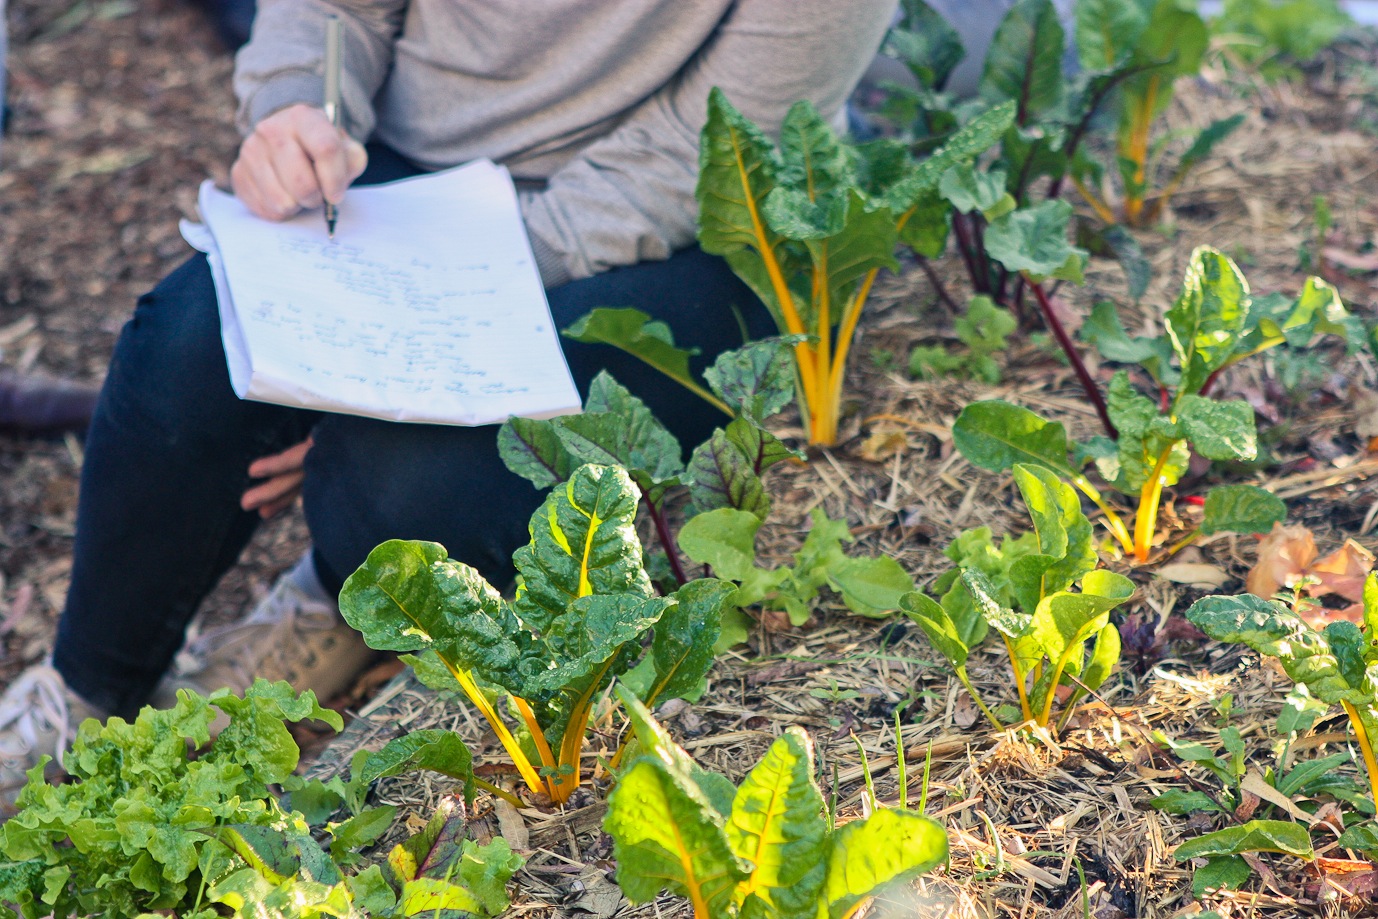
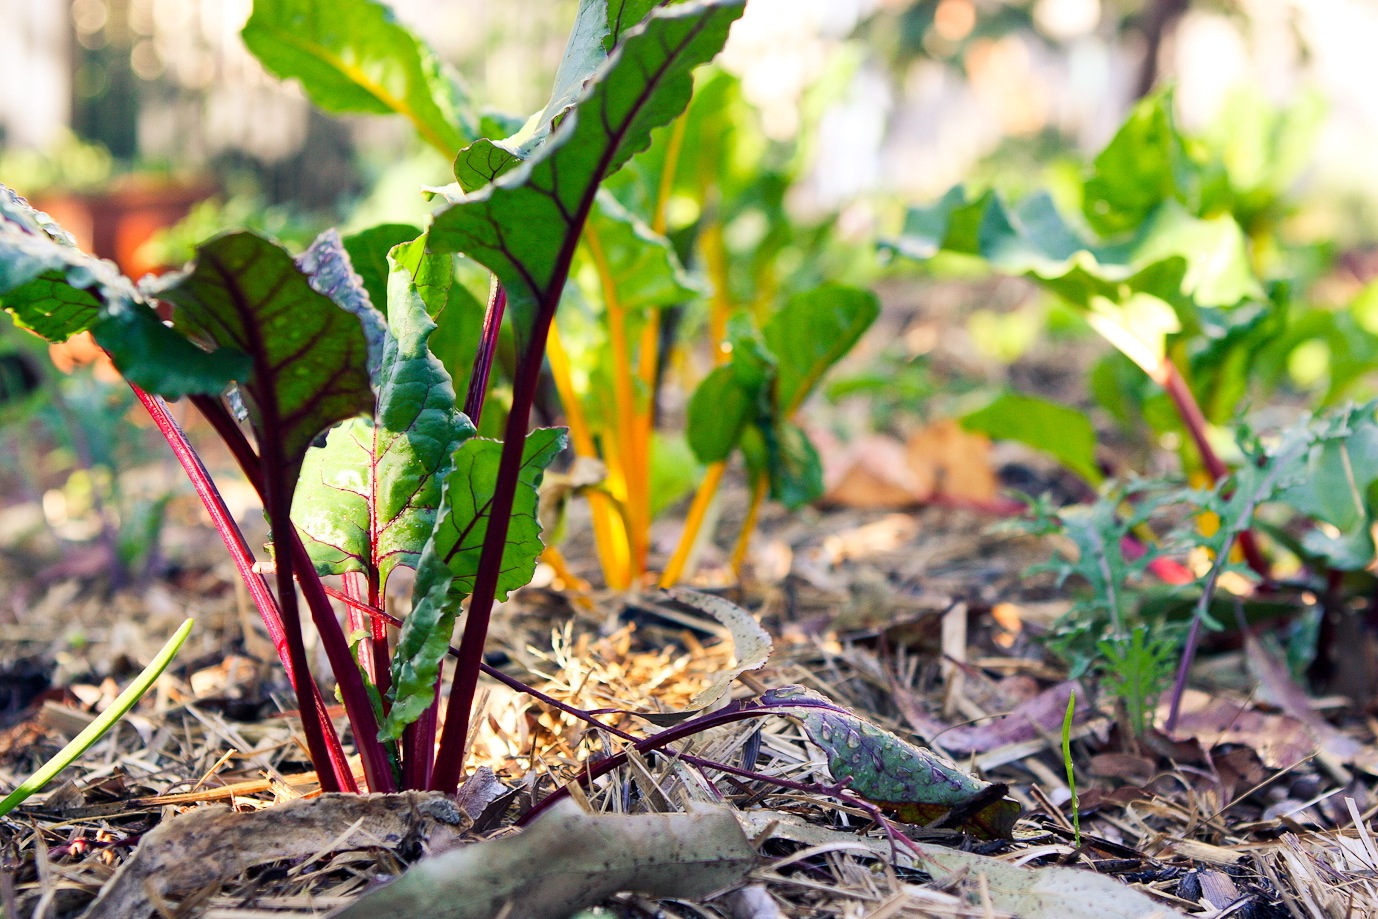
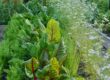
Soil-blocked ruby chard seedlings, hardening off in cold-frames before being planted out in Spring at Milkwood farm
Technically, you could soil block anything you wanted to. After all, it’s a seed, in a bunch of soil. That’s pretty standard for how we all grow veggies. But that said, some things go better planted straight into your garden bed, and some do better in soil blocks. It’s all about what that seed needs…
Veggies that love starting in soil blocks include:
- Chards, silverbeet, spinach, kale
- Tomatoes
- Capsicums / peppers
- Eggplant
- Lettuces of all types
- Corn
Soil blocks are best used for veggies that have especially fine, delicate roots, and which need extra care in their first stages of growth.
Veggies that you should just plant straight in the garden bed include:
- Beans
- Peas
- Carrots (and other things that will need a lot of thinning)
Some seeds, like beans, are big, strong things that quickly put down large-ish roots which (while still darling and delicate) just want to get on with growing in the soil.
And seeds like carrots need to be thinned further down the track anyway, so you don’t plant individual seeds as such, more like a line of them in a furrow.
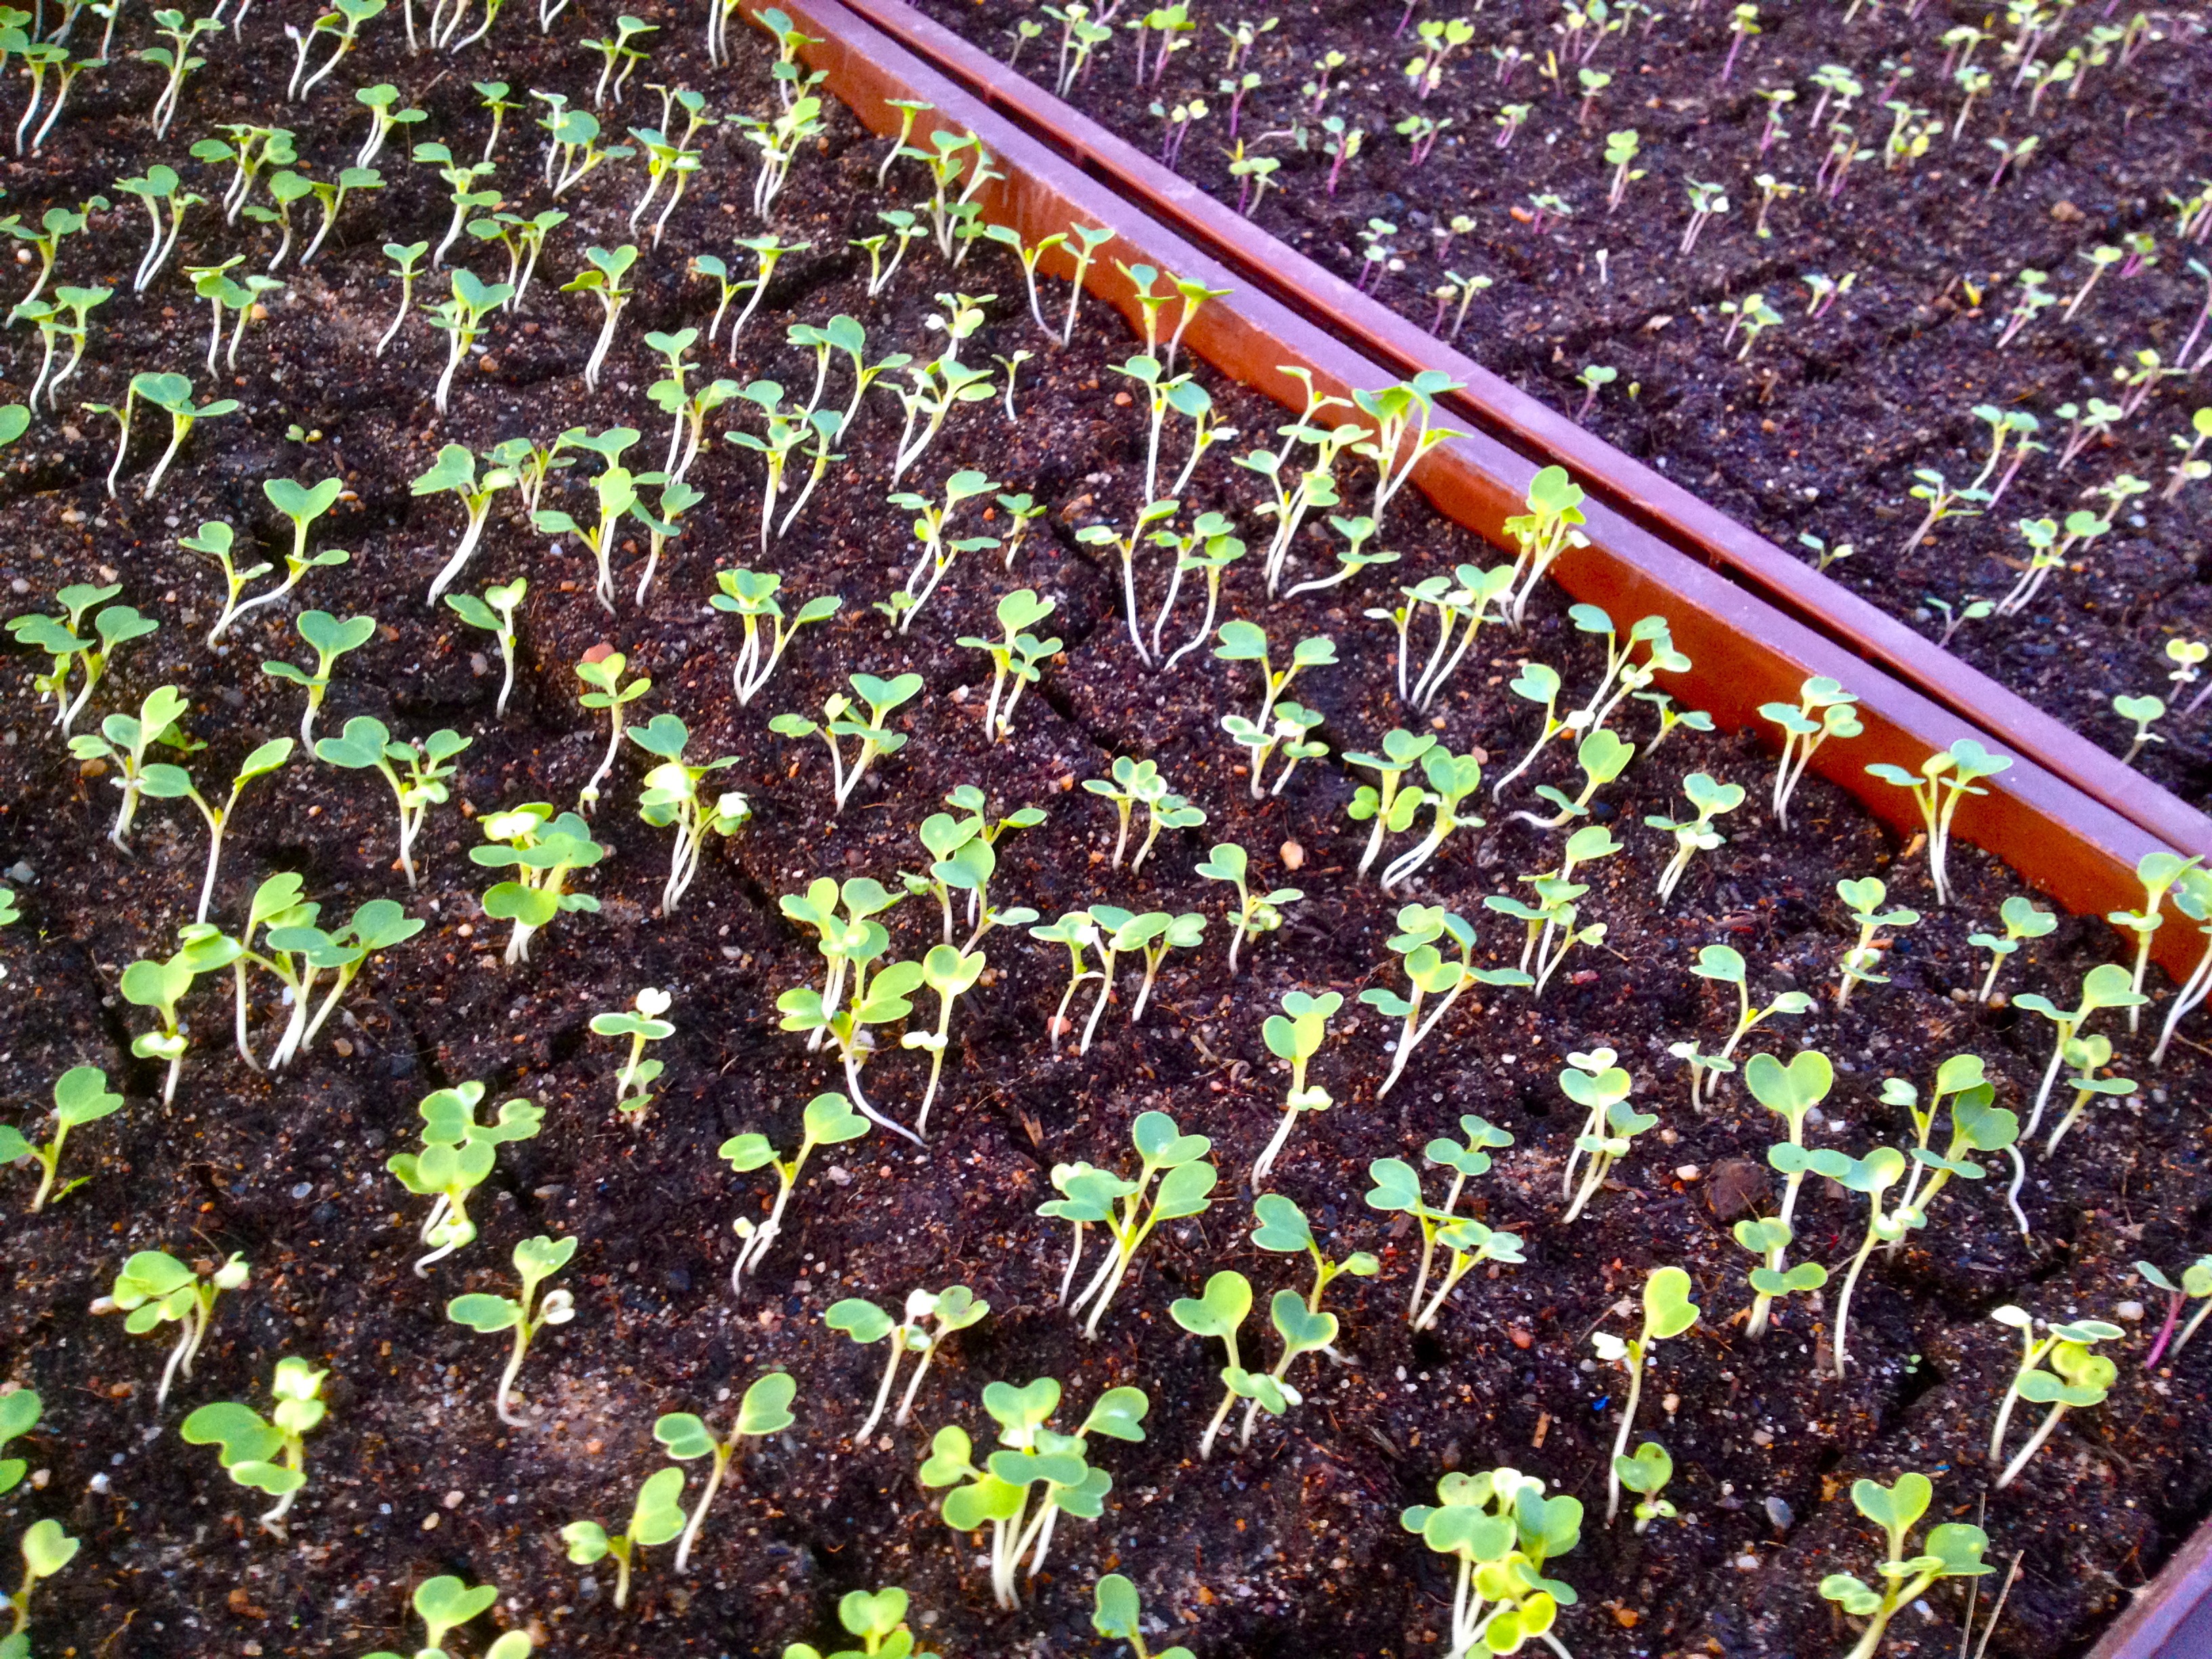
Soil blocks are also a great idea when you’re starting seedlings early in the season before it’s warm enough for them to survive in the garden (Spring frost, anyone? We have plenty at Milkwood Farm!).
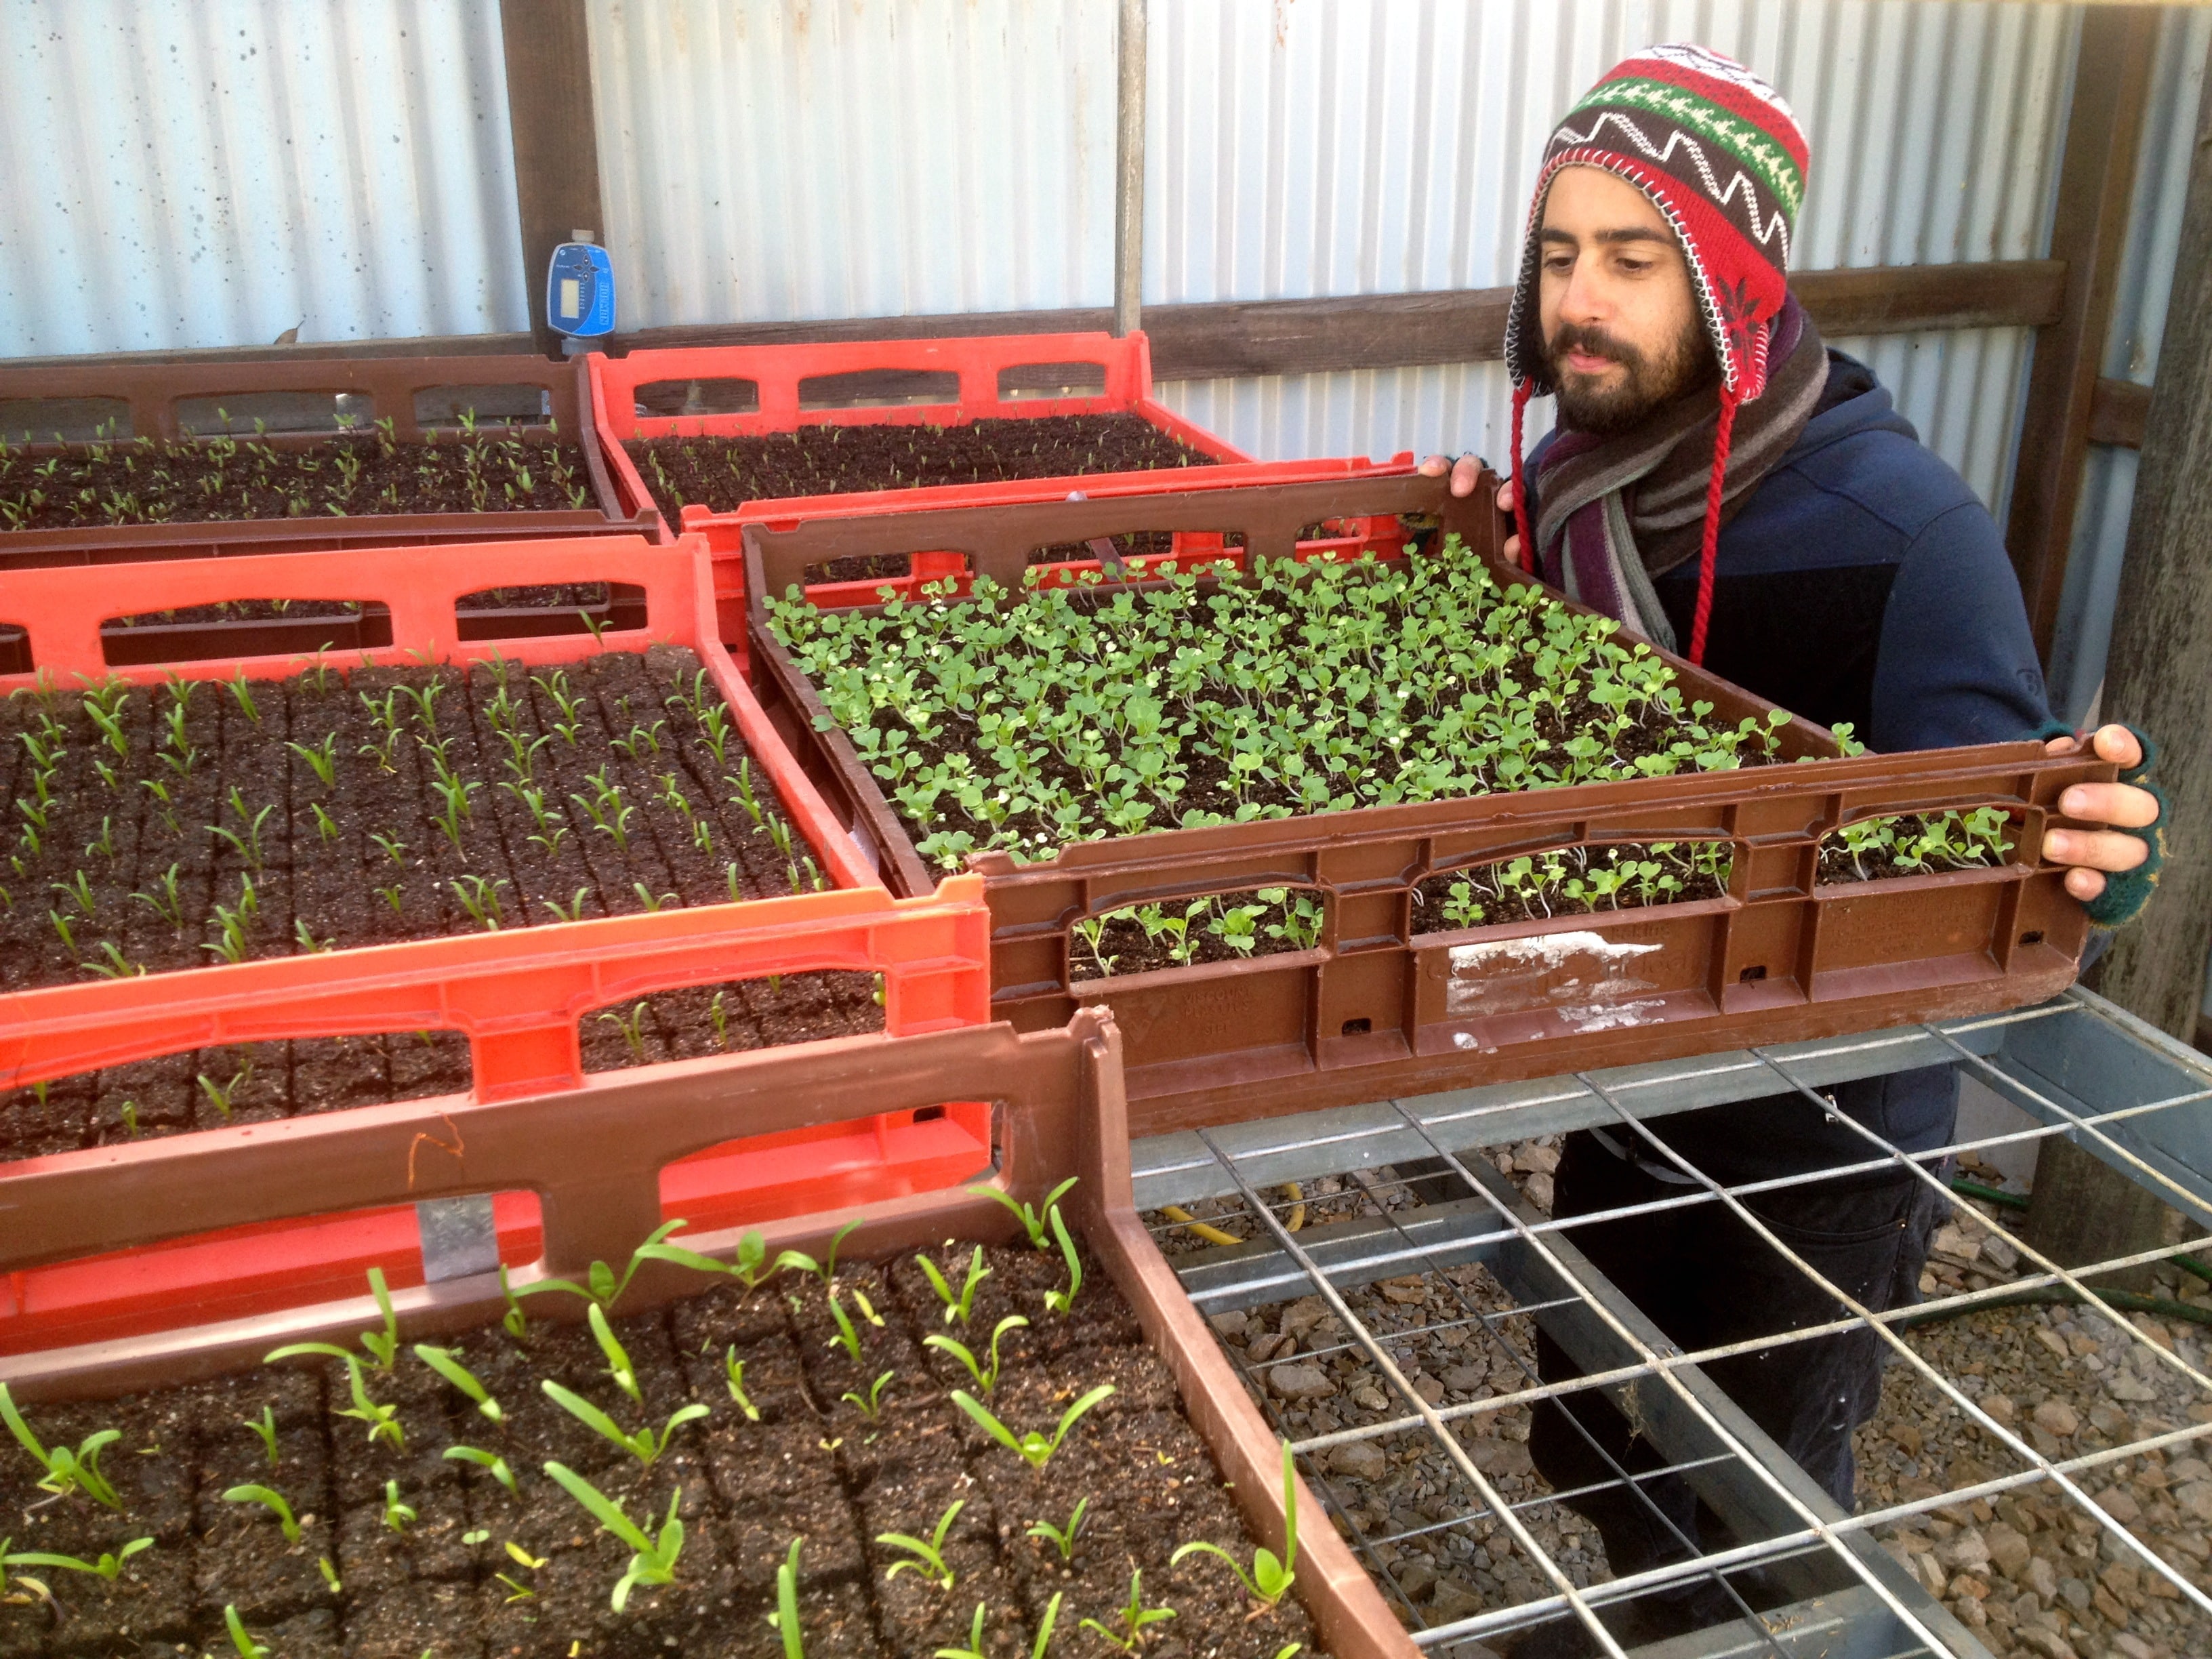
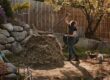
Zag (Milkwood Market Garden intern, Spring 2012) checking on our ruby chard soil blocks, prior to planting out…
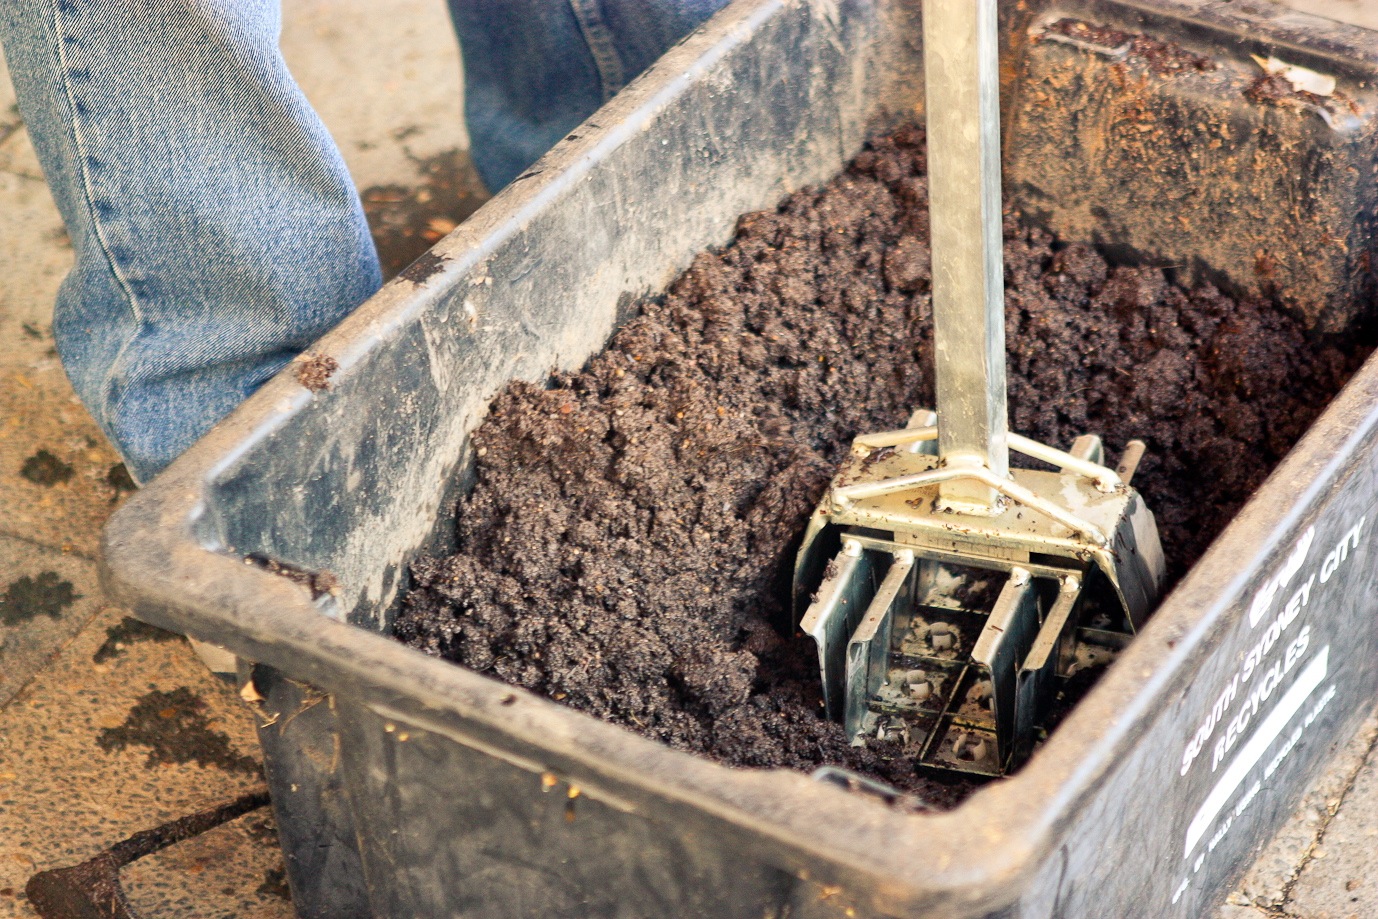
How to make soil blocks:
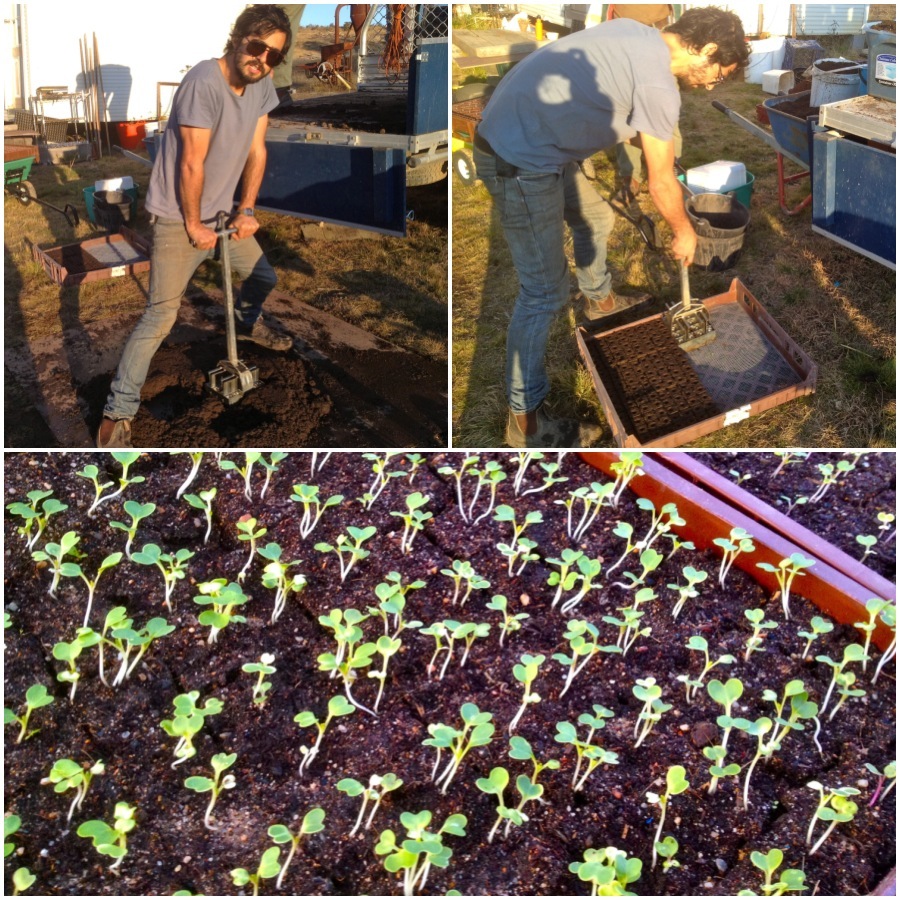
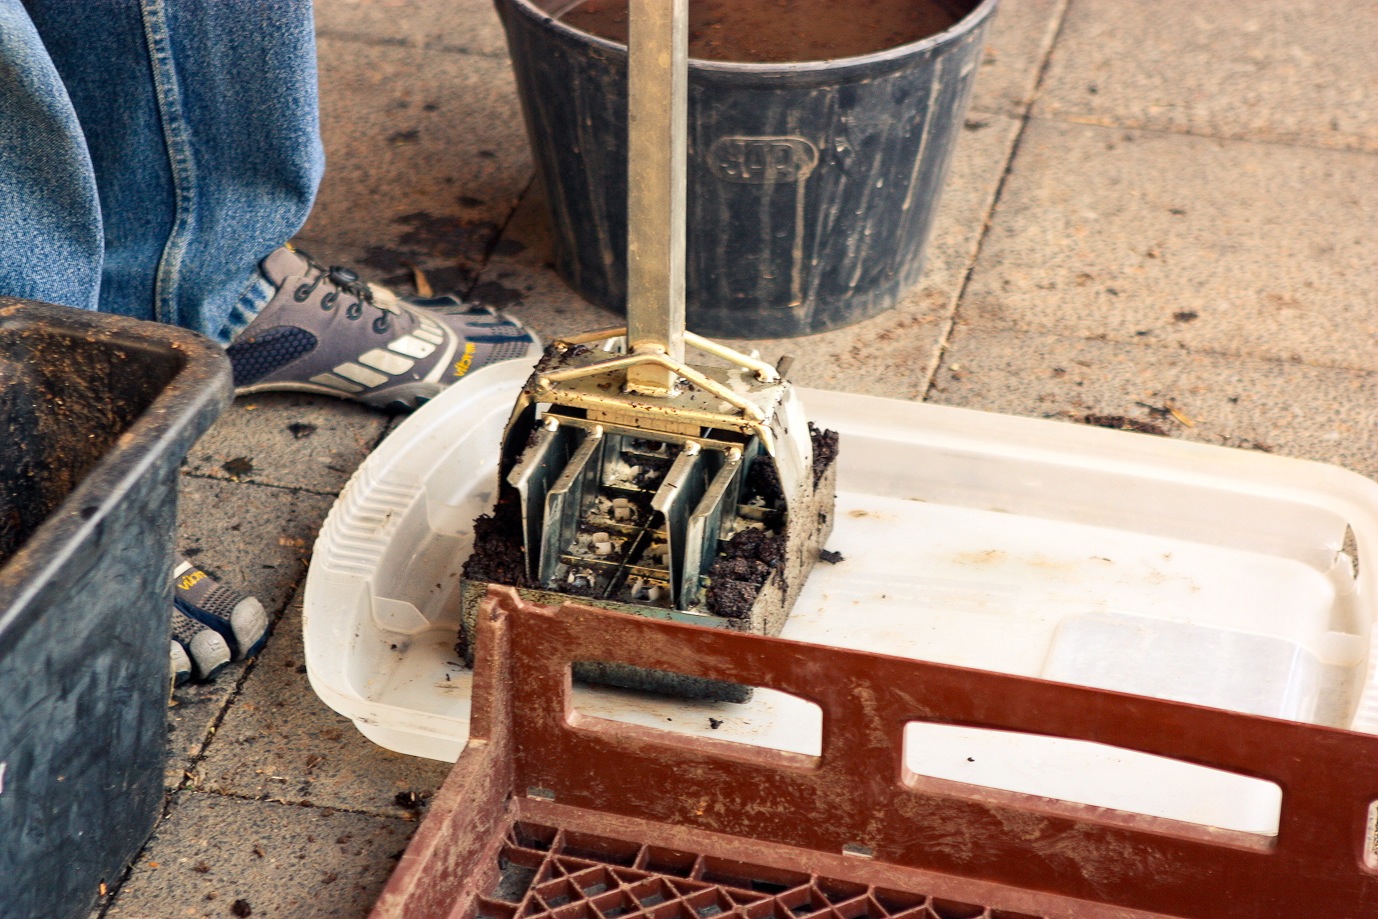
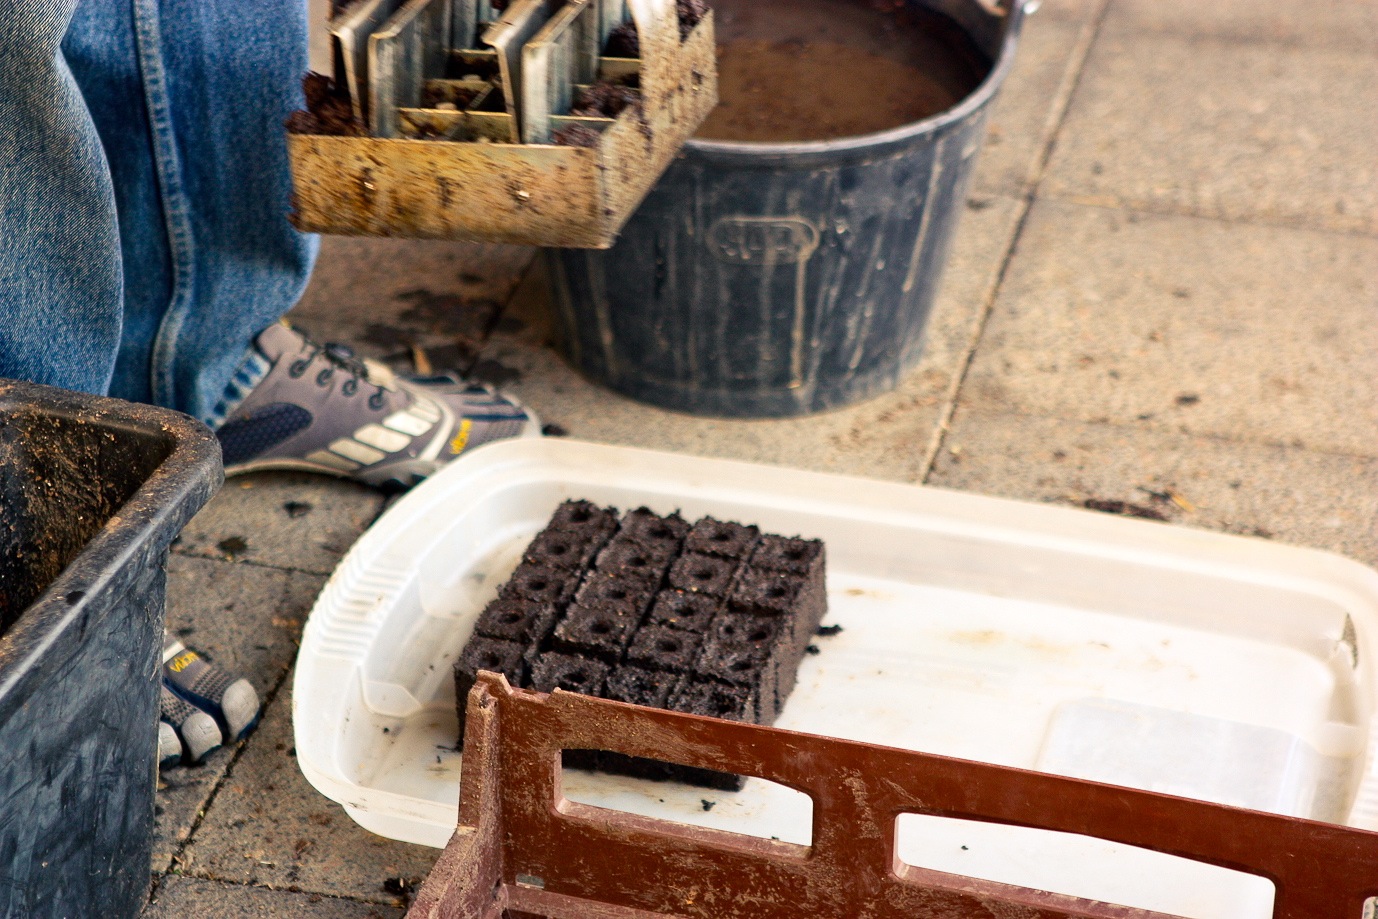
Firstly, you need a soil blocker, which is a small and sturdy contraption which will last you a lifetime. They come in a range of sizes, depending on what you want them for, and your scale of production.
Our soil blocking recipe:
- 2 part coco peat
- 2 part compost (could do 1 mushroom compost to 1 regular)
- 1 part worm castings
- 1/2 part sand (coarse river sand)
- sprinkle of lime
- water (1:1 water diluted worm juice)
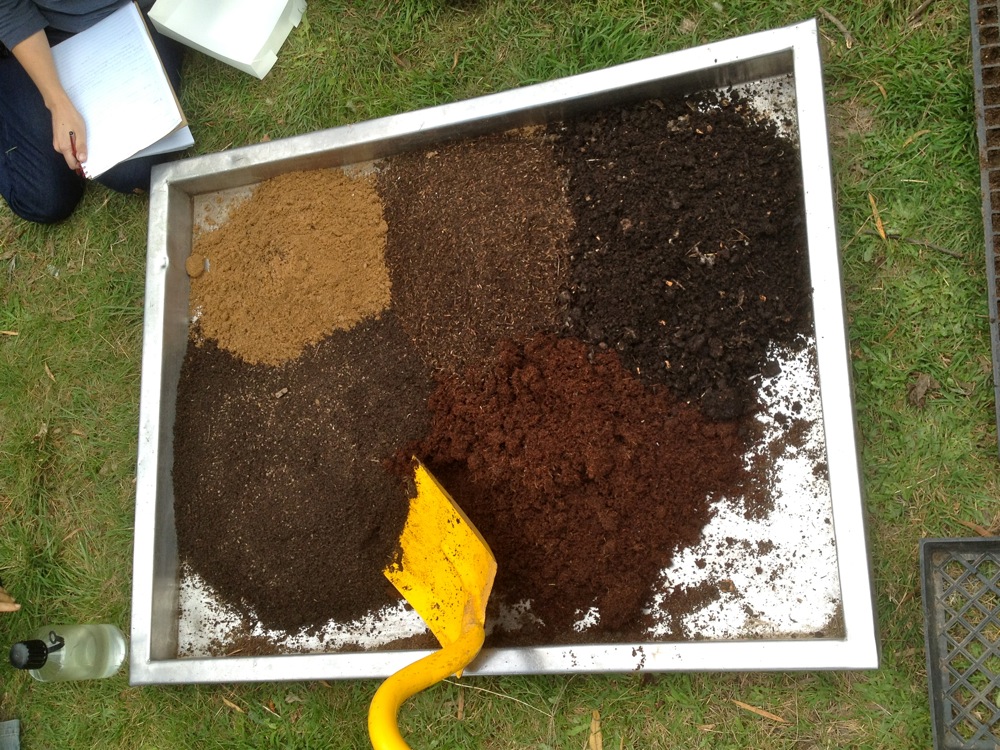
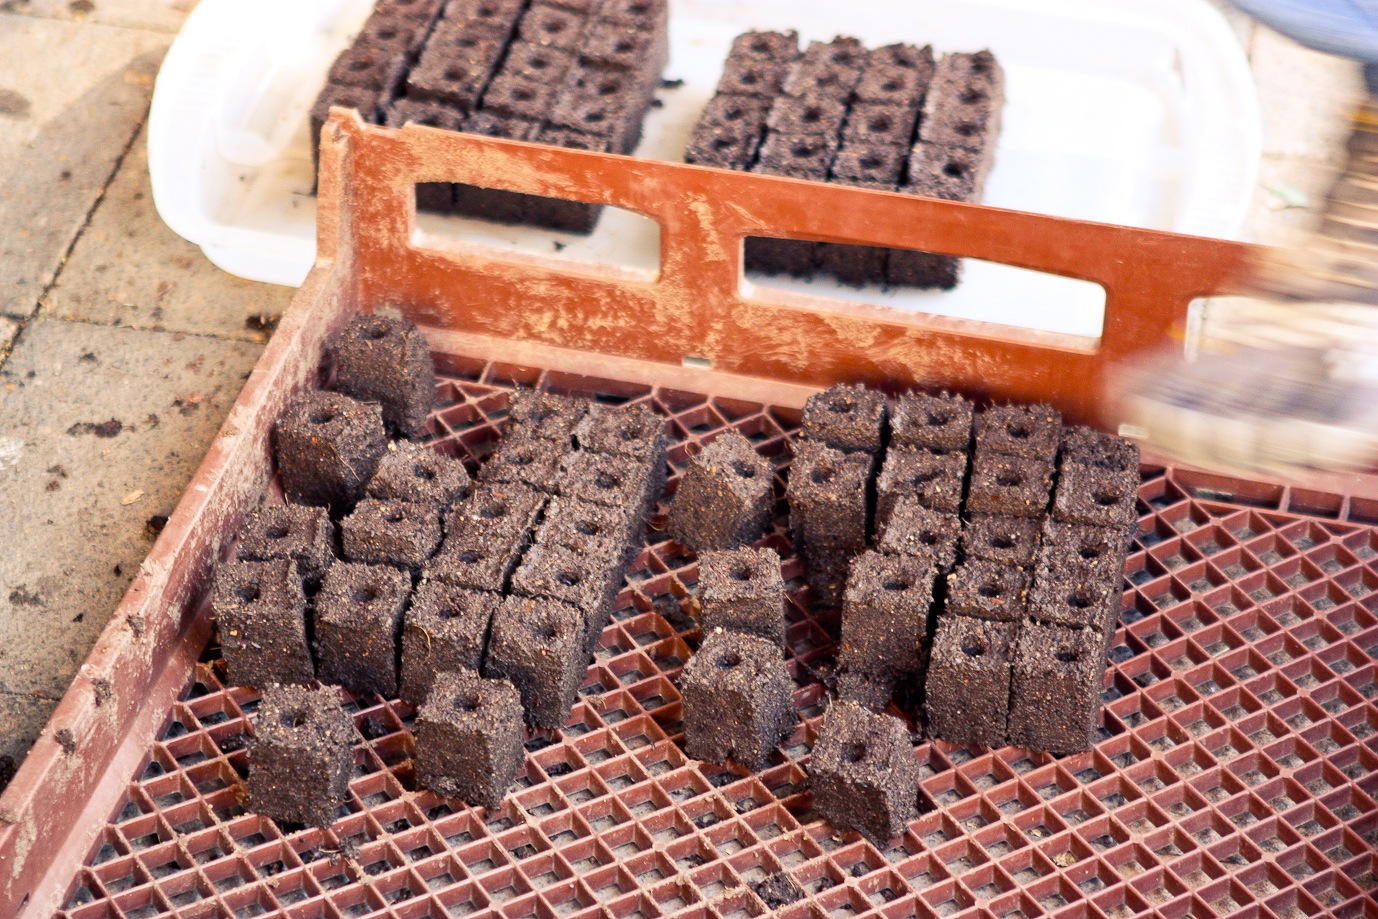
Mix it all together and proceed to soil block as shown below. The exact consistency of the mix can be varied with a little water… experiment until you get it right…
The soil blocker below is a bigger one, but you can get smaller 4-block hand units as well, for small space or balcony growing…
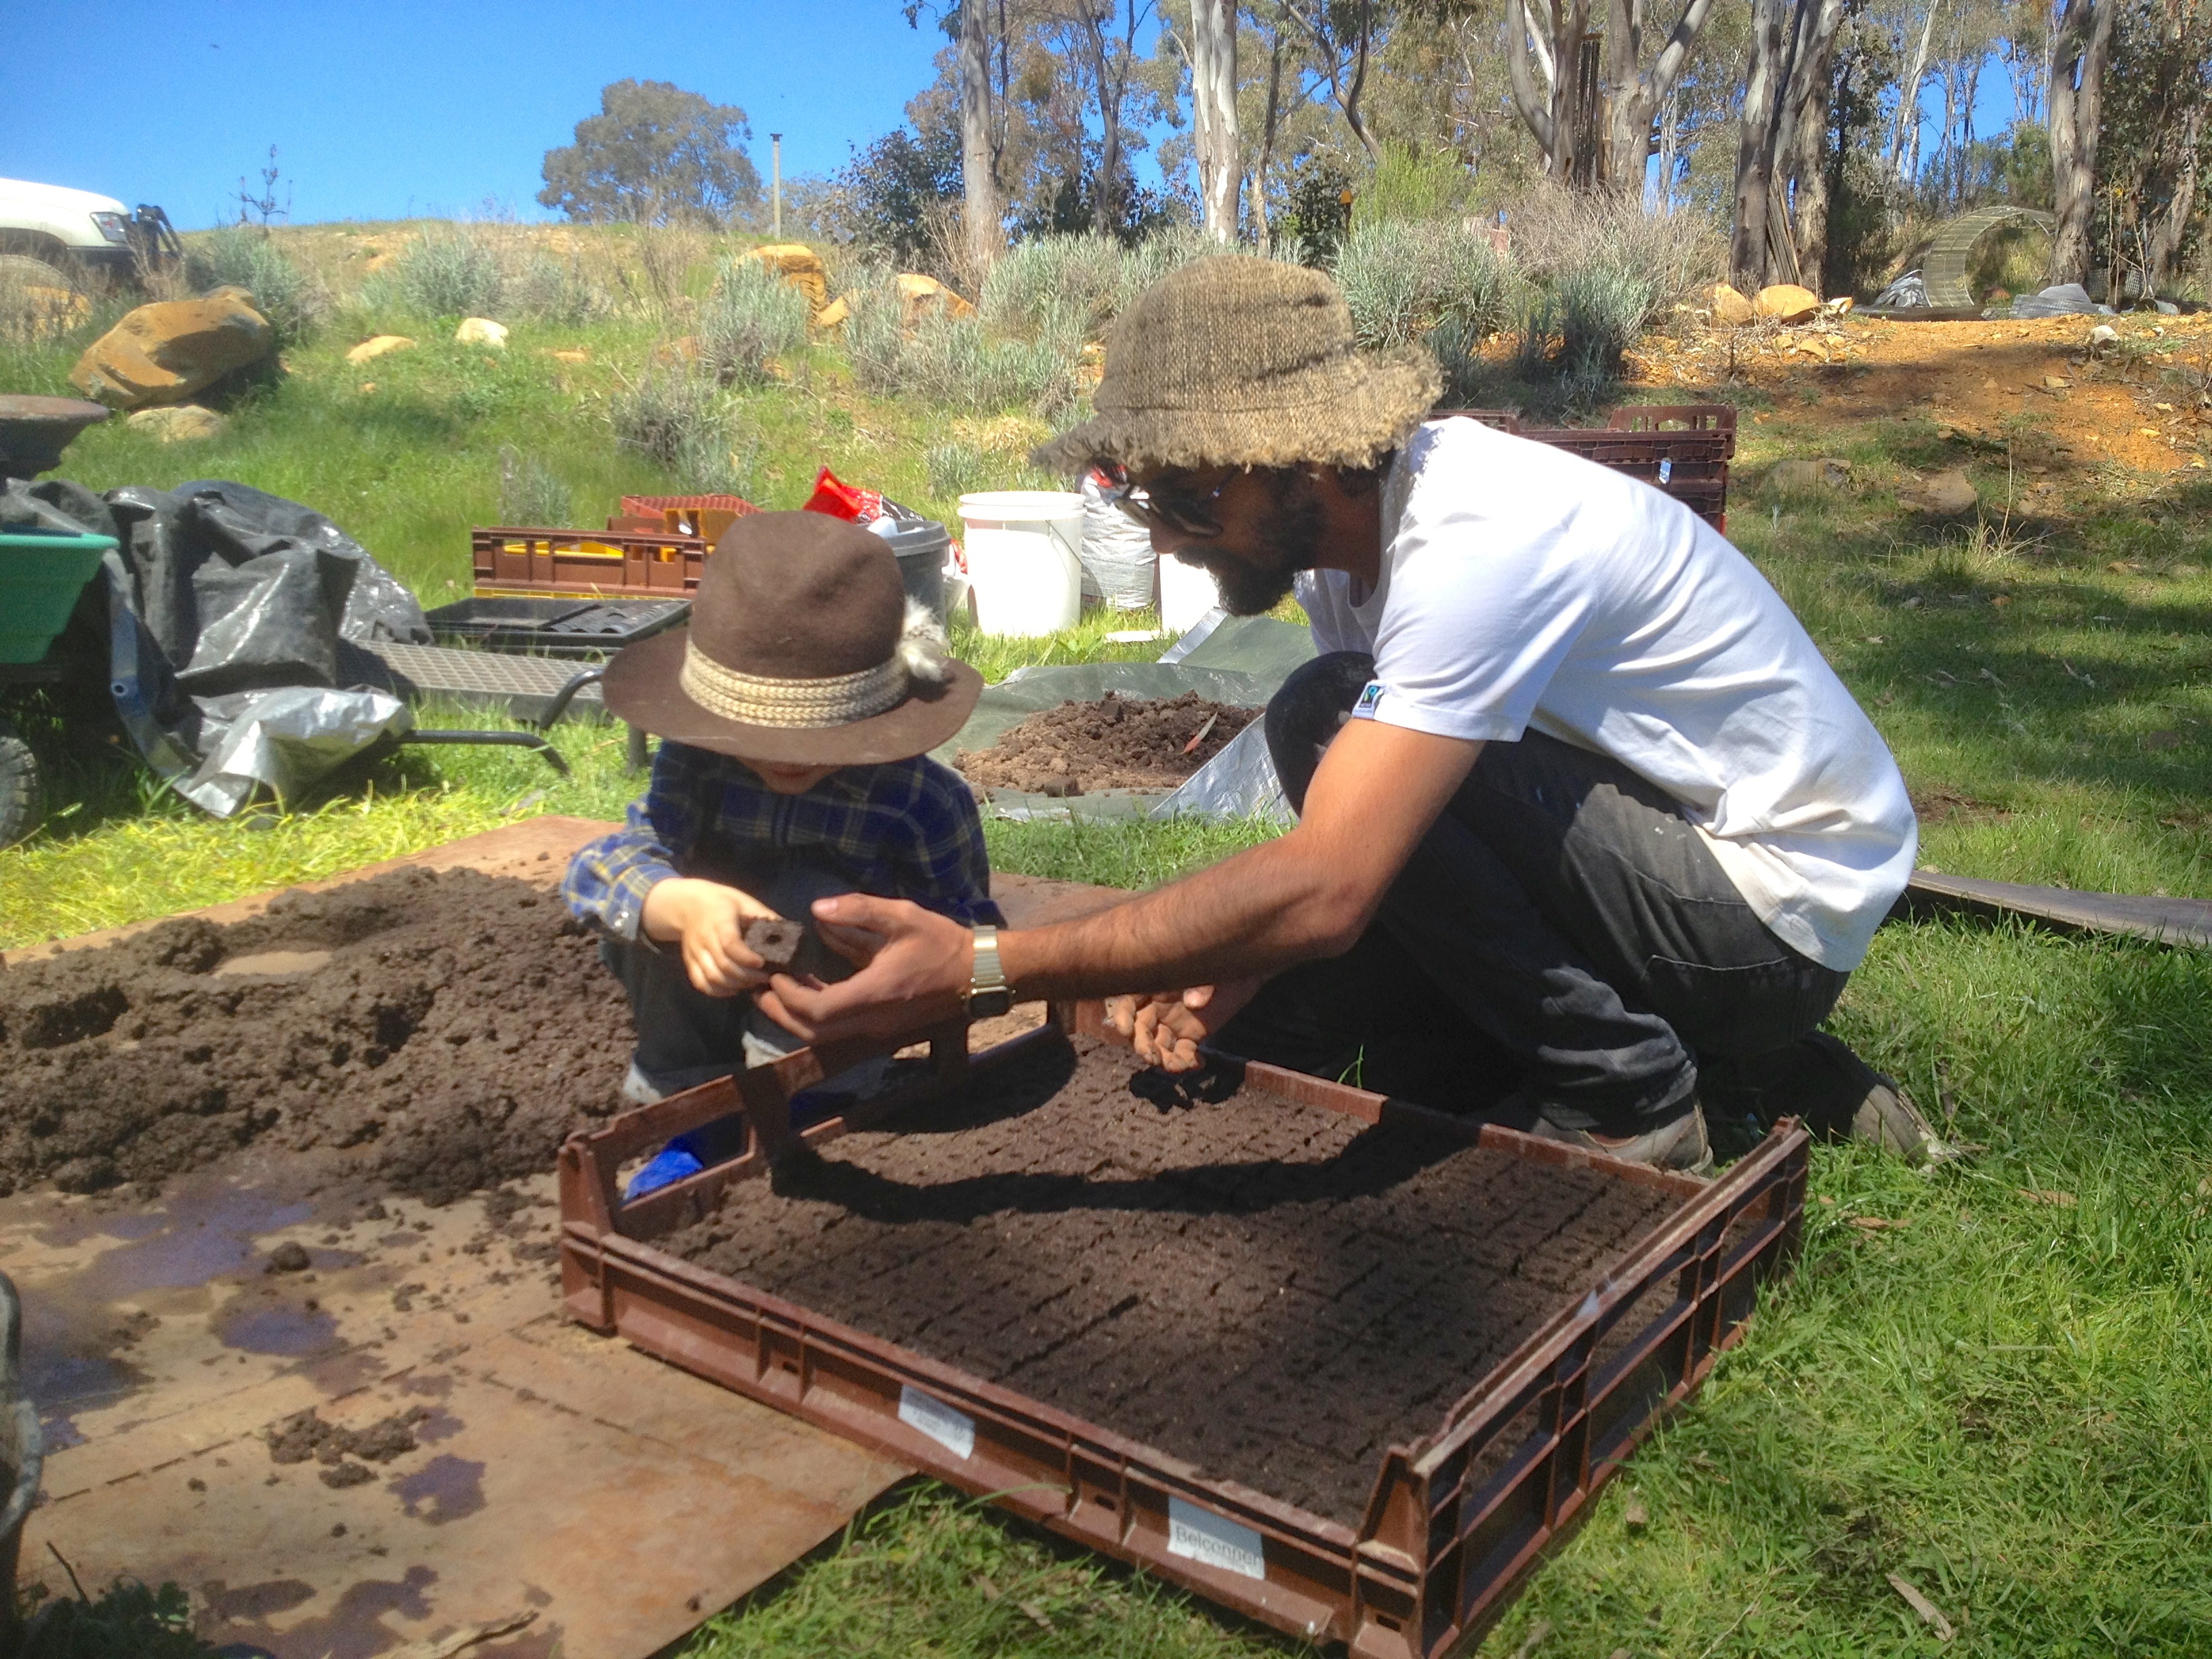
Ashar ‘helping’ Zag…
Soil blocking is also a great kid-friendly gardening project… if it all goes wrong and the soil block gets smushed, you just put it back in the mix, and make another one…
Lastly, here’s some pro tips on soil blocking from Mike Plane at Allsum farm:
“Two other advantages of using soil blocks are that every time you plant them out, you are adding a significant amount of quality material to your soil.
In addition, by using soil blocks you are staying up to six weeks ahead of the weeds if you plant out your blocks into weed free beds. The plants are getting a great leg up from the next generation of weeds which will be easy to hoe between the advanced plants”
Happy gardening!
Where to get a soil blocker in Australia:
- Allsun Farm are great and know more about these (and many other garden tools) than anyone else i know
Where to get a soil blocker in the wilds beyond Australia:
- In the UK, Blackberry Lane are great
- In the US, Johnnys Seeds have lots of options
- And if you really must, there’s always Amazon
We run fantastico Organic Market Garden workshops at beginner and masterclass levels, as well as Serious Backyard Veggies workshops for beautiful backyard growing…
Or you can check out all our posts relating to soil blocks here…
>> All our posts about growing organic veggies…
Big thanks to Joyce and Mike at Allsun Farm for getting us onto this technique (amongst many other things) and to everyone who’s helped along the way. Photos 5-8, 10 & 12 by the marvellous Cathy X.


Hi Kirsten, just wondering how you harvest your worm castings, we have built a large worm farm, like a giant bathtub, to harvest castings for our seed raising mix (we use blocks and plug trays). Whilst good for the blocks the sticky/sludgy ness of the castings is a problem for our plug tray mix for lettuce and whatnot, Any way to get the castings nice and fluffy instead of wet and sticky? Could it be down to what we are feeding them (fruit,veg,coffee,cow manure primarily)
Also wondering what size blocks you use for silverbeet/beetroot?
Thanks in advance, Rob.
Reblogged this on The Violet Verge and commented:
A well written piece of soil blockers.
What an absolutely brilliant way to start your plants, thankyou (again) for your wonderful site and amazing work !!
Where did you get the coco peat from?
Fantastic idea.. thanks so much for sharing 🙂
This is my first year using soil blockers on my small scale organic flower farm. Yes, they take a bit of getting used to / tweaking your soil recipe and yes they take time to make but I think they’re wonderful. No transplant shock and minimising the use of additional plastic pots and cell trays – brilliant! I don’t bother with coco-peat but do chuck in a bit of vermiculite if it’s lying around. Those big bakers trays work well too 🙂 Keep spreading the word xL
What can i use instead of cocopeat? Here in greece its hard to find, imported, and expensive!
I thought part of the point of soil blocks was for the seedlings’ roots to air-prune. With as close as they are to each other in the photos, don’t they grow together and suffer shock from being root-ripped apart?
There aren’t any responses to any of the questions I see here.
yes they were lost in a website update years ago – they were there! Whats your q, Stephaine?