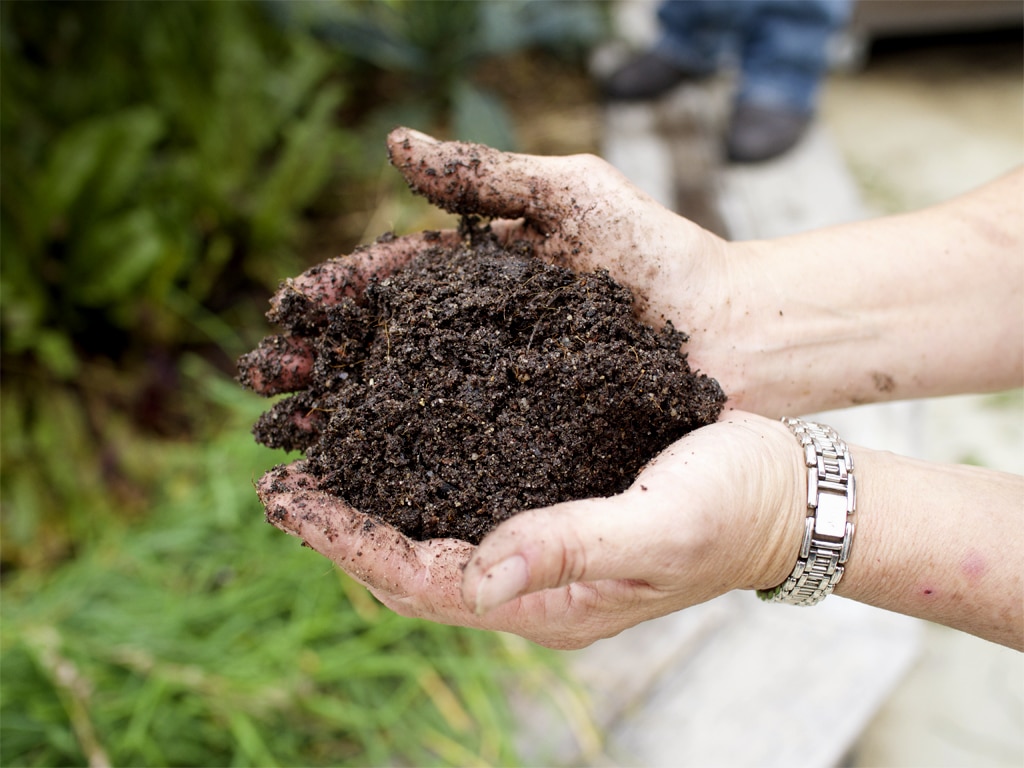
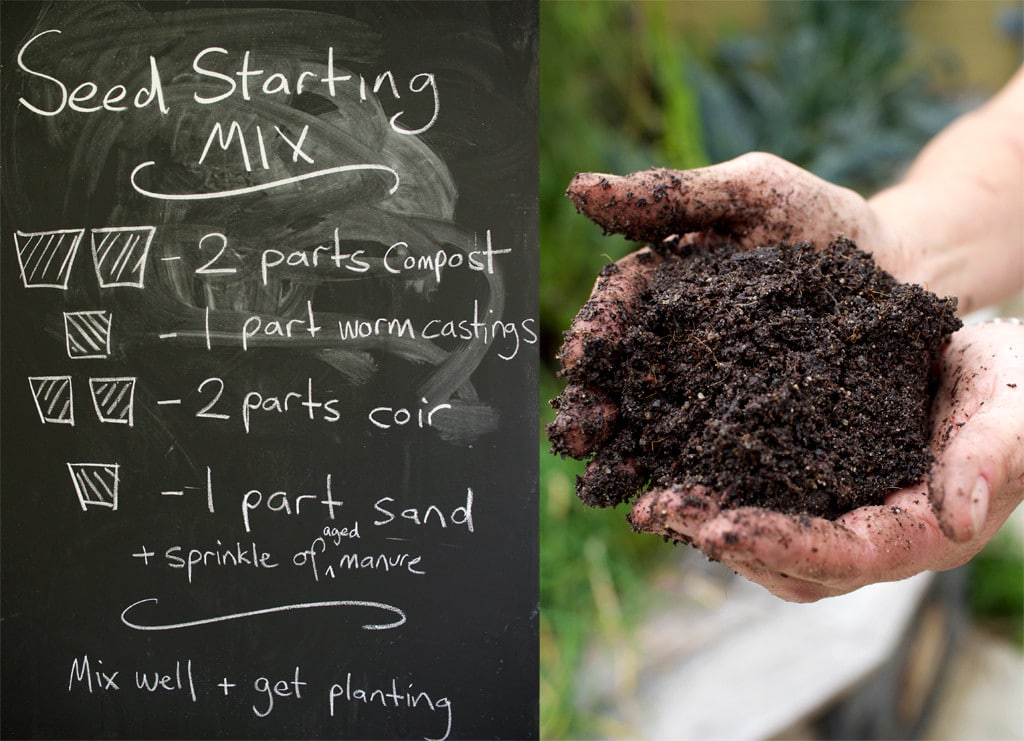
Getting your seed-raising mix just right is super important for growing strong seedlings, which in turn become strong plants that produce mountains of edible deliciousness for you.
While you can buy mixes from the shops, making your own is much cheaper and usually assures a higher-quality result than a commercial seed-raising mix.
Plus, you get to side-step the plastic bags that store-bought seed-raising mix usually comes wrapped in.
And then, you have a homemade mix to carefully plant your seeds into, perhaps protecting them within the warmth of your kitchen or greenhouse.
You watch closely until the first green leaves emerge. Then the potting on, and all the careful stewarding and watering until the seedlings are huge and its finally time to plant them out.
And, finally, after much love and attention, you’re onto harvesting – and all that eating, and maybe saving a few seeds for next season too. So, on the cycle goes.
Making your own seed-raising mix is easy to do – you only need four simple ingredients – and the results are so worth it. Ready to learn this great fundamental skill of edible gardening?
Our Best-Ever Seed Raising Mix
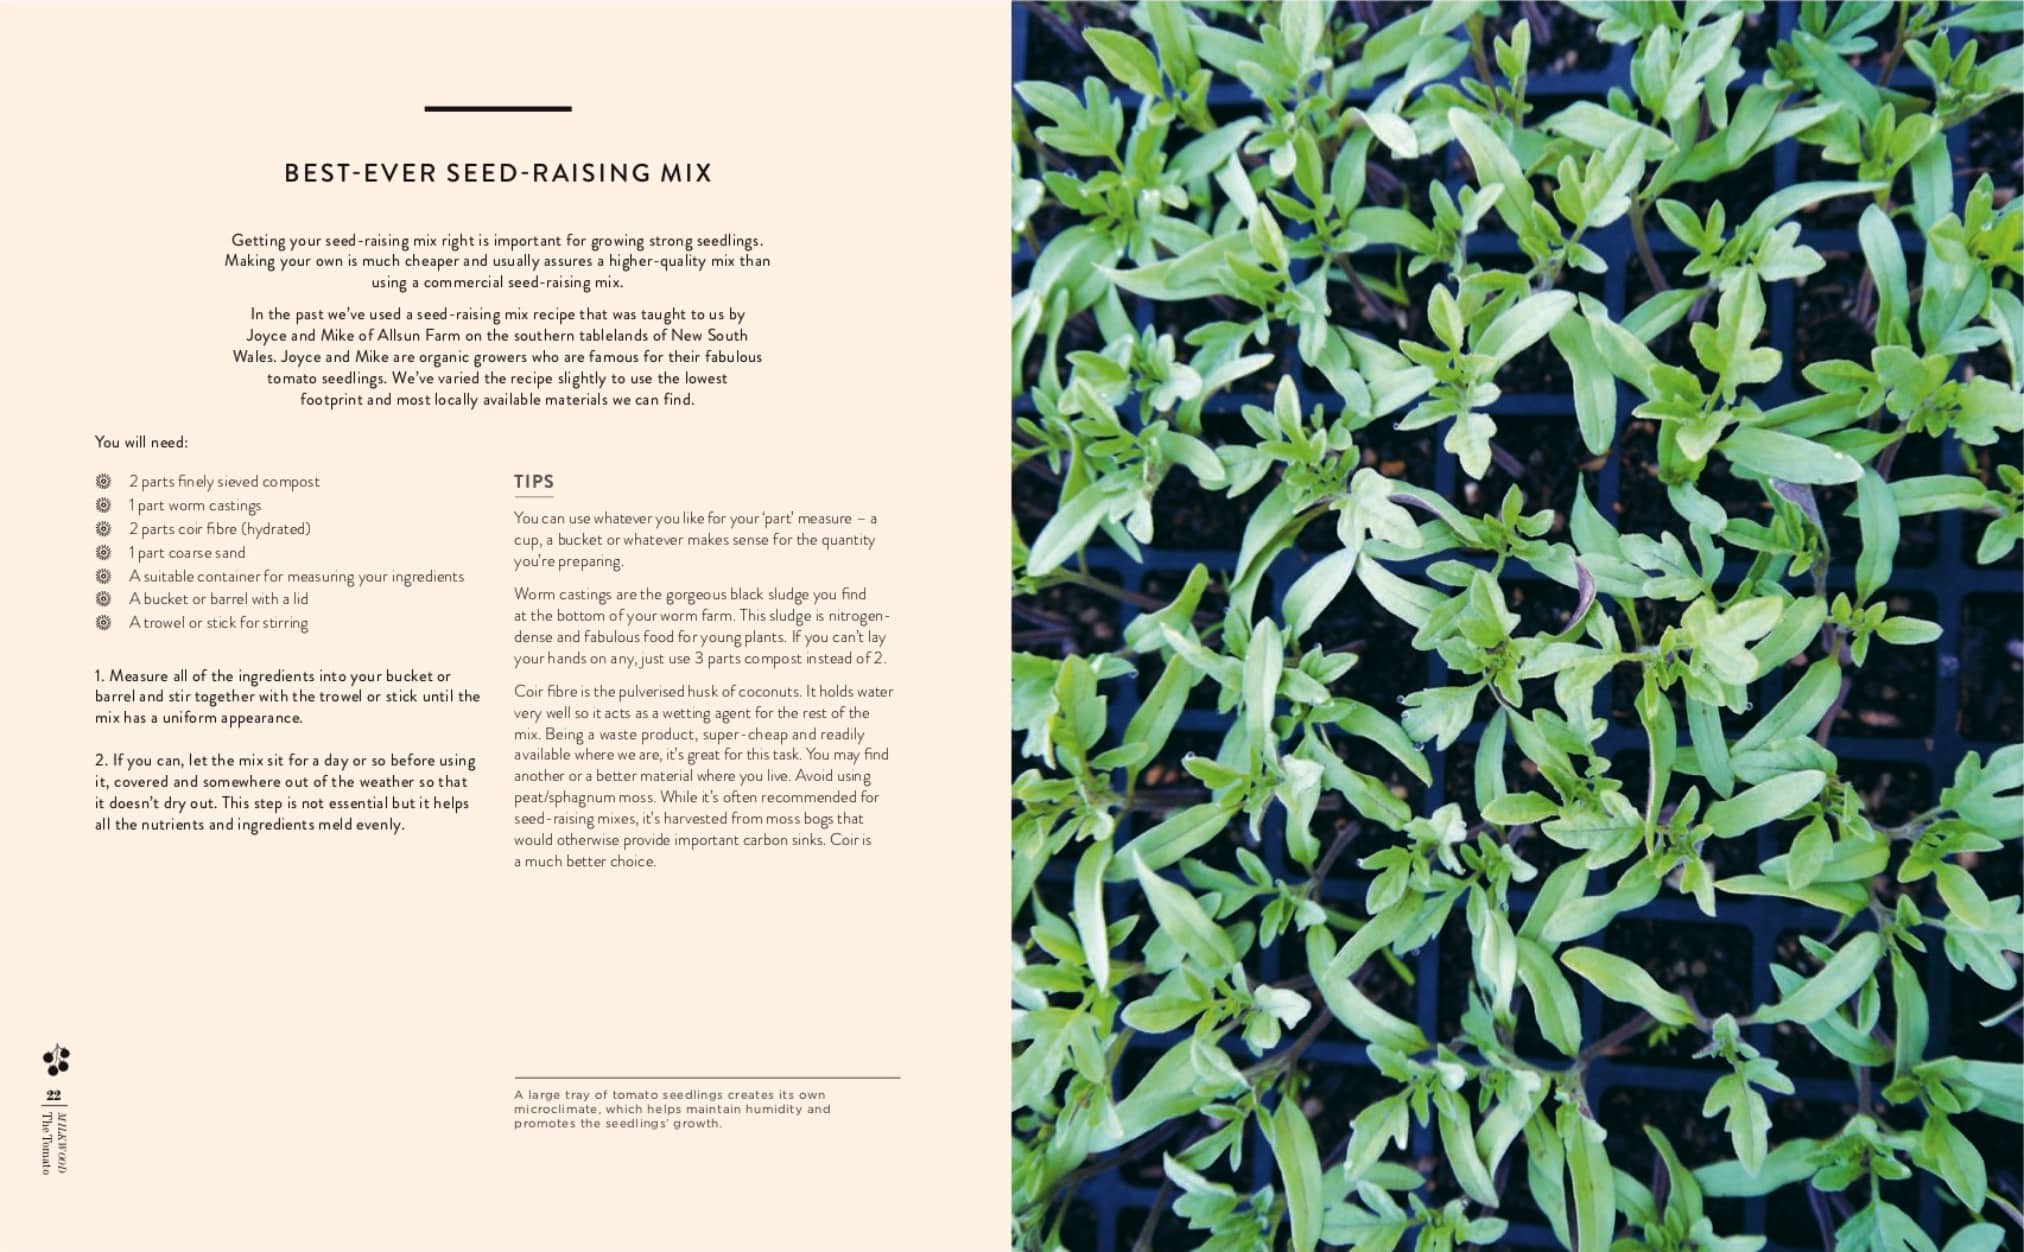
In the past we’ve used a seed-raising mix recipe that was taught to us by Joyce and Mike of Allsun Farm on the southern tablelands of New South Wales. Joyce and Mike are organic growers who are famous for their fabulous tomato seedlings.
Over the years, as we’ve experimented and refined this process, we’ve varied the recipe slightly to use the lowest footprint and most locally available materials we can find.
You will need:
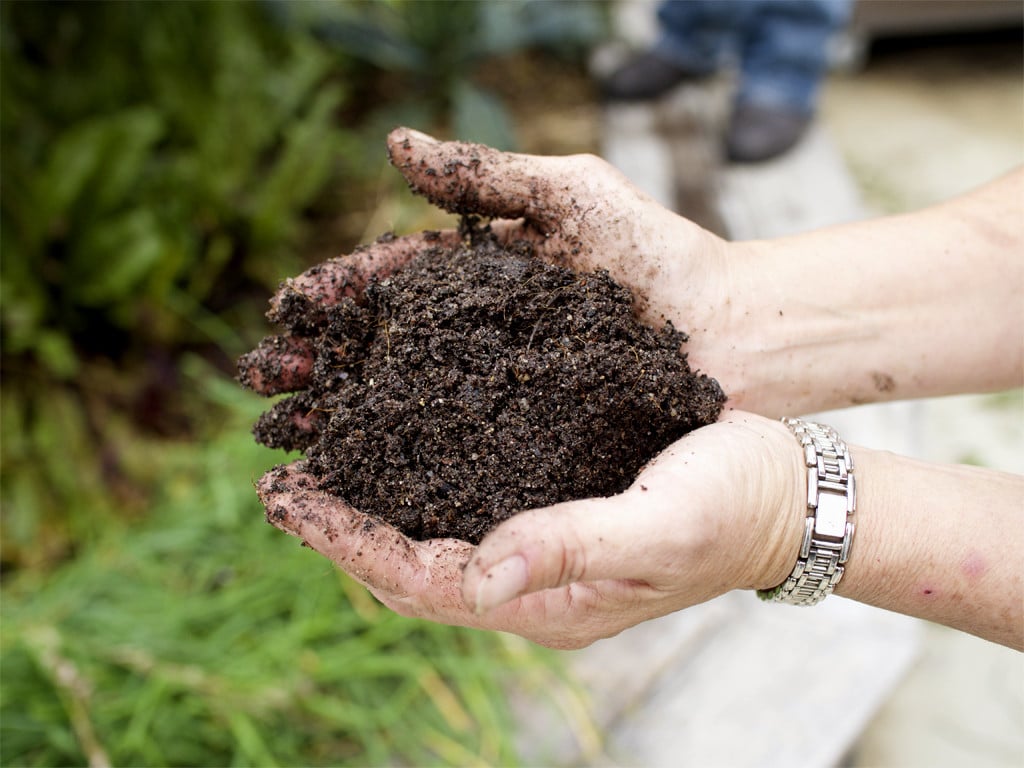
- 2 parts finely sieved compost
- 1 part worm castings
- 2 parts coir fibre (hydrated)
- 1 part coarse sand
- A suitable container for measuring your ingredients
- A bucket or barrel with a lid
- A trowel or stick for stirring
How to make it:
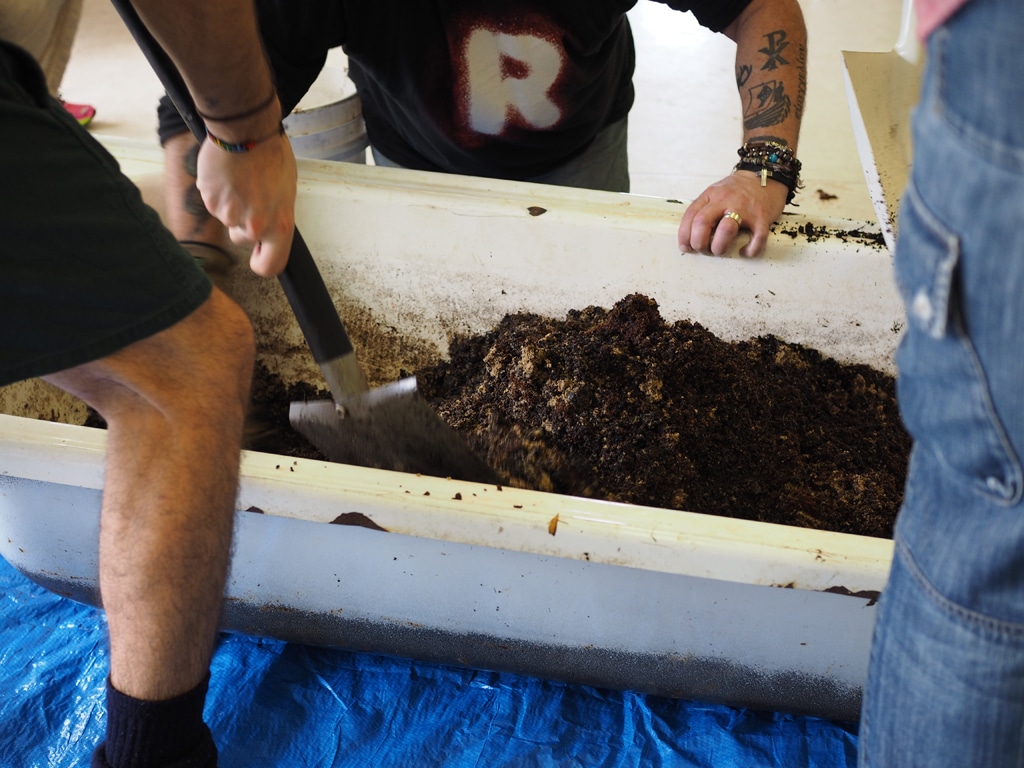
- Measure all of the ingredients into your bucket or barrel.
- Stir together with the trowel or stick until the mix has a uniform appearance.
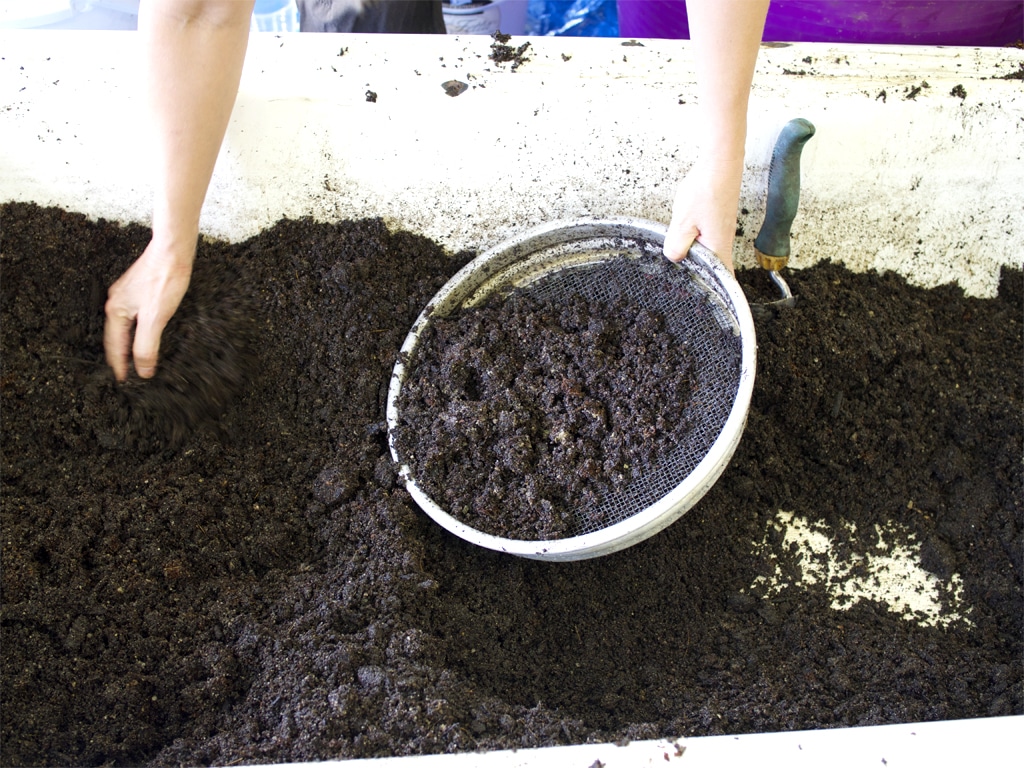
- Optional: you can then run your mix through a sieve to get all the bigger bits out if there are any (you don’t want chunky bits in there) or use as is.
- Also optional: if you can, let the mix sit for a day or so before using it, covered and somewhere out of the weather so that it doesn’t dry out. This step is not essential but it helps all the nutrients and ingredients meld evenly.
Extra tips
You can use whatever you like for your ‘part’ measure – a cup, a bucket or whatever makes sense for the quantity
you’re preparing.
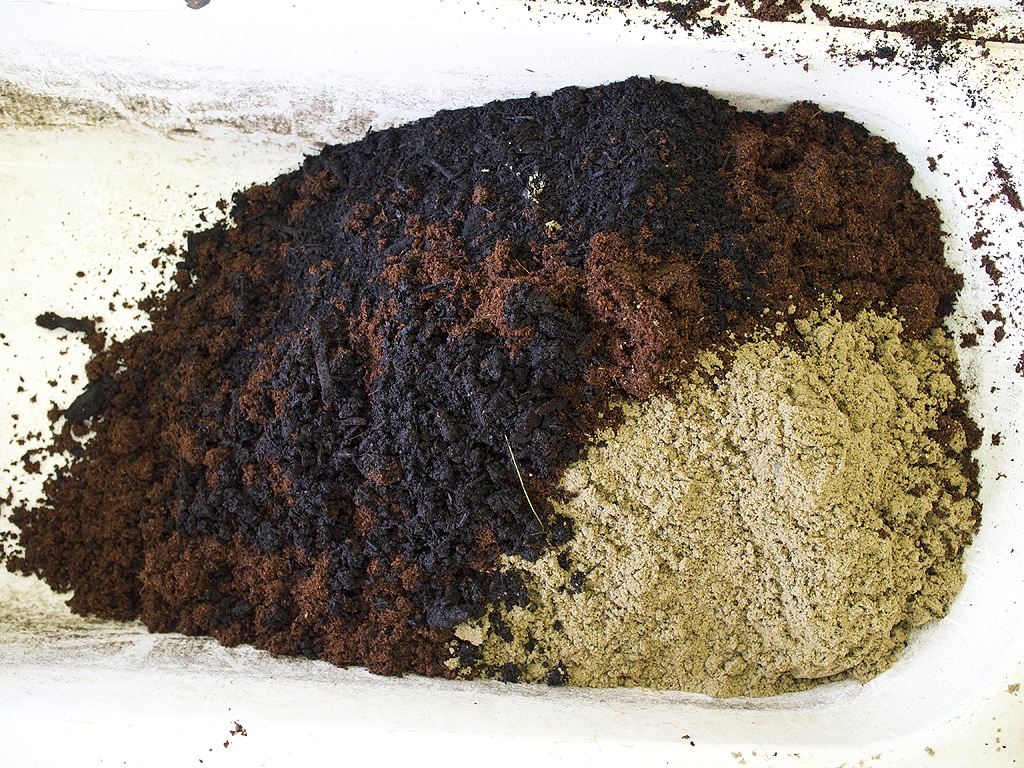
Worm castings are the gorgeous black sludge you find at the bottom of your worm farm. This sludge is nitrogendense and fabulous food for young plants. If you can’t lay your hands on any, just use 3 parts compost instead of 2.
Coir fibre is the pulverised husk of coconuts. It holds water very well so it acts as a wetting agent for the rest of the mix. Being a waste product, super-cheap and readily available where we are, it’s great for this task.
You may find another or a better material where you live. Avoid using peat/sphagnum moss – while it’s often recommended for seed-raising mixes, it’s harvested from moss bogs that would otherwise provide important carbon sinks. Coir is a much better choice.
How to use your DIY seed-raising mix
Alright, so you’ve created your seed-raising mix and you’re ready to get growing. Here’s what to do next…
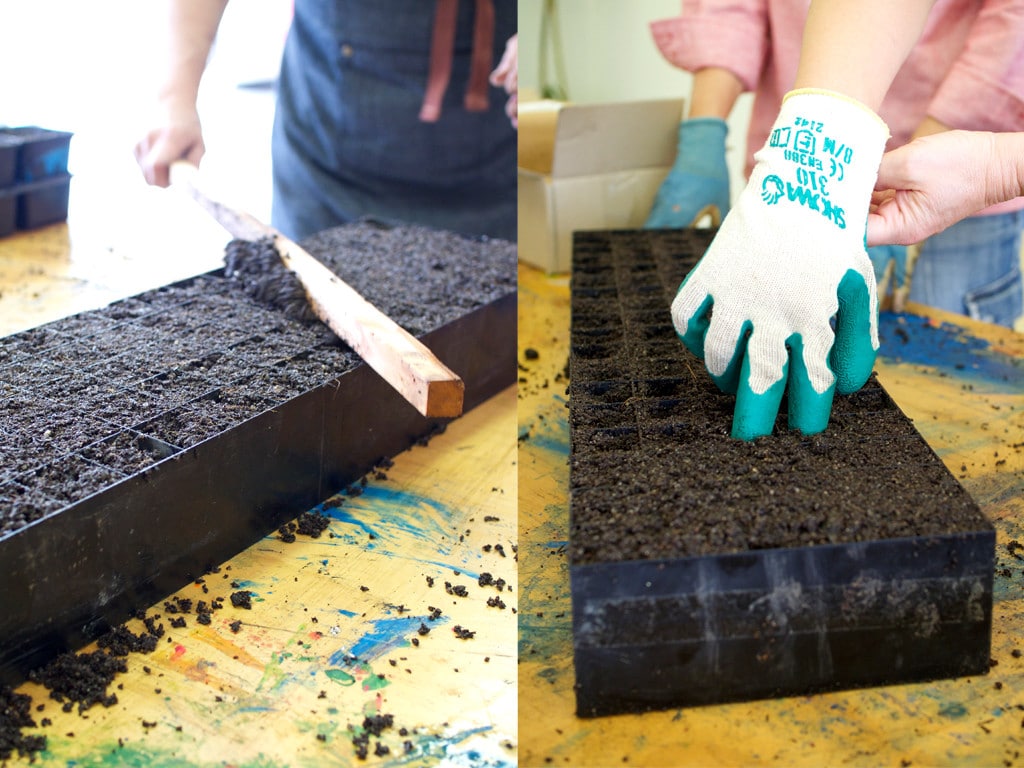
Fill your seedling tray, pots, empty toilet rolls or whatever it is you are using, and carefully level it all off.
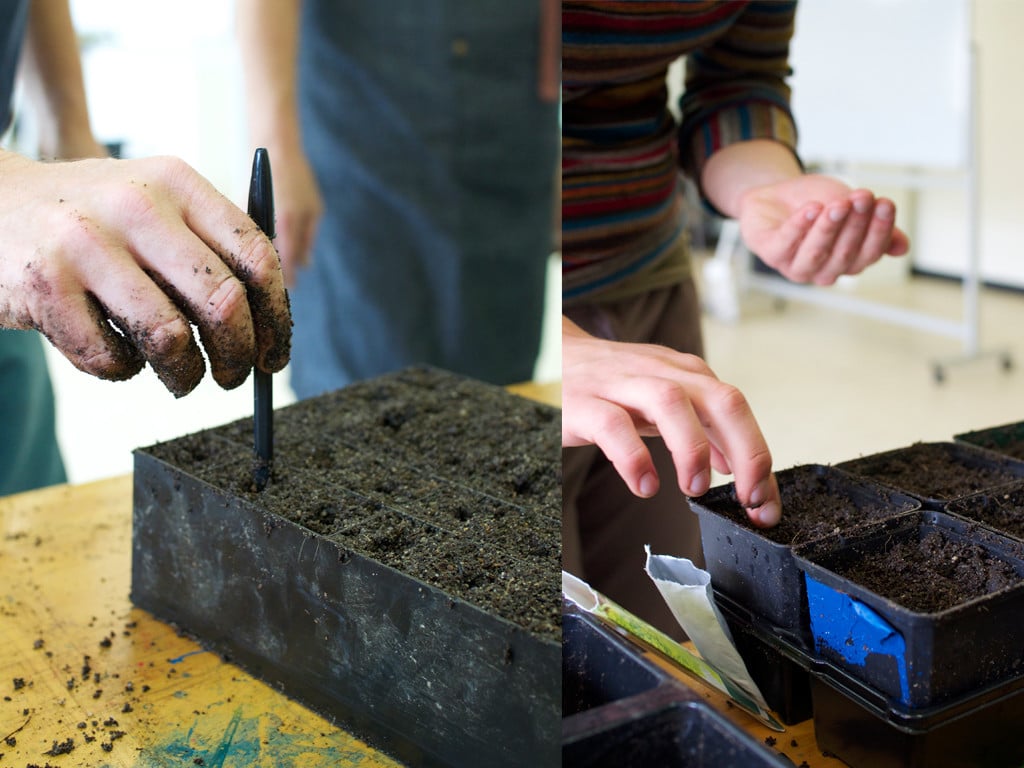
Gently tamp the soil using two fingers – just lightly pressing down; you don’t want to compact the soil here at all. But you do want to eliminate air pockets.
Once this is done, top the containers up and again gently level it off.
Using a pen as a dibber, go down as far as you need to for the seeds that you are planting. Each seed has a different ideal depth, so check on the back of the packet for what your seeds need.
Drop two to three seeds into the hole, and gently cover it over again with some of your seed-raising mix.
And don’t forget to label what you have just planted as soon as it goes in! A chalk pen is super handy for this, if you’re working with black pots of seed trays. Or you might be able to reuse paddle pop sticks, or chop up a plastic container and write onto that.
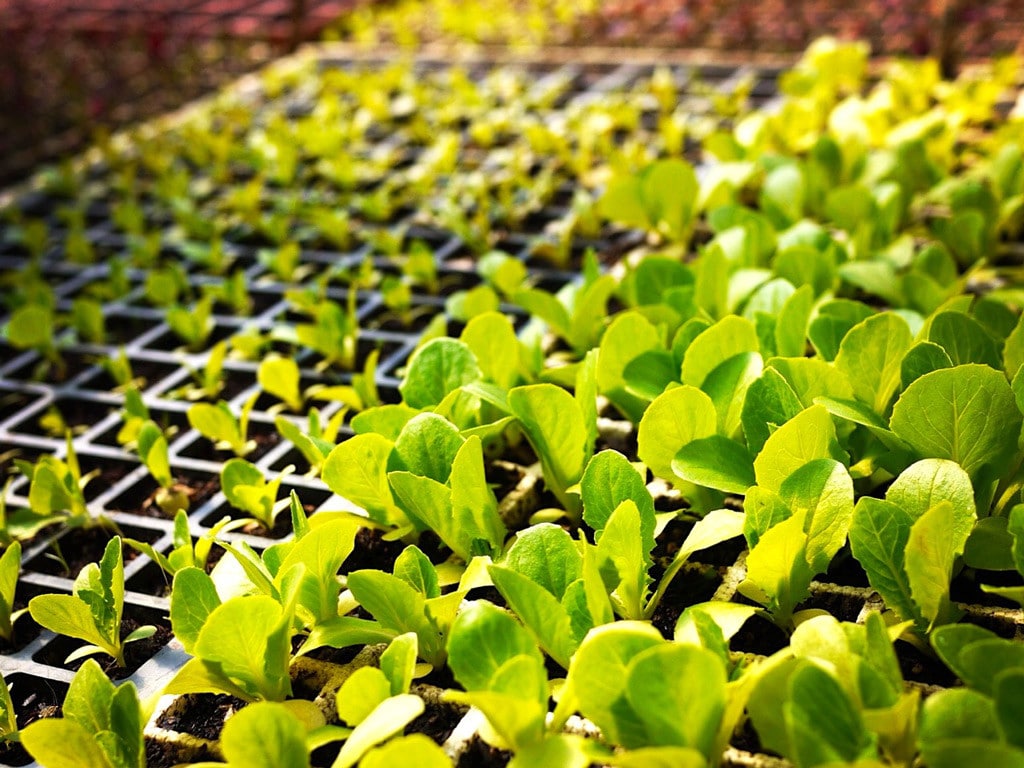
Over the next few days, gently mist your seedlings daily to keep them moist, until the first leaves appear. Misting is usually better than straight-out watering, which might dislodge the very young roots of your shooting seeds and kill the plant before it even has a chance to poke its head above the soil.
Your seedlings will first produce a pair of ‘cotyledons’ – the very first leaves, which often look a bit different to the plant’s true leaves. Keep waiting and watering; with a bit more time you’ll see the true leaves emerge.
Once your seedling has several true leaves and is looking happy and study, you can either pot it on to a larger pot, or start ‘hardening off’ (placing your place outside during the day to get used to full weather conditions) before planting fully out.
Happy growing, lovely!
By the way, we love seeing you folks make this mix…
In the many, MANY years we’ve been making and sharing this seed-raising mix recipe, we’ve watched so many of you give it a go with huge success. Here’s a few recent photos we’ve loved of your seed-raising efforts.
Please do tag us on social media if you try this recipe, so we can cheer you on!
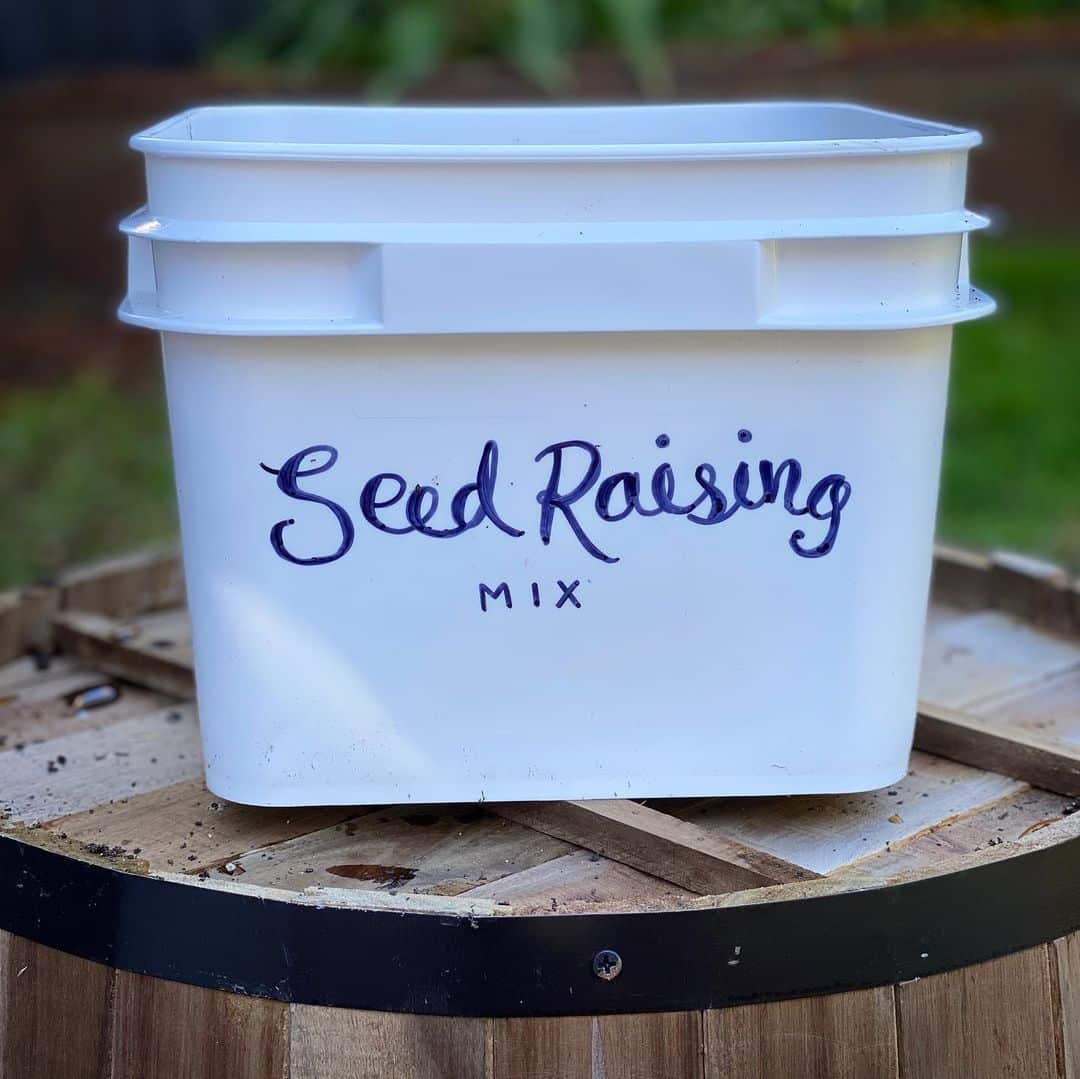
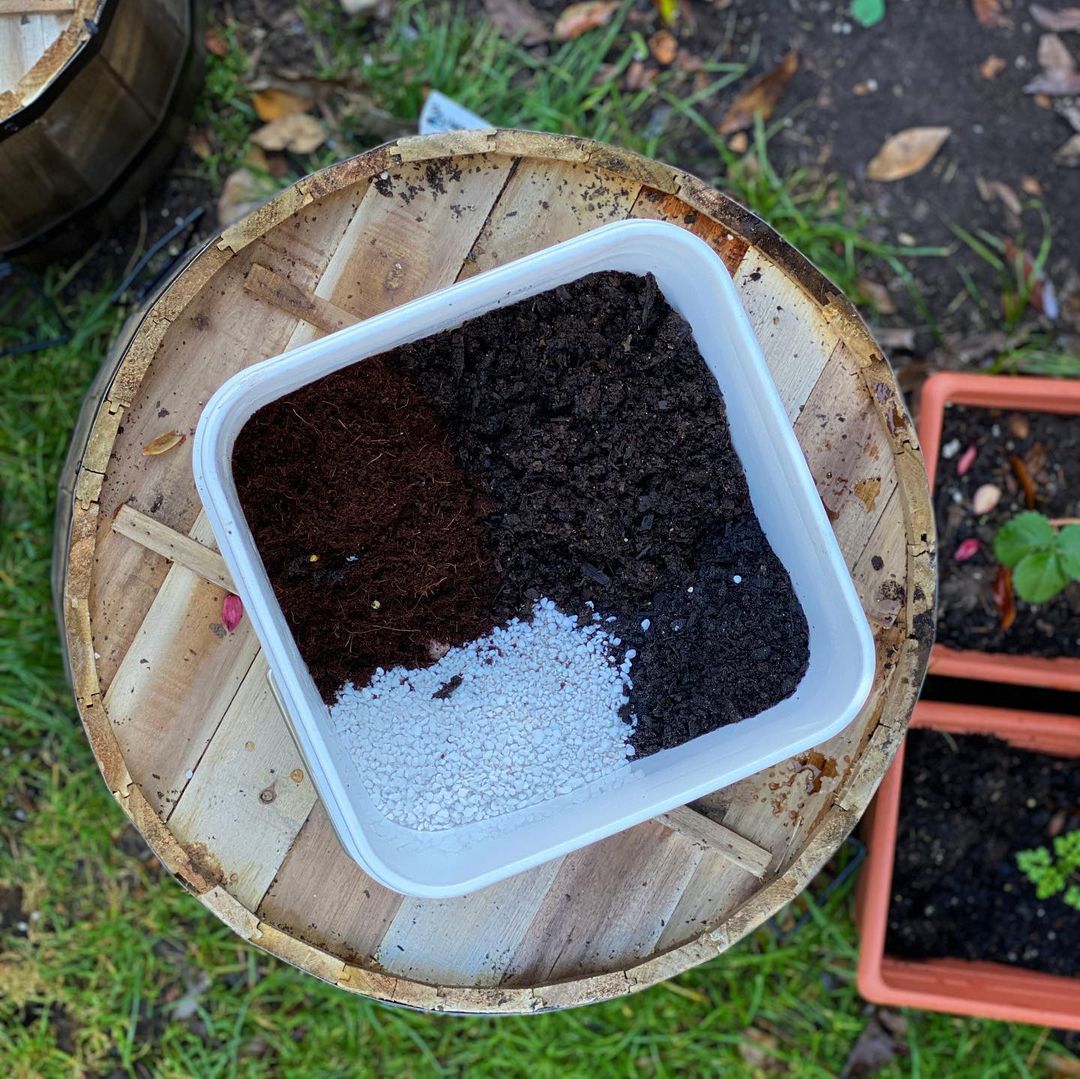
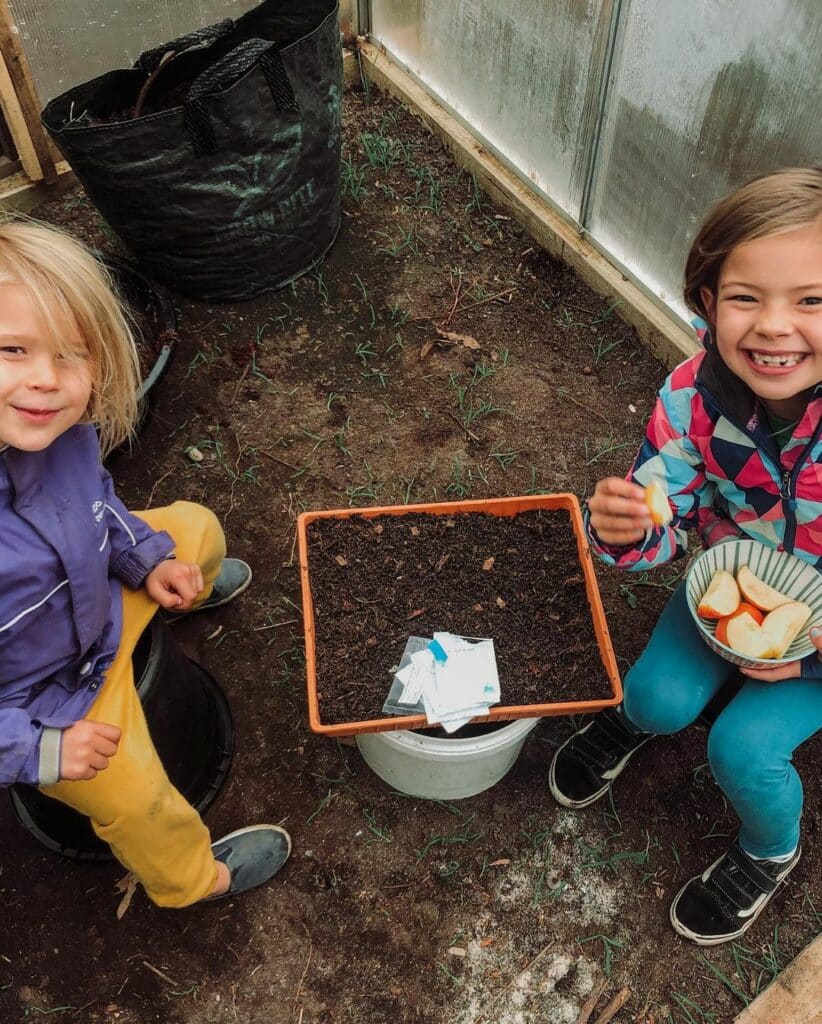
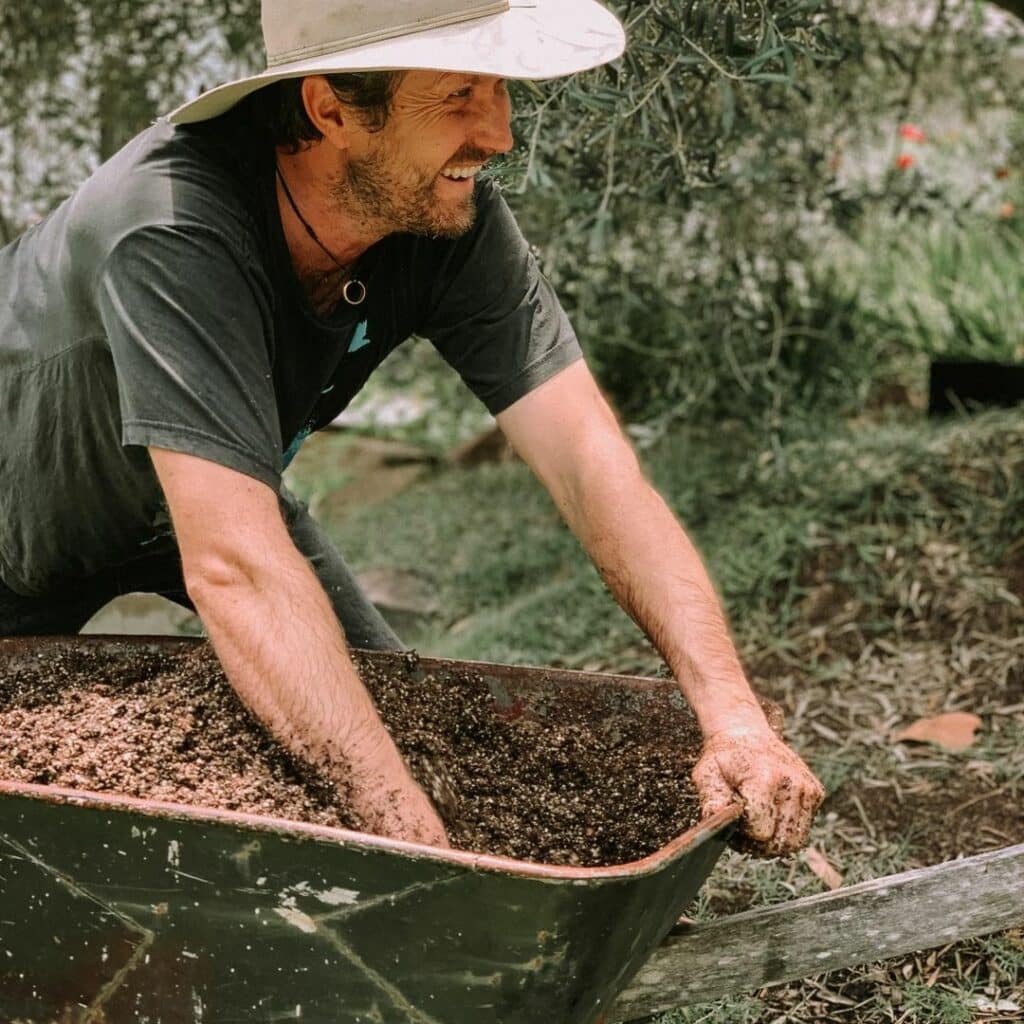
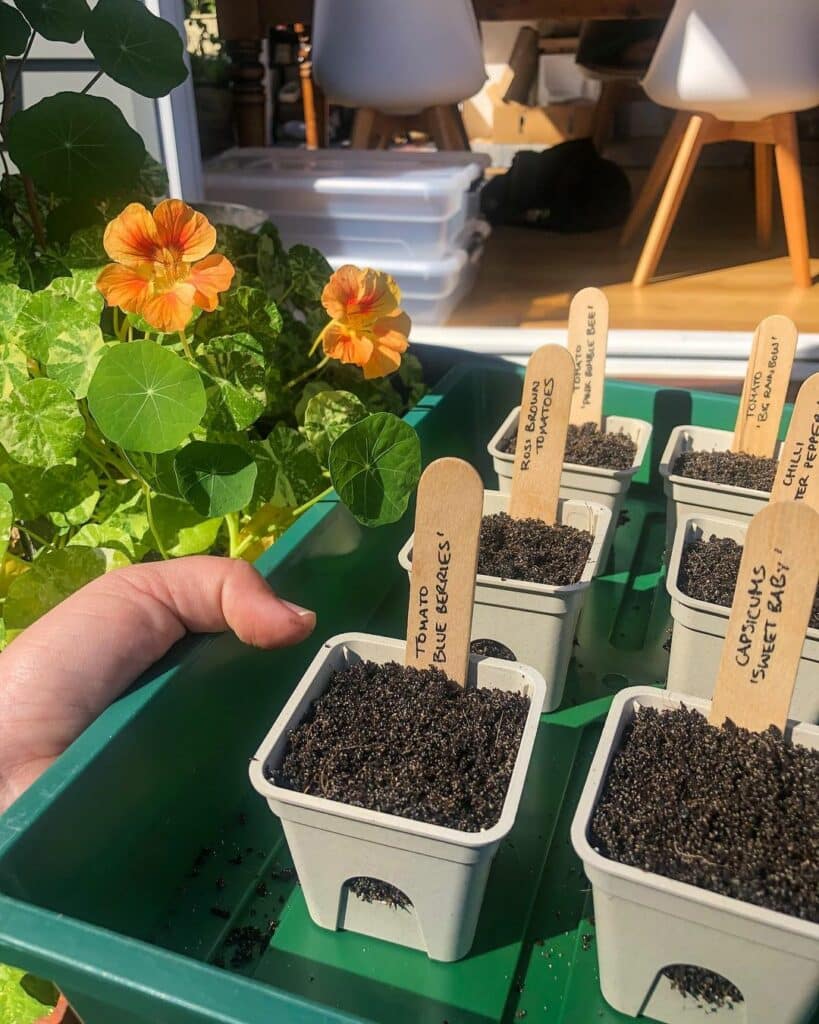
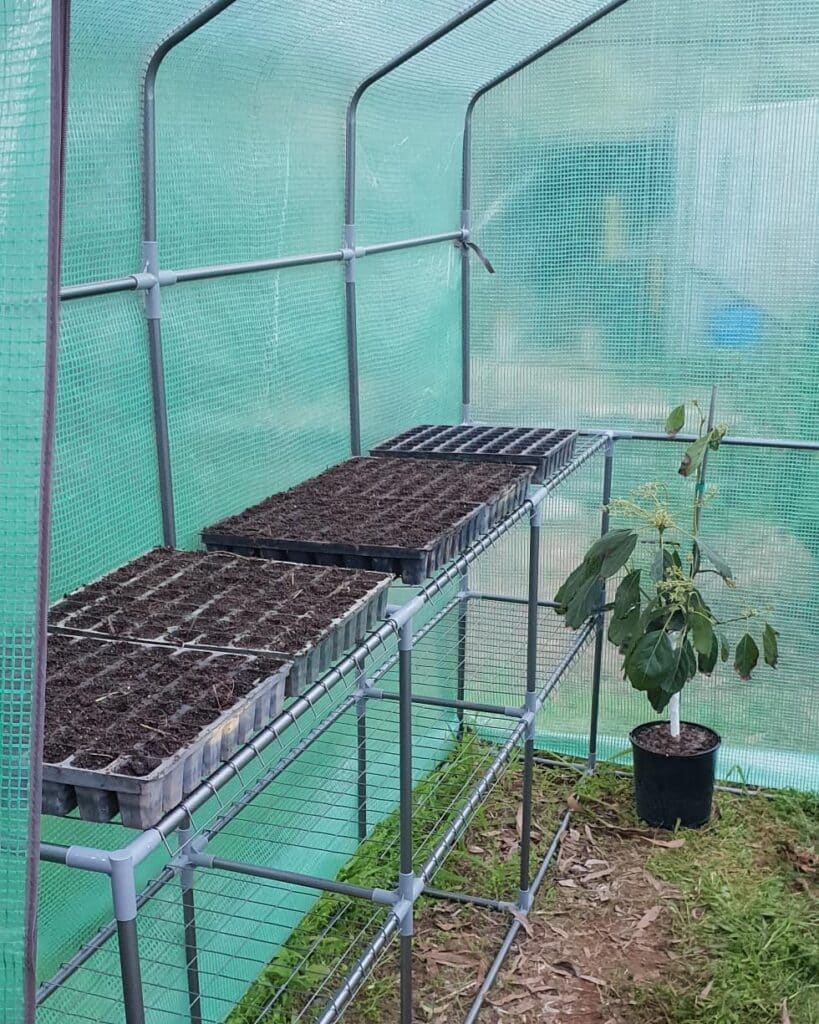
By @fossickfarmpermies
Resources
- Get Started With Seed Saving – a free guide to help you become a home seed-keeper.
- The Beginner’s Guide to Worm Farms – a video and full guide to help you get going with creating all those worm castings your seed-raising mix needs.
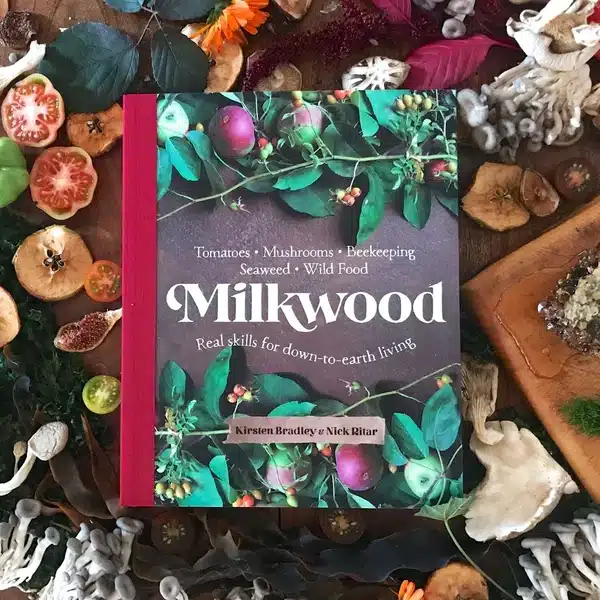
- Our book – Milkwood: Real Skills for Down-to-Earth Living – has an entire Tomato Chapter, which includes this seed-raising mix recipe plus a bunch of other tips.
- Pumpkin Seeds: Save them, Eat them, Plant them
- Starting Seedlings in Seed Trays, Biointensive Style
- How to grow Sprouts and Microgreens at your place – no garden required.
- Meeting The Seed Savers, Jude + Michel Fanton
With thanks to Brydie Piaf – home baker, maker, blogger, photographer and wrangler of small people – for many of the photos used in this article.




Hi and thank you for all that you share so generously! I used to make my own seed mix but too many weeds came through as I don’t manage to get the compost hot enough.I am careful as I can be about introducing seedy plants into it too. Any suggestions? cheers Peta
ooh tricky – if you can be bothered sieving the compost thru a fine sieve that can deal with most of the seeds – OR you could cook the compost in an oven (sounds crazy but…) – you won’t get as much nutrient out of it then (and none of the biological activity) but if supplemented with worm castings, in the balance that could still work?
Hello, Can this be made up and then kept in a container to use for convenience or best made prior to using? 🙂 Thanks
Heya Hannah – yep you can make it up and keep it in a bucket or whatever out of the weather, it will be good indefinitely – though the sooner used, the better, nutrient wise –
Thank you for such informative articles and feedback forum. Is there any benefit in utlilising worm wee to hydrate the coir in the seed raising mix when I am short on castings? If so, should it be at a higher dilution rate? Ta. Stu
Hey Stu – yep that would be an excellent idea – just make up the difference in compost. It will work well –
Hi there, thanks for the post! I have access to lots of cracker dust, would this be fine to use in place of the course sand?
Hi Karla – do you mean crusher dust? It’s got a high ph (9-12, depending) which means it’s really alkaline, which (most) seeds and seedlings won’t like… you’re after something more neutral. See if you can find some sand, or if not, go 1/2 and 1/2 on the coir and compost for that part –
Also, could I add some activated biochar to the mix?
hi again Karla – yep ground-up biochar would be great in place of sharp sand 🙂