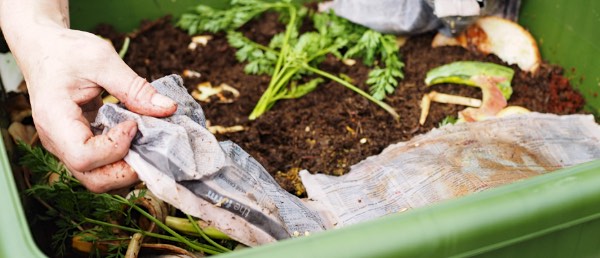
Worms. The very essence of every flourishing garden. They are great for improving soil quality, turn your kitchen scraps into a valuable, incredibly rich fertiliser, and also make for an undemanding household pet.
With a block of coir, some newspaper and handful of worms ready to go, setting up a simple worm farm couldn’t be easier.
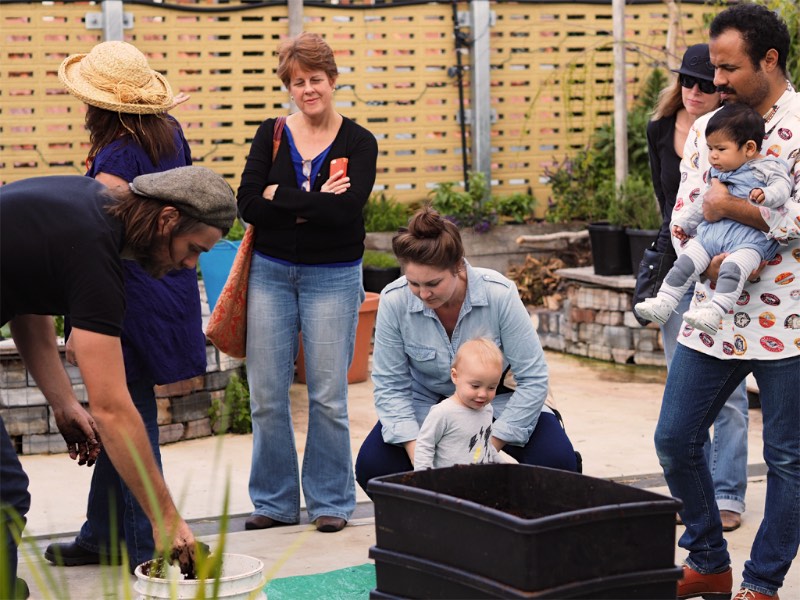
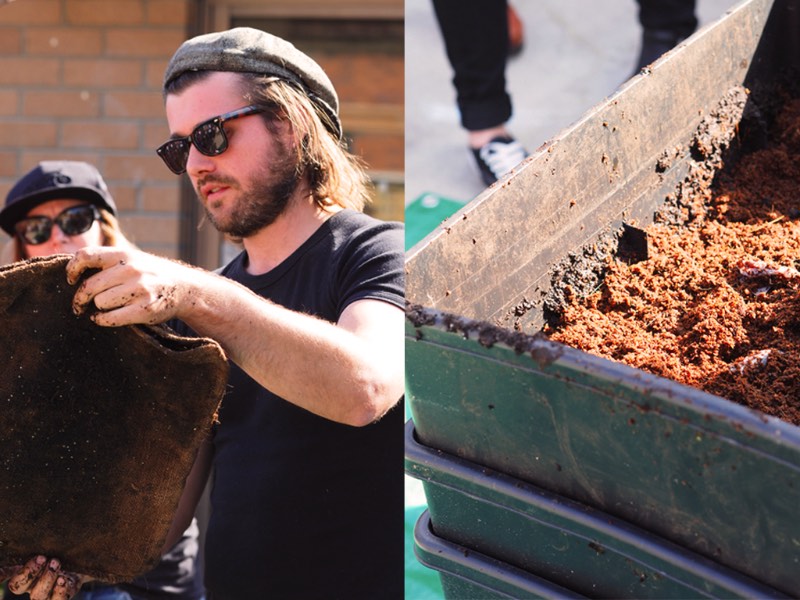
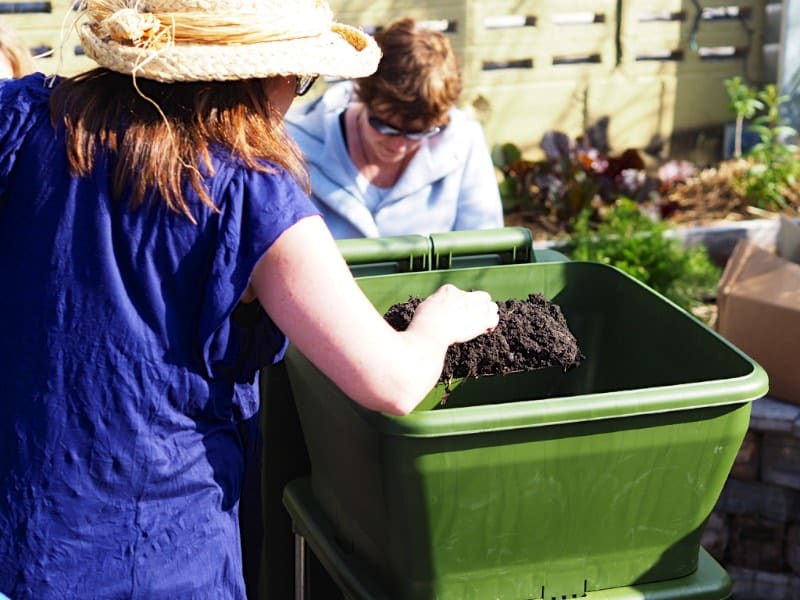
The first of the spring workshops at the 107 Rooftop Garden saw keen worm enthusiasts learn just how to do this from a variety of methods.
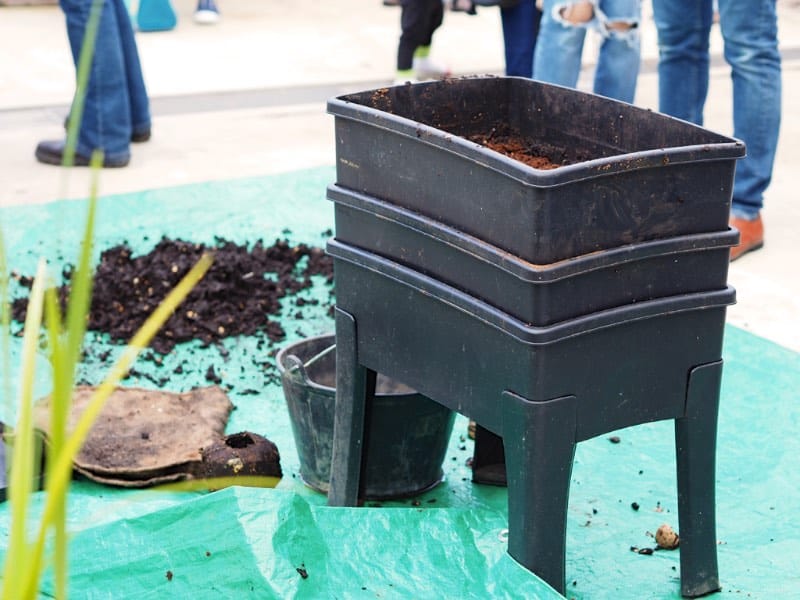
Your wormfarm can be a ready-made layered structure, created in an old bathtub, an in situ garden worm tower or something different and larger scale, like the Hungry Bin.
What you’ll need to get started
1. Work out how you want to build your farm. To start with, we’re concentrating on the black layered ones. The legs can sometimes come off, so placing it onto something a little sturdier is a good idea.
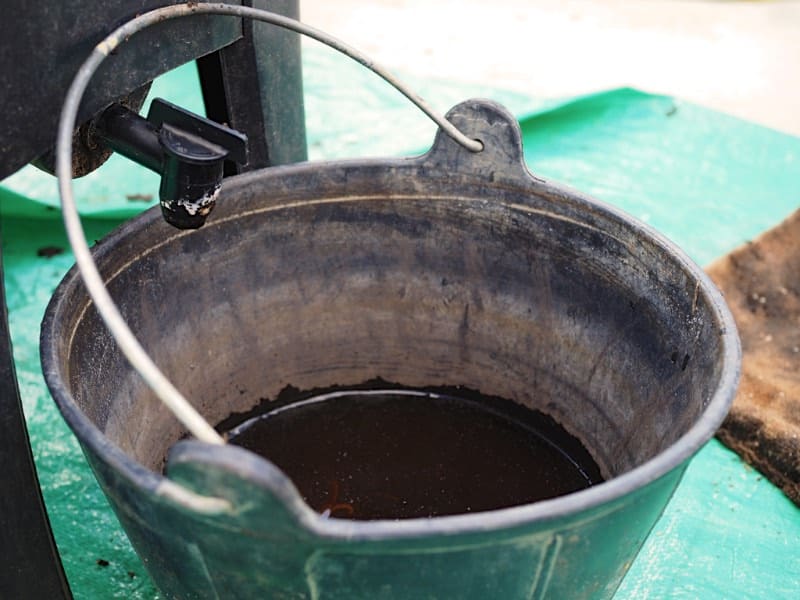
Keeping it at a slight lean for any liquid to drain through easily also works well. You can leave the tap on with a bucket underneath, which avoids any build up of sediment that can clog things up.
2. Next you’ll need to source some worms, these can be from a hardware store, community garden, council or a generous worm giving friend.
You want about 1000 worms per person using the wormfarm – so for a family of 4, you’ll want to add 4000 worms to munch through your scraps.
3. The first layer of your worm farm is the bedding, which can be made up of coconut coir and shredded newspaper – or whatever carbon-rich material you have. Wet the mixture beforehand.
Leave for a week or so and then welcome in your worms. (An addition of some cow poo if you can access it at this stage is great as it will kick start the worm farms microbiology.)
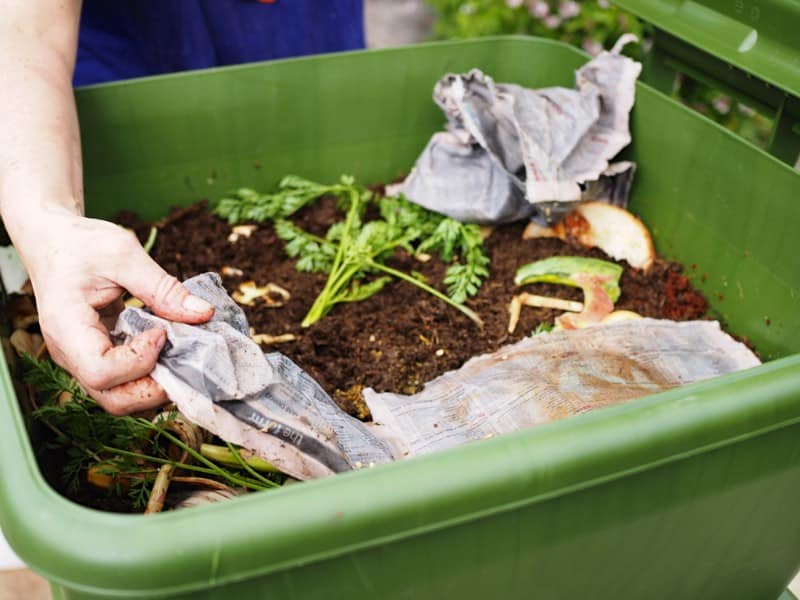
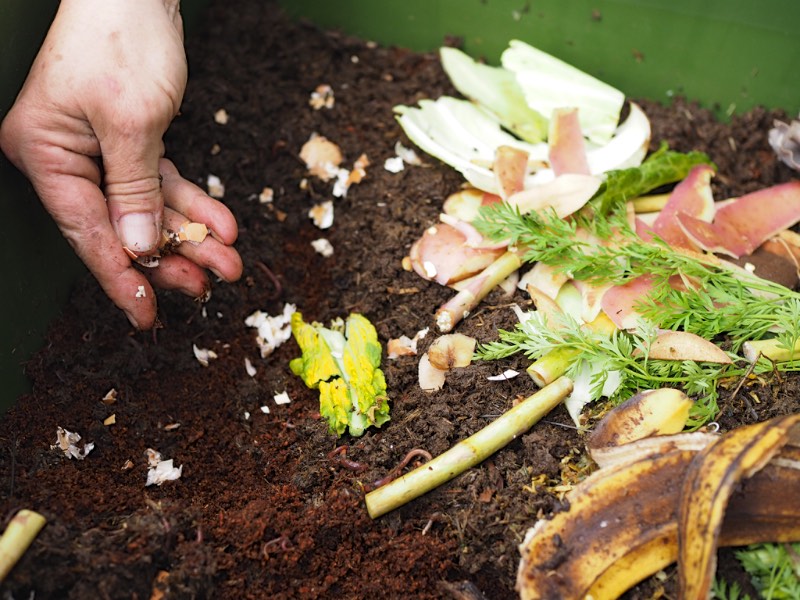
4. Add your next layer, which is food scraps. Cover with an old damp hessian sack, piece of fabric or a dampened wad of newspapers.
This will help keep things cool and moist. (Make sure you don’t overfeed them initially. As a rough guide, they eat their body weight a day.)
5. Once it’s full, harvest from the bottom. Worms are top feeders, so they will feed from the scraps layer, leaving their castings in the bedding layer (the original coir and paper mixture.)
Once this is full, take that layer out, empty the castings out on to something you are able to pick up from or sift through, drop your food layer down a level, empty layer up again to collect more scraps and lid back on.
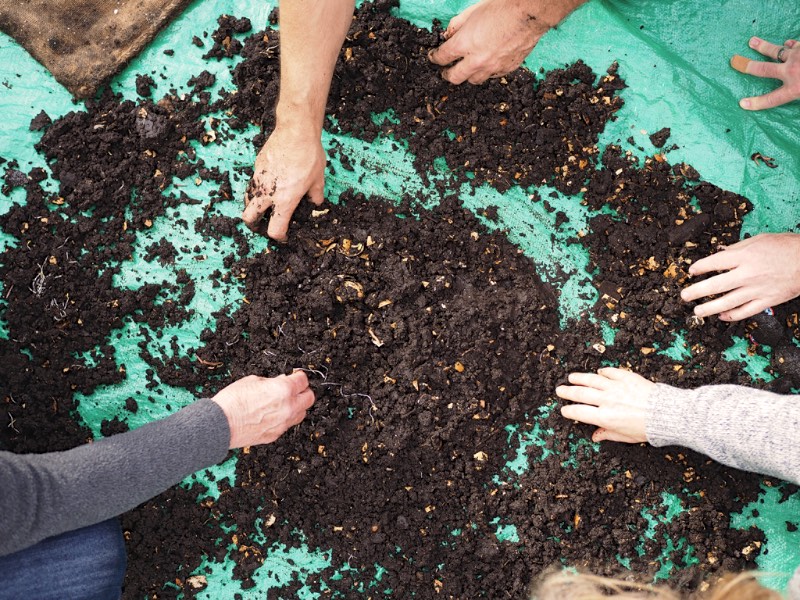
6. To harvest the worm castings – scatter your castings in a circular fashion. Worms don’t like light so will burrow further in towards the middle.
At intervals keep spreading the castings out to the edges and in the end you should have a decent pile of your worms in the middle (which then go back into your worm farm) and your worm-free castings around the edge.
- How to build a worm tower
- Setting up a hungrybin wormfarm
- Vertigation – using a bathtub wormfarm as part of your irrigation
Using the outputs
- The worm castings can be made into a worm poo slurry and poured on the garden.
- The worm wee can be used by diluting 10:1 and also pour directly on to the garden.
Top Tips for Worm Farms and Towers
Worms like a cool, shaded spot whether it’s in a worm tower or worm farm. No direct sunlight, especially in the black worm farms as they can act like a small oven.
Keep your worms fairly moist. Too wet, you may need to add some carbon, (newspaper, straw etc.) Too dry, you can blend up your kitchen scraps (if you are really dedicated) with some extra water, or simply pour some water in. Don’t drown them though they can’t swim.
Always keep a lid on both the farm and towers. Prevents other critters moving in on the scraps, helps it not dry out and also protects from rain.
Check the smell of your worm farm. They shouldn’t smell at all, just a good old earthy smell. If they do get a bit smelly or acidic (vinegar flies will be an indicator of acidity) simply stop feeding them for a few days/week.
Let the food break down a bit more, add a handful of lime, and water it in. You could also add some extra carbon (shredded newspaper), which will take the nutrient load.
Make sure the castings don’t get too compacted, do this by loosening them a little so it is easier for the worms to wriggle through. A small garden trowel or fork kept next tot he wormfarm is good for this job.
When feeding your worms, steer clear of dairy, grains, meat and highly acidic foods. Any food that may sting your skin a little keep out from the worms.
They’ll slow down in Winter – during the cooler months worms aren’t as active, and might not go through as much food as they would in summer.
If you are going away for a few weeks, the worms are fine to be left. Don’t overfeed them beforehand, add some extra shredded newspaper and bid them adieu.
Remember. Keep them in the shade, keep them moist and don’t over feed. They are self regulating so there will never be too many of them.
Worms – the easiest pets you’ll ever keep with the added benefit of the best kind of fertiliser that your garden will love! Huzzah.
Big thanks to Worm Lovers for their contribution of a Hungrybin Wormfarm to the 107 Rooftop Garden, and to Adam Kennedy + Heather McCabe for leading the recent worm workshop.
Brydie Piaf is a photographer and home baker, maker, writer and wrangler of small people.









I’ve got perhaps a silly question… Can I use worms from my (very worm-full and active) compost bin? Or do I need to purchase other worms? Thanks!
Those worms will be compost worms 🙂 Go right ahead and transfer them to your worm farm.
I used to use wet newspaper as covering the problem with this is my concern about toxins from the ink ?? Is it safe ? I have bags of vermicast from this so just a question. The worms will eat the newspaper too so needs to be replaced each time. I now have the wooly tumbleweed covers found at bunnings. It seems to do a better job. the problem with coco coir bedding is to not use the blocks they have chemical fertilisers in it ! I was lucky to find a big bag of inert coco coir from a… Read more »
In regards to ink, most inks used in printing are vegetable or soy based, so it should be ok.
Thanks for the insight ok. Im still using the tumbleweed covers ! My main concern is with the coloured inks.
Hi! I have an old cast iron bathtub that I will shortly make into a worm farm. My question is, do I need to cut ventilation slots on the sides? The iron is very thick and would be very difficult to cut. Also, I would rather not cut it, to preserve it for future uses. Alternatively, would an untreated wooden lid + passive airflow through the bottom drainage hole of the tub be enough fresh air for the worms? Thanks Milkwood!
hmm hard to say – we didnt cut our bathtub wormfarm systems at all for ventilation and they went gangbusters, so i would say yours would be fine as long as it’s not in sun 12 hours a day?
Sweet, should be right. Thanks for the prompt reply!
Hello,
Here’s my dilemma, I live on a hill and where I am there is no soil on the land. Lots of rocks! I plan do build raised garden beds and put some soil on top of the existing garden beds, will the worms still thrive in soil that’s not very deep ( not meaning the garden beds)?
Also where’s the best place to buy soil? Kinda over buying the packets!
Thanks
Hi Vicky, yep your worms should be well happy with that. Asking for topsoil options at your nearest landscape supplier might yeild a delivered trailer-load or two? Thats what we’ve done in the past. Paying extra for the premium stuff is worth it I rekon, given that it’s a once-off garden establishement…
Hello. I have an established worm farm that produces almost no liquid and yet the castings are moist but clumpy when removed to use in the garden and harden if left out to the elements. I have also tested the pH of the castings and it is alkaline 8. How can I rectify the pH and produce better castings, please?