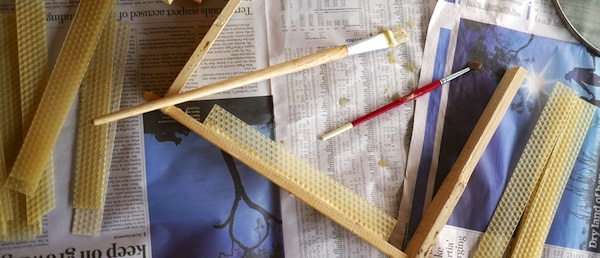
Starter strips are a great way to encourage your bees to build their natural comb straight off your top bars. Because straight comb means easier harvest and inspection, which means less disturbance to your bees.
Preparing starter strips for your Warré beehive top bars is a yearly task. It needs to be done before the bees start building lots of comb and outgrowing their Winter hive space.
Firstly, can I say that people manage the top bars in their natural comb beehives in all sorts of ways – some use starter strips, some use paddlepop sticks, some bead wax along the middle of the bar, some just put the bars in the hive.
Our focus is on stewarding colonies that are as bee-centric as possible, while still encouraging the bees to draw comb in a way that makes the comb easily removable by us, the beekeepers, with minimal disturbance to the bees.
This means we need the comb to be drawn off the top bars, and only the top bars, so that we can remove that comb as needed for inspection or harvest, without disturbing the rest of the comb in that box.
This might sound simple, but bees build comb in all kinds of crazy directions. Unless either forced or encouraged to do otherwise.
If the bees in your warré hive choose not to build their comb neatly downwards from your top bars, something called cross-combing occurs, and the bees build comb as they would in the wild – every which way, without consideration for your carefully placed top bars.
This can mean that it’s not possible to ‘pull a comb’ from that box – you can’t just pull out a top bar and inspect the comb attached beneath, because it’s stuck to 5 different top bars, plus maybe the side of the box, too…
Since the DPI in Australia requires any beehive to be accessible by having removable combs, in case inspection for disease is needed, this is clearly not ideal.
So, to discourage cross-combing, and encourage the bees to build their comb neatly down from our top bars, we use starter strips.
Why Starter Strips
Wax starter strips give the bees a guide as to where to start drawing their natural comb from, on each of your top bars.
In addition to being a guide, a well-secured starter strip can help ensure the overall strength of the comb, especially in its early stages of production. In a hot summer, this is a good thing.
You can make these starter strips from wax yourself, or an easy option is to use a small amount of commercial wax foundation.
The bees don’t seem to mind if the wax is patterned (commercial foundation) or plain.
Making your own Strips from Scratch
To make your own starter strips from scratch, you will need, of course, beeswax (making them from absolute scratch not being possible unless you are a bee).
There are many videos on the internet on how to do make thin sheets of wax, but might we recommend that you start at this one here by wayoutwest – scottish accents and good technique. Gold.
An interesting tip in the above video is that once the completed wax sheet is rolled, it becomes more flexible than an un-rolled sheet. Good to know.
Using foundation for your Starter Strips
We fall into this category this Spring – time is short, and top bars must be prepared. So using foundation is a great short cut.
To do this you will need:
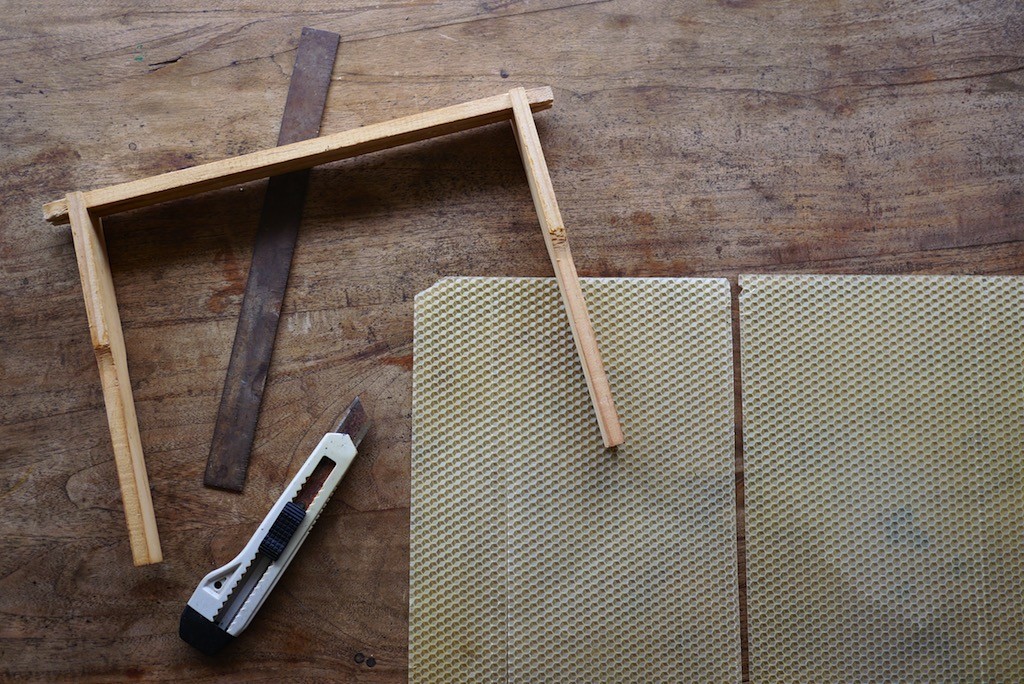
- Top bars – cleaned, and the starter strip channel gouged out if used previously
- Foundation – this comes in different sizes – see below
- Stanley knife + ruler
- Beeswax for securing the starter strip
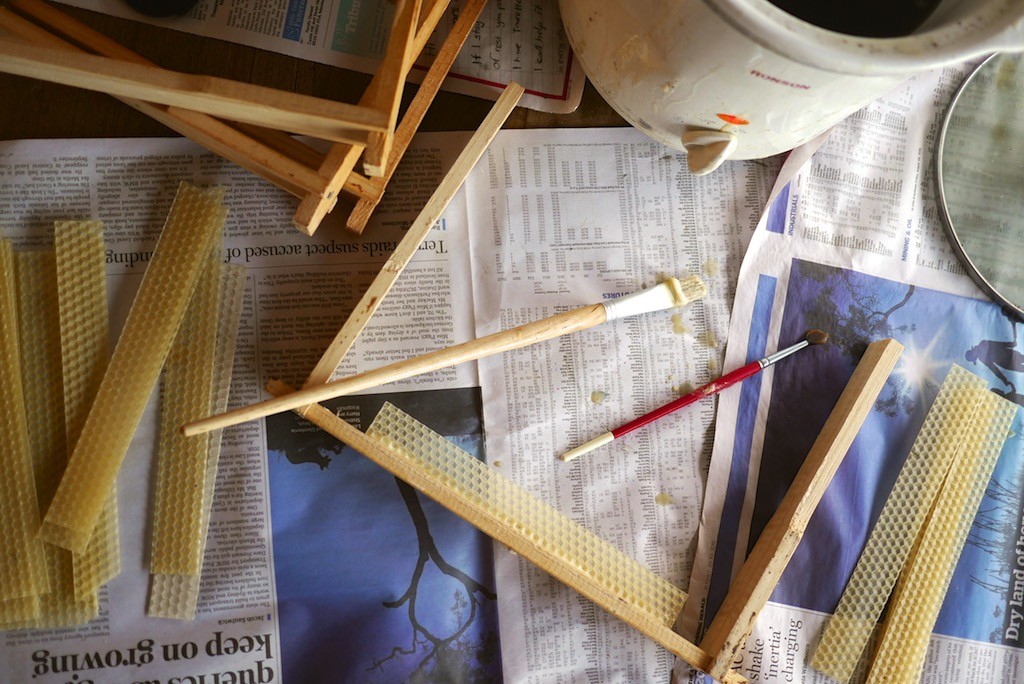
- A pot to heat the beeswax (we use a small slow cooker)
- A paintbrush
- Newspaper to put down under everything
Foundation comes in different sizes, but the main thing is, we suggest, that you want to end up with starter strips of the approximate dimension 210mm x 40mm.
So – make up your strips, and ensure all your top bars are clean and pre-gouged.
Then insert the starter strip into the channel on the top bar, and paint it in on both sides, using hot wax.
The wax will dry in a few seconds – then, place your top bar in your hive box, and repeat, and repeat.
*Tip: a dedicated small slow cooker (we got ours from an op shop) is excellent for heating (and keeping) your wax in – heat it up, let cool the leftovers, put the lid on to store as a whole unit, heat it up again as needed.
And, crucially, it keeps the wax hot while you use it (if it’s turned on), rather than having you rushing backyards and forwards from a stove or similar to re-heat the wax as it cools. We also use it for our shiitake log production, when sealing the holes with beeswax
Try not to get wax on the sides of your top bar – the neater things are, the clearer it is to the bees where they should build their comb from.
If you’re in need of wax, Malfroys Gold sells beeswax from naturally managed, completely chemical-free hives by the brick. It’s good stuff.
And then you’re ready for the season, with boxes full of starter strips to place underneath your hive, as needed. Happy Warré beekeeping.
Have you made up starter strips? Got any tips on technique or materials to share? We’d love to hear…
All our articles about Natural Beekeeping are here…






Its good to know that you can buy chemical-free foundation. We are using langstroth hives (and still learning) and my main problem with foundation is not having any control over where it came from (apart from all the issues with it not being natural to force the bees to build a certain size comb and being a waste of money!). I’m interested in trying different types of hives when we know more about bees, thanks for this post 🙂