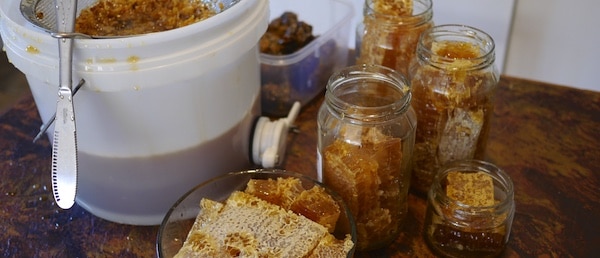
Harvesting a box of warré honeycomb is an exciting event in any beekeeping year – its a sign that your bees have so much honey stored that taking a full box of honeycomb off the top of the hive won’t even be missed.
It’s been about 4 years since we’ve harvested – firstly due to two poor summers for our bees at Mudgee (which meant we didn’t harvest any honeycomb as we wanted to leave it all for the bees), and secondly due to our current situation of the last two years, renting in a small town.
But since we’ve been able to setup a warré apiary this Spring at our friend’s place, Buena Vista Farm, we’re back in the swing of natural beekeeping, and we love it.
This Spring has been a cracker on the south coast of NSW for bees, and so, within two months, one of our new hives had a full box of honeycomb, ready to harvest.
Nick + Adam checked the hives and one one of them there was definitely a full box of comb in addition to a half box of comb beneath that, so on went the clearer board so that we could harvest the next day.
Harvesting with a Clearer Board
A clearer board is a great device that allows you to gently harvest a box of honeycomb with minimal disturbance to your bees (rather than brushing, or (I cant belive people do this) leafblowing the bees off the comb).
After checking that there’s a full box of comb to harvest and plenty of extra honey besides, place the clearer board between the top and 2nd top boxes.
Overnight the bees will contract back down the hive to cover the brood, leaving the honey stores above reasonably bee-free. The bees will exit that top box of honeycomb via the clearer board, which allows them out of the top box, but not back in.
The next day, you can safely harvest the mostly-bee-free box of honeycomb by just taking it off the hive. Obviously you need to check each comb for straggling bees, so you don’t harvest them also. Giving each comb a sharp shake infront of the hive entrance is usually enough to get rid of any extra bees.
If you’re after one of these, Malfroy’s Gold sells warré hive clearer boards, and here’s a bit more discussion on them over at the warré beekeeping forums.
Once you have a box of bee-free comb, it’s time to secure your box of honey comb top and bottom, either with boards and a strap, or by plunking the whole thing in an eski and locking the lid.
And then it’s off to the kitchen for honey processing. Yeehar.
Sorting the comb
This box of comb contained mostly capped honey, with some uncapped honey as well.
You dont want to mix these capped and uncapped honey types up if you can help it, so the first thing we did was cut out the uncapped honey, and put that aside.
Then you need to decide what you’re going to do with it all! For this box, we decided:
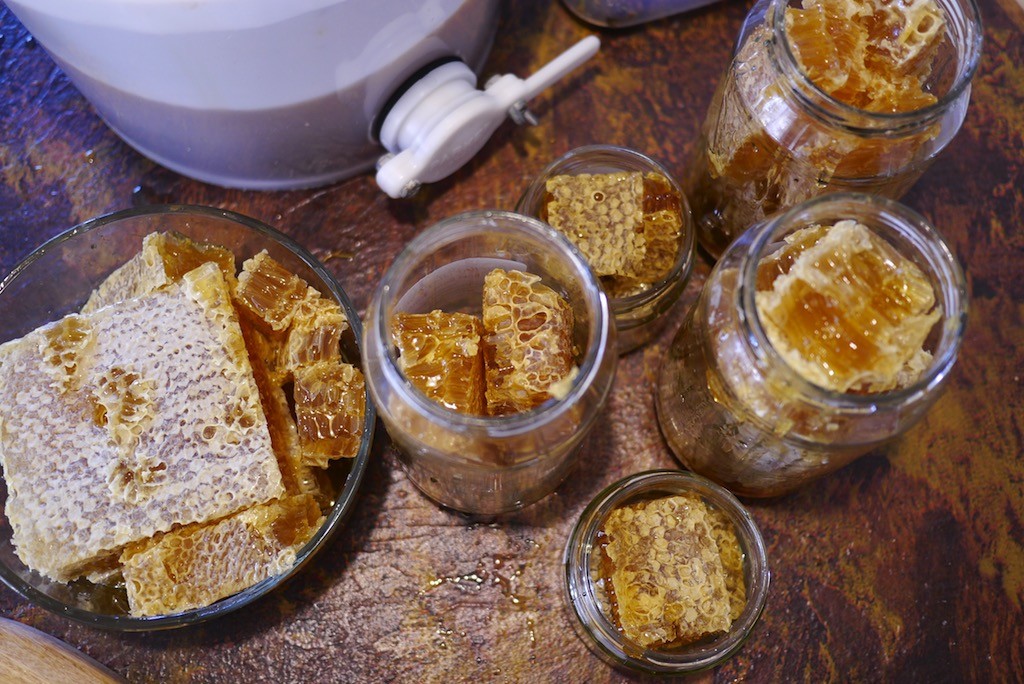
- all virgin capped honeycomb to be jarred as comb
- all post-brood capped honeycomb to be crushed to honey
- all uncapped honeycomb + pollen to be crushed + mixed with water to make mead
Crushing the post-brood comb
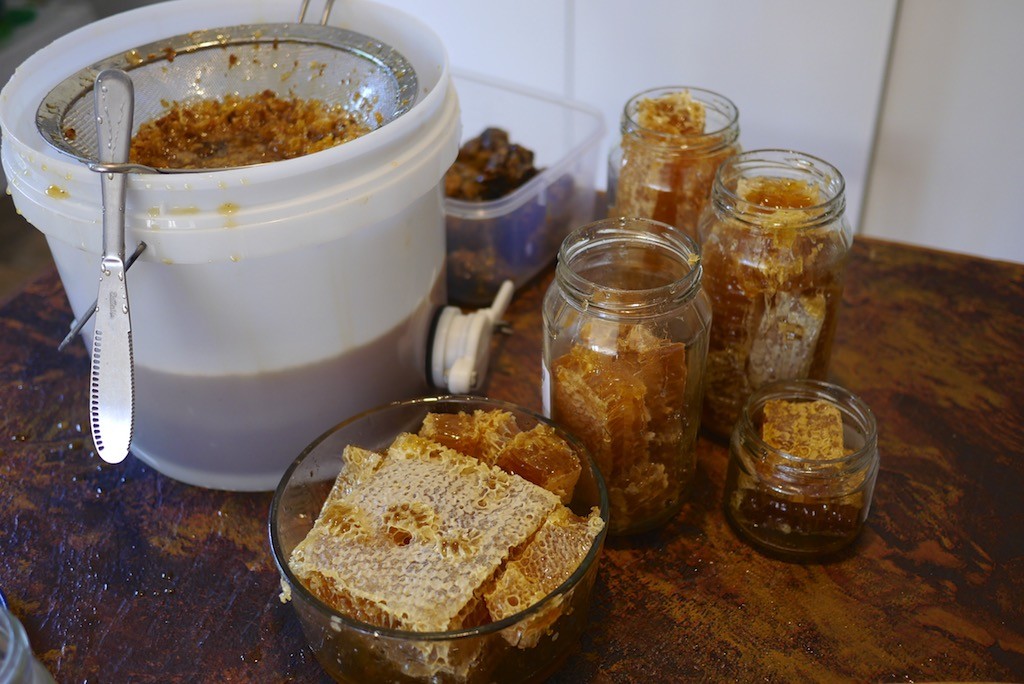
This is one of the squishiest jobs, and also one of the simple delights of natural beekeeping. Because all this comb is bee built (no pre-made foundations) it is delicate enough to be squished easily to a tight ball of wax, with all the honey extracted.
If you’re working on a larger scale, a honey press is awesome. On a one-box scale though, this method is more than adequate.
The materials for this process are simple, inexpensive, multi-purpose and usually already existing in any kitchen – a clean bucket, a sieve, extra bowls. Boom.
We have a honey bucket with a gate on the bottom that we crush into, but you could use any vessel with a good seal.
This comb is a bit darker because it’s had a generation or so of baby bees go through it, after which, as the brood moves down the hive, the bees use that same comb for pollen + honey storage.
It’s a comb that’s full of traces of pollen and all the amazing natural antibiotics etc that bees add to their comb when creating a healthy environment for their babies.
In many parts of the world, it’s the post-brood natural honeycomb that is considered the good stuff, and which costs far more than virgin honeycomb to obtain. In Australia, it’s the other way around. Go figure.
For this harvest, mostly because we were planning to gift honeycomb to family + loved ones, we chose to jar the virgin stuff, and crush the darker comb for our own delicious uses.
The leftover wax from this process will firstly be washed to add to mead water, and then rendered down for pure wax at a later point.
Cutting the virgin comb
This process is the most simple of all honey harvests, and the oldest, too. There’s Egyptian tombs containing honeycomb, so we’ve been doing this a while.
Did you know that honey will store perfectly in capped comb for an indefinite period of time? No candying, no fermenting. Just as nature intended – a perfect storage system.
However, our storage options are a bit less perfect – the main limitation being space to store whole frames of honeycomb, without using plastic bags or multiple eski’s.
So – jars it is then.
With the help of a sharp knife and a glass of hot water, it was a simple and delicious process to jar this honeycomb up.
Crushing the uncapped comb for mead
Uncapped honey is still ‘in process’ if you like – the bees are still reducing the nectar’s water content by actively fanning it until the water content in each cell reaches about 15% (the exact percentage depends on the nectar source).
When the water content is just right, the bees cap each cell of evaporated nectar, and at that point it is officially honey.
Unless the water content is low, the natural yeasts in the nectars will cause it to ferment – which is great for some things, but not for stable honey storage – hence why we kept this honey separate from the capped stuff.
But it’s great for making mead.
This was our first attempt at mead and to be honest we just winged it, as we were short on time. The process was adding crushed, uncapped honey and pollen to all the wax from the post-brood comb, adding water, and then swishing it all around until the honey and pollen dissolved into the water.
Then, we strained out the solids, tasted it, and bottled it up. Raw honey + pollen and water, and all the natural yeasts therein. Yum.
In theory, mead is made with 1:10 honey to water, and in the future I look forward to making it really well.
This batch, after making, was shipped across two states in the back of our car during our Christmas roadtrip, and burped twice a day as we went.
Within 7 days, when we arrived in Victoria, it had turned into a super-charged honey-vinegar-shrub-type-scenario. We drank it mixed with mineral water from the nearby mineral springs and enjoyed it muchly.
The rest is dedicated to salad dressings and medicinal supplements, until we finish the lot.
Whew! All up, a few hours happy work, resulting in…
- about 7 litres of honey
- many jars of honeycomb
- bottles of experimental mead vinegar aplenty.
Thank you to Tim Malfroy for the hives, Buena Vista crew for the apiary site, and of course, biggest thanks to our beautiful bees. Our larder + our tummies are the happier for you all.
- All our Natural Beekeeping articles are here
- Spring 2016 Natural Beekeeping courses are here (no courses this Autumn, sorry! Tim’s too busy).






Hey Kirsten, you can scale up your process a little with a purpose made nylon sieve which sits perfectly in the kind of bucket you have. It has a much larger capacity and I use a potato masher to crush my comb in it. It can handle about 18-20kg of comb before you need to start a new batch. I leave each addition for a while to let most of the honey drain. The drained mash packs down so you can add more. Buy them from beekeeping supplies in different grades for ~$18. I typically use the 400 micron grade.… Read more »
great stuff. and i’ve been looking for a good mead book, so thanks!
What a fascinating description of the process. I keep National hives on the Isle of Man but have only ever used a spinning extractor during the honey harvest. Getting your hands in there squeezing the honey out must be a lot of fun!
http://www.costanteimports.com.au/wine-beer-cider-olive-oil/wine-making/presses/multiuso-press-stainless-cage.html
be really great if they just said how much that one was 🙂
Italian Press is $520 – Just bought one.