Beeswax is one of our favourite gifts from the hive – and perfect for making your own beeswax wraps. At this gifting time of year, no-waste, home made presents make all the sense in the world – so here’s how to make them.
And how to render your raw beeswax down too, if you’re lucky enough to have a hive or can get hold of a friend’s many leftovers! Alternatively you can cheat this step and buy some beeswax, that’s fine too.
Beeswax is something the bees make themselves, from their own bodies. It’s incredible stuff, and deserves to be used to make beautiful and truly useful things. You can use beeswax in cooking and to make medicines and balms, candles and soaps, and, of course, no-plastic lunch wraps.
Beeswax is also great for plugging shiitake logs, keeping wooden furniture glistening and whole, and a thousand other uses.
We’re going to dive straight into beeswax wrap making, then discuss how to render wax from your hive – because not as many folks get to do the rendering bit! But if this IS you, and you’ve just harvested from your top bar hive and have a wonderful sticky mess of wax to process, scroll down and check out the rendering directions first.
Buying beeswax…
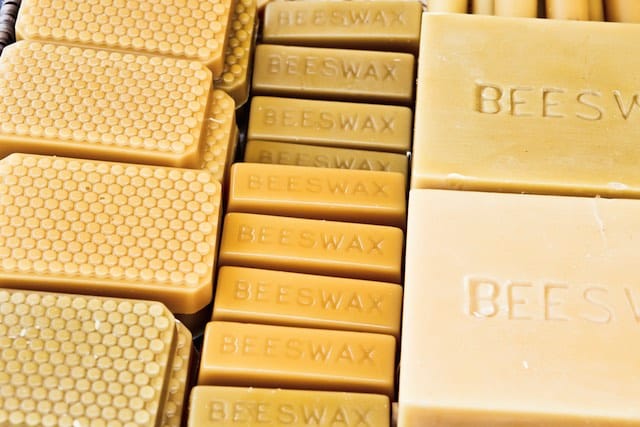
If you’re buying beeswax, try to keep it as local as possible! Many Australian beekeepers sell beeswax in bulk – hop online and see what you can find. Candle making and craft shops will also stock beeswax in blocks or often pellets.
But a note here: beeswax stores whatever toxins enter the hive. This includes chemicals used in hive maintenance, and environmental ones also. So get the cleanest wax you can find for projects like beeswax wraps, which you’re going to wrap your food in. Some places sell ‘organic food grade’ beeswax, and you can take this option if you like, though it can be expensive. When we need extra beeswax, we opt to buy from a beekeeper that we know doesn’t use chemical treatments in their hives.
If you’re not sure which wax to choose, stick with Australian beeswax as a minimum, rather than going off-shore where safety and chemical standards of beekeeping may not be great. Or, best case scenario, start natural beekeeping and don’t use any chemicals at all, ensuring the purity of your home-sourced wax. The bees will thank you.
Making beewax wraps
Every kitchen should be full of these re-usable wraps. Use them in place of plastic wrap, but also to wrap bread and vegetables to keep them fresh. Beeswax wraps are washable and can be used again and again.
Clean them with cold water and gentle soap as necessary, but we usually just rinse them in water and hang them up to dry. When the wax wears out, the wraps can be re-infused.
You will need:
- Thin cotton cloth of various sizes
- A hand grater
- Beeswax
- Metal baking trays
- Jojoba oil
- A wide paintbrush
- Pegs and a drying line
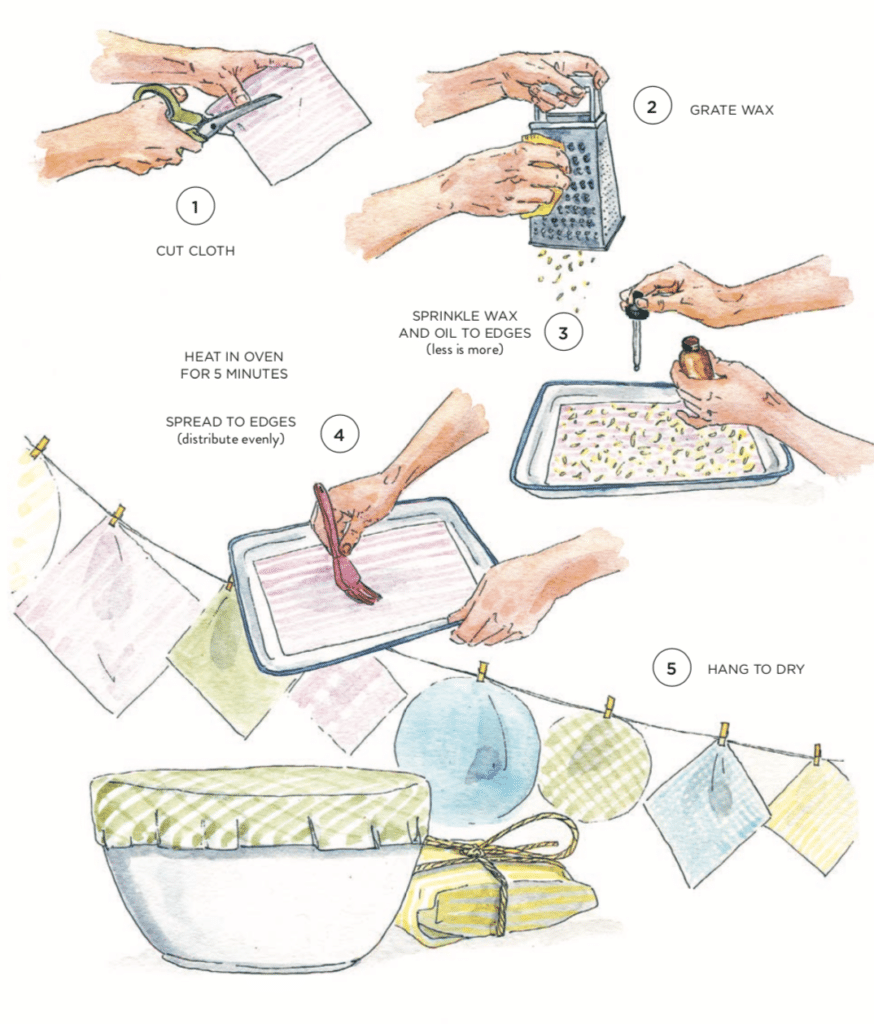
1. Cut the cotton cloth into squares or rectangles of your preferred size – we make them from 15 cm (6 inches) wide to about 40 cm (16 inches) wide.
2. Preheat the oven to 100°C (200°F). While it’s warming up, grate the beeswax.
3. Place a cotton square on a baking tray and sprinkle it with some drops of jojoba oil, then sparsely sprinkle the grated beeswax over the top, all the way to the edges. Less is more – if the wax is too thick, the cloth won’t be able to absorb it all.
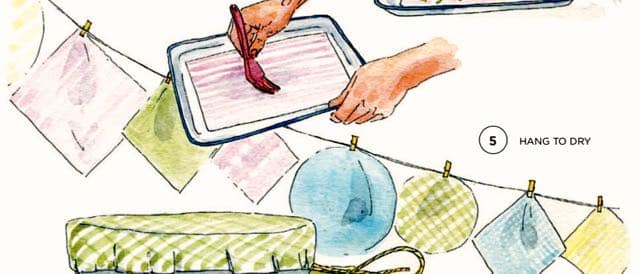
4. Place the tray in your warm oven and watch closely – remove it as soon as the grated wax has melted, about 5 minutes at most. Use the paintbrush to ensure the whole cloth is covered with the melted wax, all the way to the edges.
5. Pick up the wax-covered wrap and peg it on a line until cool and dry. Repeat, repeat and repeat until you’ve used all your wax. If there’s excess wax on the baking tray, just press the next cloth into it to absorb it, and reduce the amount of grated wax you add.
Tips…
- Use scraps of cotton fabric, old skirts or pillowcases to make the wraps.
- Choose a paintbrush that you’re happy to get wax on, because you won’t get it off again!
- The jojoba oil helps the wax to spread evenly through the cloth. An eye dropper is useful for sprinkling the oil.
- When you’ve finished making wraps, scrape any excess wax from your baking trays and add it to your spare wax supply.
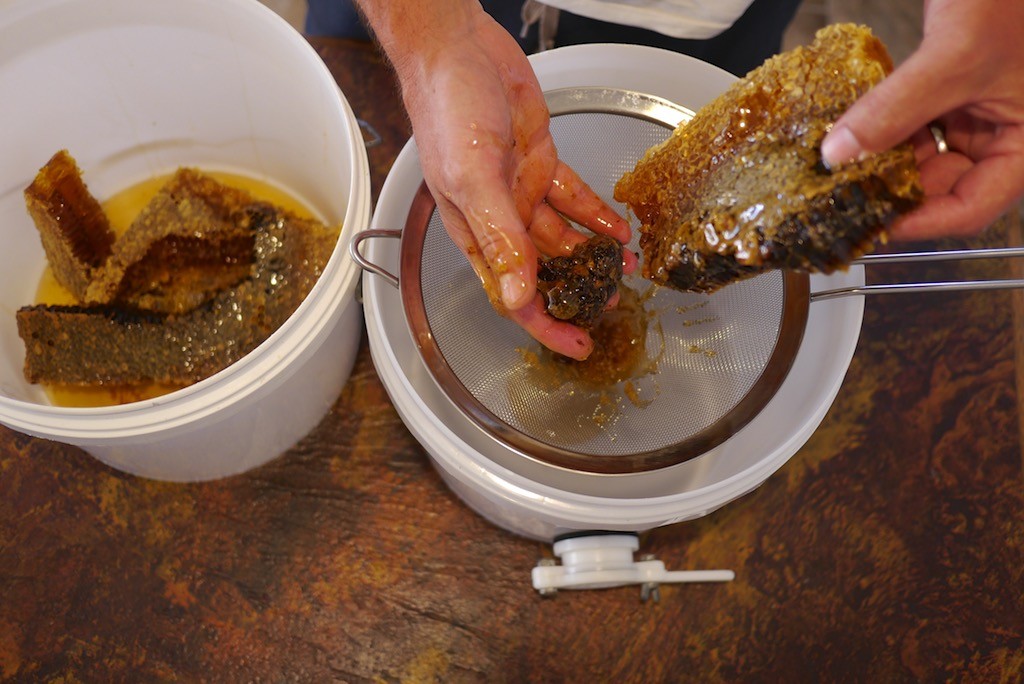
Rendering beeswax from a natural hive…
Here’s how we do it. Keep in mind this is beeswax coming out of a warré hive, so full comb harvesting with the honey squished out (more on the harvesting process here)…
Once the honey is removed from the comb, you are left with gorgeous, sticky beeswax, which can be cleaned and used. Beeswax is incredibly useful stuff and represents an enormous amount of care and energy from the hive. It should be processed just as carefully as your honey.
Processing beeswax
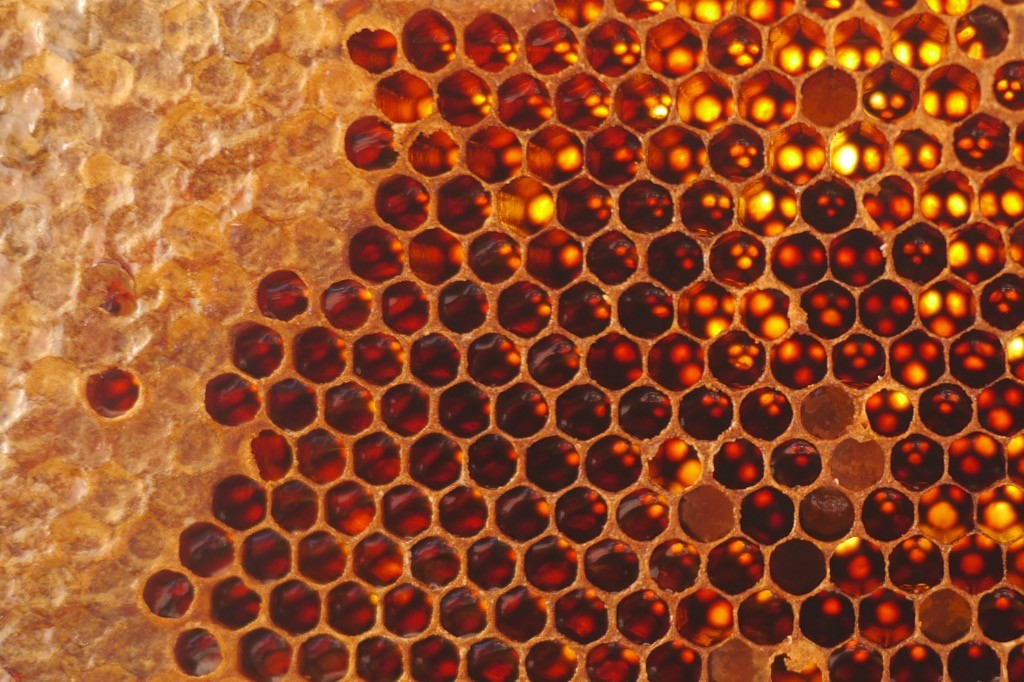
When your beeswax has had all the honey strained out of it, it’s ready to render down into pure wax. Rendering is the process of removing the non-wax materials with which the bees have lined the walls of their comb cells, along with any last skerricks of honey.
The first step is to get the remaining honey out of your wax. Luckily, honey is water soluble, so this part is easy – plus you can make mead and other drinks from the left-over honey-infused water (see page 170). Dump all the waxy bits in a clean bucket and break them up into small chunks, then cover it with clean water that is double the depth of the wax. Use unchlorinated water if you plan to use the wash water for making honey- flavoured drinks (which you definitely should do).
Using your hands, swish all the water around and rub the chunks of wax together to release the remaining honey. Once the wax no longer feels sticky, pour this mixture through a fine sieve or a piece of muslin (cheesecloth) and reserve the sweet water for making tasty things. The wax in the sieve is now ready for rendering.
Rendering beeswax
The basic process of rendering involves heating the wax (gently, so that it doesn’t burn) on the stovetop or in the sun until it is completely liquid. Then you simply strain out the bits, leaving behind golden, pure beeswax to set into a block.
Beeswax is very difficult to get off utensils and pots, so consider making a beeswax processing kit with all the bits you’ll need to use over and over again. We buy everything we need from local op shops or thrift stores.
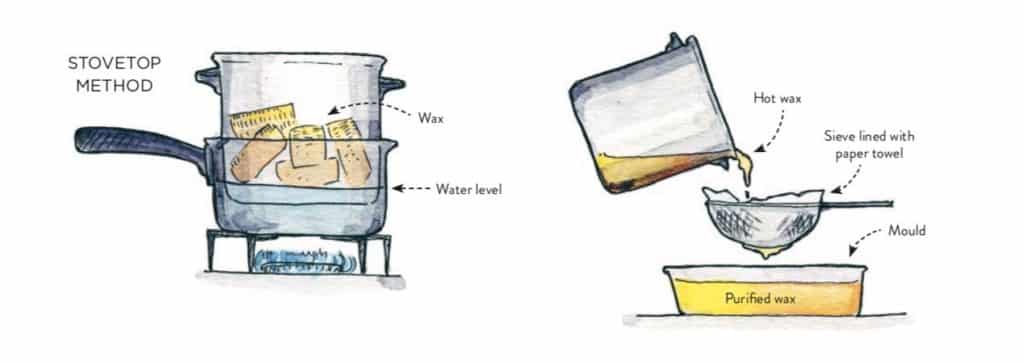
Stovetop method
Place the wax chunks in the top of a double-boiler arrangement. Either use an actual double boiler or use a big pot of water with a smaller pot sitting snugly inside (but not touching the bottom), with the water coming up the side of the smaller pot.
Heat slowly until the wax is completely liquefied, then pour the wax through a sieve lined with paper towel (or cheesecloth, or very fine mesh, or… ) into your mould of choice. This is the messy part, so make sure you’ve got everything you need on hand before you begin.
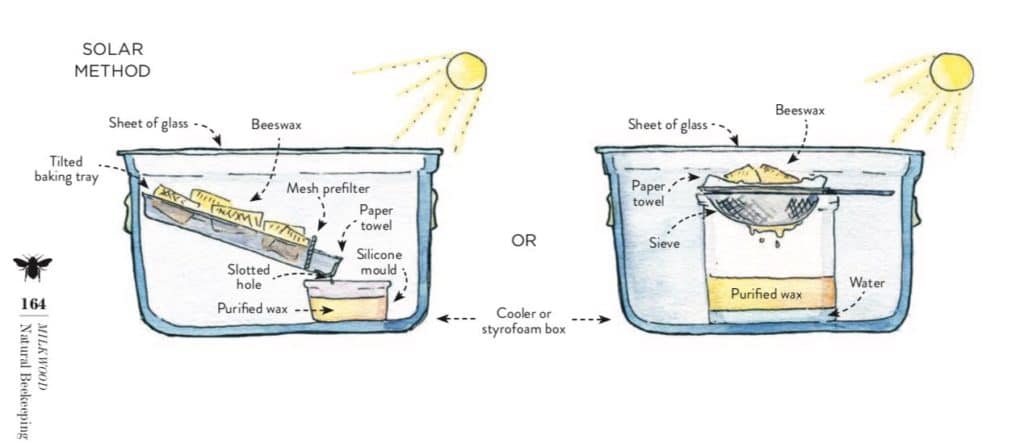
Solar method
This method is the most fun method and uses the least energy. It’s also the least messy as everything happens outside, in one container. Get a 5 litre (1.3 gallon) bucket and a styrofoam box (or an insulated cooler) that can comfortably hold the bucket. You’ll also need a sheet of glass or perspex to place on top of the box, a sieve that will sit in the bucket and a piece of paper towel or cheesecloth.
Place the bucket in the cooler box, with about 2.5 cm (1 inch) of water in the bottom. Line the sieve with the towel/cheesecloth and place it on top of the bucket, then place your wax in the sieve. Put the glass or perspex on top, and place outside in a sunny spot.
Over the course of a hot day, this method should render as much wax as the sieve can hold into a nice round block of clean beeswax inside the bucket. You can tilt the box towards the sun throughout the day and prop it up with a brick or chunk of wood.
The water in the bottom of the bucket will help to dissolve any remaining particles of honey, and also makes it easier to pop the block out at the end of the process as the block of wax will float on top.
Variations on this theme include creating a DIY solar wax melter (perhaps like the one shown above, which is what we use at home) or using an existing solar cooker.
Slum Gum – also useful!
The blackish goop that’s left in the sieve after the wax has been rendered is known as ‘slum gum’, and it’s amazing, too. Roll it into lozenges for the best- ever firelighters, or store it to place inside bait hives in spring – it’s great for attracting swarms.
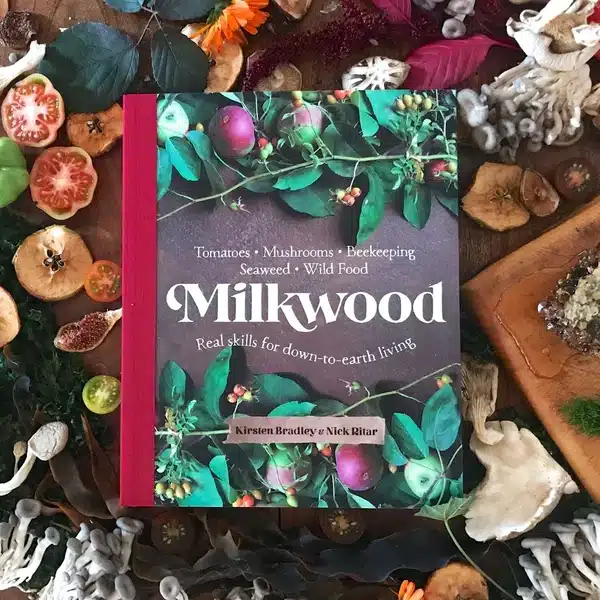
The above is an extract from the ‘Natural Beekeeping’ chapter of our new book Milkwood – Real skills for down to earth living.
You can buy a signed copy from us if you’re in Australia, or grab a copy from wherever good books are sold – check your library, too!
And here’s the links to buy in other countries. Happy making and doing!
Want to keep reading? All our natural beekeeping articles are here…







I was going to buy some beeswax wraps and when I looked at them they are parchment with beeswax on them. They wont last long. I recently found a treasure trove of fabric in the back of my closet. Now I know what I will be using at least some of the material for!
Oh no! yes, make your own, if you can’t find good-quality fabric ones 🙂
hi
this good
I love the idea of using beeswax covers instead of plastic cling wrap!!! Already got the cotton fabric!!! Off to get the beeswax not far from where I live!!
excellent!