Growing great tomatoes is a skill available to just about anyone. But there are a few tricks to getting things right, including the planting out stage. So grab your tomato seedlings, sit down and do a bit of planning before you plant.
Preparing your tomato beds, from planning to soil preparation to mulching to trellising, may seem like a big job the first time around. But once you’ve had a season of plentiful tomatoes and filled your pantry with sauces and preserves, you’ll realise it was all worthwhile.
Planning
The first step to planting out your tomatoes is planning. Are you looking at planting them in a block or in a row? How far apart are you going to plant them? What are you going to use for your trellis?
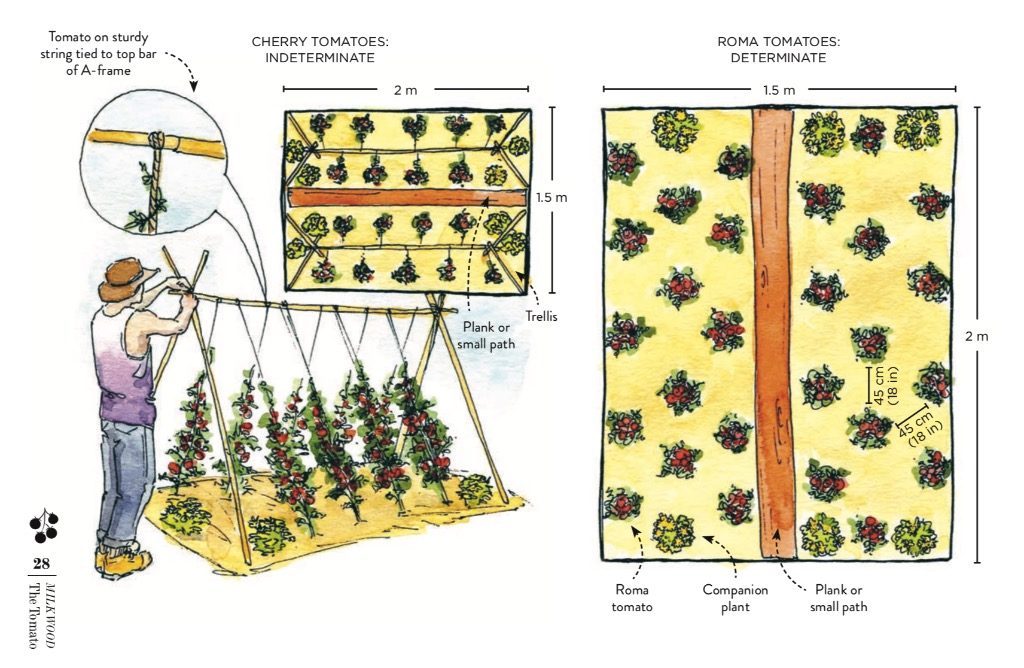
Determinate tomatoes may be best planted in a block because when it’s time to harvest, you’ll be accessing them over a short period of time, all at once. You can therefore fit more plants into your growing space by reducing the number of paths between them.
Indeterminate tomatoes, on the other hand, will be harvested over a longer period of time, so access to these plants is paramount. Planting them in rows, with good access between each row, makes good sense.
Above are two planting plans for a 1.5 x 2 metre (4 3⁄4 x 6 1⁄2 foot) garden bed – the left one is for red pear and cherry tomatoes (indeterminate) and the right one is for roma (plum) tomatoes (determinate).
Soil preparation
Like most vegetables, tomatoes like fertile, well-drained and slightly acid soil, with a pH between 6 and 7.
If a pH test shows that your soil is less than 6 (too acidic), you can add some agricultural lime to ‘sweeten’ the soil, following the instructions in the pH test kit. You can also try using a little wood ash, but be careful not to overdo it.
If your soil’s pH is over 7 (alkaline), you can add some sulphur or decomposed pine needles or leaf litter to help bring the pH down. Here’s how to do a pH test.
The best way to establish a good soil pH long term is usually with the addition of good compost and green manure plants in your garden bed rotation, and ensuring that your soil is well drained.
Since tomatoes are heavy feeders, your soil preparation will need to include the addition of compost – preferably home-made or locally sourced. Your bed preparation also needs to ensure the soil is well aerated, so that it has good drainage, and so that plenty of soil life can establish. The addition of well- rotted cow, sheep or horse manure is welcome at this stage also, if available.
There are many, many ways to prepare a garden bed for tomatoes. The choice depends on how you want to do it, as well as what tools and resources you have available. Two options worth considering are the no-dig method, or the biointensive double-dig method.
No-dig method
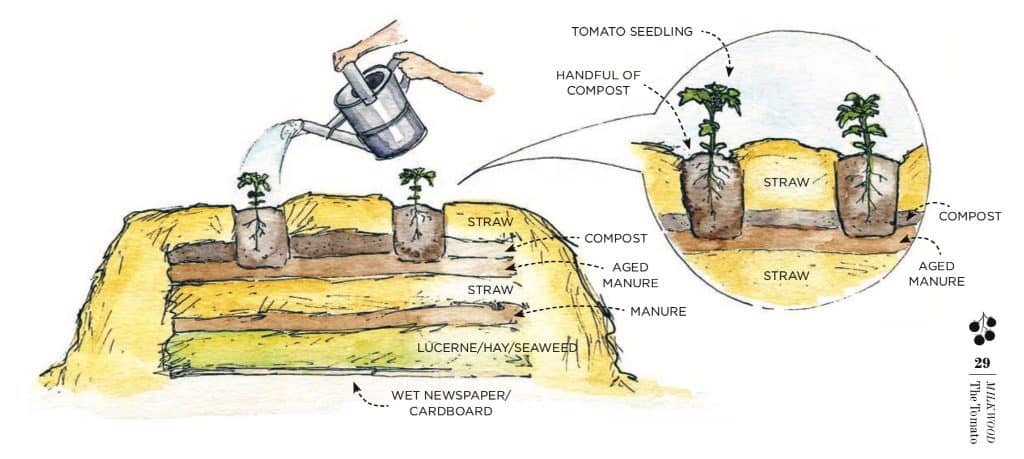
If you’re wanting to establish a new garden bed on compacted ground, have plenty of organic materials available and don’t like digging, a no-dig garden bed is a great way to get started.
This bed-making method involves making a deep ‘lasagne’ of straw, carbon-rich material, compost and liquid nutrients, then planting seedlings, with a handful of compost beneath them, into that lasagne.
It’s a bit like making a compost pile, in situ. You may not get your best yields in the first year as the bedding material takes a while to break down into soil, but if you have lots of materials and not much time, this method can work a treat.
More about no-dig gardening is here.
Biointensive double-dig method
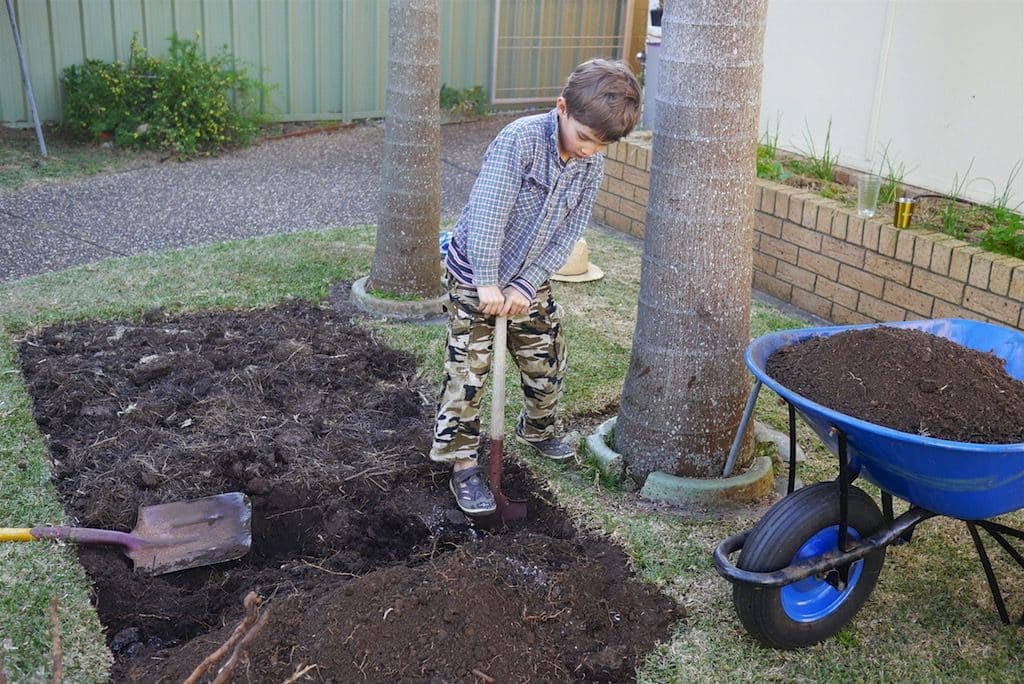
The double-dig method is a way of thoroughly aerating the soil to create a cake-like consistency and incorporating large amounts of compost as you do it. It takes a bunch of effort but it only uses minimal inputs: your labour and some compost.
Double digging is a good method for regenerating existing garden beds or establishing new beds on good soil. Once it’s done, if you take good care of the garden bed you won’t need to repeat the whole process every year.
This bed-making method is done by shovelling out rows of topsoil, then loosening the subsoil below with a garden fork before replacing the top layer with topsoil from the next row, mixed with compost. Once you reach the end of the bed, you need to rake it flat. The beauty of this method is that the plants have maximum access to nutrients and water as their roots can reach deep into the soil.
More info about biointensive growing (which we LOVE) is here.
Mulching
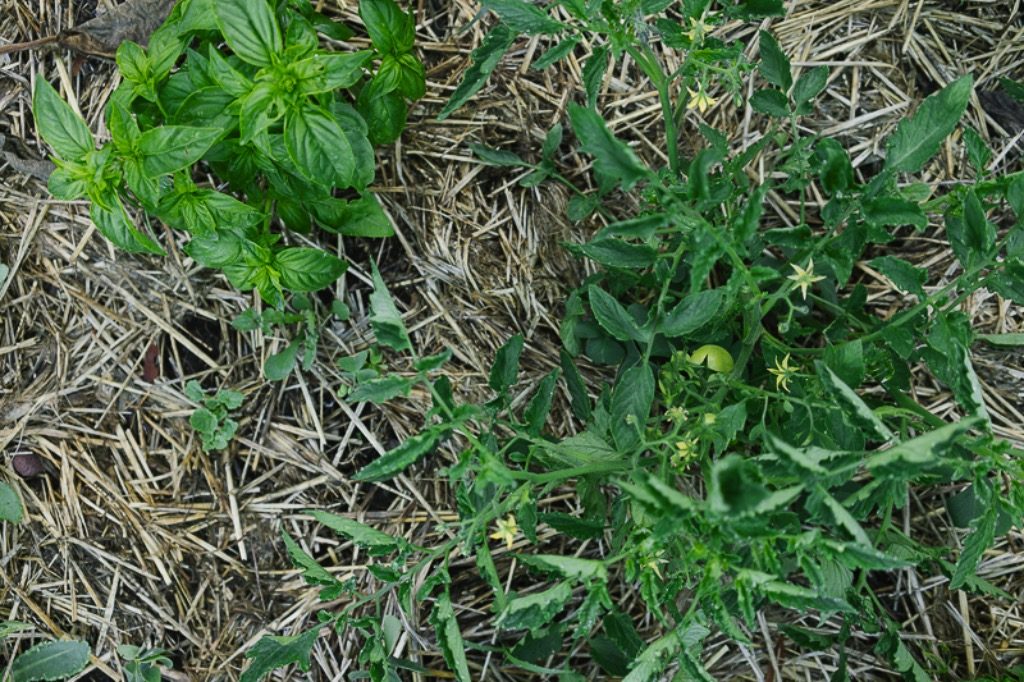
Whichever way you prepare your tomato beds, mulching them to keep the moisture in and to reduce weed seed germination is highly advised. Mulching before you plant your tomato seedlings is the most time-efficient way to do it, rather than trying to mulch around your precious plants, which can result in them getting battered or broken.
Straw or similar waste products like sugarcane mulch (bagasse) are good choices as they’ll be relatively weed-free. Mulching thickly ensures minimal evaporation and maximum weed control for your precious tomatoes.
Trellising
You’ll need a strong trellis for your rows of climbing tomatoes. Trellising is generally easiest to do after you’ve done your soil preparation and mulching, but before planting.
Here are some low-cost options for getting the strength and height you need for great tomatoes.
Overhead beam and twine
Take two long metal fence posts (check your local tip shop – there are often some there) and hammer them into the soil every 3 metres (9 3⁄4 feet) along each row. Then find some good long poles, such as saplings, bamboo or timber, and secure one to each metal picket with wire. (Alternatively, you can make sturdy wooden A-frames every 3 metres to do this same job, but they will take up more bed space.)
At the 2 metre (6 1⁄2 foot) high mark, secure horizontal poles along the row, overlapping them if necessary. Plant your tomatoes beneath each overhead pole in a row.
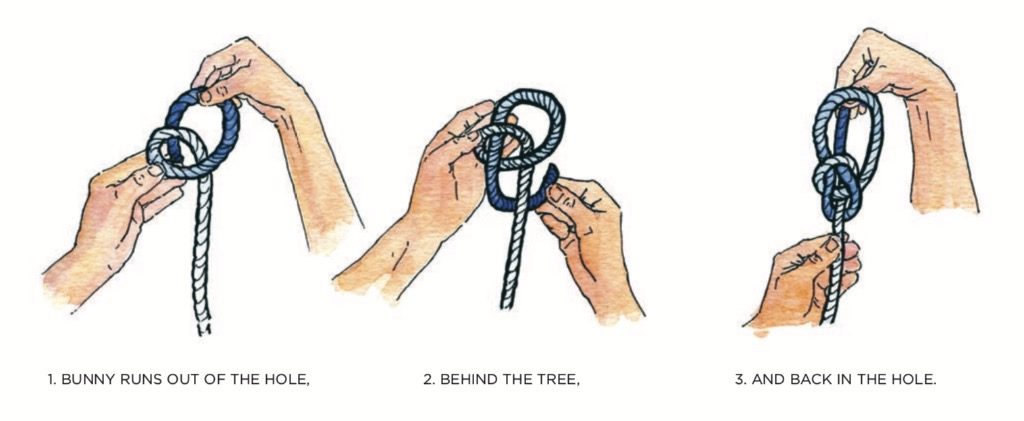
Once the tomato plants are about 30 cm (12 inches) high, get some very sturdy string – a fully laden and nearly ripe tomato vine crashing to earth because its twine has rotted is a very sad thing! Cut a length of the string, allowing some leeway (if you’re using jute or natural materials, consider double- or triple-folding it to ensure it lasts). Starting at the bottom, tie a bowline knot around the tomato stem, under the lowest branch.
Once the knot is secure, tie off the string at the overhead bar of your trellis. The string should be taut but not so tight that it damages the plant.
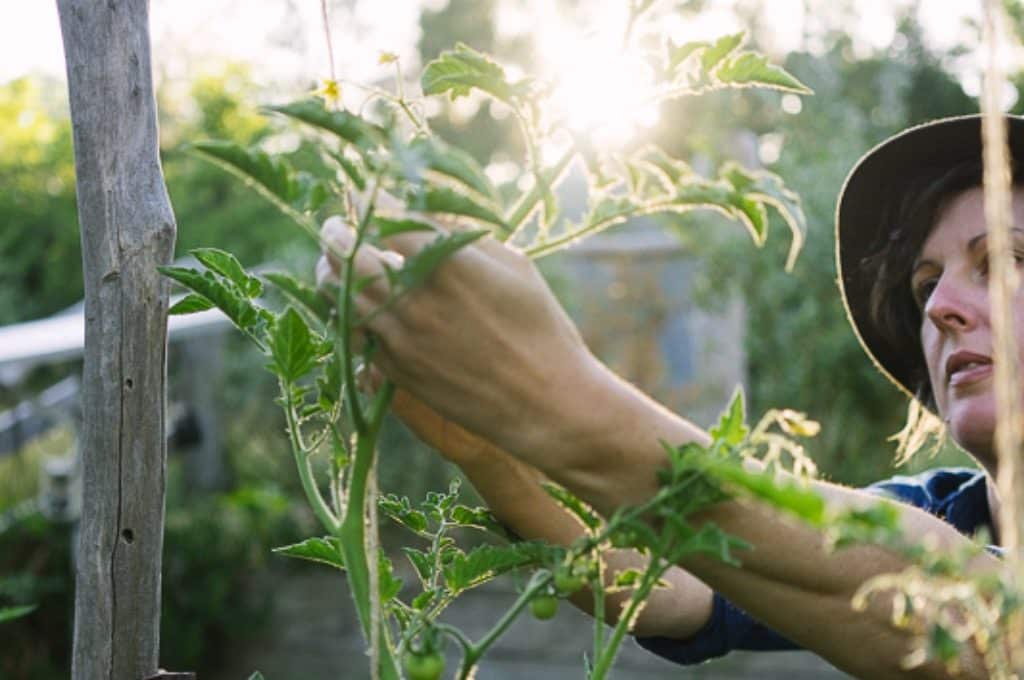
As your tomatoes grow, gently twine the central stem around the vertical string – always in the same direction – to keep the plants growing tall and proud. Check them every few days to see if they need a little more twining.
When the growth of your plants get more vigorous, maintaining a consistent central stem – the ‘leader’ – can get confusing, as the tomato sends out shoots every which way. This is where pruning can help (see page 38).
Here’s a little how-to of this tying + twining method.

Mesh trellis
Another option is to use a solid mesh trellis that either hangs from an overhead bar or is held up by vertical poles. If you’re planting a lot of climbing tomatoes, the stronger the mesh material is, the better.
Wire fencing mesh with wide holes is a great option, as you can twine the tomatoes back and forth through it and you can use it for many years. Go check your local tip shop, they may have just what you need. Also ask around as see if a friend has some in their shed that you can use.
The holes need to be wide enough to twine your plants through – we recommend a minimum size of 10 x 10 cm (4 x 4 inches). Rebar (the steel reinforcing mesh that is used in concrete slabs) is another great option as it’s sturdy, with wide gaps.
You can still use mesh that has smaller holes, but you’ll need to tie up your tomatoes as they climb, keeping them on one side of the mesh. Mesh trellises can also be made and/or woven using bamboo, split wood or any strong, sturdy yet flexible material you have available.
Stakes
Stakes are best suited to semi-determinate or determinate tomatoes. Hammer them into the ground just before planting your seedlings. As the plants grow, tie them to the stakes to provide some structure and airflow.
Cages
There are lots of metal tomato cage designs that you can buy from garden shops to prop up your tomato plants. They’re best suited to semi-determinate or determinate tomatoes, which won’t grow too high. You can also make your own cages with bamboo, in a square or pyramid shape.
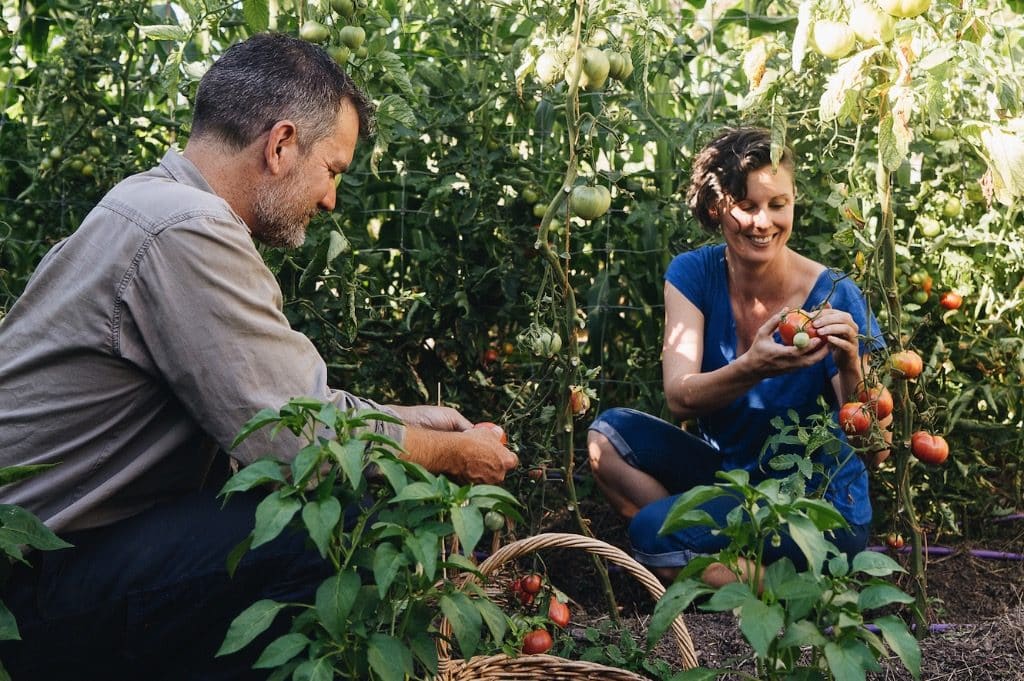
Time to plant
To plant your seedlings, use a garden trowel to make a hole in the mulch that’s about 15 cm (6 inches) wide and one and a half times as deep as the pot. Repeat for each tomato plant, spacing them according to your planting plan.
Gently turn the pot upside down, with the seedling between your fingers and your hand flat against the surface of the soil, and remove from the pot.
Plant your tomatoes deep, covering at least the bottom sets of leaves if you can. These nodes will magically transform into roots as the tomato senses they have been buried. The more roots for your tomato plant, the better access it has to nutrients and water.
Press the garden bed soil in around your little seedling and water it in with some diluted liquid fertiliser – we use home-made seaweed fertilizer.
Make sure you leave some space in the mulch around the seedling to allow for good airflow… and your tomatoes are in!
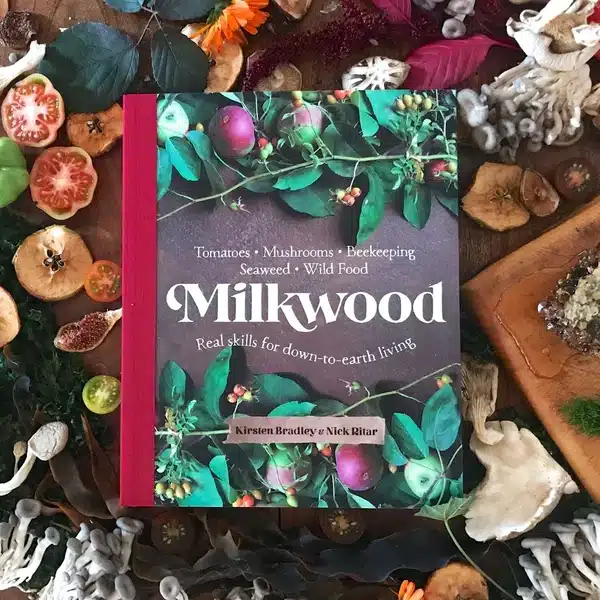
… this is an extract from The Tomato chapter of our new book Milkwood: real skills for down-to-earth living.
To find out what to do next, grab a copy of Milkwood from us, or from your local independant bookstore.
Or you can browse our gardening archives for more tomato growing tips + recipes (there’s lots!). Good luck, tomato growers.
All the pics above are from The Tomato chapter of Milkwood, taken by Kate Berry + Kirsten Bradley. Brenna Quinlan did the illustrations, and Milkwood is published by Murdoch Books.




Hi there, many thanks for the great information you provided… we are growing tomatoes on an island of Turkey for the last four years and yet so much to learn! One small question: what is determinate and followingly indeterminate tomatoes? You mean heirloom and hybrid? Didn’t hear that definition before… Many thanks…
Hi guys, hope it’s okay I reply here about this question : )
Determinate and indeterminate are botanical terms to describe the growth type of a plant.
Determinate (e.g Roma tomatoes) is when a plant flowers/fruit at once giving an x amount of flowers/fruit and then becoming to the end of it’s cycle.
Indeterminate (e.g cherry tomatoes) is when a plant gives it’s fruit/flowers as they go and grow, however keep growing and stretching while keep giving more flowers/fruit and you then can keep harvesting for longer season: )
I hope that you find it helpful
Here is a good explanation of the difference between 3 classifications to add to this post, I also had ambiguity on this point as I think in terms of bush or vine tomatos for planting choices but this is helpful to know beyond that: https://gardenerspath.com/plants/vegetables/in-determinate-tomatoes/
very comprehensive. soo helpful
let us know how you go, Zoe 🙂