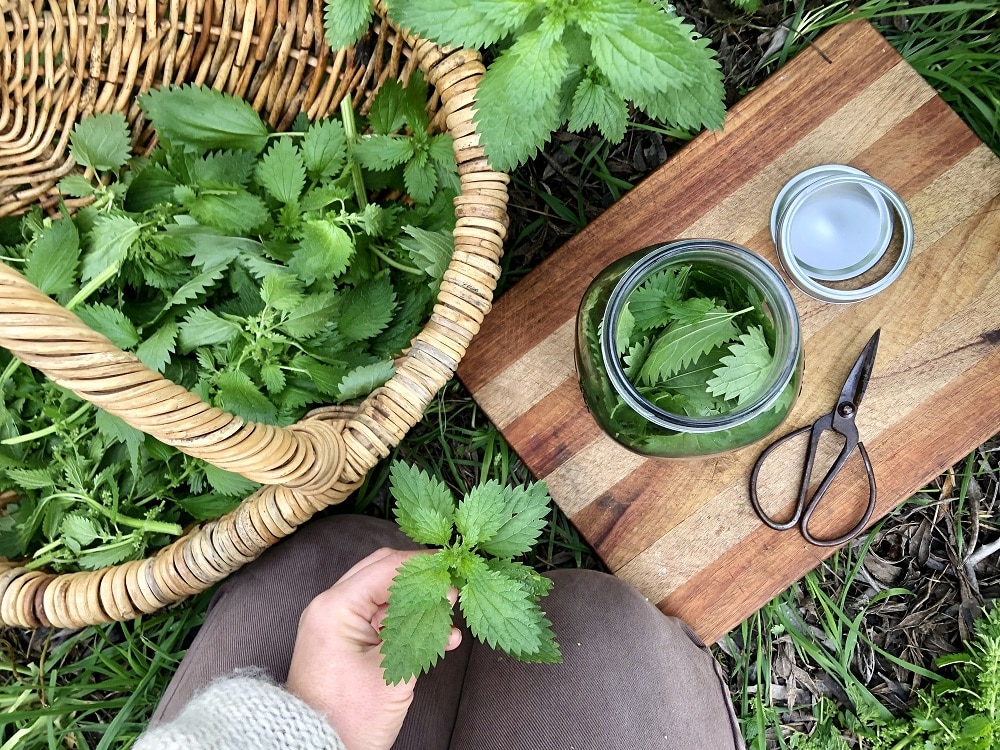

This week we’ve called in the wisdom of Keitha Thuy Young – a South Australian farmer and folk herbalist living with disability – to show you how easy it can be to get your own home herbal medicine cabinet started…
Herbal medicine grows wild all around us – and learning to gather these wild ‘weeds’ to craft your own simple home herbal remedies can be immensely supportive for yourself, your family and your local community.
So I’m delighted to share five of these medicinal wild plants with you – many are popping up now, being springtime here in the Southern Hemisphere – along with three easy herbal recipes so you can start building your home medicine cabinet right away.
Humans everywhere have evolved and survived by working with their local plants for healing and, as these mostly forgotten traditions make a resurgence, this way of being in relationship with plants is more accessible than you may think, wherever you are in the world.
A common misconception is that herbalism is only for professionals, but I’m a firm believer that anyone can be a herbalist. By definition, a ‘herbalist’ is: “Someone who works with plants for healing.”
Wise traditions of folk herbalism are present in all Indigenous cultures, originating from the people and working with local medicinal plants for the people.
So if you’ve heard the plants calling you, I encourage you to listen – start by getting to know just a few herbs and to feel empowered to try crafting your own home herbal medicine cabinet.
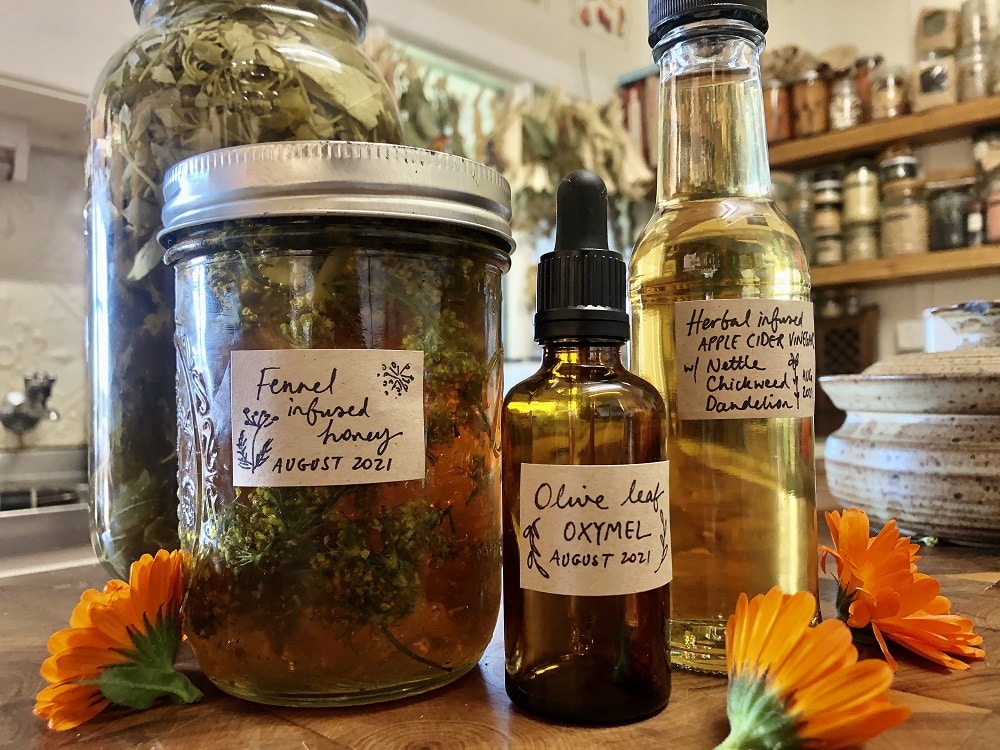
But where to find these healing wild herbs?
While I do believe that tending a medicinal herb garden is one of the most grounding, beautiful and joyous things one can do, maybe you’re not quite there yet?
The good news is that most wild plants (usually called ‘weeds’) have multitudes of medicinal qualities to offer – and they’re so common they’re almost certainly growing near you.
Additionally, the recipes below are all crafted using accessible kitchen items – tools that are probably already in your kitchen – such as sieves, scissors and glass jars (reused/recycled are great, it doesn’t have to be fancy).
And the only ingredients you’ll need, aside from your gathered herbs, are kitchen shelf regulars – apple cider vinegar and honey.
Folk herbalism is simple in its essence because it has been readily practiced and passed down by many through millennia.
Of course, plant medicine is incredibly powerful (and can be potentially dangerous), so there are some herbs that I wouldn’t use without consulting a clinical herbalist. But all of the herbs used below delightfully blur the line between medicine + food, meaning that you don’t have to worry about dosage and they are safe for all ages to consume.
So grab your baskets (witches hat optional) and let’s go make some herbal medicine.
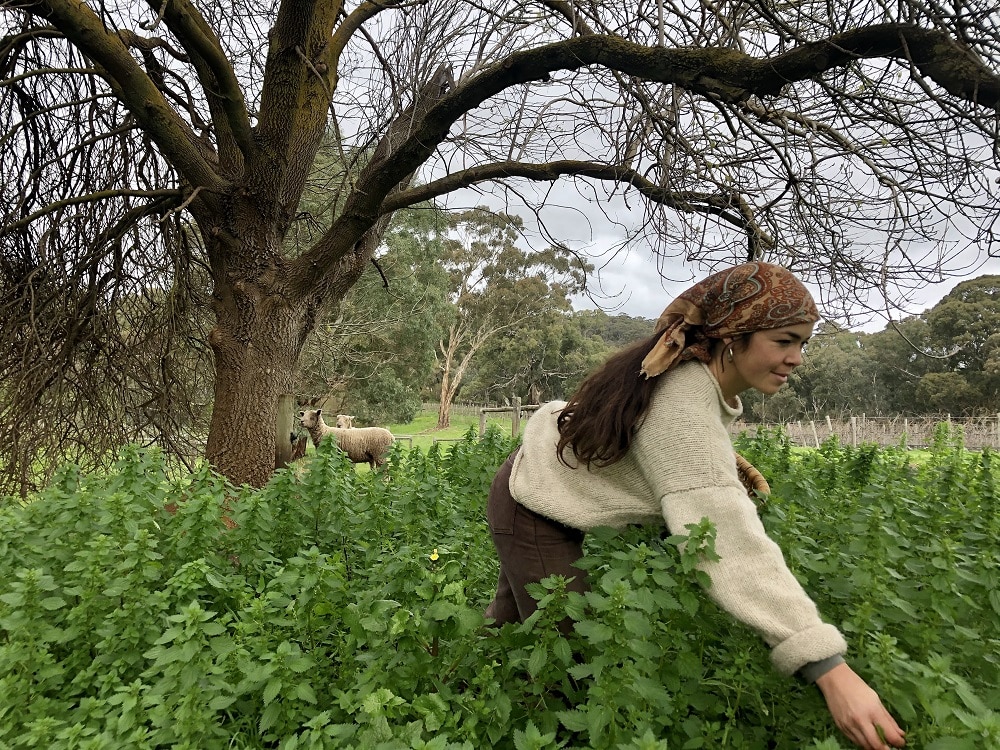
How to forage wild herbs ethically and safely
First up, acknowledging whose unceded lands you are on and supporting your local Indigenous community is always a good place to start expressing gratitude for the abundance and nourishment that this land offers us.
Then there are some ethical foraging guidelines if you are out gathering wild herbs, such as:
- Never pick the first plant you see.
- Never pick the only plant there is.
- Only harvest from a stand where there are many.
- Don’t take all that you find, to ensure you leave enough for others – both human and more-than-human (if you’re unsure on this, take 10%, leave 90%).
- And – give thanks! This goes a long way.
I’m also big on asking the plants for permission and leaving an offering or act of care – perhaps a new and strange concept for some, but one that continually feels important for me as I attempt to be in right relationship with the land and plants.
When it comes to foraging safely and gaining plant ID confidence, Kirsten addresses this wonderfully in her article ‘Learn 5 Wild & Useful Plants Near You’, as well as outlining why working with local plants is such a nourishing practice.
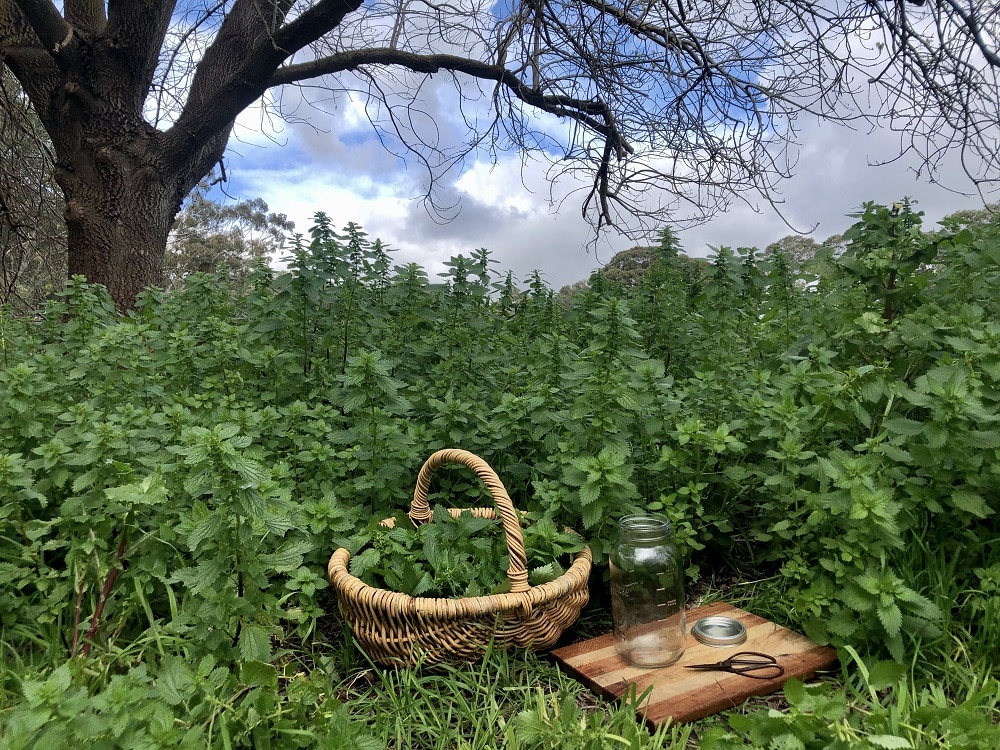
So your basket is ready but you’re still a little nervous…
Starting out in folk herbalism can feel very daunting. With so many herbs, scientific names and healing constituents to learn, it is easy to feel overwhelmed.
But one of my teachers taught me that all the medicine you and your family could ever need can be found in just ten plants that are probably already growing wild near you.
I hope this emboldens you to begin getting to know only a few herbs (or even just one) that you’ve noticed or been feeling drawn to. Once you delve into learning about them you’ll be amazed at how many layers of healing each herb offers.
And as you build your herbal knowledge, remember that the best way to learn isn’t just through books or articles, but through the lived experience of working directly with the plant.
So, with all that in mind – here are three simple, folk herbalism recipes to start building your confidence, start building plant relationships and start building your home herbal medicine cabinet.
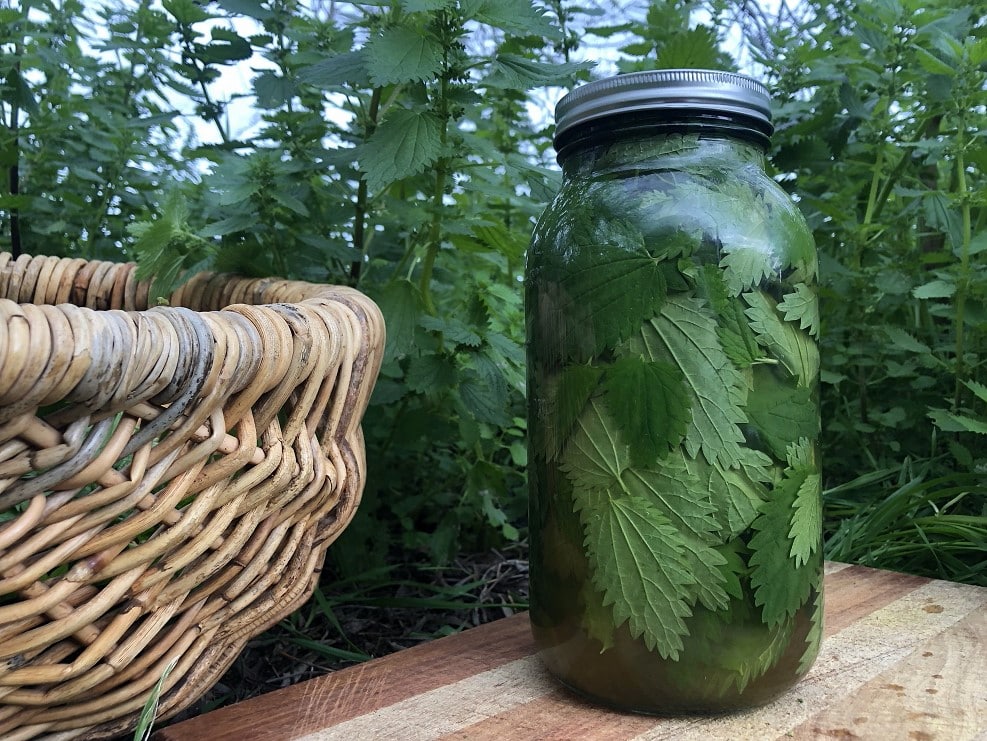
Folk Herbal Recipe #1: Spring Herb-Infused Vinegar
Herbal-infused vinegars are a very old, traditional medicine whereby the vinegar extracts and preserves the medicinal properties of the herbs without the need for alcohol used in tinctures, making them favourable for regular use, for children and for folks avoiding alcohol.
What I love about this herbal remedy is that it’s taking vinegar, an ingredient found in almost every household, and infusing it with all the extra minerals, healing and nutrition that herbs offer. It’s then easy to infuse this additional medicine into your everyday routine and diet.
You can use any kind of vinegar you prefer – I like to use organic apple cider vinegar, a potent medicine in its own right. Then once all that herbal goodness is infused, you are free to use your vinegar lavishly, in the same way you’d normally add it to foods and salads.
Which herbs can I use to infuse in vinegar?
This particular recipe features three spring herbs, incredibly rich in minerals that help to nourish and refresh the body after a winter (perhaps?) of eating dense comfort foods. And there’s a good chance that one, if not all, of these herbs will be readily growing as ‘weeds’ in your backyard or neighbourhood.
But ultimately, there’s no ‘right way’ to do a folk herbal recipe. There is so much space for variation depending on the season, on what plants are local and accessible to you, your level of knowledge and, simply, what kind of medicine you want to make.
So the short answer for herbal vinegars is – you can use any (edible) herb. Remember that vinegar will extract the nutrients and medicinal properties present in the plants you choose to infuse, so you can select these according to your accessibility and needs.
This recipe uses fresh herbs, but dried herbs are also really good to infuse. They create a herbal vinegar with a longer shelf life (due to lower water content) – although your fresh herb vinegar should still be good for at least a year. If using dried herbs, be aware of their quality – they should still smell vital, not old and oxidised, otherwise their medicine won’t be as potent.
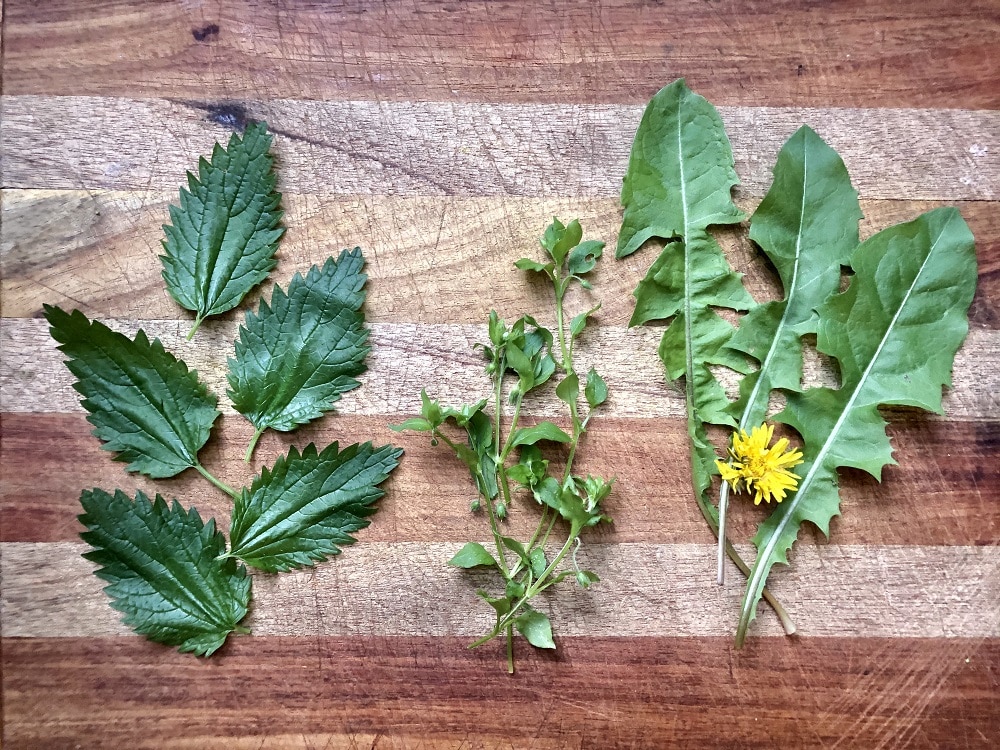
About the 3 wild spring herbs used in this recipe
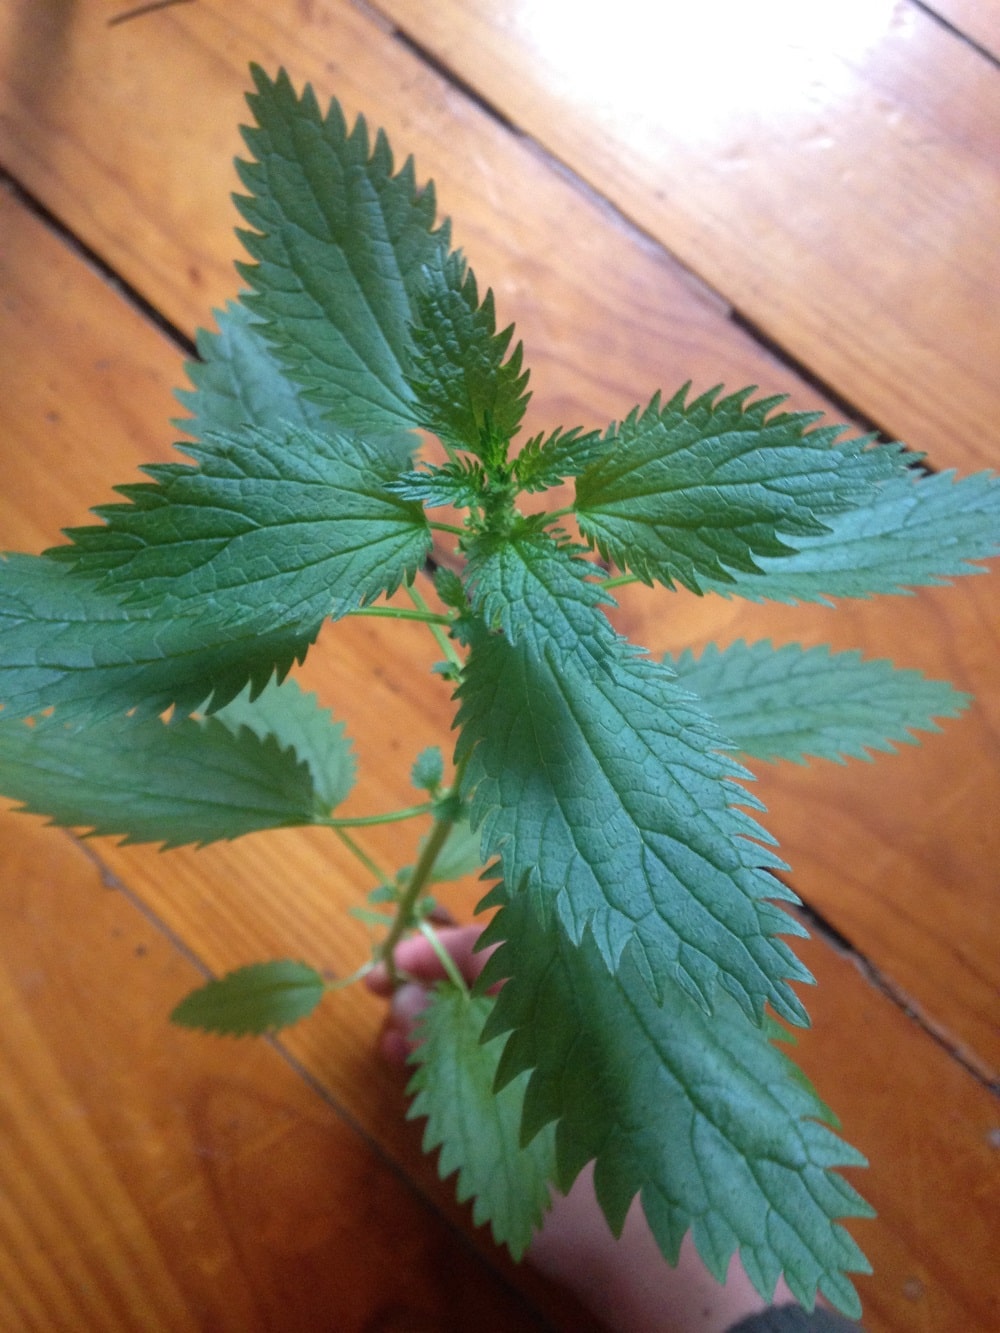
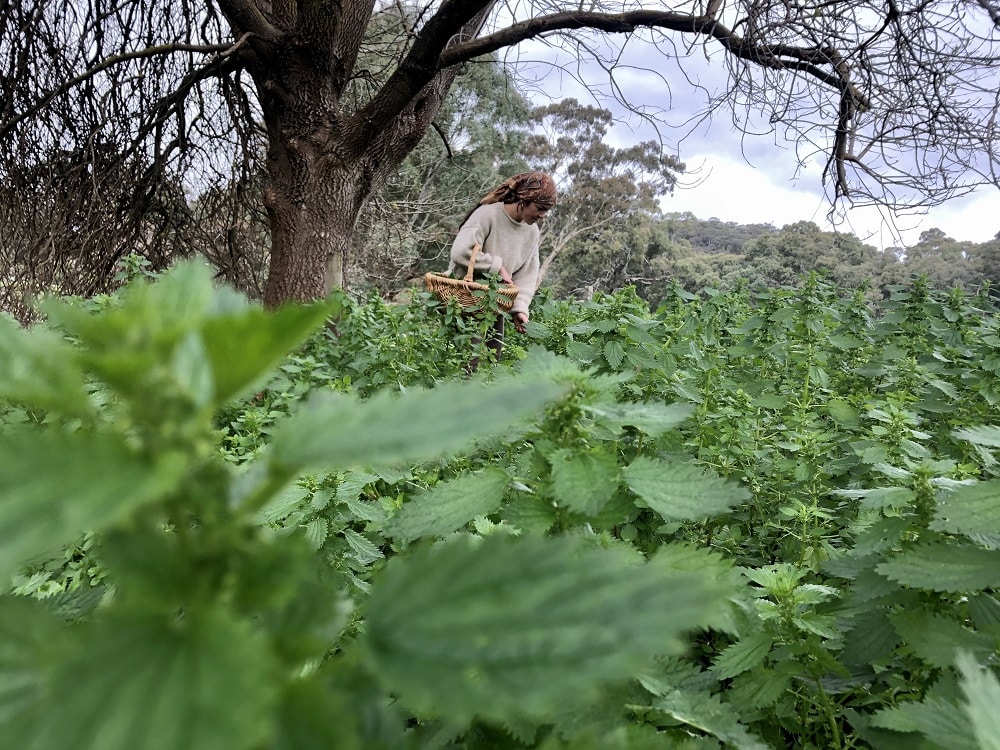
Nettle is one of my all-time favourite herbs because it so easily moves between being both a food and a medicine, it is – food as medicine! During its winter-spring growing season, I am continually harvesting handfuls to make iron-rich tea or to add to soups as a highly nutritious green, as well as hanging bunches to dry to use once it can no longer be found fresh.
It is a very hardy and highly adaptable herb, found growing wild in almost any climate, usually in stands several metres wide. Here in Australia, you will most likely find the annual ‘Lesser Nettle (Urtica urens), compared to the perennial ‘Greater Nettle’ (Urtica dioica) more commonly found wild in Europe and North America.
Both are commonly known as Stinging Nettle for their distinct capacity to give you a burning sting (you’ll know it if/when you brush past them!) And while this sting also offers legendary pain relief, you won’t have to worry about being stung by your vinegar as drying, heating or infusing renders this stinging chemical useless – although donning a pair of gloves may bring some needed bravery during harvest.
Harvest should ideally be done before nettle goes to seed (you’ll know this has occurred if you see little light green flowers near their leaf joins) as after this, its silica content significantly rises which can cause headaches in some. However, if seedy nettle is all you can find, you can still harvest at this stage – just make a cup of tea from a few leaves to test that it doesn’t cause you headaches.
Nettle’s nutritional medicine is incredibly vast, with Vitamins A, B1, B2, B3, B5, C, D, E and K, and high mineral levels of calcium, iron, potassium, zinc, magnesium and many more. They also offer anti-inflammatory, antioxidant, tonifying and circulatory benefits… your salad dressing just got super healthy! A powerful addition to your home herbal medicine cabinet.
Chickweed and dandelion are the next two herbs – you can find out a little more about these herbs in Kirsten’s blog ‘Learn 5 Wild & Useful Plants Near You‘, but here’s a bit more about harvesting their medicine.
Chickweed (Stellaria media) usually appears from autumn to spring here in our temperate climate, but given some shade and enough moisture it can grow all year round. It has a few toxic look-alikes, so be vigilant when gathering. But a confident ID can be made by spotting the mohawk of fine hair that travels up their stem and shifts by a quarter turn at every leaf join.
Found growing low and sprawling, Chickweed is a fragile plant that doesn’t dry well so is typically used fresh. Leave the roots in and just ‘cut and come again’ by snipping off the top 10cm or so and it will quickly regrow more nutritious abundance.
This slight, green ‘weed’ offers some very potent cooling and soothing actions which aid in healing ulcers, bowel disorders and inflammatory conditions of the gut. It also offers support for respiratory ailments, helps to regulate intestinal flora, is a metabolic balancer, and being rich in chlorophyll makes a very nutritious, delicious pesto.
Dandelion (Taraxacum officinale) has for too long been sprayed out of lawns and footpaths, with its immense healing benefits forgotten by most – but the ‘officinale’ in its scientific name gives evidence of the many centuries and long history of its medicinal use and herbal lore.
So much could be praised upon this plant that has so generously spread itself all around the world, from the digestive support found in its bitter qualities, to the way it helps alkalise the body, to its strengthening of liver function. But I’ll leave the rest for your self-study, as there are gratefully so many resources now that give this humble herb the respect it deserves.
All of this green healing goodness, from just three weeds! Now that you’re acquainted with these wild herbs, we’re ready to infuse them into vinegar so we can enjoy their abundant medicine throughout the year…
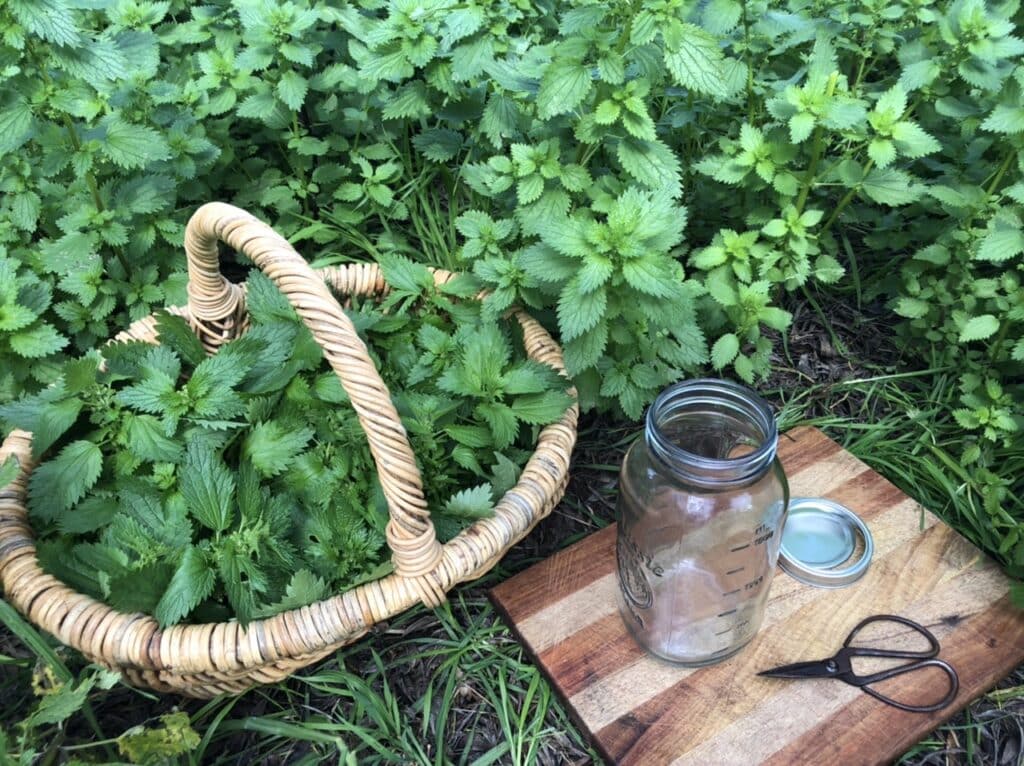
Making your herbal-infused vinegar:
You’ll need:
- Nettle, chickweed and dandelion leaves
- Apple cider vinegar or vinegar of choice
- A clean, dry jar (size relative to how much herbs you have + how much you want to make)
- Scissors
- Sieve
- Cheesecloth or clean natural cloth
- Large bowl or glass jug
- Funnel
- A bottle to store your infused-vinegar in
Folk method:
- Gather the leaves of these three spring herbs (or your alternative herbs of choice) on a sunny day or around mid-morning, once the morning dew has dried off, as too much added water content can dilute and spoil the vinegar.
- Take all your herbs and either crush with your hand (what I did in photo above), chop roughly with scissors or a knife, or pound with a mortar and pestle. More broken surface area = more potential for nutrients to be absorbed.
- This folk method of extraction doesn’t require measurements, so intuitively fill your jar with your chopped/crushed herbs, anywhere from half full to almost full.
- Top up the jar with undiluted apple cider vinegar.
- If your jar has a metal lid, place a piece of baking paper in between the jar and lid before closing so that the vinegar doesn’t erode the metal.
- Keep your infusion in a cool, dark place for 14 days, shaking it regularly – every day if you remember, but every few days is OK too (pop a note on a mirror if your infusion is stashed in a cupboard so you don’t forget them). This shaking shifts any air bubbles, which prevents mould and helps stimulate better extraction.
- After 2 weeks it’s time to strain. Use a cheesecloth if you have one, or a piece of clean, natural-fibre fabric, placed inside a sieve, over a large bowl or large pouring jug. Strain by pouring all contents of the infusion jar into the cloth-lined sieve.
- Let the infused vinegar drip through and then squeeze the cloth with plants inside so that any remaining liquid comes out.
- Gratefully discard the used plant matter in your compost bin or under a bush.
- Then depending on your pouring skills, you may need a funnel to pour your infused vinegar into a clean bottle.
- Label this bottle with the herbs used, date made and then keep it somewhere in your kitchen where you’ll see it often so that you remember to integrate this vibrant, nutritious spring medicine into your day to day.
Suggested use:
Mix into a salad dressing; splash on top of steamed veggies; add a dash to your soup, stew or bone broth; take a medicinal teaspoon in your morning routine or even sponge it diluted onto feverish skin to help reduce temperatures – experiment with your herbal infused vinegar and enjoy.
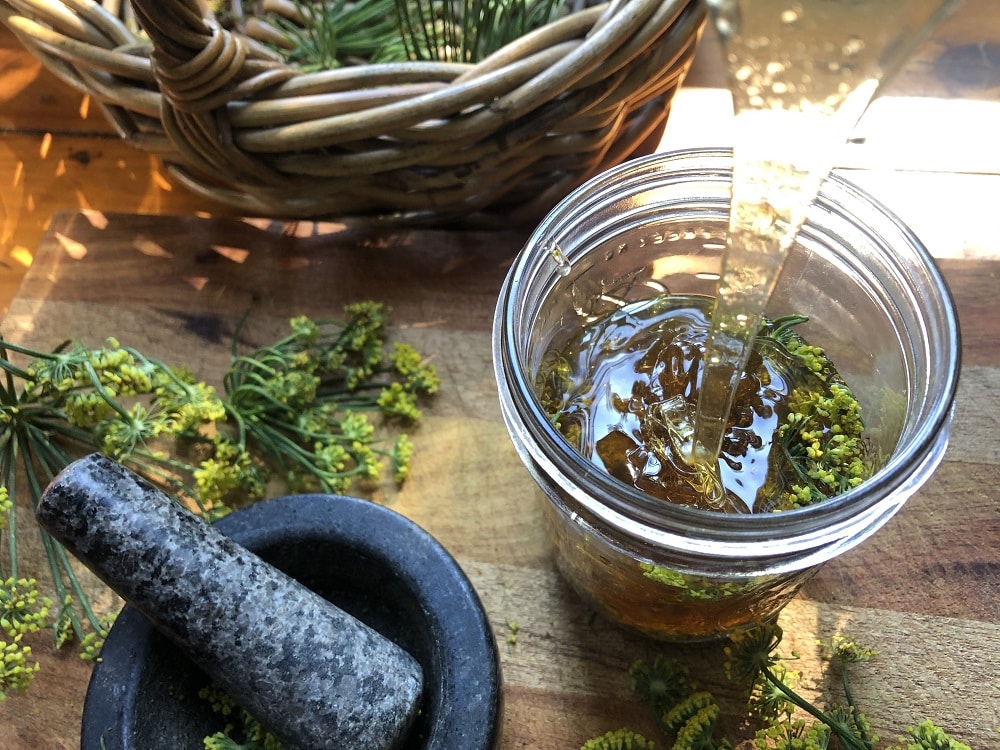
Folk Herbal Recipe #2: Fennel-Infused Herbal Honey
Another very old remedy, herbal honeys have been used through millennia for their many therapeutic properties. Same as vinegar, honey on its own is a reputable medicine – it is antibacterial, anti-inflammatory, antioxidant and immune-enhancing, which makes it another wonderful carrier for herbal infusions in your home kitchen.
When sourcing your honey, if it’s not from a hive that you tend, try to source organic and as local as possible, if this is accessible for you. Many mainstream supermarket honeys are cut with sugar syrup and ethical beekeeping needs our support if our bee friends are to make it through. This may be a good opportunity to seek and build relationships with beekeepers in your community – you could offer to give them back some delicious infused herbal honey as a trade.
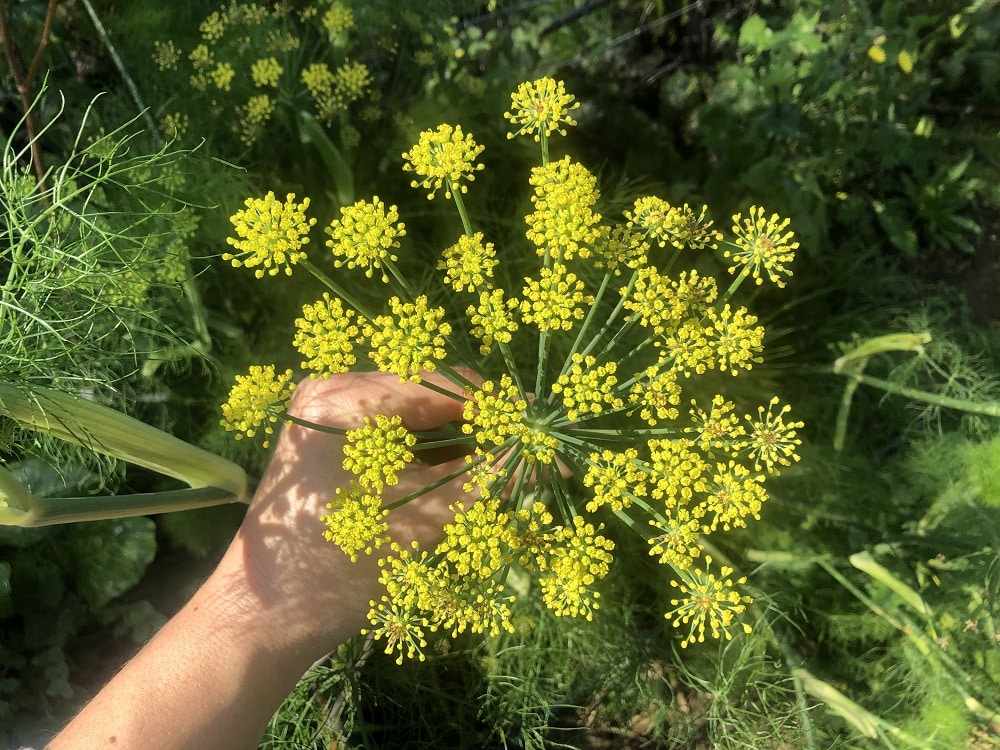
A bit about fennel, an underestimated wild herb…
Fennel (Foeniculum vulgare) is an aromatic, anise-tasting herb whose tall umbels can often be found growing wild along roadsides. With more of a reputation for its culinary uses, I rarely hear folks discussing fennel’s long history as an immensely revered medicine – but here is another instance where food becomes medicine and medicine can be food.
Note: high doses of fennel are not recommended during pregnancy.
Perhaps most well known for digestion support before or after meals (think the sugar-coated fennel seeds of India), Fennel also stimulates the metabolism, assists the liver, strengthens ailing eyes, helps to clear phlegm and can be used for both dry and moist coughs. So when paired with honey, which also relieves dryness and pain in the throat, fennel can be a great ally through the cold season.
Much herbal lore around fennel also gives it a reputation for promoting energy, vitality, and courage. Isabell Shipard shares that “athletes preparing for early Olympics, consumed large amounts of fennel seed in honey to build strength and endurance…” so I hope you’re feeling inspired to make some of this magic potion for your home herbal medicine cabinet.
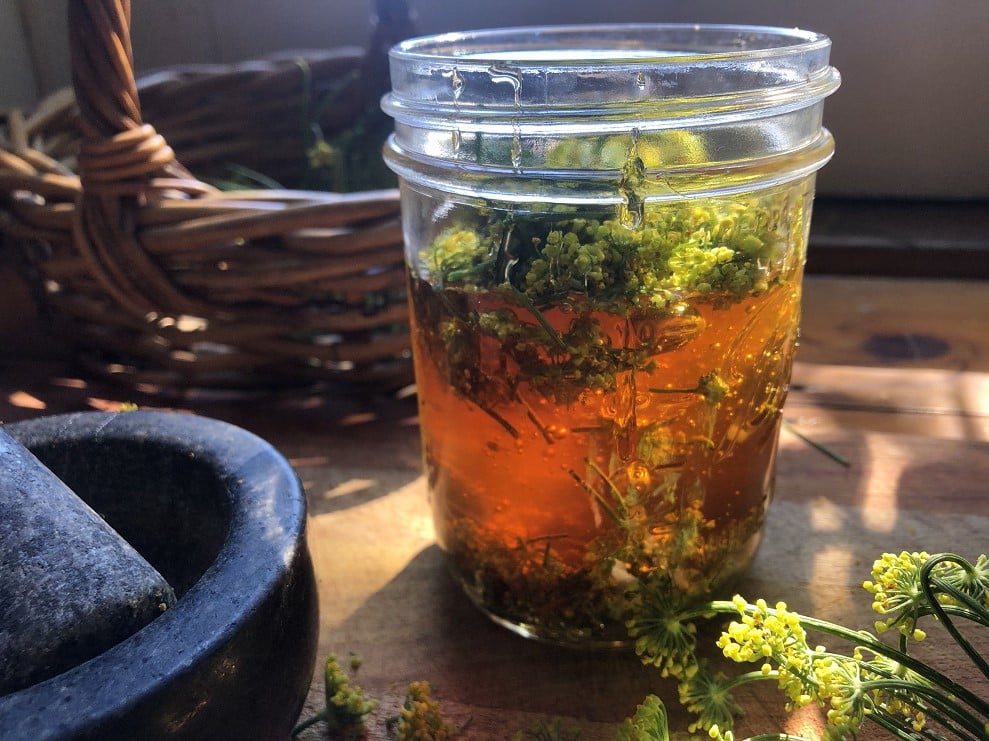
Making your fennel-infused herbal honey:
You’ll need:
- Your gathered wild fennel. Any combination of seeds or flowers – crush a few to check for that anise smell for a positive ID.
- Honey of choice
- A clean, dry jar
- Scissors or knife or mortar & pestle
- Chopstick to stir
- A pot, to make a water bath
- Stainless steel mesh sieve
Folk method:
- Cut, chop or crush your fennel to assist better infusion and place in your clean jar. I usually use enough loose herb to half fill the jar (although if you are only using seed you can use less).
- Gently warm your container of honey in a warm water bath, this makes it easier to pour. Then Pour the honey into your jar, filling it up and covering all your herbs.
- Use a chopstick, or any stirring device, to mix up your honey so that all your herbs are coated.
- Pop a lid on your jar and keep in a warm windowsill for 4-8 weeks. Direct sun is OK.
- Label the jar with herbs used and date made. I would put this label on top of the lid if you are going to do the next step…
- Regularly warming your herbal honey every week or two will greatly improve the potency and infusion of the herbs into the honey. To do so, fill a pot with water, enough so that your jar will be at least half covered. Let it almost come to boil then take off the heat. Double check your jar is well-sealed so that no water gets in and place it in the warm water bath. Move it around with a tea towel or tongs, to evenly heat. This will also help shake up the herbs within for better infusion before you pop it back into its windowsill home.
- When it’s done ,after 1-2 months, it’s up to you if you want to strain or not. With fennel I quite enjoy having a nibble of the honey coated seeds and flowers inside as I come across them. If you do choose to strain, gently warm the infusion jar as above and pour the infused honey through a mesh strainer into another jar. Label and enjoy this medicinal treat! A gift from the bees… the original herbalists.
Suggested use:
Add a teaspoon of your fennel-infused honey to a warm herbal tea, chai tea or milk tea; spread it on some warm buttered toast or take a little directly off a spoon, three times a day during illness – and may you feel the courage and strength of an Olympian.
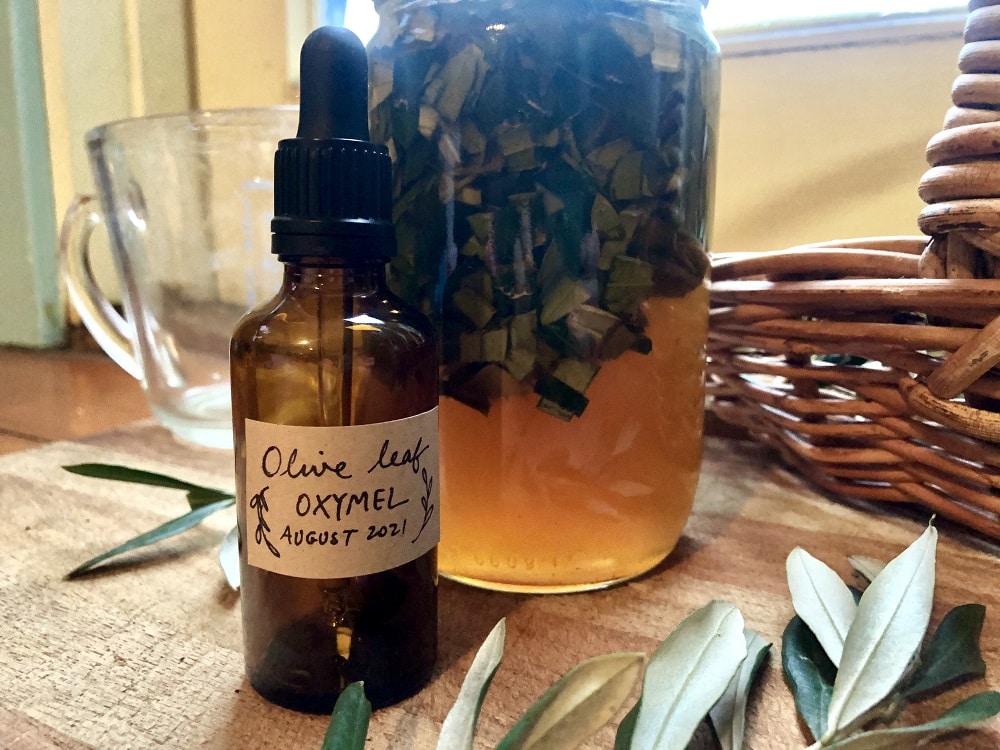
Folk Herbal Recipe #3: Olive Leaf Oxymel
An oxy-what??… Yet another folk remedy that goes back thousands of years, an oxymel is simply equal parts acid (‘oxy’) and honey (‘mel’).
Most commonly made from apple cider vinegar and honey – these two ingredients, which we’ve already worked with above, come together in a 1:1 ratio to make a delightfully sweet and sour tonic that supports respiratory issues and immunity building.
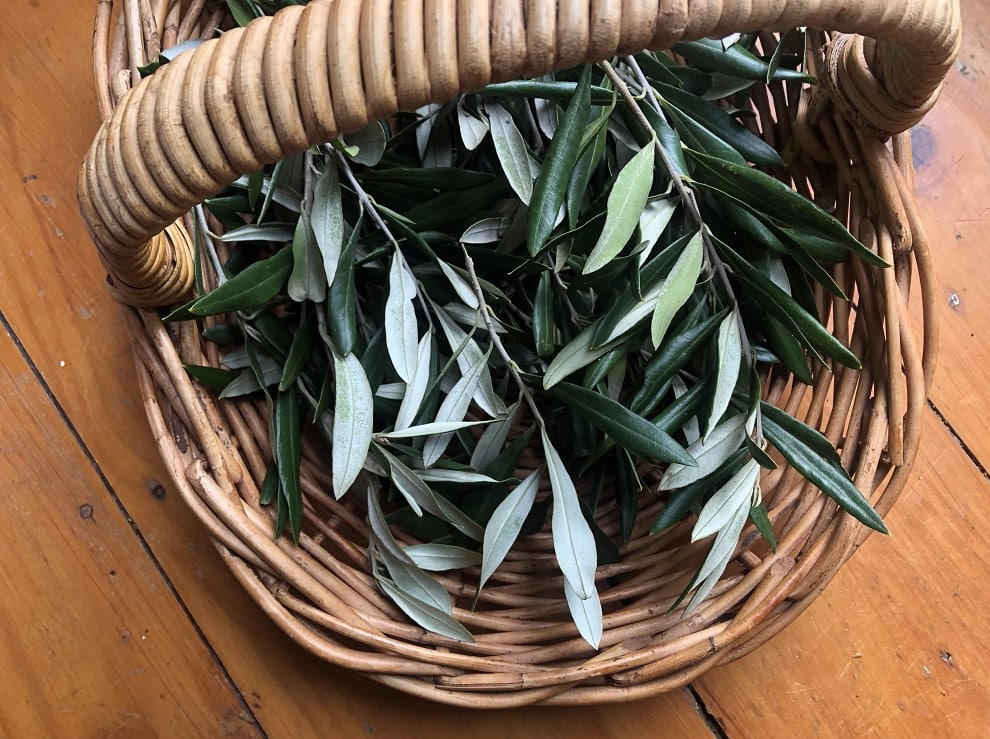
Olive leaf for the immune system
I’d heard for a long time about the immunity support that olive leaf offers, but it wasn’t until a dear friend sent me a bottle of their own handmade oxymel that I got to experience for myself what a powerful immune ally this often wild plant (and often vilified weed) is.
This winter, anytime that we felt the beginning of a sniffle or throat tickle we would take some and then wake up the next day with all symptoms gone. My toddler loves to take it too (oxymels are safe, wonderful medicines for kids) and as such, as a family, we’ve had no colds this season. I’m in deep awe and appreciation.
Olive leaf can help fight all types of infections as well as reduce inflammation, ease arthritis, lower blood pressure and is touted to help prevent many types of chronic diseases. I can’t recommend this remedy enough for your family herbal medicine cabinet, especially with support through colds and flu.
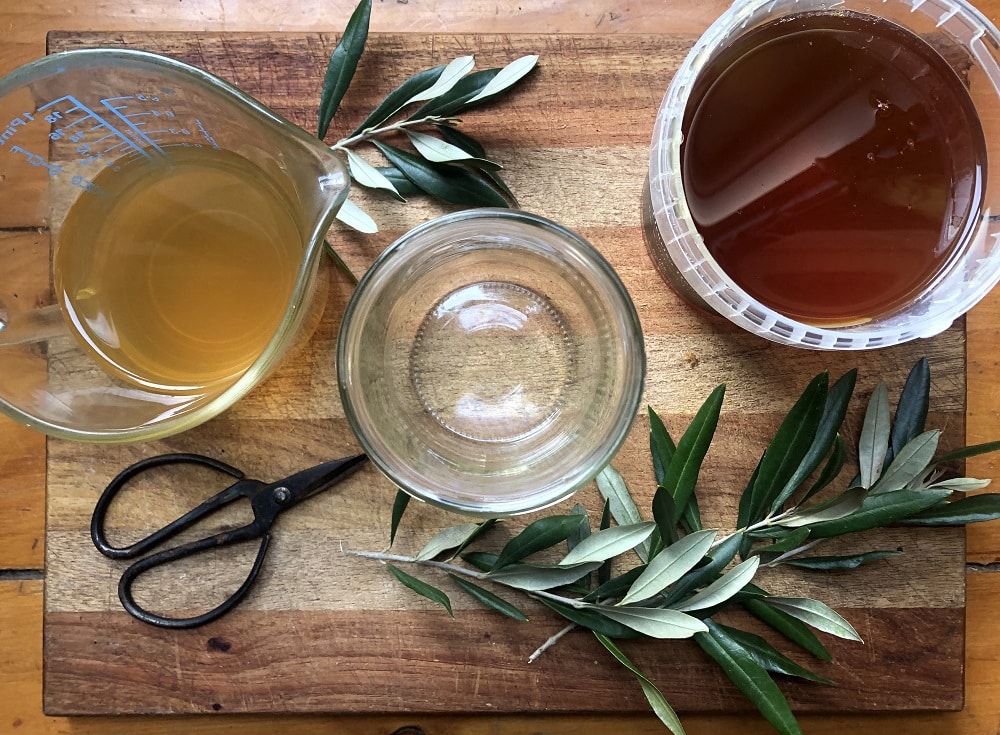
Making your olive leaf oxymel:
You’ll need:
- Olive leaf
- Honey
- Apple cider vinegar
- Scissors
- A large bowl
- A clean, dry jar
- A dropper bottle or any bottle to store final oxymel in
Folk method:
- Gather a small basket of olive tree leaves – if gathering them wild, be aware of signs of ‘drill and fill’ poisoning by councils in their lower trunk or chemical spraying around them on the ground.
- Strip all your olive leaves off their woody stem into a large bowl.
- Take small handfuls of these leaves and using scissors, chop them up into your clean jar – as small as you have patience for. Once again, smaller pieces = more surface area = the more medicinal properties that can be extracted.
- Once your jar is about half full with herbs, pour some apple cider vinegar (ACV) into it so that it is now also half full with ACV liquid.
- If your honey is hardened you will have to warm it up in a water bath (as above with the herbal honey) so that you can pour it into your jar – filling it up to the top so that your oxymel is half ACV and half honey.
- Now to thoroughly mix your ACV and honey. Depending on how firm your honey was you can stir, shake or gently warm your jar in a water bath or under a warm tap so that the two mediums become one.
- As you seal and label, if your jar has a metal lid, you’ll need a piece of baking paper in between it and your jar to prevent oxidation of the metal.
- Keep your infusing oxymel in a cool, dark place for 4 weeks. And just like your infused herbal vinegar, shake it every day or few days if possible for optimal infusion.
- Strain it in the same way too – through a cheesecloth or clean cloth lining a sieve, over a funnel into the labelled bottle that you would like to store it in to keep in your ever-growing home herbal medicinal cabinet.
Suggested use:
Take as needed at the first sign of a cold or flu: if you used a dropper bottle, take a dropper-full three times a day, or else just a poured teaspoon three times a day, until symptoms recede. If using as preventative medicine, one teaspoon/one dropper-full a day will aid your body’s resilience greatly.
—
Well, I know that was a lot of information, but if you’re still here – I hope you’re feeling inspired by all of this herbal goodness and you’ve gleaned just how much medicine and magic the plants offer us all.
Delve in, be bold, and know that no matter what level you’re at with your herbal knowledge, we all have the potential to deepen these healing relationships more by bringing them into our homes.
So go forth, make friends with your wild plants and enjoy building your home herbal medicine cabinet.
Resources:
Books:
- “Weeds Heal: A Working Herbal” – Isla Burgess
- “How Can I Use Herbs in my Daily Life?” – Isabell Shipard, a wonderful, thorough and humble Australian herbal reference
- “The Herbal Medicine Maker’s Handbook: A Home Manual” – James Green, a great resource that I continually check while making herbal medicines
- “It’s Blue With Five Petals: Wildflowers of the Adelaide Region” – Ann Prescott, recommended easy-to-use reference guide for wild plant ID around Tarndanya/Adelaide
- “Traditional Healers of Central Australia: Ngangkari” – Ngaanyatjarra Pitjantjatjara Yankunytjatjara Women’s Council Aboriginal Corporation
- “Wild Medicine in Australia” – A.B. & J.W. Cribb. Note: reference guide written by two non-Indigenous authors. There are limited resources on native plant medicine due to so much knowledge and so many Indigenous healers being tragically lost through colonisation.
- “Braiding Sweetgrass: Indigenous Wisdom, Scientific Knowledge and the Teachings of Plants” – Robin Wall Kimmerer
- “Common Herbs for Natural Health” – Juliette de Bairacli Levy
- “Herbal Rituals” – Judith Berger
- “Hygieia: A Woman’s Herbal” – Jeannine Parvati
Podcasts:
- The Herbal Highway – sharing an abundance of free, community herbal knowledge while supporting Indigenous land rights as an integral part of collective healing.
- Medicine Stories Podcast– featuring much plant wisdom and interviews with many wonderful herbalists.
Online study:
- Now and Then Herb School – monthly community herb classes, via Zoom, by donation, with proceeds supporting Black And Indigenous scholarship funds.
- Blue Otter School of Herbal Medicine – teaching energetic herbalism from a Native American perspective.
- Intuitive Plant Medicine with Asia Suler – from medicine-making to plant communication, a truly magic course to remember our intuitive connections with the Earth.
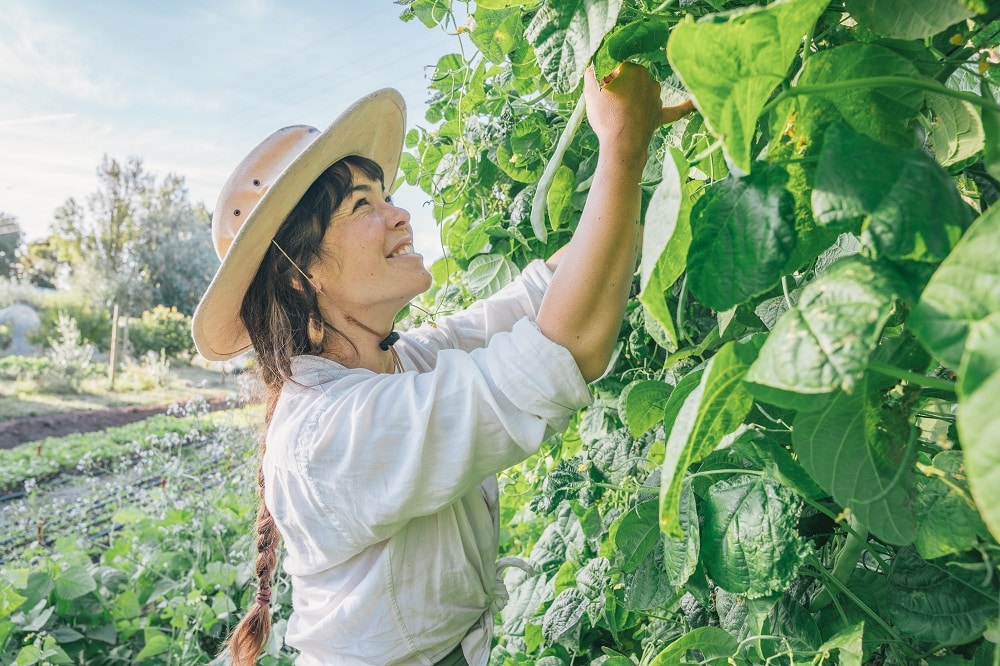
About the author: Keitha Thuy Young is a disabled mother, farmer, seed-keeper, folk herbalist and advocate for seed sovereignty. She gratefully grows and crafts Plant Medicine for Healing Justice on unceded Kaurna land (South Australia).



Thank you I am so very greatful
Jenny
Hope it helps!
Great article, thank you so much for sharing your knowledge and all the links. I’m interested in ‘acts of care’ for the plants you gather from, what that might look like- I’ve been known to sing to plants I collect from, but I’m not sure they’re getting the best deal there XD
Singing definitely useful! Also try giving them some water or other nourishment, not disturbing root systems, or harvesting too much from any one place?
I’m keen to harvest some local “weeds” but I’m a bit worried that our local council might have sprayed them with nasties. Is there any sure-fire way to tell? And if I wash them after harvesting, is that enough to make them safe?
Hey Britt – if the weeds have been recently sprayed they will wither and die pretty quickly, so that’s a decent indicator of recent events – you can also call your council and ask where they’ve been spraying recently, they should have that info for you? I wouldnt eat anything that’s been sprayed with the strong herbicides that they spray on weeds – its not an agricultural level of chems (ie like the stuff sprayed on conventional veggies), washing won’t fix the problem for you there I’m afraid – Good luck!
Thank you so much for this info! As mentioned I have also been too overwhelmed to know where to start with making herbal medicines and this makes it so much simpler. Thank you.
great! Hope it helps 🙂
Thank you for sharing your knowledge and your beautiful and loving writing about herbal plants. I am a beginner so now I feel i have convadence to start!! warm regards Mimi
so great to hear, Mimi – hope your learnings go well!
Absolutely love the article, thank you so much for sharing your knowledge, i have some olive trees and fennel, but i will need to get some experience on identifying the chickweed and nettles, love the way you are keeping the traditions alive.
the nettles are pretty easy – if they look like nettles, and also sting you, they’re nettles 🙂
Simply explained so the instructions are easy to follow. Interesting information about the benefits of these plants
Thank you
You’re welcome, Lidima 🙂 – hope your folk medicines go well 🙂