
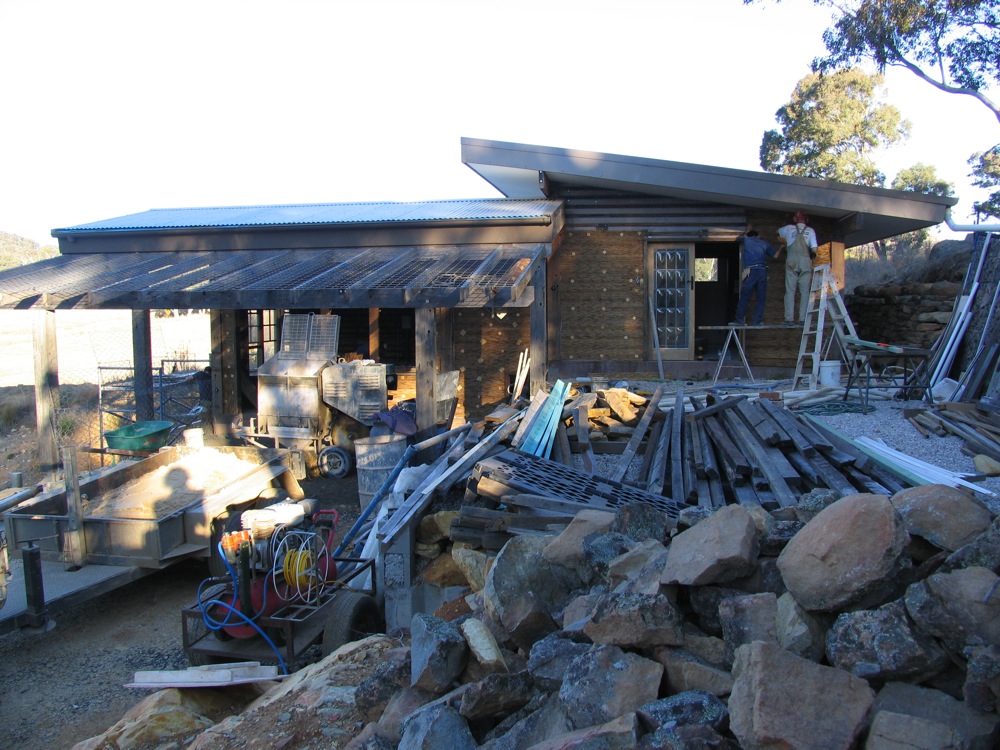
Ok I know I said we’d be in our tinyhouse by Spring. And we’re so achingly, so un-utterably, so plainly not in. Yet. But just when does spring start? Is it a date thing? An equinox thing? Can i find an adequate caveat?
You know those wattle-and-daub walls of ours? Great idea. No really. Only one problem. The daub don’t stick to them wattles. Initiate slight panic sequence until solution found. Which we did. Hooray for reed fencing, most unlikely of saviors.
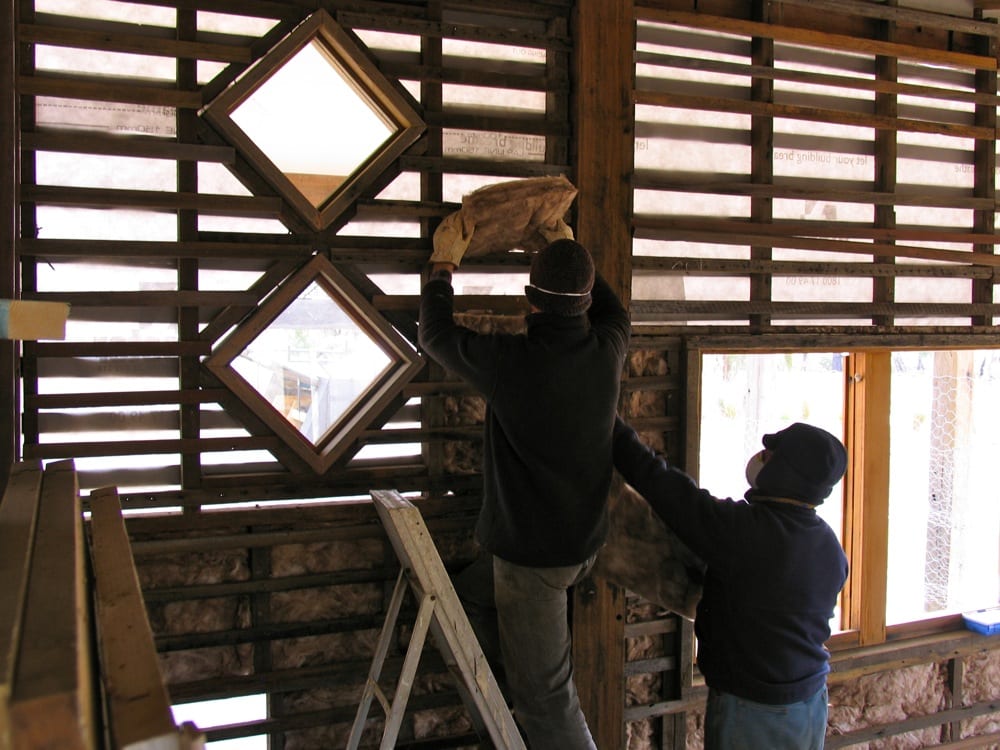
Inserting the earthwool insulation between the two layers of wattles, with weatherproof membrane on the outside
We knew that our idea of double skin wattle and daub walls with insulation in between for our tinyhouse was a bit experimental. But hey, we thought. It will be cheap. It will be quick. It will give us more internal space on our very small slab. How hard can it be?
And so we set about constructing modern wattle and daub walls. We put proctor wall wrap hp, a breathable waterproof membrane, on the outside of our upright studs. We then clad the studs on both sides with small strips of wood (salvaged hardwood floorboard slivers). These were to become the wattles.
Then we shoved our earthwool insulation in between these wattles. It was all going fairly easily – cheap, time efficient and sure of success.
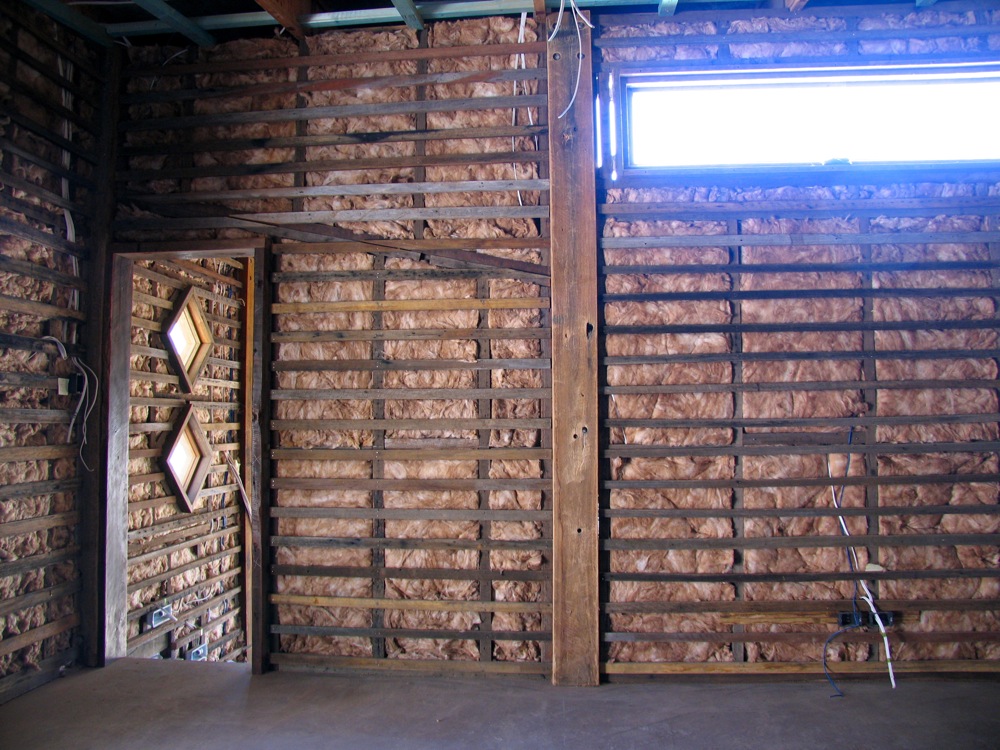
Upper half of the tinyhouse, all earthwool-ed and wattled and ready to daub! Or so we thought...
We thought (based on advice) we could then put the nylon netting used by strawbale builders over this arrangement on both sides of the wall, render it all in mud, and we would be done.
But wait. By happy accident, we managed to secure Frank Thomas, master stawbale builder, to come to Milkwood to deal with the mud rendering part of this wall making thing.
Frank took one look at our walls and said: hmm. This will not work. This will not work at all. You must find another way of doing these walls of yours.
Ahrg. Frank didn’t think the mud render would stick to the proctor wrap on the outside, nor the earthwool on the inside, nor the wattles themselves. NOOOOOO!
After a short but intense period of hyperventilating, we got to it. We had to find a natural, sustainable, easily accessible and cheap material that we could clad our walls with, that the render would sick to. Something like that matchstick roller blind material, perhaps. But affordable enough to clad a tinyhouse inside and out.
The material had to be textural (for the mud to stick to) and rigid enough to hold the render without cracking. And not made of nasty stuff. And cheap. And immediately available, because we’d booked Frank and his mud rendering setup for a finite period, and Frank is one busy man.
Thanks to Nick, the ultimate problem-solving engine (he works best under pressure) we found the right stuff in about 4 hours of research. It’s called reed fencing (though it’s actually made of bamboo) and is easily got from most hardware stores.
So Nick barreled into town and bought 30 rolls of this reed fencing stuff. Frank proclaimed it an excellent solution. Hooray! We were back in the wall building business.
We attached the reed fencing to the wattles using small squares of leftover chipboard, screwing the arrangement to the walls with button-head screws. It took 3 guys about 2 days to clad the entirety of the inside and outside of our tinyhouse with this stuff. Right. Where were we? Ah yes, mud rendering.
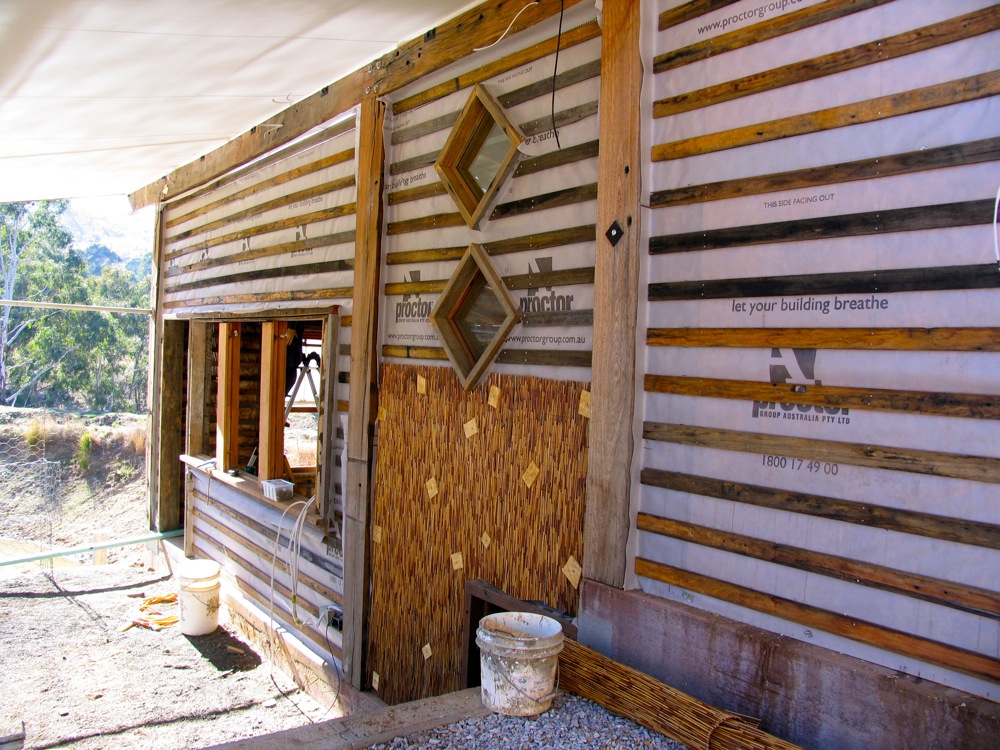
First panel of reed fencing up and attached to the outer wall.
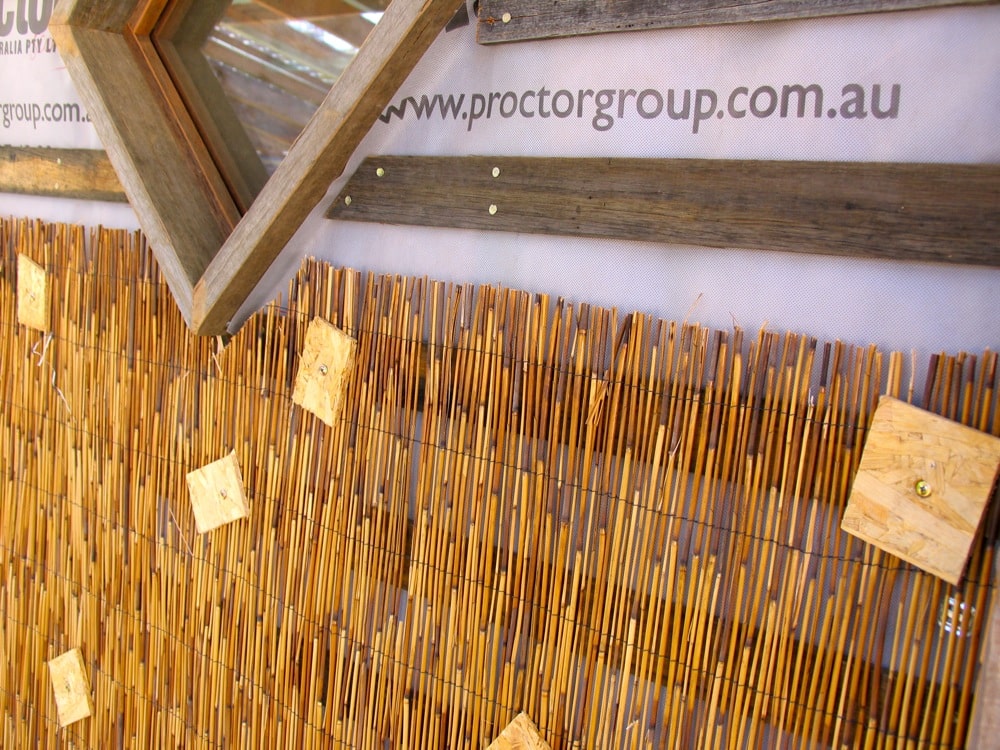
We attached the reed fencing with squares to the reeds wouldn't pull off the screws
Time for some daub!
Enter Priscilla. Priscilla is Frank’s beloved spray rendering machine. Priscilla can do in a short period of time what would take many hours with many hands. And her job is as simple as it is important: sieve and mix mud, and spit it out a pipe, onto a wall. All at once.
Our solar-passive house has wide eaves, to guard against the summer sun. Still, we wanted a waterproof render for the outside, rather than just go with mud and hope the wild winter storms didn’t wash our outside walls away.
Frank used a lime render, which still allows the walls to breathe and release any moisture that gets trapped, but which is also a sturdy skin that can stand up to a storm lashing that wall with rain.
So on went the first outside coat of lime/sand/mud combo, onto our reed fencing. And guess what?
It stuck. And it stuck well. In fact, Frank, the ardent ‘if it’s not strawbale than it’s not worth doing’ builder, proclaimed it perfect, and a great solution. Whoohoo!
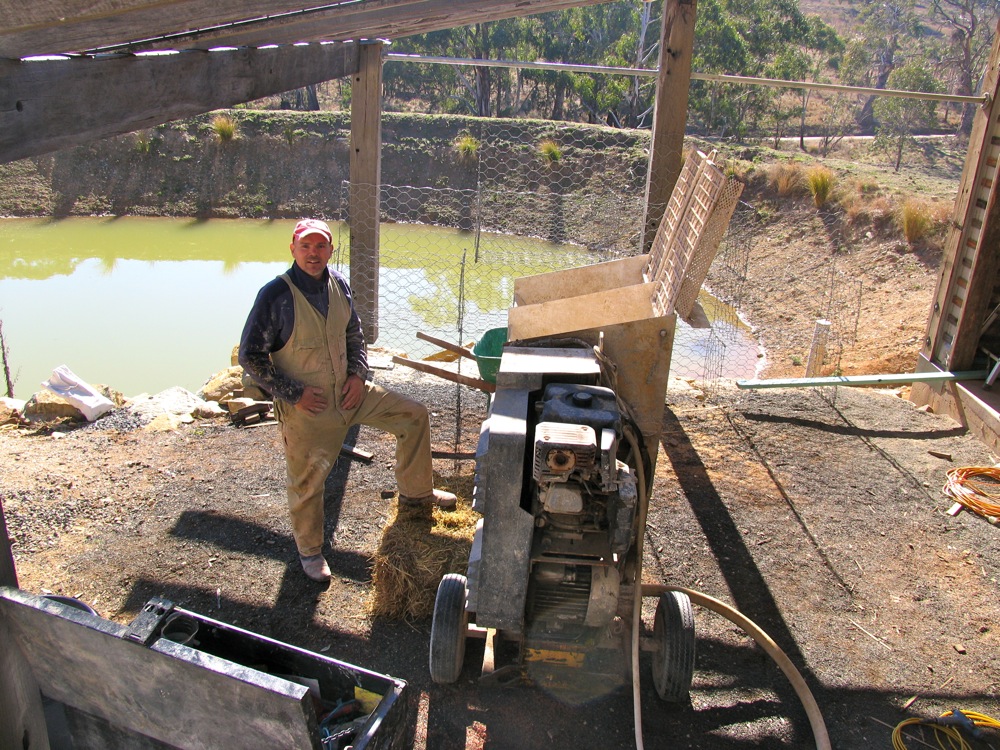
Frank and Priscilla
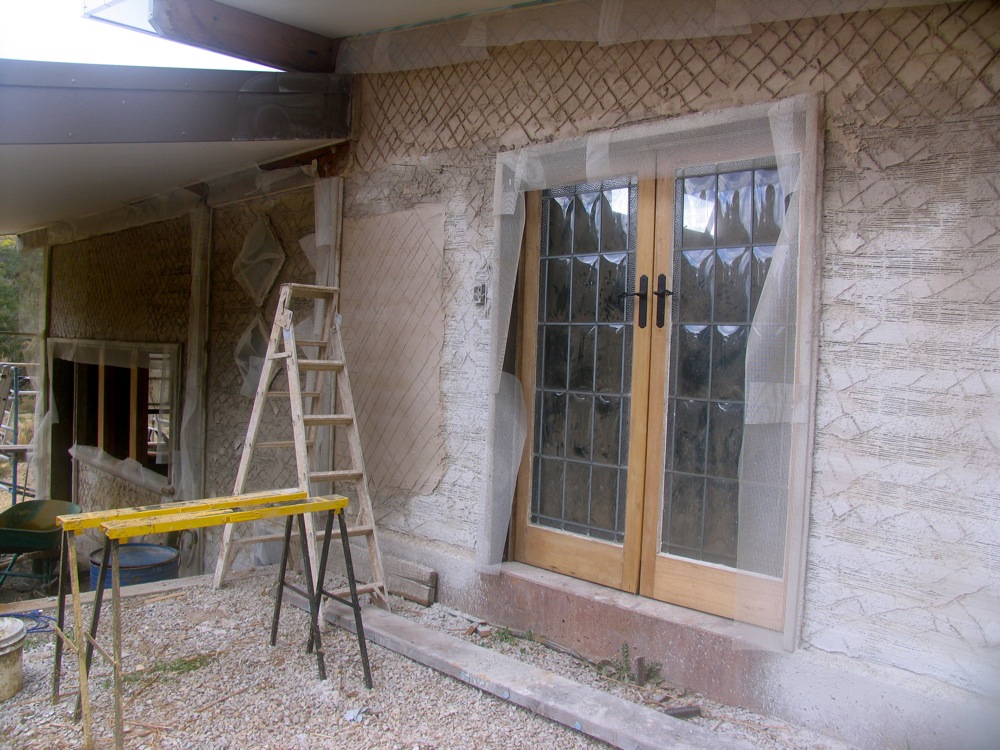
First outer coat of lime render all done, and sticking most excellently.
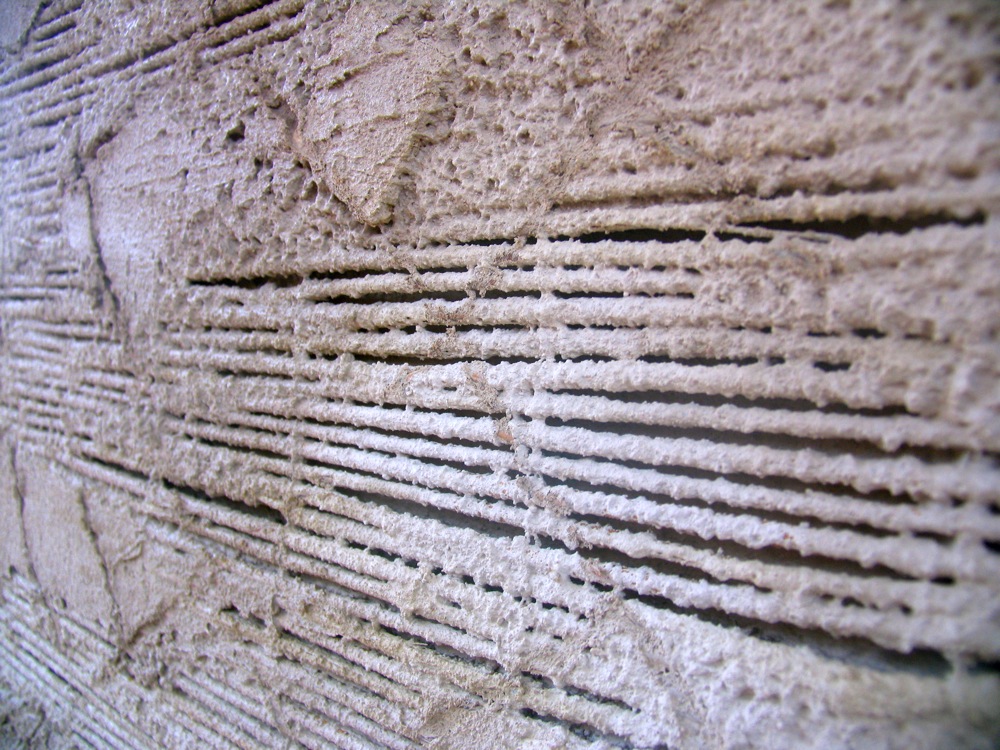
Lime render and reed fencing. Best friends.
There might be something in this lesson, actually. And some useful knowledge, too. Anyone need a mud rendered wall but can’t use strawbale for some reason? Maybe reed fencing (or something similar) could be worth a try…
So anyway, there you go. We got through yet another tinyhouse hiccup. And now the lime coat is dry, it’s time for the mud…
Do you have a owner-building design tragedy that thankfully got fixed? And when will we all learn just to stay living in our caravans and sheds and be content, instead of believing we can build such a complex organism as a natural house?
Many thanks to Frank Thomas of Strawtec for agreeing to travel all the way to Milkwood (3 times) to render such a plainly not strawbale house.