
The lawn is going completely nuts again. It’s spring here in southern lutruwita / Tasmania, the days are getting longer, frosts rarer, the rain keeps on coming, and the grass is growing so fast you can almost hear it.
Recently I was standing beside the mower with a catcher full of lush green clippings, about to tip the lot onto the compost as usual, when I remembered a thought I’d had a while back… what if we could grow mushrooms directly on very fresh lawn clippings?
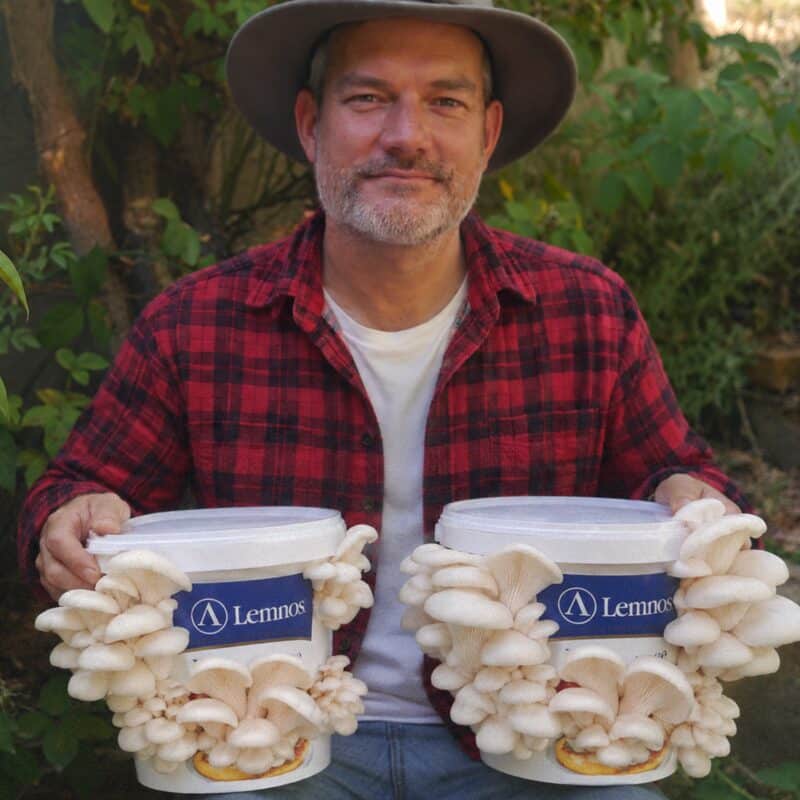
And a month later, we were eating oyster mushrooms. Grown on our lawn!
So yes, you can eat your lawn. It just has to go through a bucket of oyster mushrooms first, with a bit of sawdust to help it along.
Here’s how I went about it, photos and all, so you can have a go next time the lawn needs a mow (or skip straight to the method if you’re itching to get going).
Why grass clippings?
Most of us who grow oyster mushrooms in buckets grow them on straw or sugar cane bagasse or some similar agricultural waste sold as animal bedding or garden mulch. And these work well, but you have to go out and buy it, a bale at a time, and find a dry corner of the shed to keep it in. On top of that it’s often wrapped in plastic and it’s hard to be sure how “clean” that agricultural waste is anyway.
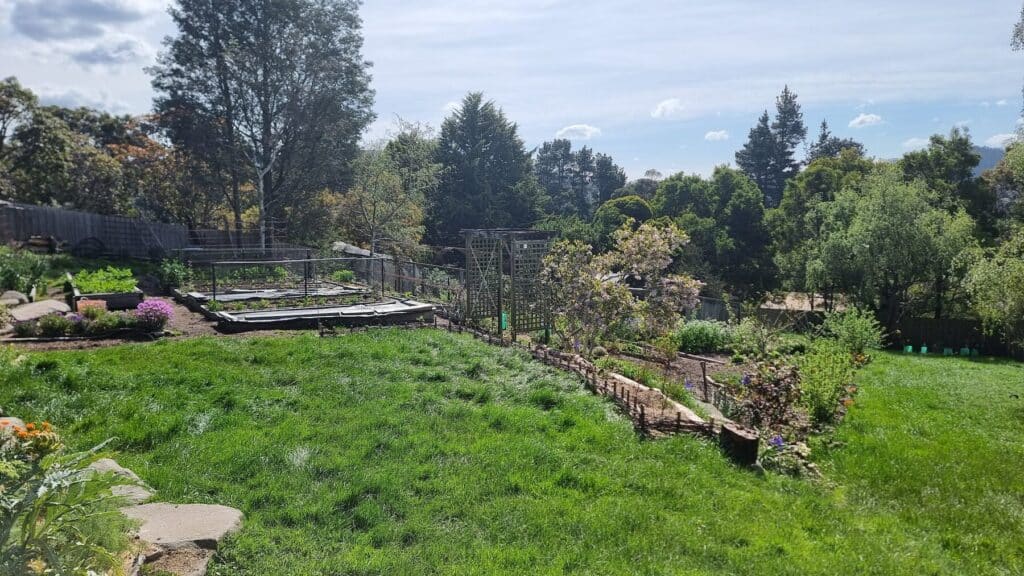
Lawn clippings are a different story, because most of us have a lawn (or a neighbour who wouldn’t mind you mowing theirs), and in spring it needs cutting every week whether you like it or not.
And a heap of clippings can be a bit of a nuisance, because it goes hot and slimy in no time unless you’re good about mixing it into the compost with plenty of other ingredients.
If you’ve done our mushroom course, you’ll know we tell beginners to start with dry stalks like straw, and to hold off on rich, sappy stuff like fresh grass, coffee grounds and bran until they’ve got a few grows under their belt (there’s more on which mushrooms eat what over here).
Because fresh grass is full of sugars and nitrogen, and the moment it’s cut, bacteria, yeast and other simple fungi like moulds move in and start to eat it. It starts to warm up and break down. Within a matter of hours your oyster mushrooms don’t stand much of a chance.
But I wondered what would happen if the grass went into a lime bath almost immediately it was cut, before anything else had a chance to move in. And it worked!
I also mixed the grass half and half with sawdust, which is a mix we often use with straw based substrate (the stuff the mushrooms grow on), just with lawn standing in for the straw. The sawdust tones down all that richness, and it gives the soft grass enough body to stop it slumping into a soggy mat in the bucket. It also acts as a slow release “low-gi” food for our fungi.
This is one batch so far, so it’s not as tried and tested as straw. If it’s your very first mushroom grow, you might like to do a straw bucket first (our free guide below covers it) and then have a go with your lawn.
And only use clippings from an “organic” lawn that’s never had weedkiller or “weed and feed” on it. Some of that stuff is pretty toxic.
The Method
Lawn to Oyster Mushrooms. We mowed on 9 September and were picking oyster mushrooms by 8 October, and this is how the month went. Each step has photos and more details below.
-
Mowing day
Step 1:Mow & Blend
- 1 to 1 grass clippings to sawdust
Mow enough clippings to fill half your buckets, and fill the other half with sawdust. Within an hour of mowing, blend it all together in a cloth bag.
-
Step 2:Lime Bath
- 1 cup hydrated lime to 50 litres water, soak 4 hours
Test for about pH 12, and never below 9. Sink the bag under a brick, and wear gloves and glasses. Hydrated lime only, not garden lime or dolomite.
-
to
Step 3:Drain, Mix & Pack
- Drain well first, then mix in 1 to 10 spawn
First, hang the bag until a hard squeeze gives just a drop or two, about an hour. Only then tip in the spawn, about 400-500 ml for each bucket you’ll fill, and mix it right through in the bag. Last, pack it into your buckets, not too firmly.
-
Step 4:Wait
- 2 to 4 weeks, dark and sheltered
White and sweet-smelling mycelium is good. Green, black or grey-blue is mould.
-
Day 14 to 28
Step 5:Fruit
- Into the light when pins appear
Pins are the little bumps at the taped holes. Leave the tape on, as they push through it, and mist once a day, or twice in dry weather.
-
2 to 5 days later
Step 6:Harvest
- Pick before the caps flatten
Twist off the whole cluster at the base. Keep the bucket moist for a second flush.
If something looks off, see what to do if things go wrong.
Brand new to growing mushrooms? Start with our free guide
It’s 15 pages on growing mushrooms at home with no lab or fancy gear, from oysters in old buckets to shiitake on logs. Pop your details in and we’ll email it to you.
Click the confirm link in our first email and the guide’s on its way. You’ll get our newsletter every so often too.
What you’ll need
- Grass clippings, freshly mown, from a lawn that’s never been sprayed. Use within an hour.
- An equal volume of sawdust – hardwood if you can get it, and never from treated pine, MDF or chipboard. If you can’t get sawdust, use plain hardwood pellets sold as BBQ fuel (you can use a little less because they expand when you soak them).
- Hydrated lime – also sold as builder’s lime at the hardware store (not garden lime or dolomite)
- A big bin or tub for the lime bath – ours is an old 55 litre (15 gallon) galvanised rubbish bin
- A large nylon brewers bag or cloth sack to hold everything while it soaks
- A brick, or something heavy to keep it all underwater
- pH test strips (optional, but handy)
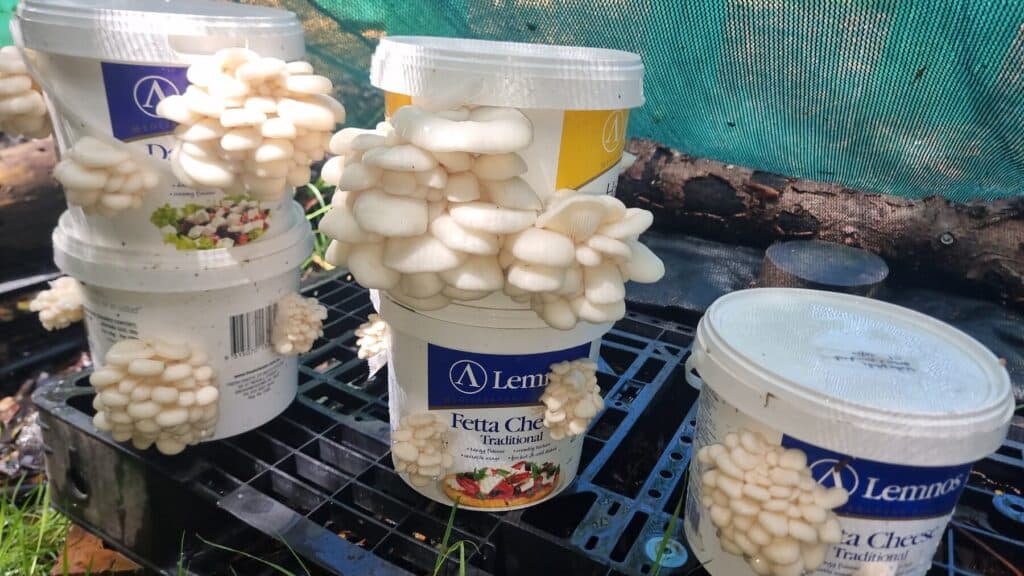
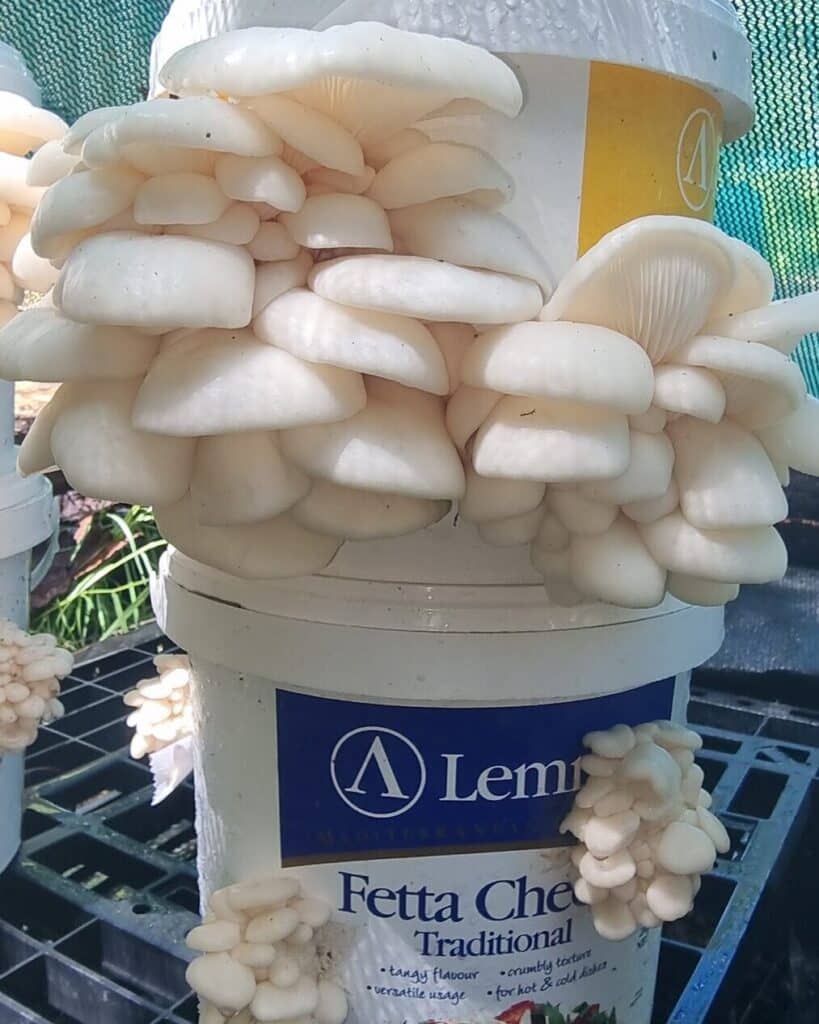
- Buckets with tight-fitting lids, around 4 to 5 litres (1 gallon) work best – we use old feta buckets, with eight to ten 1 cm (3/8 inch) holes drilled around the sides, evenly spaced in two offset rows, and covered with micropore (surgical) tape
- Oyster mushroom grain spawn – grain that’s already full of mushroom mycelium, which you buy from a mushroom spawn supplier. For a cool spring like ours, pearl oyster is a good pick
- Gloves, glasses and a dust mask – safety first, you don’t want to breathe in hydrated lime (or get it in your eyes).
Step 1: Mow and mix
1 : 1 grass to sawdust · mix the same afternoon you mow
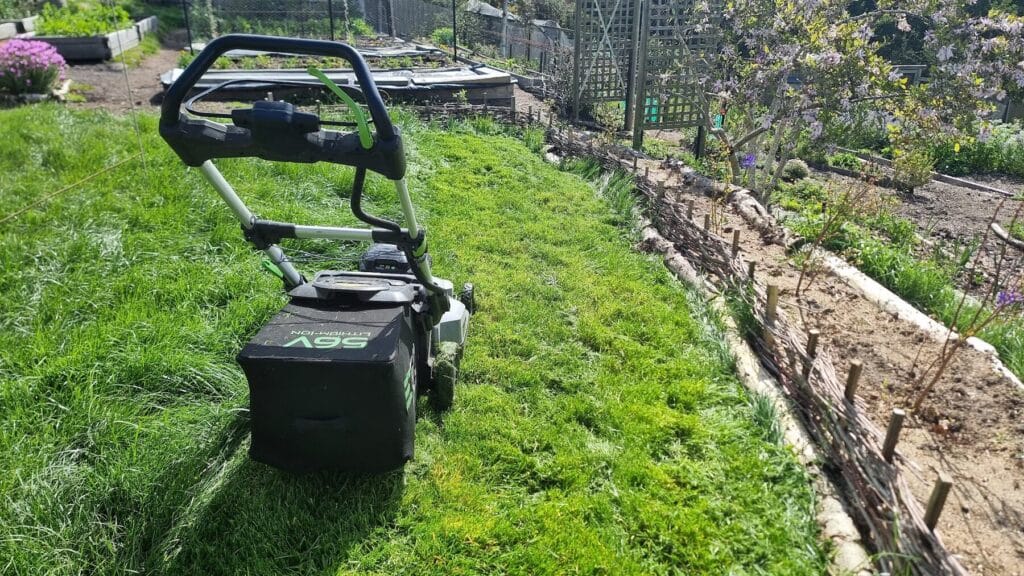
Mow when the grass is dry enough that the catcher fills cleanly, then get on with the next steps straight away.
I mixed my clippings with an equal volume of sawdust and bundled it all into a nylon brewers bag (something like this).
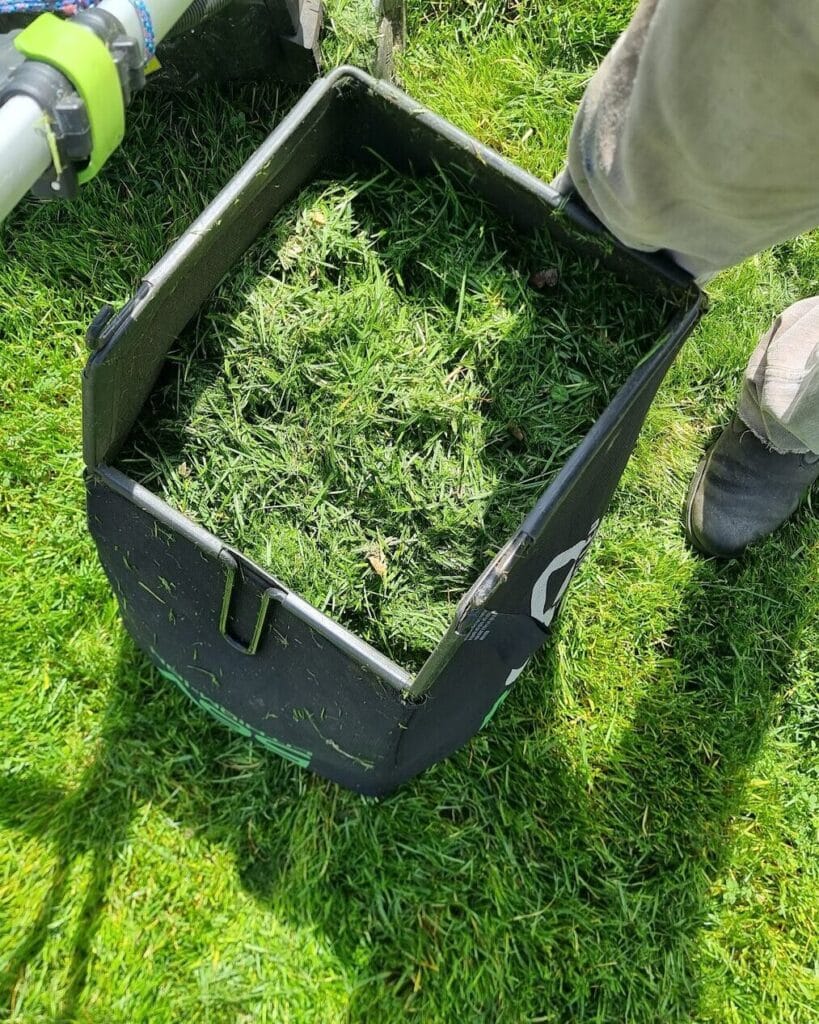
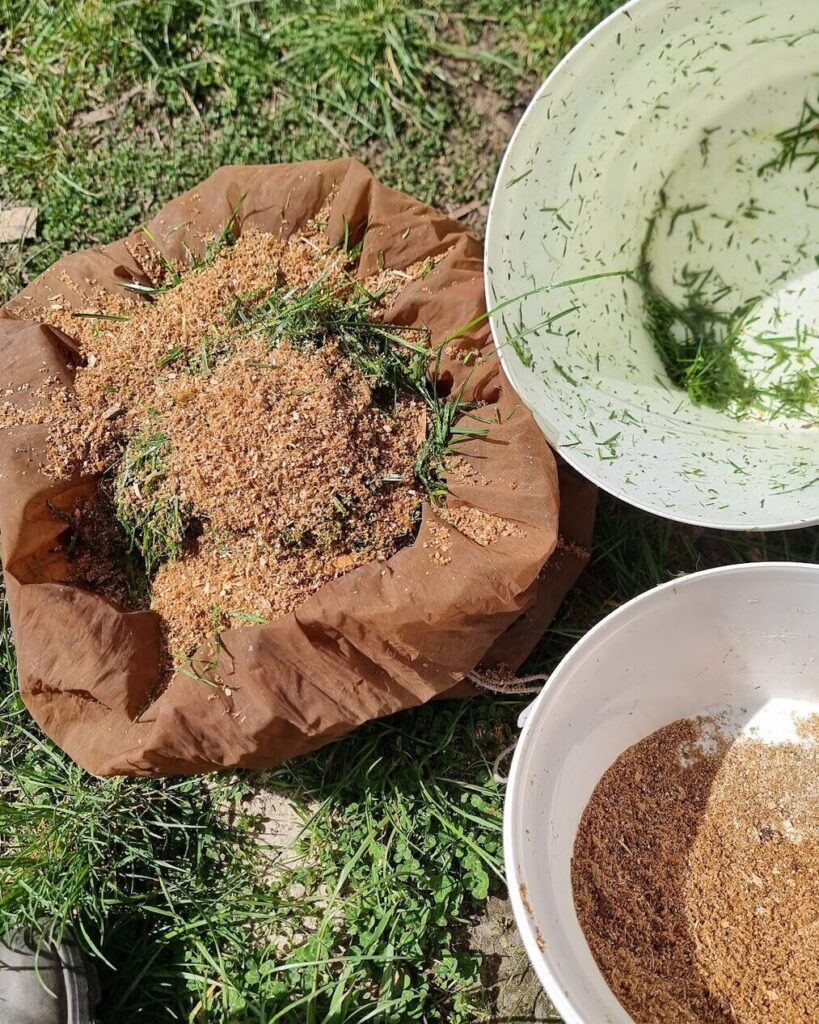
Don’t worry about being precise… you’re just aiming for grass with a bit of woody fluff through it, so air can still move around once it’s in the bucket and the mycelium has something a bit denser to digest.
Step 2: The lime bath
1 cup hydrated lime per 50 L water (not garden lime) · aim for pH 12 · soak about 4 hours
Hydrated lime is calcium hydroxide, and stirred into water it pushes the pH right up to around 12.
Very few of the moulds and bacteria that compete with oyster mushrooms can cope with that.
Oyster mushroom mycelium handles it much better as the bucket slowly settles back towards neutral, so the lime bath does the job of pasteurising your substrate without any boiling or pressure cookers (we’ve written about other ways to pasteurise bulk substrate too).
Please do be careful with hydrated lime, though. It’s caustic stuff, so wear gloves and glasses, keep it well away from your eyes, and try not to breathe in the dust as you tip it out.
And make sure you’ve got hydrated lime, not garden lime or dolomite – those are much gentler, and they won’t raise the pH anywhere near enough to do the job.
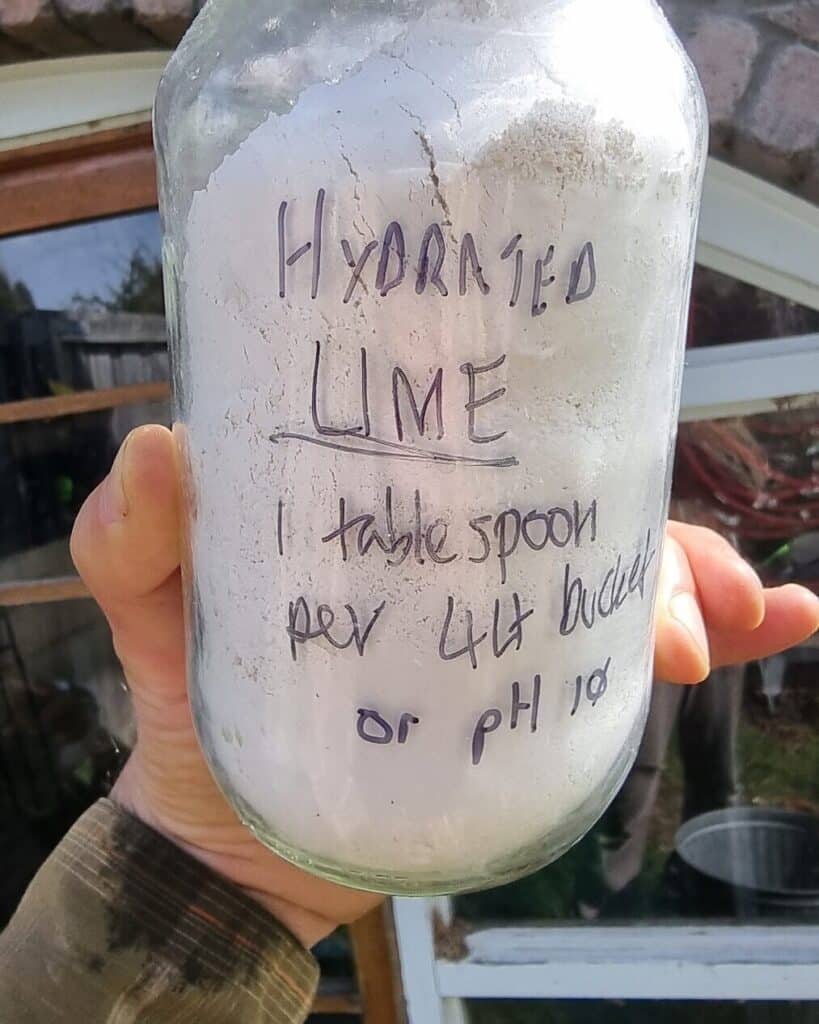
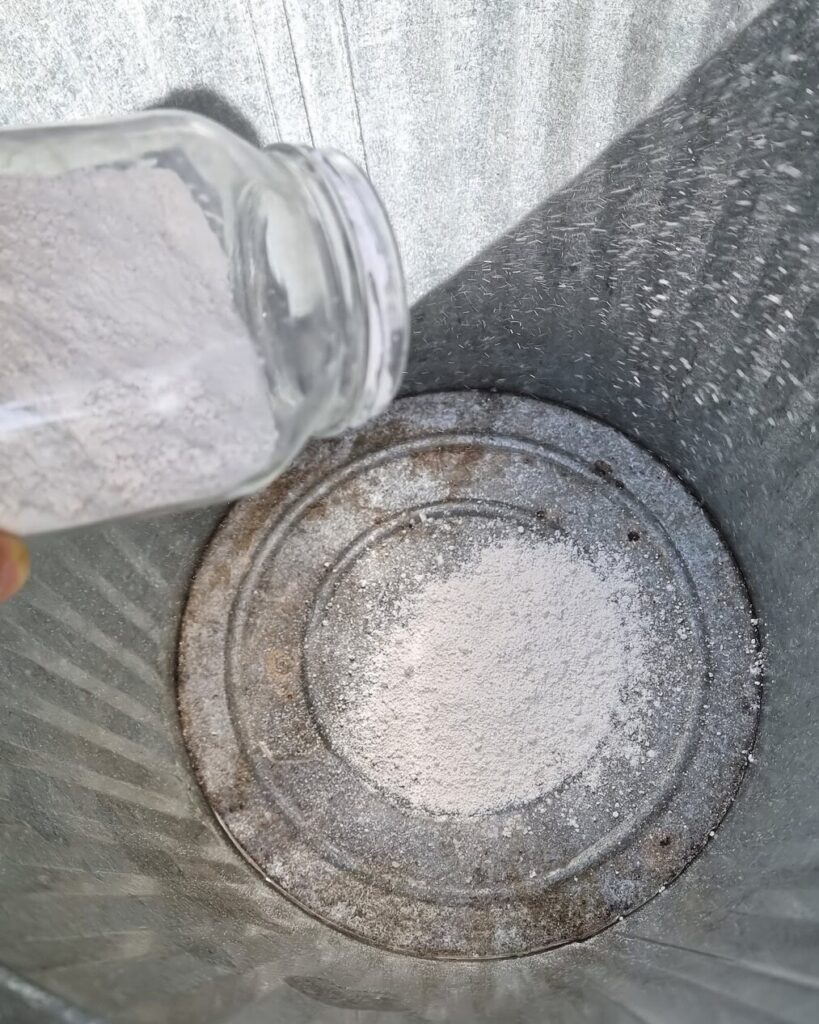
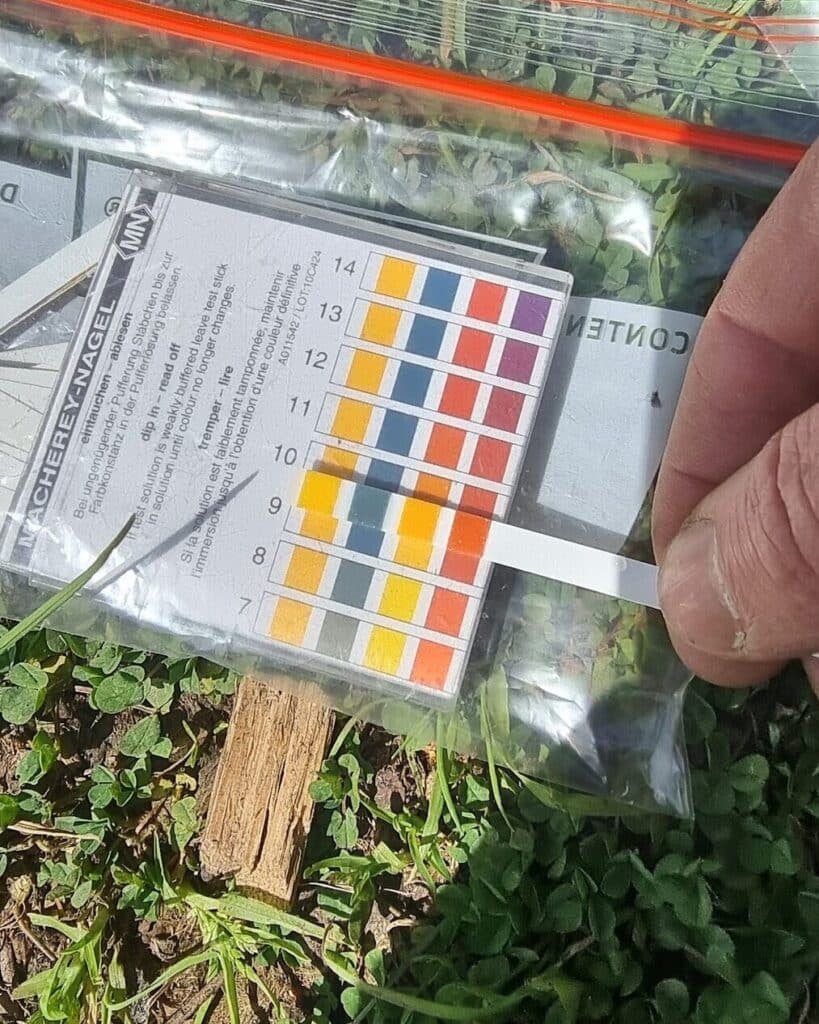
The note on my lime jar says 1 tablespoon per 4L bucket, or pH 10, which works out to a simpler rule: about one cup of hydrated lime for every 50 litres of water. Stir it in well, then check it with a pH strip. Some of the lime won’t dissolve and will settle on the bottom, and that’s totally fine.
Good hydrated lime should take the water up to around pH 12, which is seriously alkaline, and that’s what you’re aiming for. In our experience it still does the job as long as it doesn’t drop below 9.
If it won’t budge much past 9, your lime might have gone off. Hydrated lime slowly turns back into chalk when damp air gets at it, so keep it somewhere dry in a well-sealed container. If it’s gone hard and lumpy, grab a fresh bag. Ours only got to about pH 9.5, but it might have been an issue with the test strips.
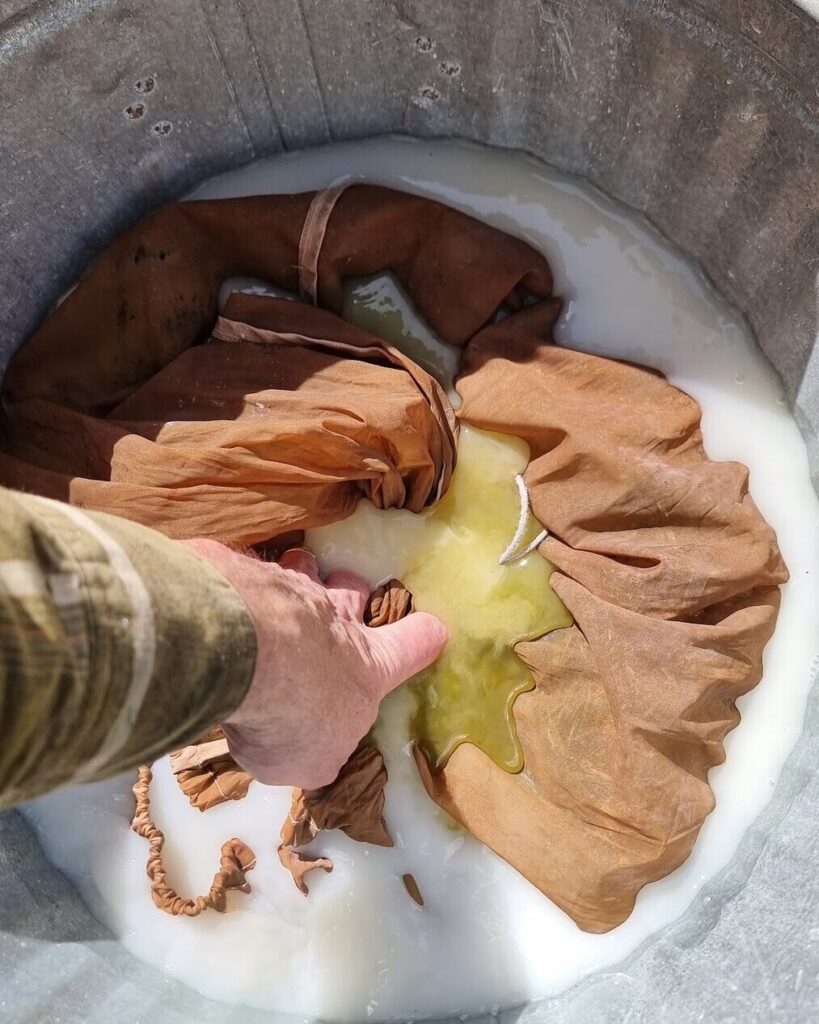
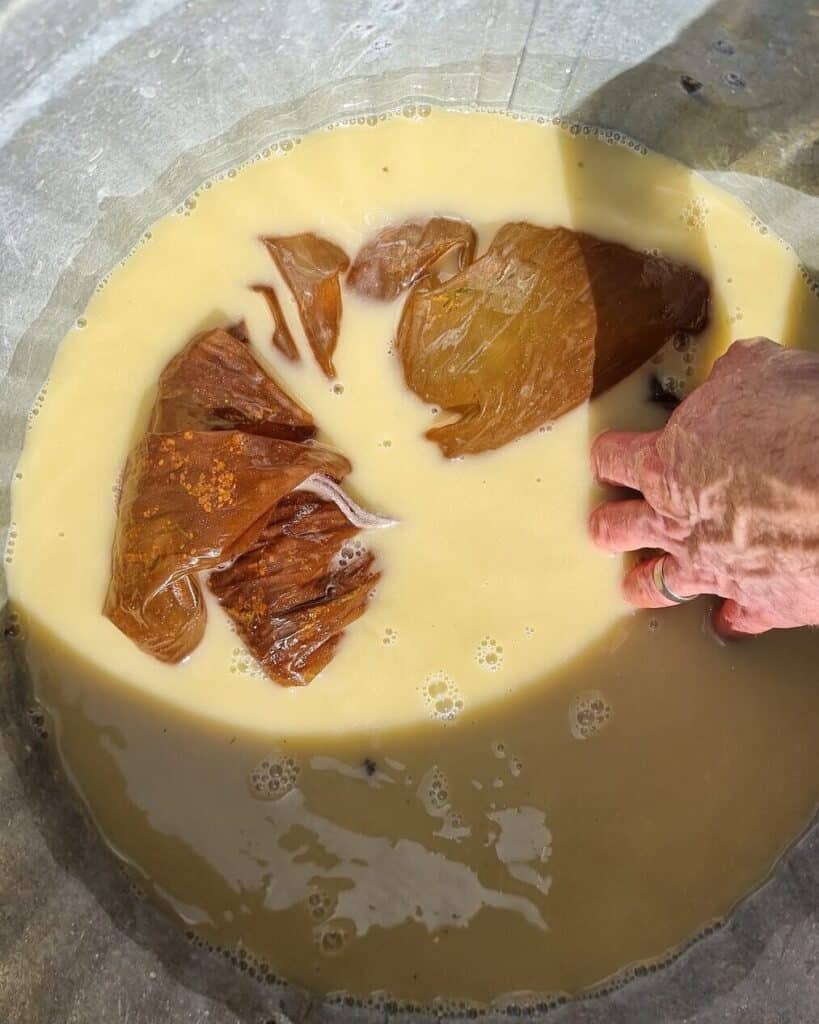
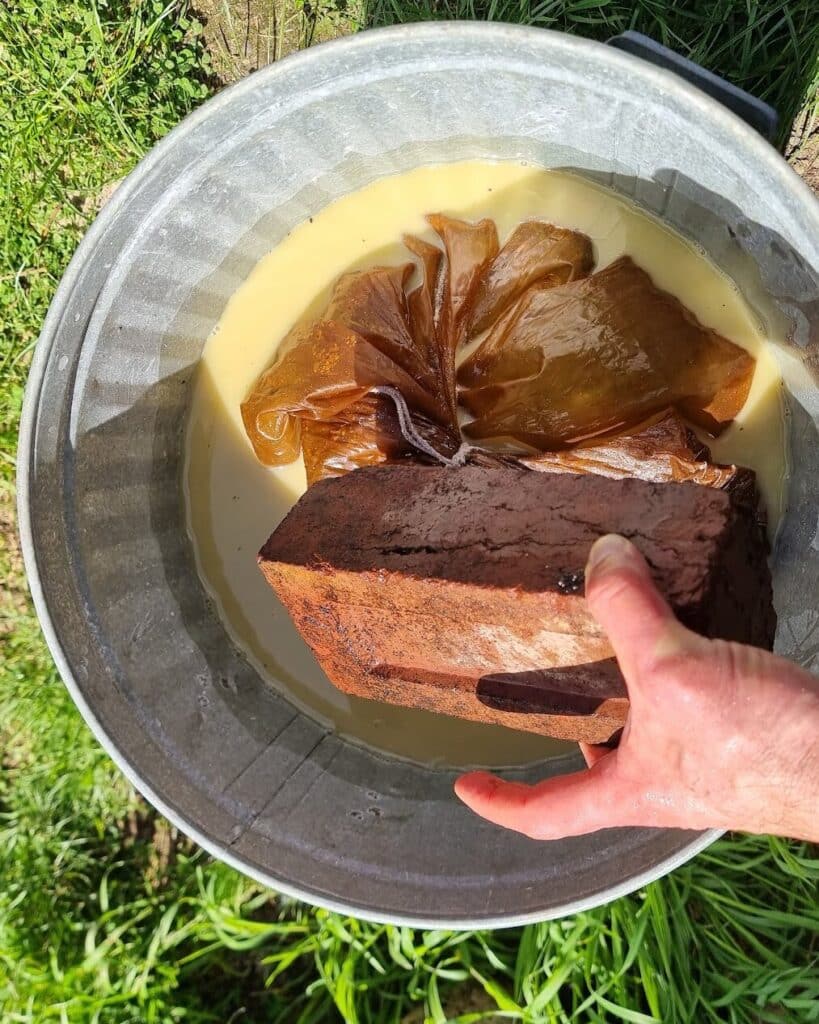
Lower your bag of grass and sawdust into the bath, push it right down and give it a really good squish so the lime water gets into everything (gloves on – do as I say, not as I did in these photos!). Then watch the water turn a custard yellow… it’s just the tannin in the sawdust and the juices from the grass.
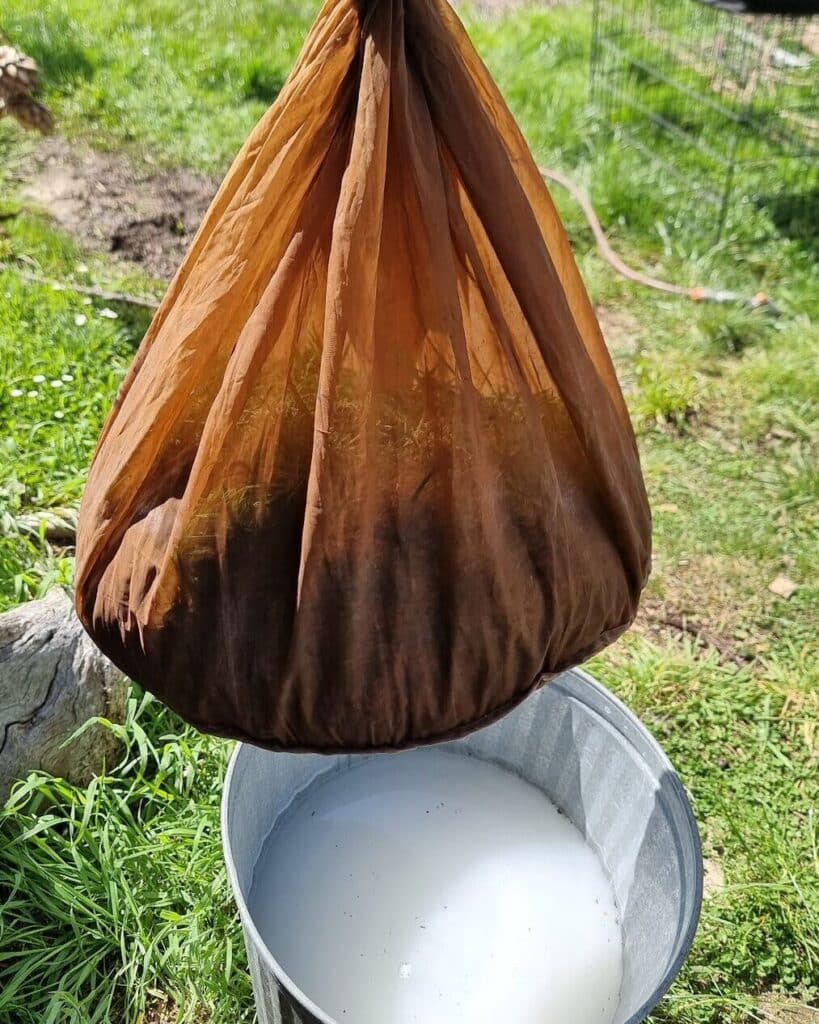
Then weigh it all down with a brick or other heavy weight so nothing floats up, and leave it to soak. Anything from four hours to overnight is fine.
Step 3: Drain, mix in the spawn and pack
Drain until a hard squeeze gives a drop or two · 1 : 10 spawn to substrate, about 400-500 ml per bucket
Lift the bag out and hang it up somewhere to drain until it stops dripping. I hung mine from a rafter in the shed, and it took about an hour to drain.
Don’t tip the lime water down the drain. It’s not toxic, but it’s caustic, so it’s hard on the sewerage system. Keep it for your next mow/grow instead, because it’ll pasteurise batch after batch while a test strip still reads pH 9 or more. When it finally gets too muddy to soak through the grass, water it down with three or four times as much water and spread it around the garden. Acidic soil will love it. Just keep it out of stormwater drains and creeks. If you do keep it, store it in a plastic drum rather than a metal bin, which it can corrode.
As for the drained material, you’re after damp, not wet – if you grab a handful and squeeze it hard, no more than a drop or two should come out.
Soggy buckets go mouldy, so it’s worth being patient here.
Once it’s drained, it’s time for the spawn. Open up the bag, tip the grain spawn in and mix it right through the grass and sawdust, so it’s spread evenly all the way through. We aim for about one part grain spawn to ten parts substrate, and if you’re unsure, be generous with it, because you want the mycelium to claim the whole bucket as quickly as it can.
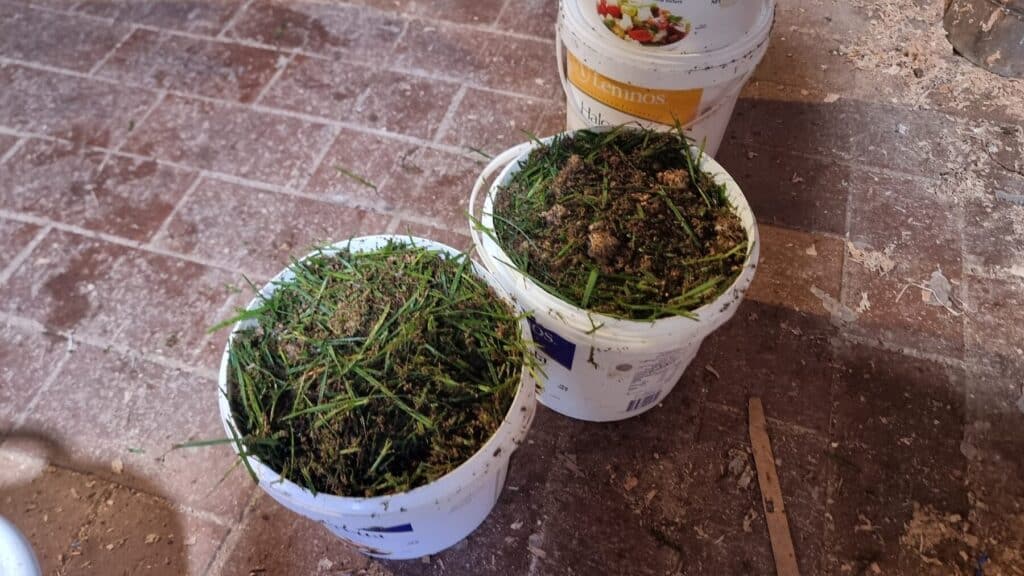
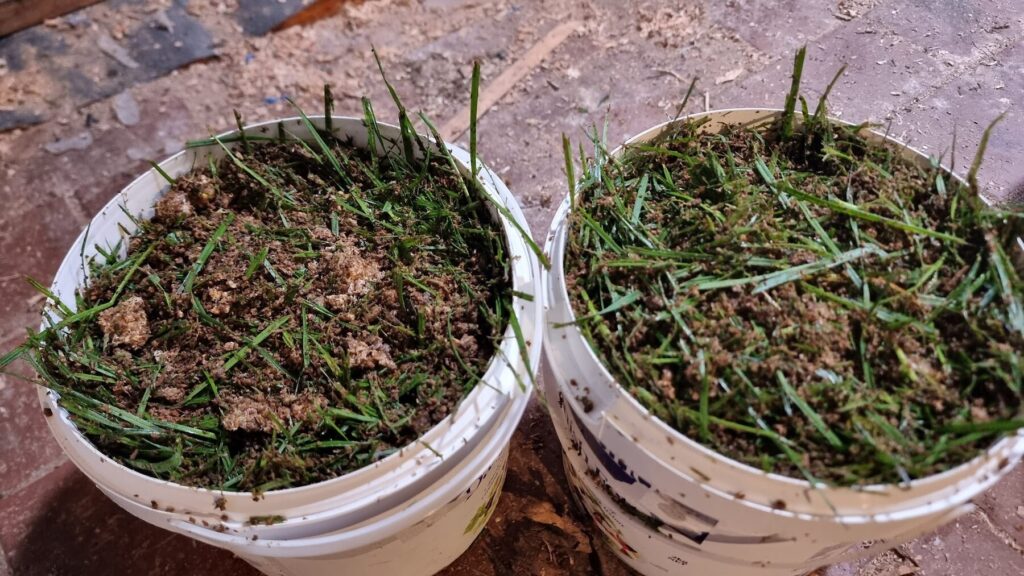
Then pack the mix into your prepared buckets, all the way to the top, but not too firmly. It needs to breathe, because the mycelium needs air to grow.
Lid on, and you’re done.
Mine were all packed by seven that evening.
Step 4: Wait (the hard bit)
2-4 weeks in the dark, until pins show
Pop your buckets somewhere dark and sheltered, out of the sun and wind, and leave them be. Somewhere inside with a stable temperature is best.
Over the next two to four weeks, if you lift the lid off, you’ll see the white mycelium spread through the grass, slowly knitting the whole bucket into one solid, sweet-smelling mass.
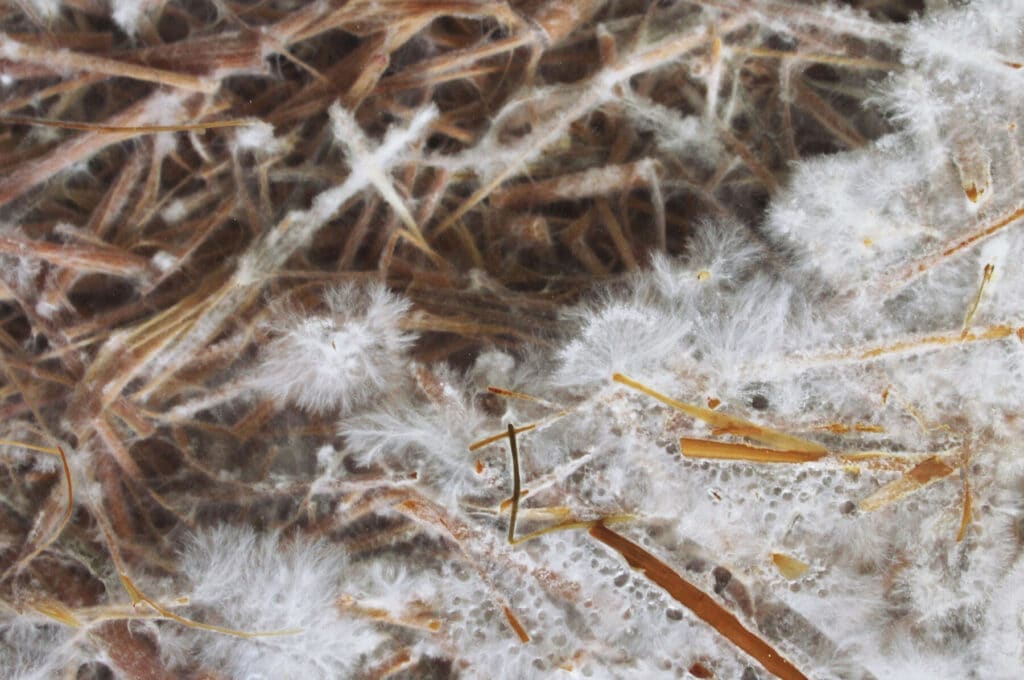
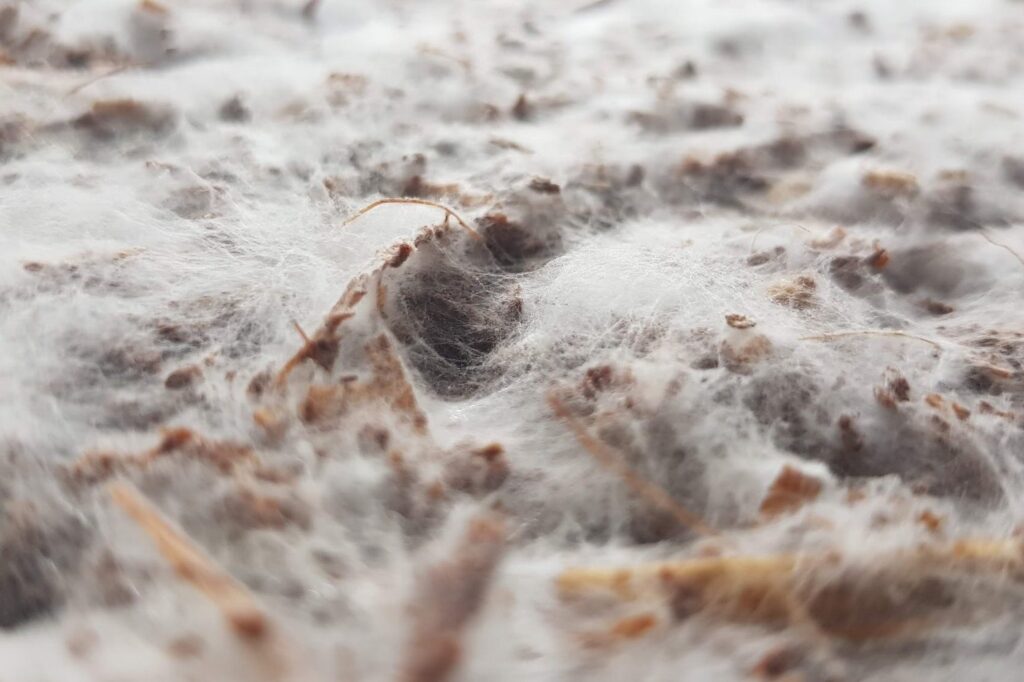
Healthy mycelium is bright white and smells clean and mushroomy. Patches of green, black or grey-blue are mould, and a strong sour smell means bacteria have got in.
Step 5: Fruit
Day 14 to 28 · pins showing? Into the light
Once the mycelium runs out of room in the bucket, it heads for the fresh air at those taped-up holes, and that’s where your mushrooms will show up.
When you see little bumps forming at the holes (they’re called pins), move the buckets somewhere with a bit more light and plenty of humidity: next to a pond, on the shady side of the house where the moss grows, or in a spare bathroom that can cope with some damp. You get the idea.
Leave the tape on. The mushrooms are strong enough to push it off themselves. Ours went onto an old pallet under some shade cloth beneath a willow at the bottom of the garden, and got a misting of water once a day. It was a damp spring, so that was plenty, but in drier weather mist them twice a day. Try not to spray the tiny mushrooms directly. They want humidity, not a bath.
Step 6: Harvest
Pick while the caps still curl down · about a 24-hour window
We mowed on 9 September, and by 8 October our stack of feta buckets was covered in fat, creamy clusters of oyster mushrooms, pushing out of nearly every hole. Less than a month in total!
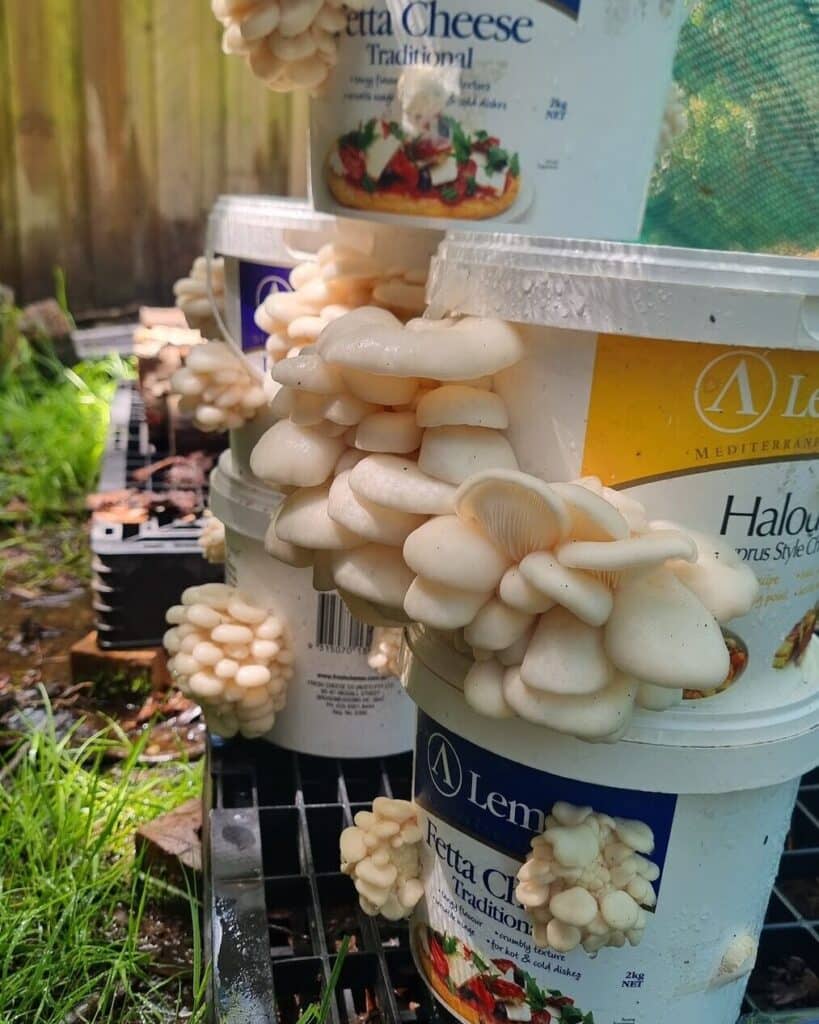
Hooray!
The best time to pick oysters is when the caps still have a little downward curl at the edges, before they flatten right out.
They’re usually ready two to five days after the pins appear, and there’s about a 24-hour window when they’re perfect, so keep an eye on them, then just twist the whole cluster off at the base, easy as that.
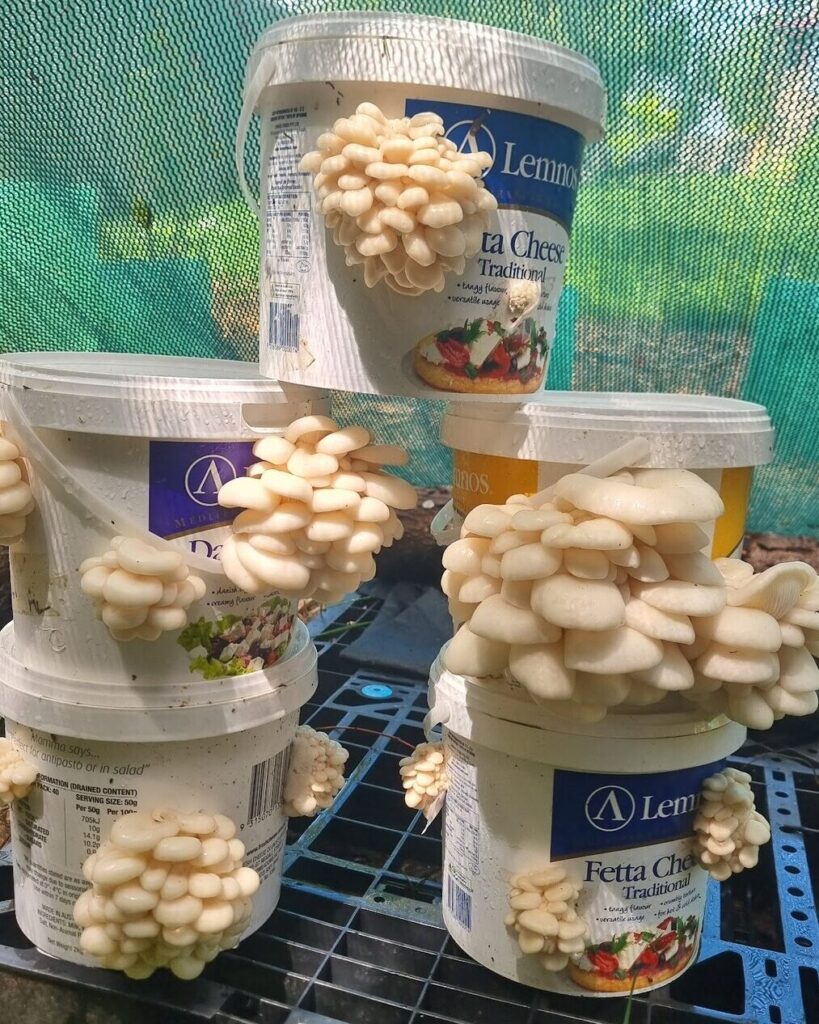
Fry them in butter with a bit of garlic and thyme, and pile them onto toast.
Keep the buckets moist and they’ll often give you a second, smaller flush.
And once they’re done, the spent substrate is good stuff for the compost, or you can bury it in a garden bed, where it’ll sometimes surprise you with a few more mushrooms later on.
If things go wrong
- Green or black mould usually means the grass sat around too long before soaking, the lime bath was too weak, the substrate wasn’t drained thoroughly or you packed the buckets too tight. Tip it onto the compost and try again with your next mow.
- A sour, rotten smell means bacteria got in first. Same deal – compost it, and try again.
- Nothing happening after three weeks is often just the weather. Oysters slow right down in a cold snap, so be patient… they’ll get there.
And please don’t be discouraged if your first bucket doesn’t work. Mould happens! We’ve tipped plenty of mouldy buckets onto the compost over the years. Just compost it and have another go when the lawn needs mowing again.
Keen to keep going? Grab our free starter guide – it’s got shiitake logs and mushroom garden beds in there as well as buckets.
And if you want to go deeper into pasteurising and fruiting, we cover both properly in our Home Mushroom Cultivation course, and we’re in there answering questions too.
Bookings are open now and close on Monday 26th October, and the class starts on Monday 2nd November.If you give this a go, tell me how you get on in the comments – I’d love to see your lawn buckets. Right, I’m off to mow!