Welcome to our new series on permaculture renting, in which we attempt to grow food and live a simple life while moving from rental to rental at the whim of landlords + Australian housing prices. Yay!
So we’ve been off the farm just over a year now. We’ve just moved into our second rental house, as the first one went on the market, so we got the boot (thanks, Australian housing price bubble + negative gearing).
But i feel like we’re learning fast the tricks of permaculture renting. Including the lesson of if you want to eat it, grow it now. Like, right now.
Last time we grew veggies in quantity, we took the long view of building up our soil over years, using succession, improving things slowly, bit by bit.
We did this because we wanted to take a gentle path to land stewardship + long term soil health. And also because our budget was limited, so the slowly slowly technique of soil building made sense.
And we could take this attitude because we owned the land we were growing on (or Nick’s parents’ did, anyway). And we did a good job – by the time we left that land, the market garden’s soil was pretty damn fine, considering what we started with.
But here where we are now we’re on a 12 month lease, or maybe 24 month, if we’re lucky. And once we leave this little cottage + lawnspace, it will likely be ‘renovated’ to the point of total rebuild.
My point is that soil stewardship, in our current context, is not about prioritising the long term crumb structure over shorter term harvests, because in a year or two our gardens will likely be underneath the concrete floor of a new pool room.
That said, there’s no reason why we can’t create great soil here to grow in.
It’s just that we’ll take the high human energy input route, rather than the no-dig long-term veggie patch approach, when it comes to preparing our vegetable beds for planting.
It’s all about context. And now I think I’ve gone on long enough about our current one which is: Rental. Want food now.
To do this, we’re taking a biointensive gardening (ish) approach to this new rental garden.
Still organic, still soil stewardship, but relying on a heap of human energy inputs to get the growing system going, rather than primarily using soil biota + certain plant roots to de-compact the soil over a longer period of time.
And human energy we have. So let’s go.
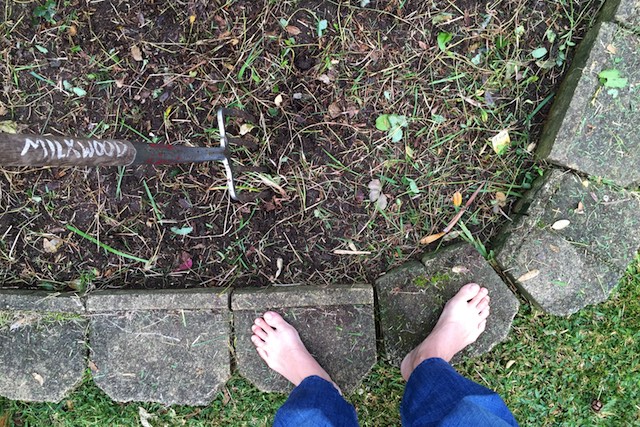
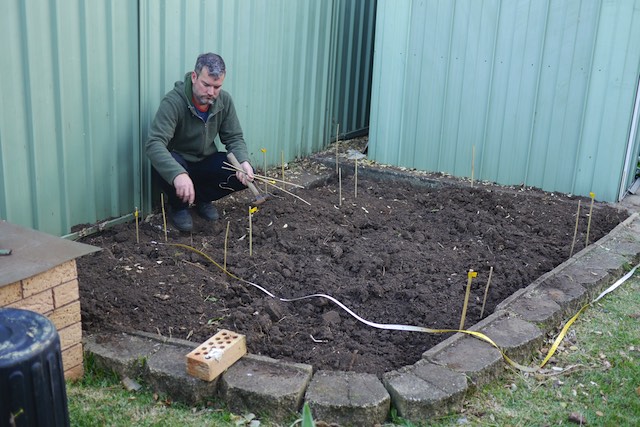
We’ve started with an existing garden bed that was choked with couch grass, succulents and various mystery bits of metal. It was clear that this bed had not been tended to in many years.
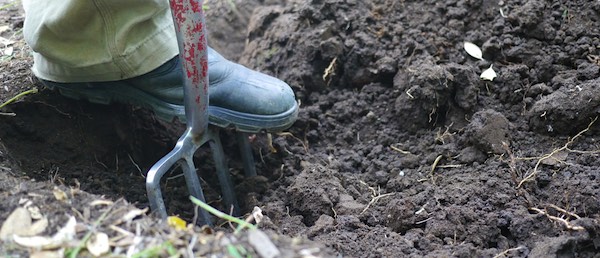
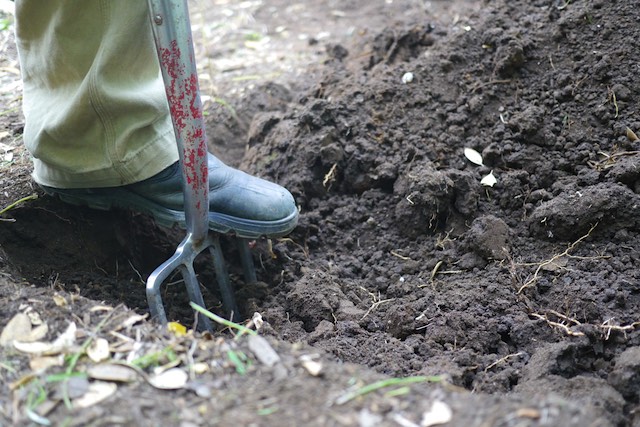
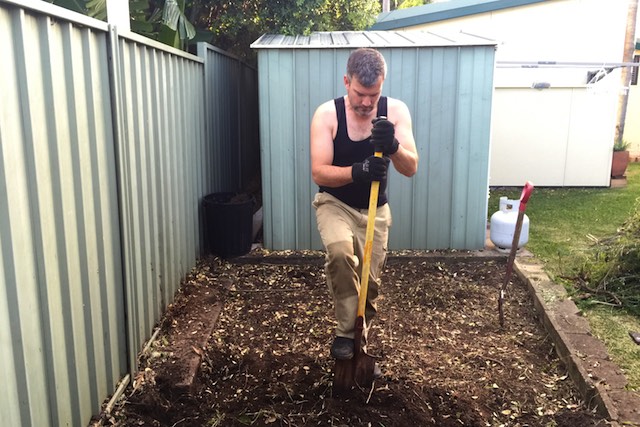
Our first step, after weed removal, was double digging the bed.
Double digging is a great way to de-compact soil quickly and create a fine tilth for planting into, while retaining as much soil structure as possible for the benefit of the soil food web.
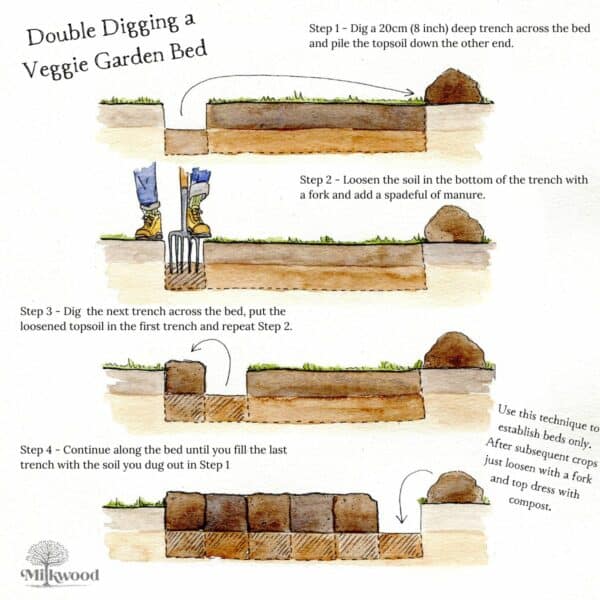
How to Double Dig a garden bed
The basic technique for double digging involves firstly dividing your garden bed into trenches. Making the trenches the width of the spade you’re using works well in a small context like our current one.
Then, in the first trench, take out the top 20 cm of topsoil and set it aside, out of the bed (this bit is important).
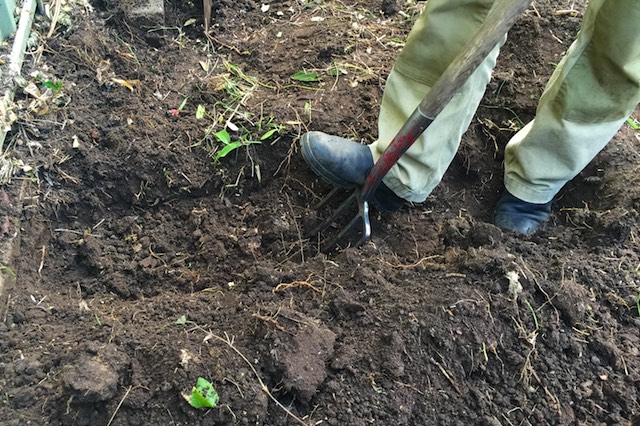
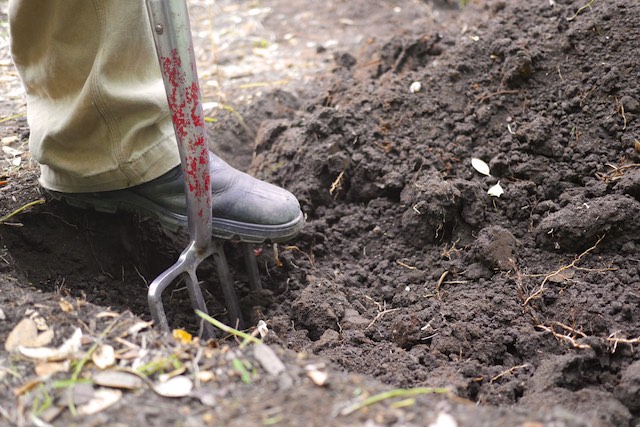
Then, grab a garden fork and aerate the subsoil in that trench by digging in and rocking back and forth – you’re not trying to upend any soil here, just open the structure up a bit.
In a larger context you could use a broadfork for this task, or if you’re working on the small, like us, a sturdy garden fork is fine.
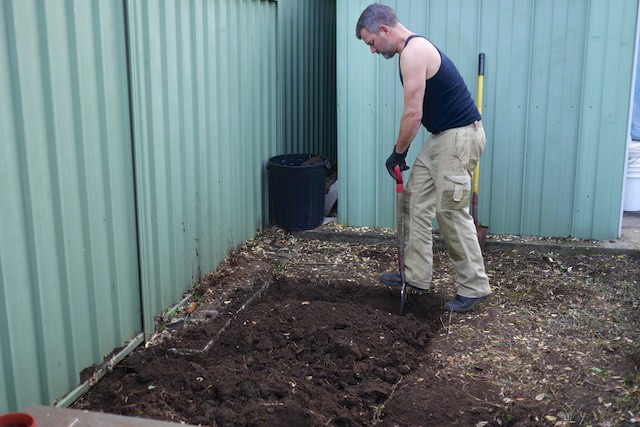
Then, in the next trench, take off the top 20 cm of topsoil and plonk it into the trench you just dug.
Repeat the ‘topsoil off + into the previous trench, subsoil aerated’ until you run out of garden, then in the last trench, put your first trench’s topsoil back in as the last thing you do.
**Note – some folks add manure to the subsoil layer as they go in this technique, and some don’t. We didn’t for this bed, but we will for some future beds, to observe the difference.
De-compaction done! And with a free workout. Win.
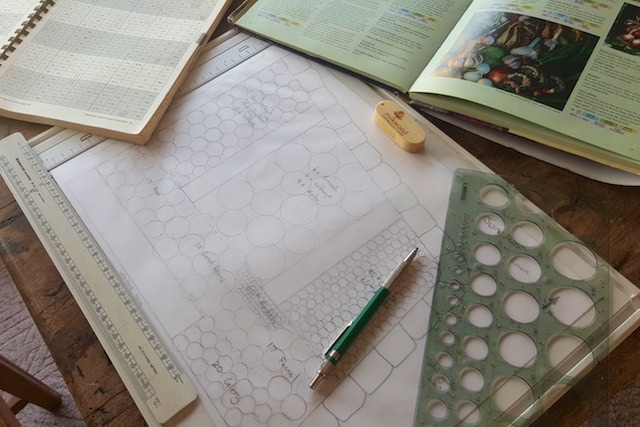
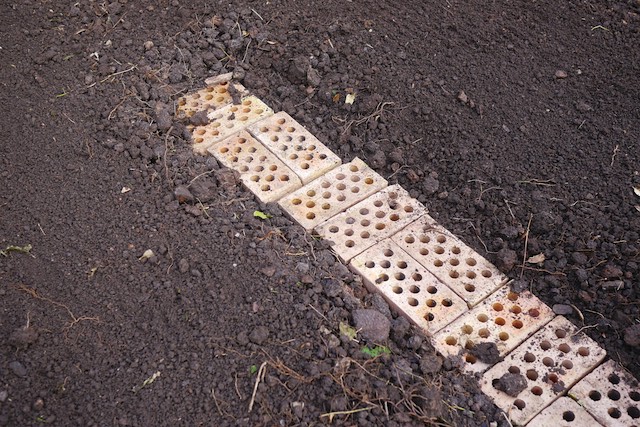
After that, we mapped out some keyhole paths to make double-reach planting areas in the bed, and built them out of bricks we found down the side of the house.
This path approach is not exactly biointensive style (boards over the tops of the beds are more commonly used) but we figured this solution would be more kid-friendly for whole family harvesting + planting.
Also, digging out the paths meant we could use the extra topsoil where we dug out on the beds. Excellent.
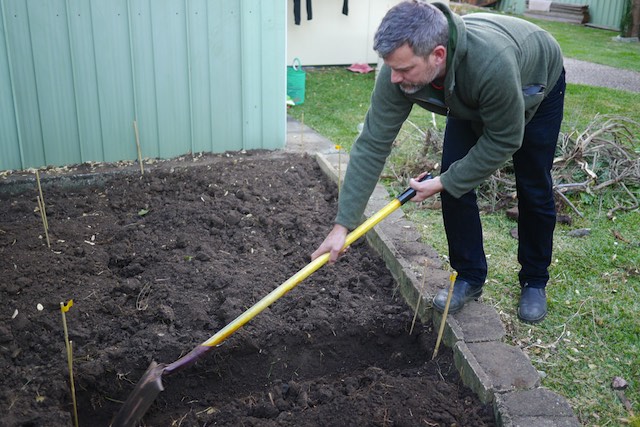
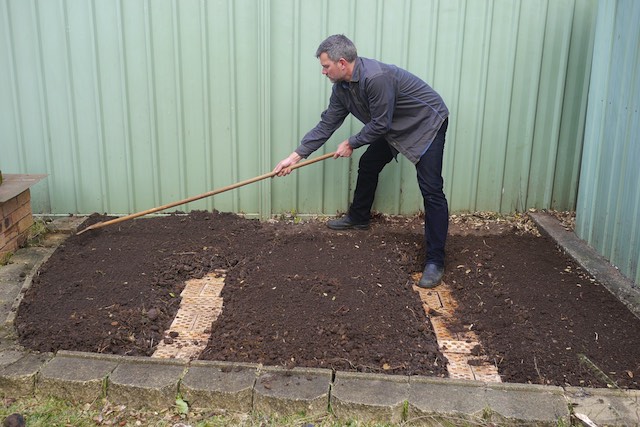
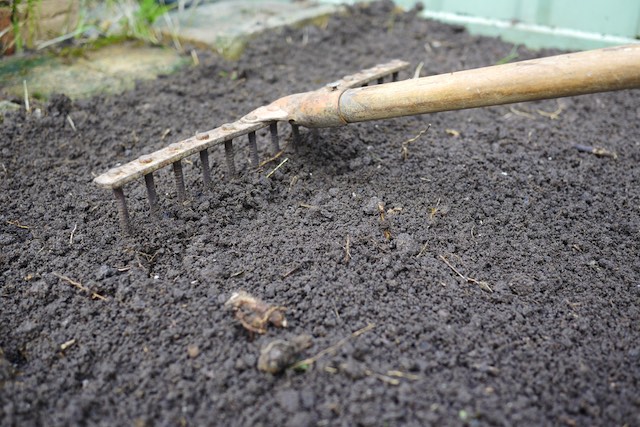
So – paths in, we raked the topsoil’s surface to break up any big clods.
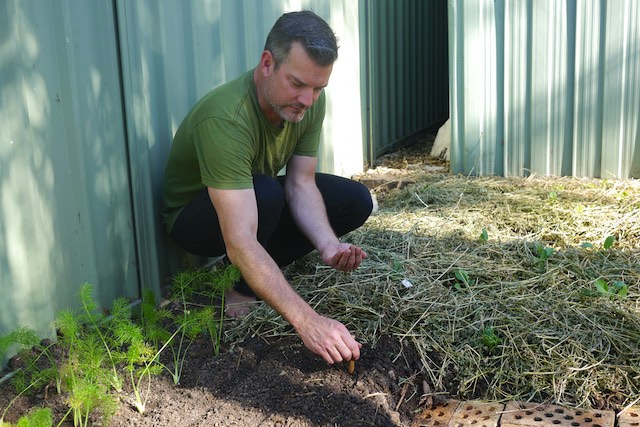
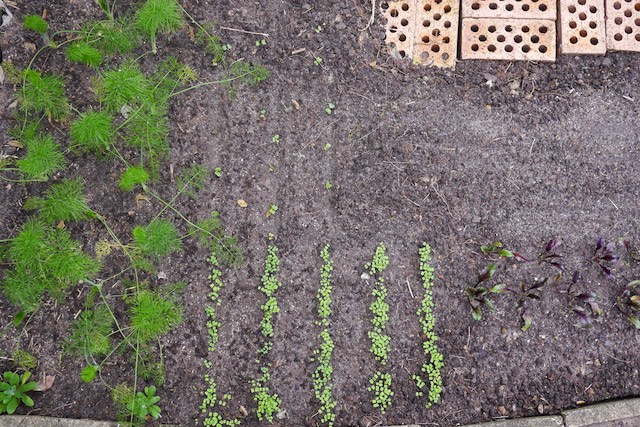
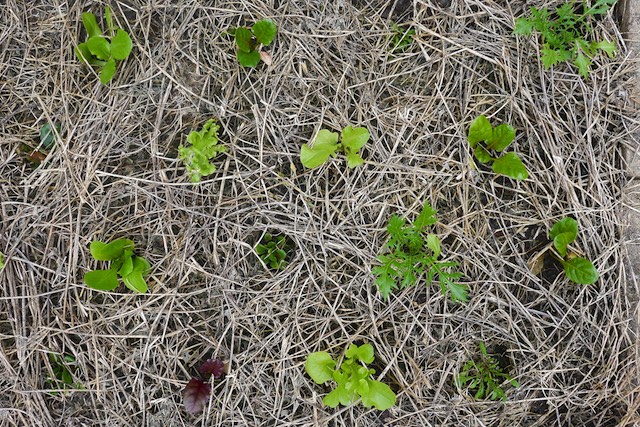
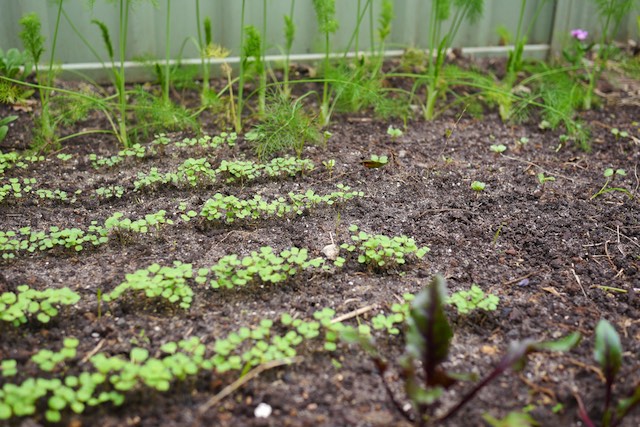
Finally, we got planting winter green things: fennel, rocket, broad beans, radish, carrot, beetroot, lettuce and brassicas.
Not bad for an afternoon’s work.
From here on in for garden beds, we’re going to be ‘turning the lawn into lunch’ – so a slightly different approach to bed prep, but with the same result.
Beautiful home-grown green things, to supplement our family + friends’ food supply, and to contribute to crop swaps, if we get a glut.
It’s beginning to feel like home around here.






Can I ask your advice about turning lawn to lunch? I am intending to do the same, we own the property but when we moved in the back was a vast expanse of kikuyu. We’ve already put raised wicking beds over some of it, so now it’s a slightly smaller expanse of kikuyu. I’m trying to build the garden up slowly, as i work full time and don’t want it to get past what I can manage, but my long term plan is to turn the other 1/4 of the lawn into in-ground beds, either double dug or hugelculture. However…… Read more »
Hello, We are living in a property in Stanthorpe, Qld that had boundary to boundary kikuyu. If you are interested I can send you a record with pics of our approach which is now a tree/shrub/ flower front/street garden with a vegie/fruit/chooks back garden. The initial approach was to start at a boundary/edge. Protect that edge from invasion from neighbour and then gradually expand the bed across the yard. The other factors are your soil type, climate & labour time budget. Contact is brian@bherenowyoga.com We found the kikuyu & attached soil made a good compost/soil enhancer system. good luck Brian… Read more »
great advice
Brian’s advice is great … create a zone with no Kikuyu and minimize your edge. As you expand try to keep the perimeter as small as possible. The only sure fire way to stop Kikuyu is an impenetrable barrier (plastic or metal) 30cm deep angled outward from the grass (see picture). As the grass is forced up and over the barrier it is easy to prune. This works for couch and bamboo species too. Obviously this is expensive. Some people have success on a larger scale with barriers of strong clumping grasses such as veviter, lomandra, lemon grass, banna grass… Read more »
Thanks so much! Both these replies are really helpful. I’m planning to get chickens in the next year so maybe I’ll wait until I have them, and harness their destructive properties! 😛 I really dislike the kikiyu specifically, and lawn in general, it just seems like a waste of space to me. I’m allergic to most grasses so it’s not even like I can sit on it. When we moved in it was just a swathe of grass out the back, and one out the front. I’m planning to eventually have edible things everywhere there was grass, but the problem… Read more »
Kike is the bane of our lives here and I have been pulling it out for 30 years . Sheet mulching the entire area with news paper and cardboard anchored down by a 4 to 6 inch layer of seed- free stuff like wood chips , then planting many, many varied plants on top. Please include perrenials like lemon verbena, rhubarb, sugar cane, fruit trees etc amongst your annuals. Give each with a few handfuls of compost in the planting hole, and best if you don’t pierce through the paper but obviously for the bigger plants you have to dig… Read more »
excellent tips 🙂
An important perspective. Thank you! Context is key. No dig / till makes a lot of sense and this is how we have managed our garden for a number of years (along with applying mulch and compost and cover cropping.) I figured the copious numbers of earthworms were doing the work for me. However, using a compaction meter I found that the soil in some of our beds was compacted at a little more than a foot deep. As an experiment I double dug half of one of these beds and did our usual routine on the other half (used… Read more »
The broadfork is such a great tool….. ours is on loan to some market garden friends while we hide out in suburbia 🙂
I’m always nervous about soil in a rented/pre-owned garden as you don’t know its full history. Do you soil test?
Its hard to test for all possible contaminants, but depending on where you live there are often low cost testing options for heavy metal testing such as Vegesafe / Gardensafe in Australia
You’re renting? Dunno where I got the idea you were owners. Mind you, prices of houses around town are expensive at the moment. Just in the six years we’ve been living in Cygnet, prices have risen noticeably. So different to when we came to Tas 20+ years ago.
Hi Herbert, we own a house now, but rented for decades, including when we wrote this pice –