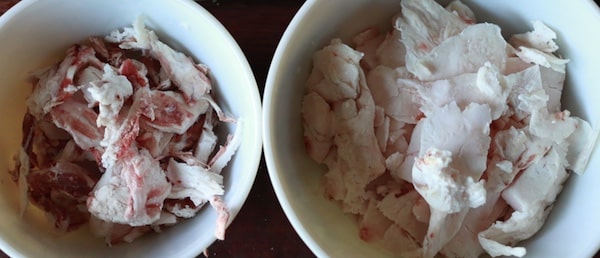
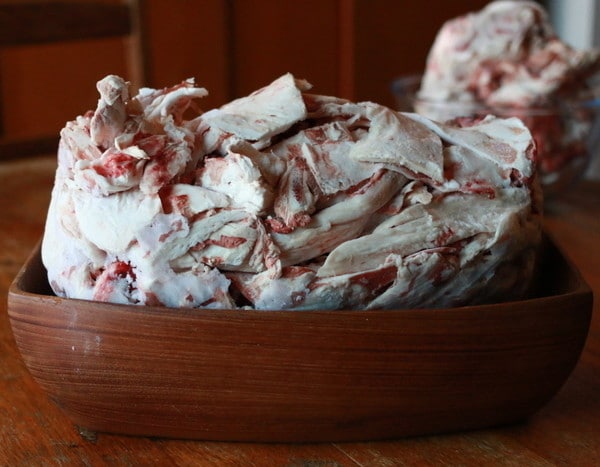
If you seek out ethical and sustainable meat, you may have found yourself with a huge bag of animal fat at some stage.
Buying a half or whole animal direct from a local farmer is a great way to know exactly where your meat comes from and is an easy way to save money, reduce packaging and minimise food waste. If you ask for all the offcuts and bones you’ll likely end up with a bag of fat.
This fat is a wonderful resource – and once rendered – can be used in cooking, to make candles, and even to make soap and moisturiser.
What is Rendering?
Rendering is the process of purifying fat from other animal bits. Any blood, connective tissue, water or meat is separated from the fat – leaving you with pure fat.
The name of the final product varies depending on the animal fat used.
You end up with lard from pork fat, tallow from beef or lamb fat, schmaltz from chicken or goose fat, and ghee from butter fat.
Despite all their different names – the process is the same no matter what fat you use.
Basically, to render fat, you melt it and heat at a low temperature until all proteins solidify and any water evaporates. You then filter the solids from the liquid fat. Once cooled, you are left with clean pure fat.
Toxins such as antibiotics that are fed to intensively farmed animals accumulate in their fat stores, so it’s wise to source your fat from healthy, free range and pastured animals.
Step 1: Prepare the Fat
It’s a good idea to start with frozen fat as it’s easier to handle.
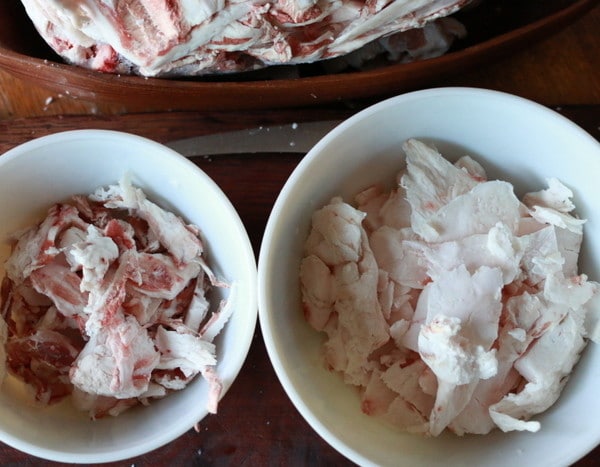
Trim off any meat still attached to the fat.
I started meticulously trimming off all traces of meat – leaving clean white fat. But a couple of hours into my huge pile of fat I became less fussy. A little bit of meat left on the fat is harmless as it will drop out during the rendering process.
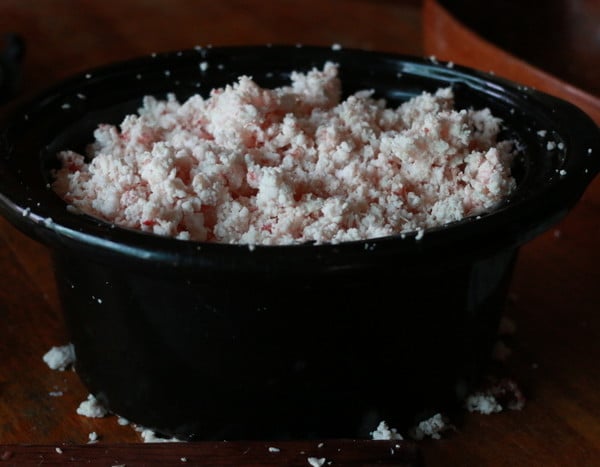
Chop your fat into small pieces or mince batches of the fat in a food processor or mincer. If processing or mincing – your fat will need to be frozen or you’ll end up with a slimy mess and clogged blades.
Step 2: Heat
You want to heat at a very low temperature. At or just above 100 degrees Celsius is ideal – hot enough to boil off any water, but not so hot that the proteins burn.
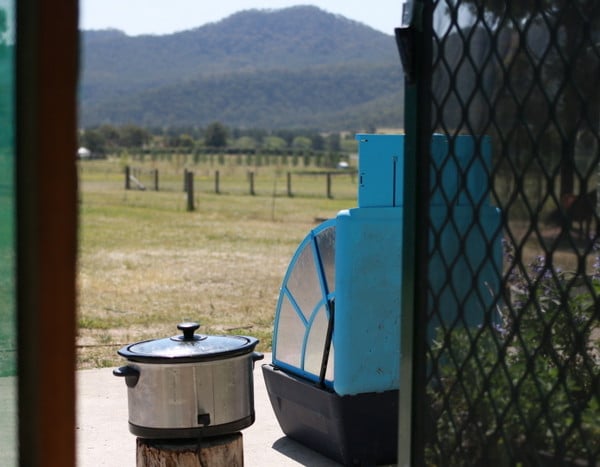
A slow cooker or solar oven is ideal – but you can also render in an oven, a heavy bottomed pot on a stove top or even in a pot over slow coals on a camp-fire.
I recently used both my slow cooker set on low and a solar oven to compare the two. Both worked equally well.
I was warned the rendering process can be stinky, so moved my slow cooker outside for the afternoon.
Heat, stirring occasionally.
If you are using a stove top that can’t be set low enough or a camp fire – its a good idea to add water to prevent your fat from burning. This is called ‘wet rendering’ (in contrast to ‘dry rendering’ where water isn’t added). Adding water slightly complicates the process as the water will need to be removed at the end.
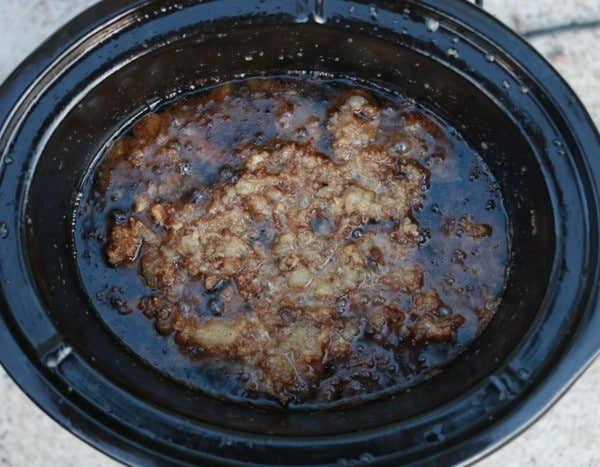
Cook until you have small browned cracklings in a bath of clear fat.
Cooking times will vary depending on heating method, volume and size of the fat pieces – but will likely take hours. I left mine in the slow cooker and solar oven for a whole afternoon.
Remove from the heat and allow to cool a little before filtering.
Step 3. Filter
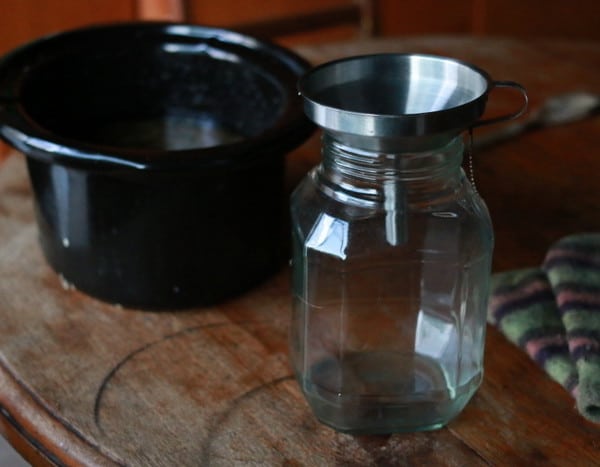
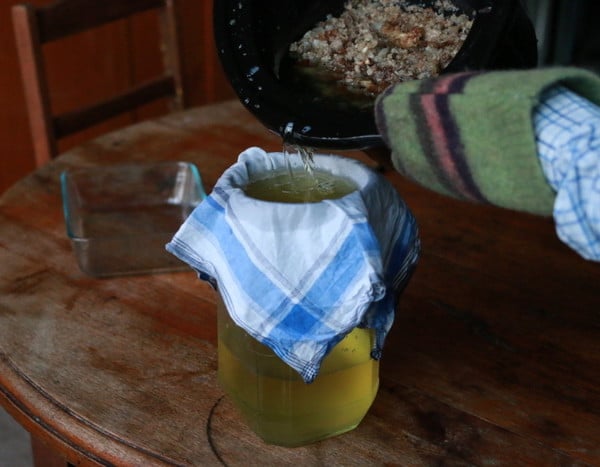
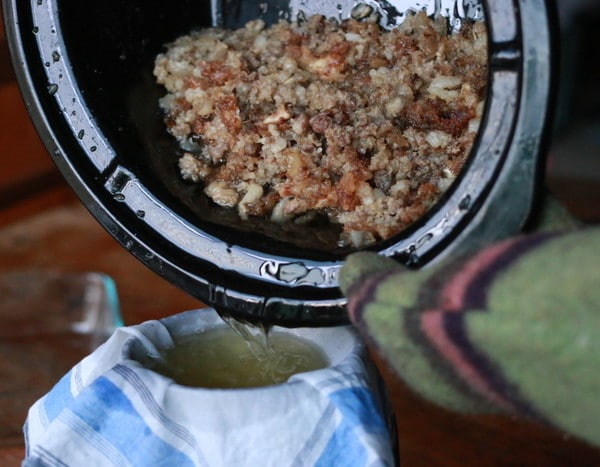
If you are dry rendering you can filter directly into the jar you’ll be storing the fat in.
Strain using a metal strainer or metal funnel lined with open-weave cotton or linen fabric. Muslin, cheese cloth – or in my case an old clean handkerchief – is suitable.
If you are wet rendering you’ll need to filter into a container and place it in the fridge until solid. Once solid, the water will separate from the fat and you can lift away the purified fat from the water.
You’ll be left with a pile of cracklings. Ours didn’t go go to waste and became dog and chicken food. Next time I might try a loaf of crackling bread.
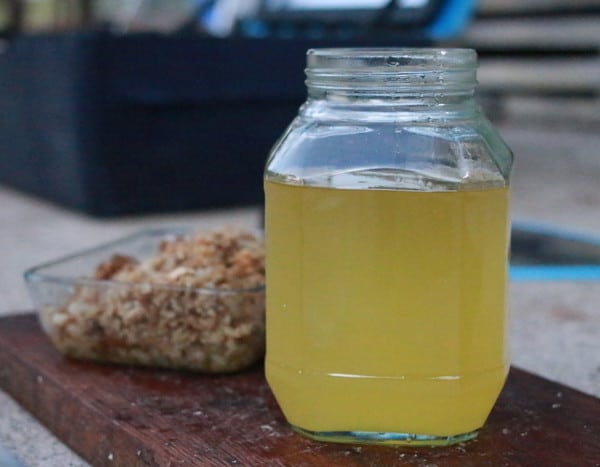
While still hot and liquid, the rendered fat will appear golden.
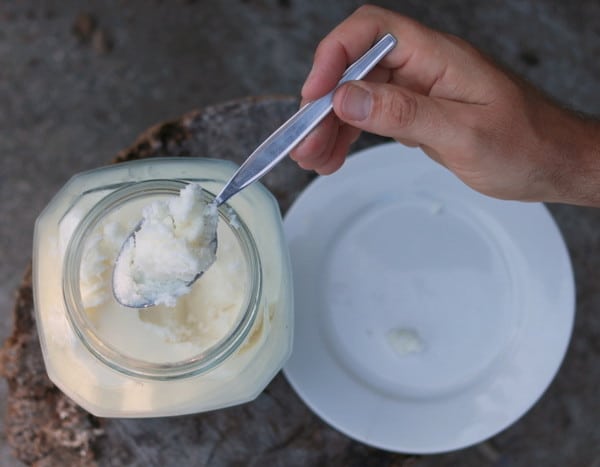
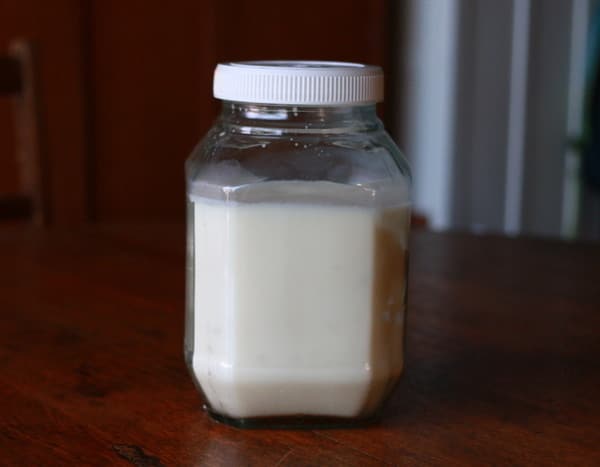
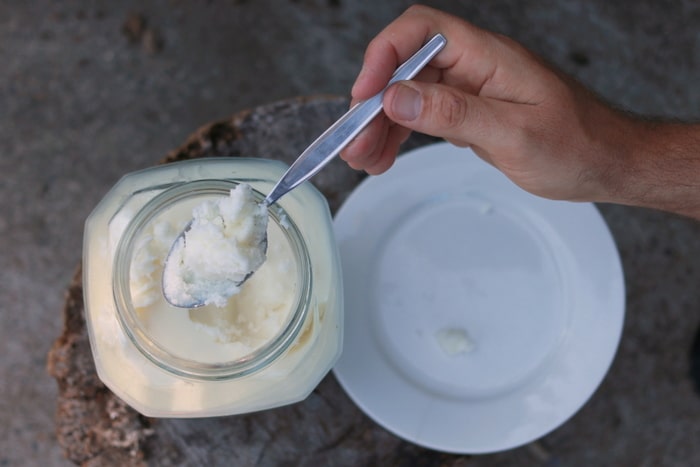
Once cool and solidified, your rendered fat will turn creamy white.
How to Store
Properly rendered fat can be safely be kept at room temperature. I play it safe and keep mine in the fridge. It can also be stored in the freezer indefinitely.
How to Use
Tallow and lard are enjoying a comeback in the kitchen thanks to increasing awareness of the health benefits of nutrient-rich traditional fats.
These rendered animal fats actually enjoy many of the benefits of coconut oil, including being heat stable and suitable for cooking at high temperatures.
Tallow and lard rendered from local ethically raised pastured animals provides a frugal and sustainable alternative to expensive imported coconut oil.
Until the early 1900’s rendered animal fat was used in dozens of ways. Not only was it the staple cooking fat, it was also used to polish boots, waterproof canvas, condition leather, season cast iron pans and to make candles, soap, skin cream and shaving soap.
I’m having fun experimenting with some of these old-fashioned uses. So far I’ve discovered it’s especially good for seasoning my cast-iron pan and washing my face with it was surprisingly pleasant and super moisturising.
Thanks Tricia! This article was by Tricia Hogbin – Trying to tread lightly. Growing, foraging, simplifying & learning how to be a creative contributor, rather than a consumer.





I am rendering the fat from making stock. As I simmer away the water, there is a solid layer that I scoop away on top of the fat. I assume that is some of the solidified protein. It tastes like an umami bomb. I am saving it for later. Am I crazy?
Those umami bombs are the ‘cracklings’ – no you’re not crazy, they are delish! – but they wont keep as long as the rendered fat so eat em up and keep them in the fridge till you do 🙂
How do you get rid of the pork smell after rendering? It makes it too smelly to use for anything but cooking .
Render it at least 5 times. I’m making a short on it
How do I use the rendered tallow to make my soap
Run your cold cut up fat thru a coarse meat grinder. It renders within a few hours in a slow cooker on high.
yes! great tip