
Welcome to our new series on permaculture renting, in which we attempt to grow food and live a simple life while moving from rental to rental at the whim of landlords + Australian housing prices. Yay!
So we’ve been off the farm just over a year now. We’ve just moved into our second rental house, as the first one went on the market, so we got the boot (thanks, Australian housing price bubble + negative gearing).
But i feel like we’re learning fast the tricks of permaculture renting. Including the lesson of if you want to eat it, grow it now. Like, right now.
Last time we grew veggies in quantity, we took the long view of building up our soil over years, using succession, improving things slowly, bit by bit.
We did this because we wanted to take a gentle path to land stewardship + long term soil health. And also because our budget was limited, so the slowly slowly technique of soil building made sense.
And we could take this attitude because we owned the land we were growing on (or Nick’s parents’ did, anyway). And we did a good job – by the time we left that land, the market garden’s soil was pretty damn fine, considering what we started with.
But here where we are now we’re on a 12 month lease, or maybe 24 month, if we’re lucky. And once we leave this little cottage + lawnspace, it will likely be ‘renovated’ to the point of total rebuild.
My point is that soil stewardship, in our current context, is not about prioritising the long term crumb structure over shorter term harvests, because in a year or two our gardens will likely be underneath the concrete floor of a new pool room.
That said, there’s no reason why we can’t create great soil here to grow in.
It’s just that we’ll take the high human energy input route, rather than the no-dig long-term veggie patch approach, when it comes to preparing our vegetable beds for planting.
It’s all about context. And now I think I’ve gone on long enough about our current one which is: Rental. Want food now.
To do this, we’re taking a biointensive gardening (ish) approach to this new rental garden.
Still organic, still soil stewardship, but relying on a heap of human energy inputs to get the growing system going, rather than primarily using soil biota + certain plant roots to de-compact the soil over a longer period of time.
And human energy we have. So let’s go.
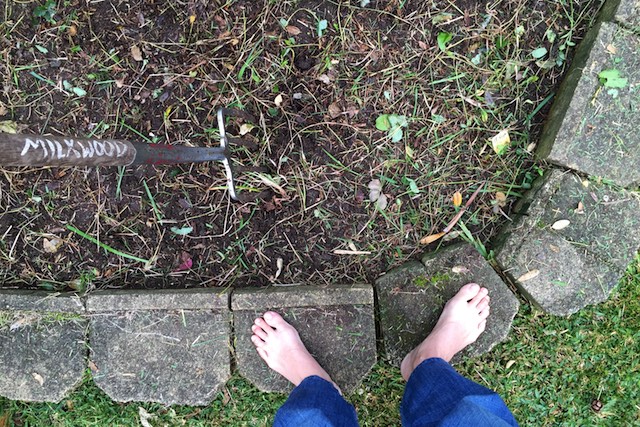
We’ve started with an existing garden bed that was choked with couch grass, succulents and various mystery bits of metal. It was clear that this bed had not been tended to in many years.
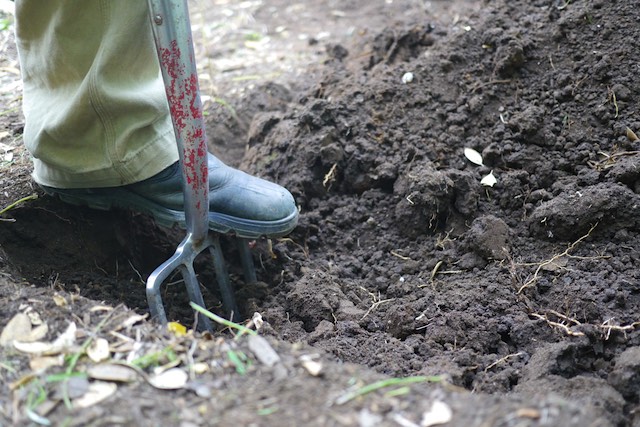
Our first step, after weed removal, was double digging the bed.
Double digging is a great way to de-compact soil quickly and create a fine tilth for planting into, while retaining as much soil structure as possible for the benefit of the soil food web.
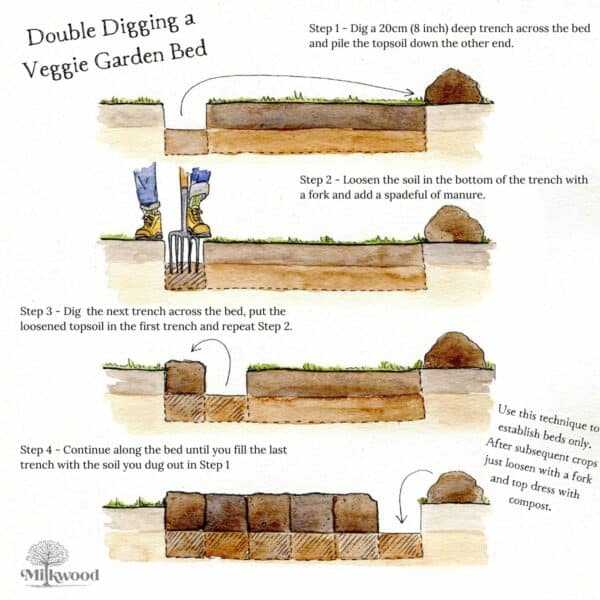
How to Double Dig a garden bed
The basic technique for double digging involves firstly dividing your garden bed into trenches. Making the trenches the width of the spade you’re using works well in a small context like our current one.
Then, in the first trench, take out the top 20 cm of topsoil and set it aside, out of the bed (this bit is important).
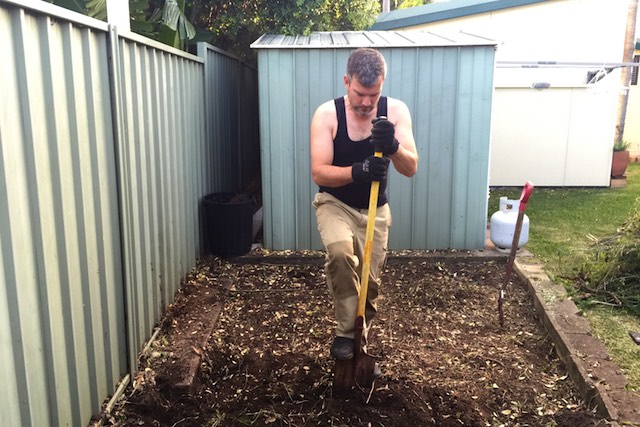
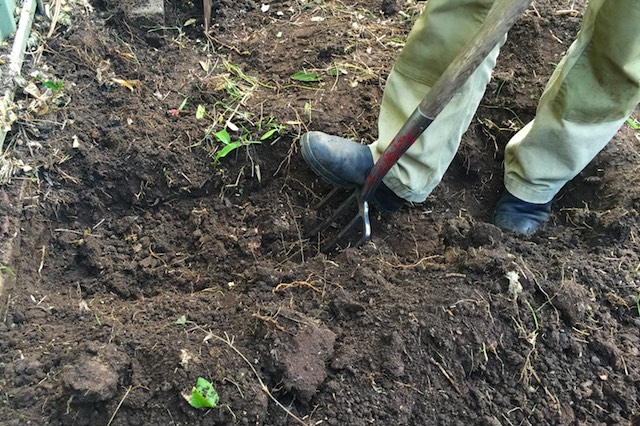
Then, grab a garden fork and aerate the subsoil in that trench by digging in and rocking back and forth – you’re not trying to upend any soil here, just open the structure up a bit.
In a larger context you could use a broadfork for this task, or if you’re working on the small, like us, a sturdy garden fork is fine.
Then, in the next trench, take off the top 20 cm of topsoil and plonk it into the trench you just dug.
Repeat the ‘topsoil off + into the previous trench, subsoil aerated’ until you run out of garden, then in the last trench, put your first trench’s topsoil back in as the last thing you do.
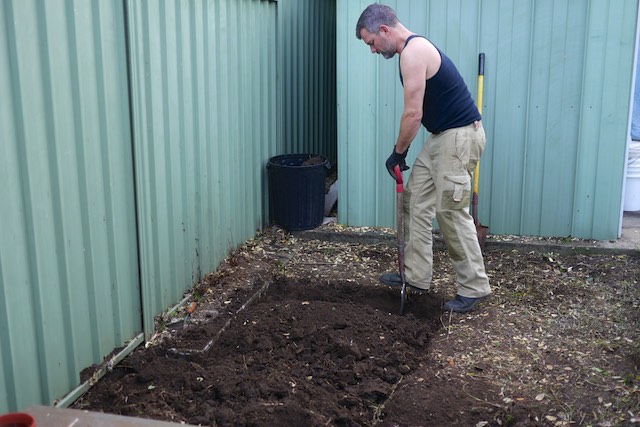
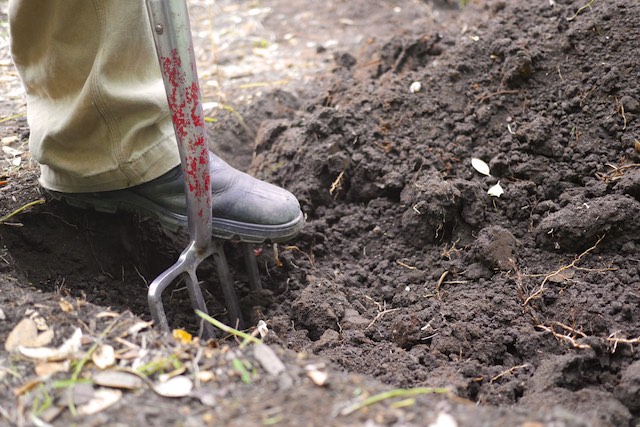
**Note – some folks add manure to the subsoil layer as they go in this technique, and some don’t. We didn’t for this bed, but we will for some future beds, to observe the difference.
De-compaction done! And with a free workout. Win.
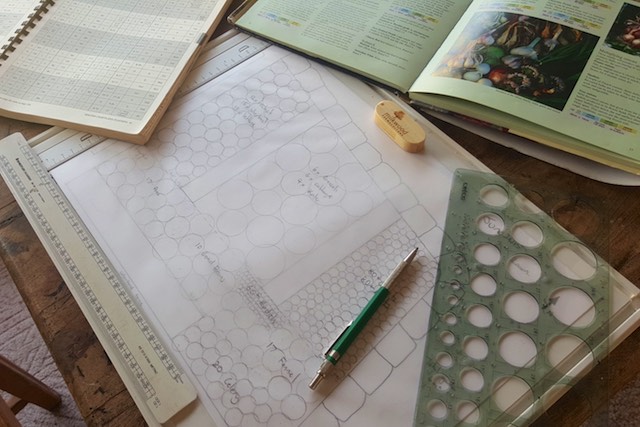
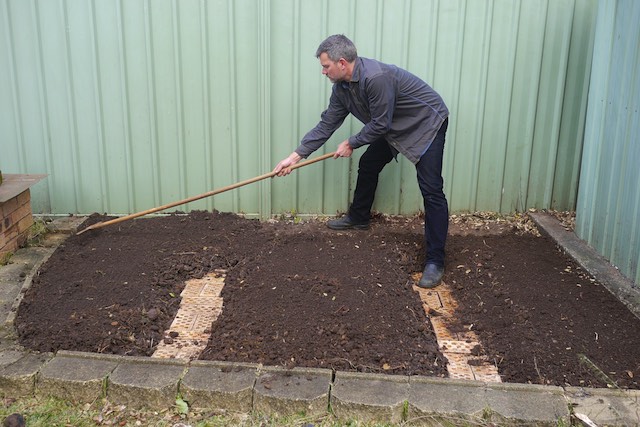
After that, we mapped out some keyhole paths to make double-reach planting areas in the bed, and built them out of bricks we found down the side of the house.
This path approach is not exactly biointensive style (boards over the tops of the beds are more commonly used) but we figured this solution would be more kid-friendly for whole family harvesting + planting.
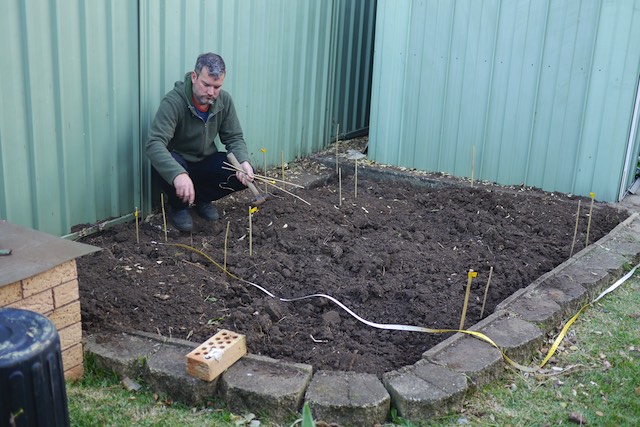
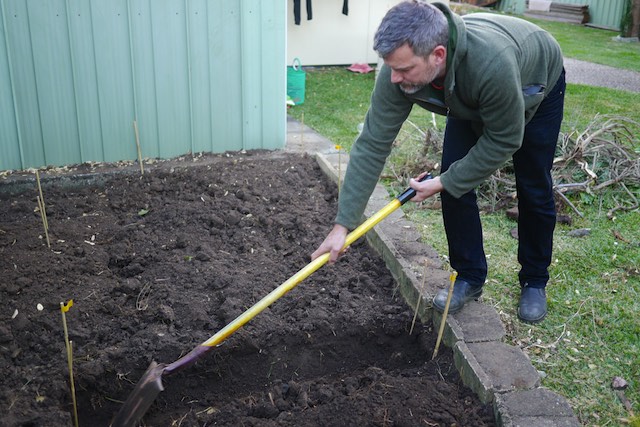
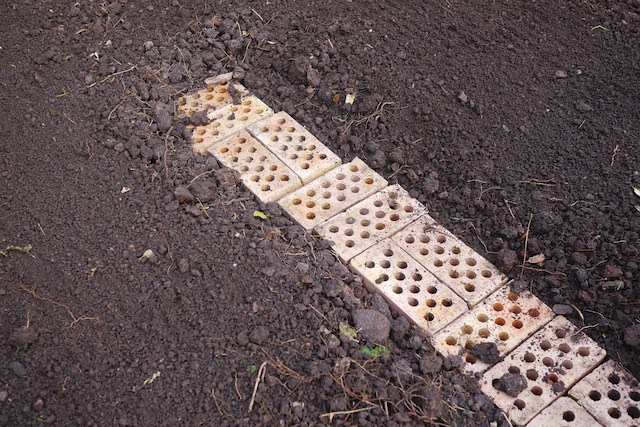
Also, digging out the paths meant we could use the extra topsoil where we dug out on the beds. Excellent.
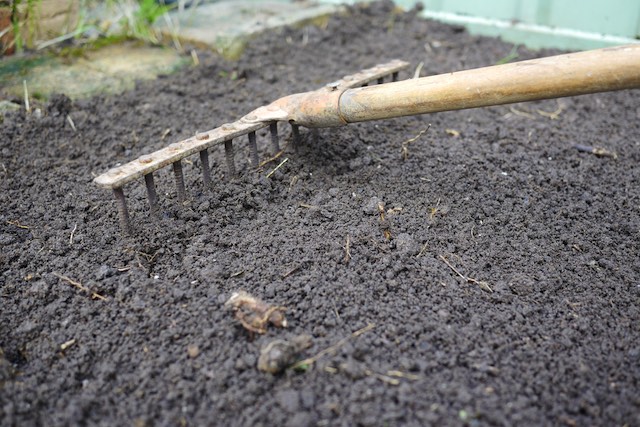
So – paths in, we raked the topsoil’s surface to break up any big clods.
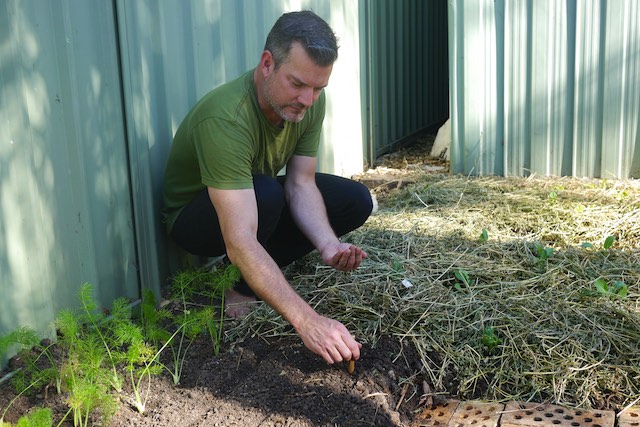
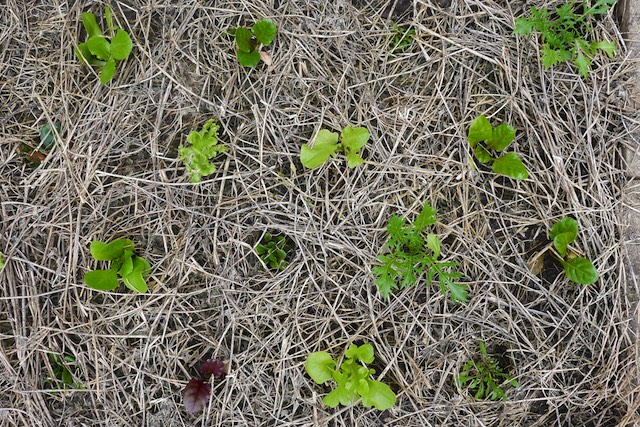
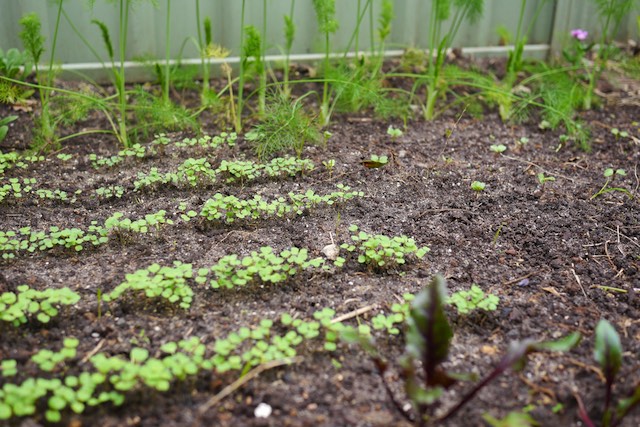
Finally, we got planting winter green things: fennel, rocket, broad beans, radish, carrot, beetroot, lettuce and brassicas.
Not bad for an afternoon’s work.
From here on in for garden beds, we’re going to be ‘turning the lawn into lunch’ – so a slightly different approach to bed prep, but with the same result.
Beautiful home-grown green things, to supplement our family + friends’ food supply, and to contribute to crop swaps, if we get a glut.
It’s beginning to feel like home around here.
Bed prep is the hard bit. What to plant, and when, is the long bit, and our Organic Vegetable Gardening course goes through both of those properly.
The next class opens for bookings on Monday 23rd November 2026, and starts on Monday 7th December.If you’re building your first veggie bed from scratch, our free Veggie Gardening: a Beginner’s Guide covers soil, beds, planting and the rest of the basics too.