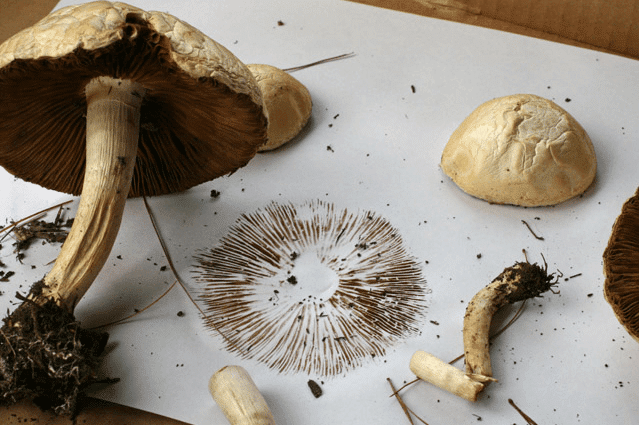
Making spore prints is like seed saving for Mushrooms, as it were.
And not only are spore prints an easy and fun way to get to know mushrooms, if you chose to do it carefully, they’re also a very cheap way to cultivate more mushrooms at home…
Spore prints are used for three main purposes – mushroom cultivation, mushroom identification (as different mushrooms have different coloured spores, and this is an easy way to figure out spore colour), and of course art.
The basic process is super simple.
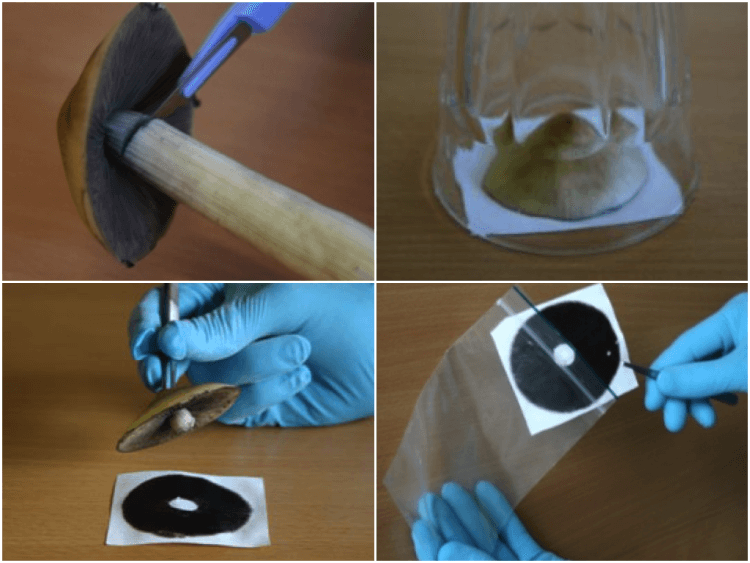
For gilled mushrooms, simply cut off the stalk of a freshly picked mushroom and lay it gill side down on a piece of paper, or glass.
Covering your mushroom/s at this point with a glass vessel or similar is a good idea, as this will reduce evaporation and airflow, ensuring a clearer (and hopefully less contaminated) spore print.
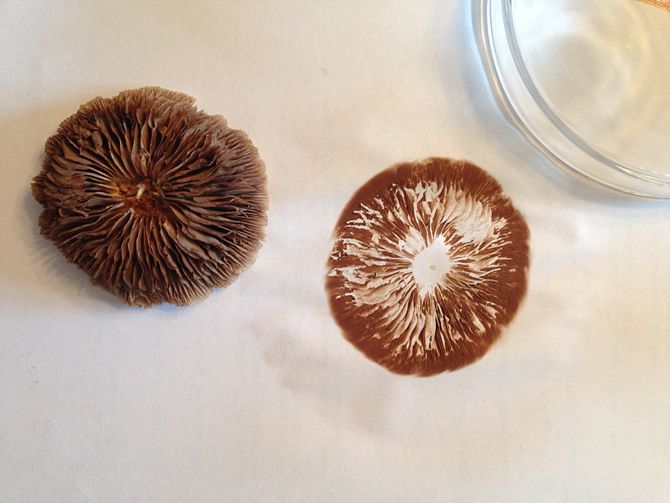
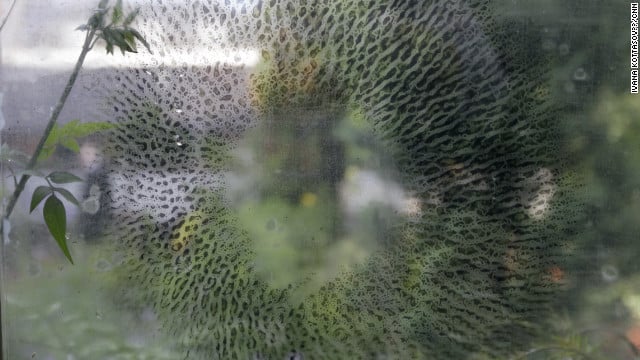
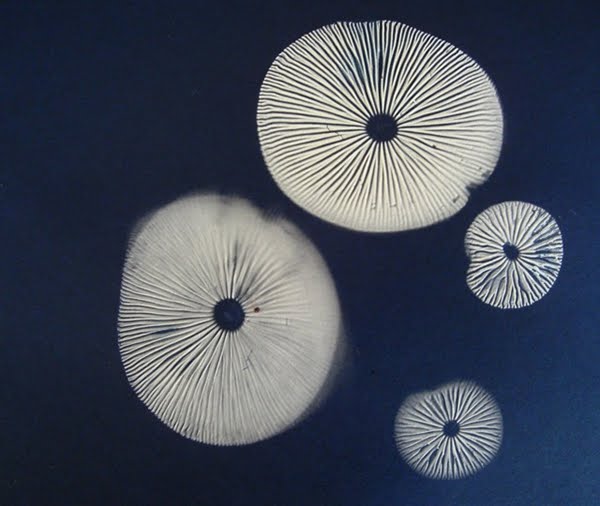
In 6 – 12 hours, the mushroom should release its millions of spores onto the paper, in the radiating pattern of the gills. You now have a spore print.
Why make mushroom spore prints
– Spore prints are a great simple technique for capturing new genetics to add to your mushroom cultivation setup
– Spore prints can be made on the go – you can even seal them up and easily post them home if you’re mid-mushroom-hunt.
– Spore prints offer much more diversity of characteristics to the home mushroom grower than making a phenotypic clone – it’s just like the difference between growing from seed, as opposed to grafting.
How to make a spore print
Make sure you have a mature mushroom (no veil), which is as fresh as possible. Try and keep things as sterile as possible during the whole process.
Collecting spores on paper
- Cut stem with sterile scalpel, at the highest possible point without touching gills
- Place mushroom cap on a piece of paper for 12 to 24h, covered with a clean bowl
- Remove mushroom cap
- Pick up spore printed paper with clean tweezers and put in a ziplock bag
- Can be stored at room temperature for years, in a dark and cool location
Collecting spores on plates of glass
- Wash glass with soapy water, dry with wipe, clean with alcohol
- Create a bind between both plates by joining the two plates with duct tape
- Place mushroom caps on top of both plates for 12 to 24h, covered with bowl
- Remove, dry and store mushrooms for later reference purposes
- Seal the three remaining edges with more tape, creating a “Spore Booklet”.
- Write bibliographic mushroom details
- Can be stored at room temperature for years, in a dark and cool location
- Glass allows for easy future use of spore as well as observation without risk of contamination
What to do with it: germinating spores
Germinating the spores from your spore print is best done on nutrified agar plates in a glove box setup, as with tissue/agar cloning.
Alternatively, a spore syringe can be made, but this is a bit more tricky.
Method 1: scalpel and streaking
- Sterilise a scalpel by passing it through a flame, then cooling it in the “receiving” nutrified agar. This way the scalpel gets covered with a moist and adhesive layer of media for better spore attachment.
- Touch the spore print with the scalpel tip to collect hundreds of spores
- Streak the tip into an “S” pattern across the surface of the petri dish
- 5 to 15 days later, your spores (should) germinate according to the streaking pattern!
- Colonies of germinating spores can then be subcultured into more petri dishes
- See page 93-95 of Paul Stamets’ Growing Gourmet and Medicinal Mushrooms, 3rd edition for great photos of this process.
Method 2: paper rubbing
- In this method, the spore print can be folded and rubbed together so that spores drop onto nutrified agar media
- This method is not the best as concentrated populations of spores are grouped together.
Method 3: spore syringe
A spore syringe is a bit trickier to make. It contains sterile water with hydrated spores in it.
The advantage of a spore syringe is that this spore water can be used to inoculate the substrate of your choice. This way the chance that the spores will germinate is much higher.
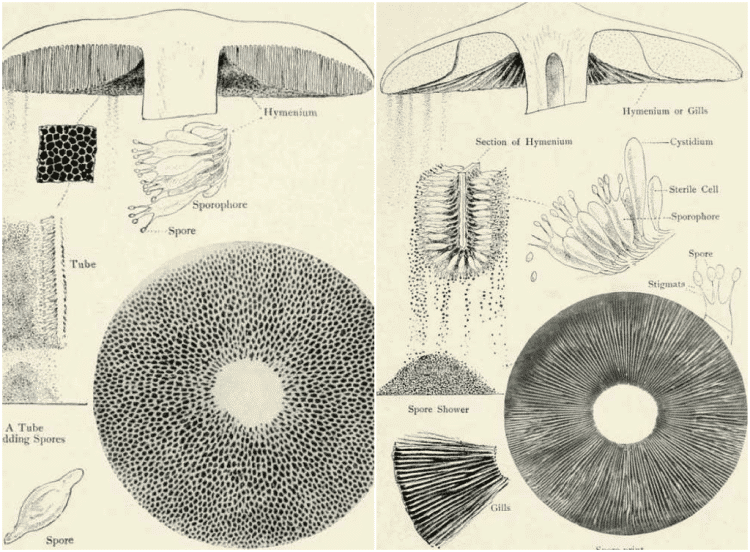
From the book: “Our Edible Toadstools and Mushrooms and How to Distinguish Them”, by W. Hamilton Gibson
Spore print resources
- Growing Gourmet and Medicinal Mushrooms, 3rd edition by Paul Stamets
- Making a spore syringe – mushplanet
- Making a spore print for cultivation – mushplanet
- Shroomery – an always amazing mushroom cultivation forum
- Spore print art by Erin Frost
- Our Edible Toadstools and Mushrooms and How to Distinguish Them by W. Hamilton Gibson
The thing that I love about spore prints is that they are at once beautiful and practical – functional art that, if handled carefully, can result in yet another home harvest!
If you’d like to get started in home mushroom cultivation, we run a comprehensive 8-week online course that covers many different indoor/outdoor cultivation techniques.

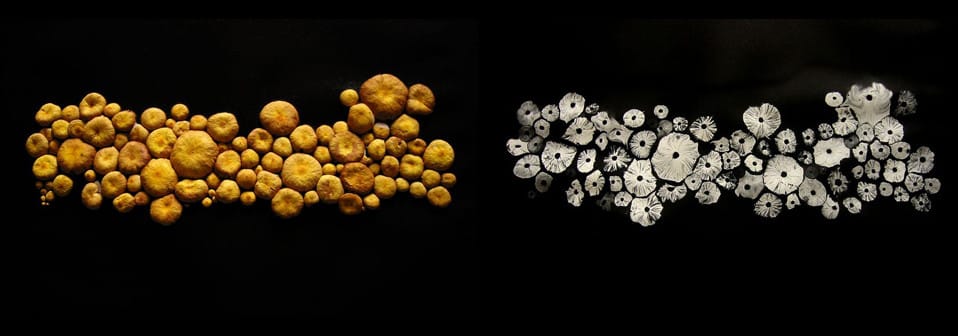


I used to make these when I was younger. One of my favorite projects…so beautiful!
These are so beautiful!
Reblogged this on Green Momma Adventures and commented:
What an amazing idea. I need to remember to do this next fall…
That is so cool!
Reblogged this on X_trous Notes and commented:
Mushroom spore print | Spora Cendawan
What are the mushrooms in the last (blue paper) print?
I used to make these when I was younger. One of my favorite projects…so beautiful!
That is so cool!
I used to make these when I was younger. One of my favorite projects…so beautiful!
These are so beautiful!
aren’t they? 🙂
I used to make these when I was younger.
That is so cool!
These are so beautiful!