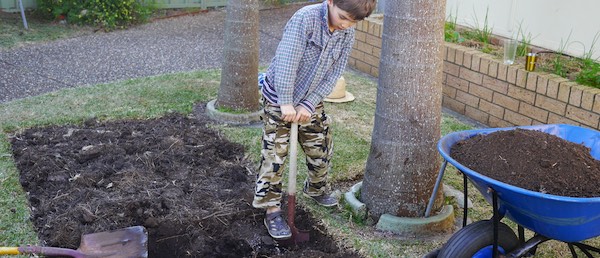
Time to de-turf and complete our garden beds!
Once we’d made our garden beds from scrap timber, the next step was to get the soil dug and planted.
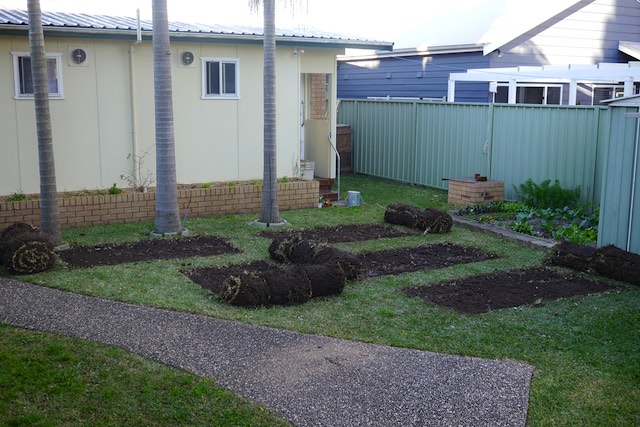
Grass Off
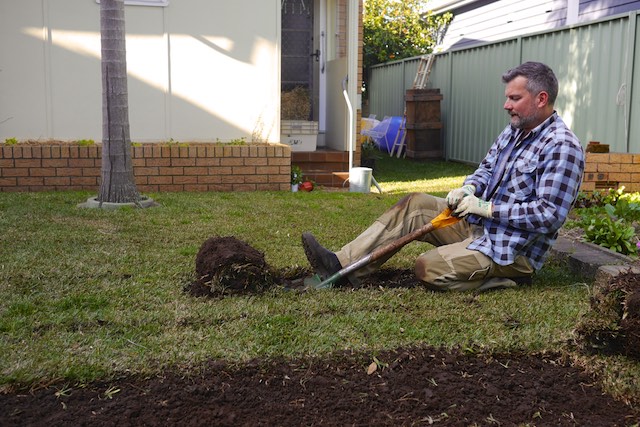
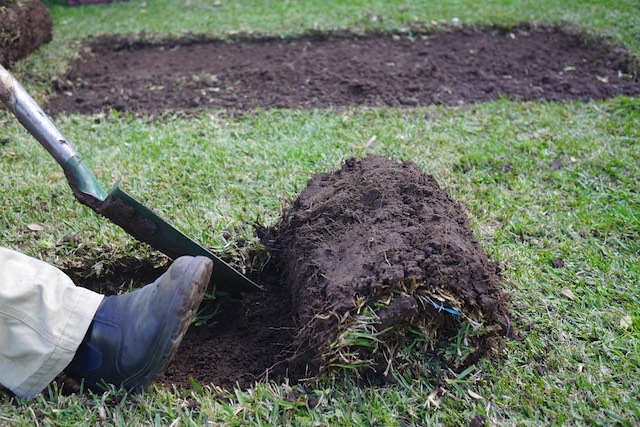
This part was not as hard as we were expecting – probably because we’re on sandy soil, so the solid cover of buffalo and kikuyu grass was mostly easy to scalp off, in a still-a-decent-workout kind of way.
In the spirit of ‘produce no waste’, we found a home for the turf with a friend who needed some. Thanks Peter!
The Soil
Hello soil, how are you? Let’s see what we’ve got here…
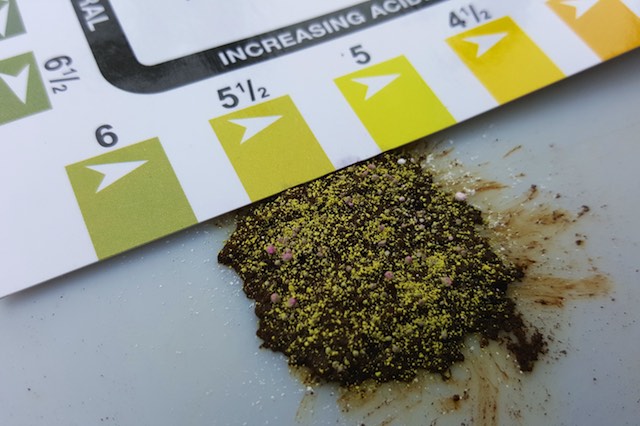
The first thing we did was check the soil pH to see what we had (here’s a how-to) – while a soil test can’t tell you everything about a site, it’s a great start.
Ours was about a 6 – mildly acidic, which wasn’t a surprise given we’re next to a salt water estuary.
Comparatively, when we tested the soil in the existing garden bed we renovated a few meters away, it was extremely alkaline – but we suspect that this was because the previous residents had been tipping their woodfire ash into this garden for quite some time, which, together with all the charcoal we found in this bed, seems a likely conclusion.
So – slightly acidic. No worries. A bit of balancing and some good soil management should fix that. Let’s get digging.
If you’re concerned that there might be heavy metal nasties in your soil, you can also send in a sample to the VegeSafe program at Macquarie Uni, who will test it for free in return for your data, as they’re building a soil map of Australia.
Balancing + Fertilizing
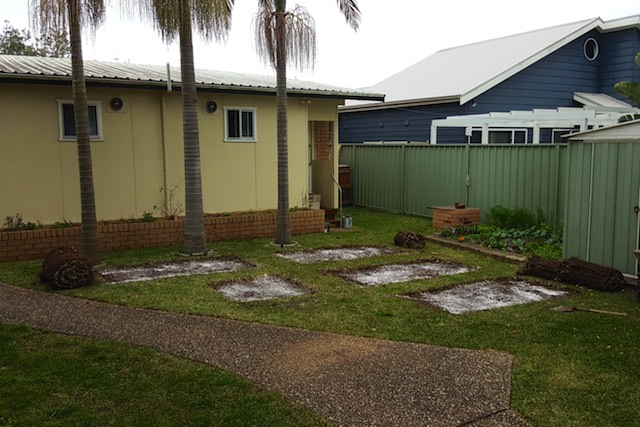
Before we started double digging these beds, we did our best to add everything they would need for the soil to be fertile + balanced, to give our veggies a head start.
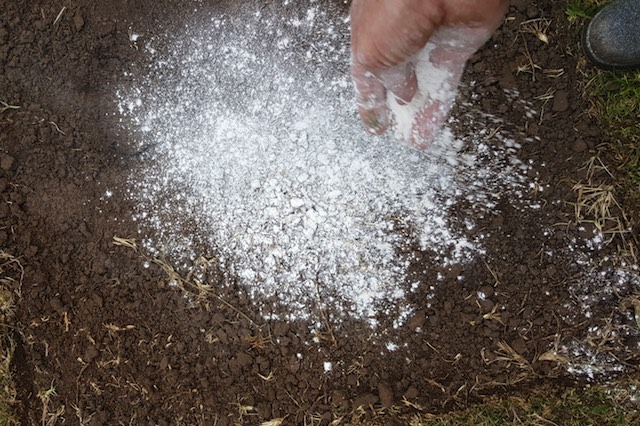
We added garden lime to help balance the pH back towards neutral
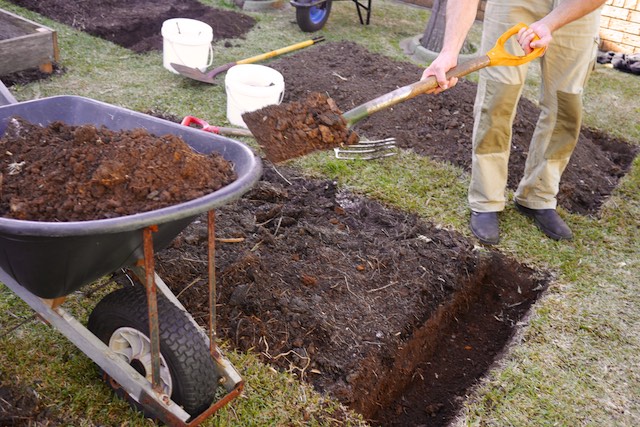
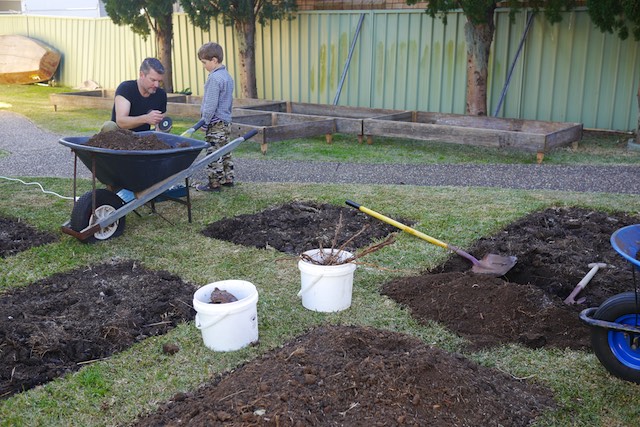
Then, to add fertility, we added some pelletised chicken manure, a sprinkle of blood and bone, and finally a big layer of compost.
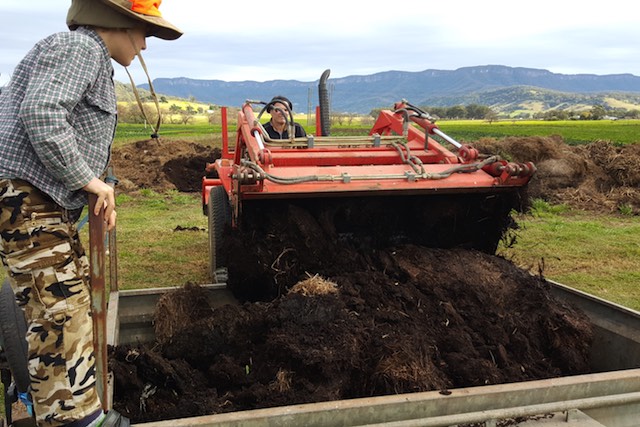
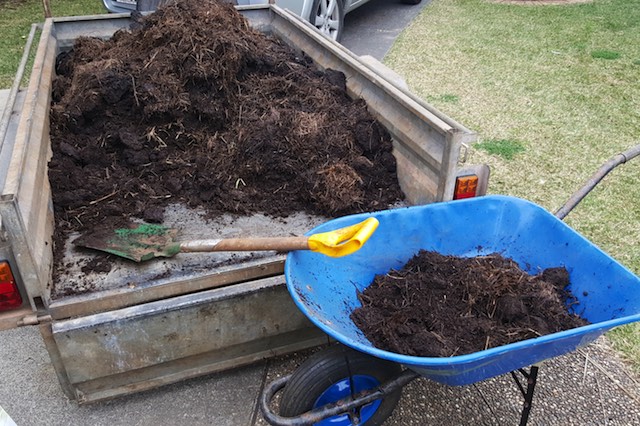
We sourced the compost from our friend Chris at Mahbrook Organics, but there’s plenty of good compost sources around – ask at your local garden supply or do some research – the more the better, if you’re starting a veggie patch that you want to plant and harvest from intensively.
It’s worth organising a trailer load – cheaper for you, and much better for your garden in the long run.
Double Dig
Following on from our first attempted at double digging a garden bed, we observed that the growth of the veggies in that bed was impressive, and beyond what we were expecting.
So this time we were determined to do it even better.
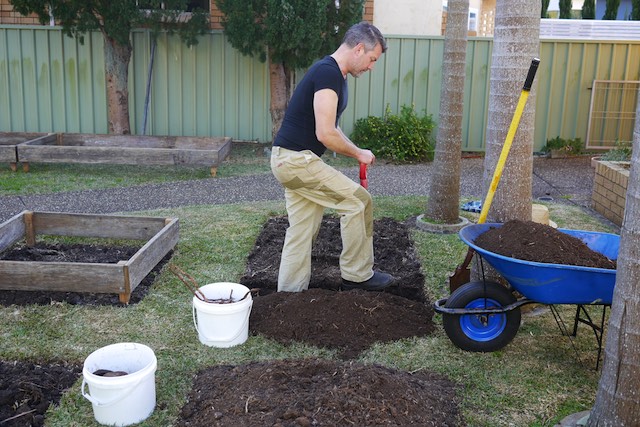
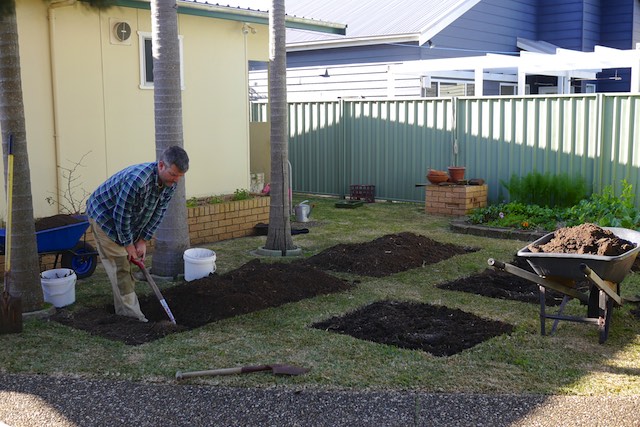
So once we’d done our best to add ontop what would ultimately balance and fertilise the beds, we got digging.
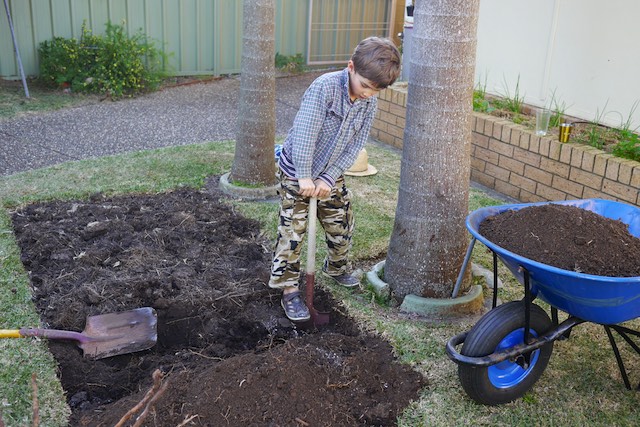
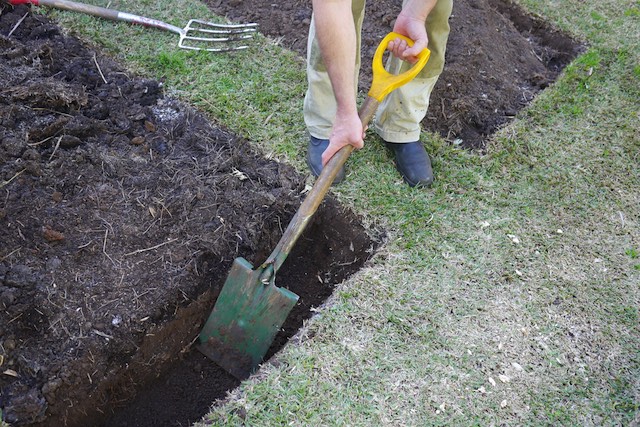
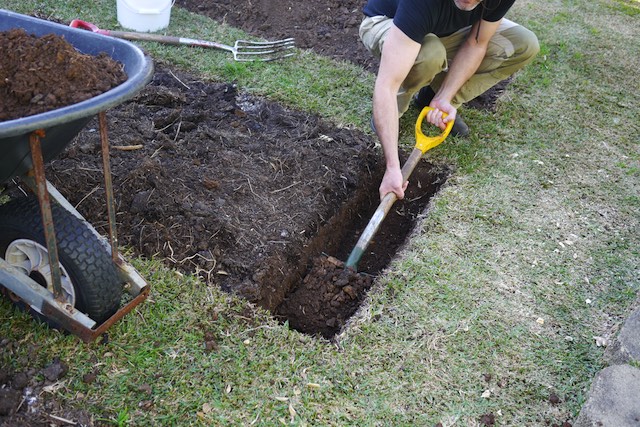
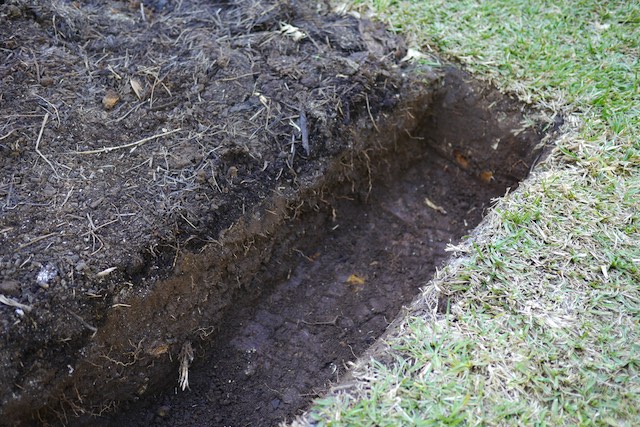
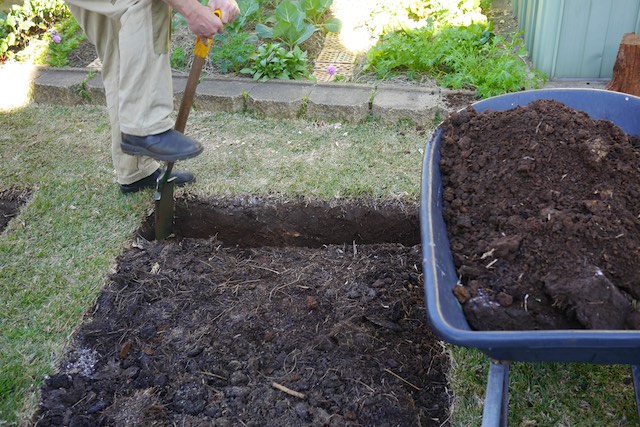
The method we went with was the biointensive recommendation – a one shovel deep trench, followed by de-compaction and opening up of the subsoil below with a garden fork.
And then, digging another trench, with the topsoil from that strip going into the trench you just completed, and so on to the end of the bed.
This way, the topsoil layer of the bed ends up being a loosened layer of topsoil along with the compost etc that you added on top, to a depth of 30 cm. And under that, a loosened subsoil layer, ready for deep roots.
Ok I’m going to say it – this method is a bloody good workout, and even a little daunting, until you get into the swing of it.
But as with all things, it’s a simple energy audit – by comparison,a no-dig bed’s preparation would include amassing materials from all over the place, followed by waiting a season or two (if then) before the entirety of the bed’s contents broke down to the same tilth as a biointensive bed.
So, it comes down to context and resources – we wanted maximum veggies as fast as possible, and were prepared to contribute a big bunch of our energy at the beginning of the exercise to make that happen. If we had more space, weren’t renting, etc etc, we might have chosen a slower ‘let the roots + soil food web do all the work’ methodology to reach the same goal, over a different area and in a different timeframe.
All that aside, I really respect this biointensive methodology the further we go into it – it’s about growing food. A lot of it.
In as small a space as possible, using organic techniques, in a short timeframe (to begin with, at least) yet in a way that builds soil health over time. Sounds like something our world could do with more of, to me.
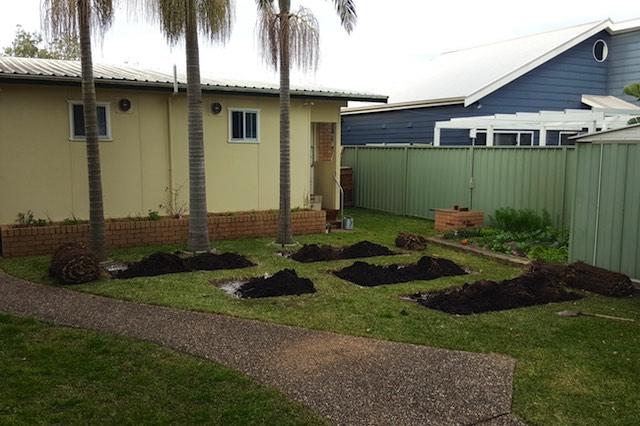
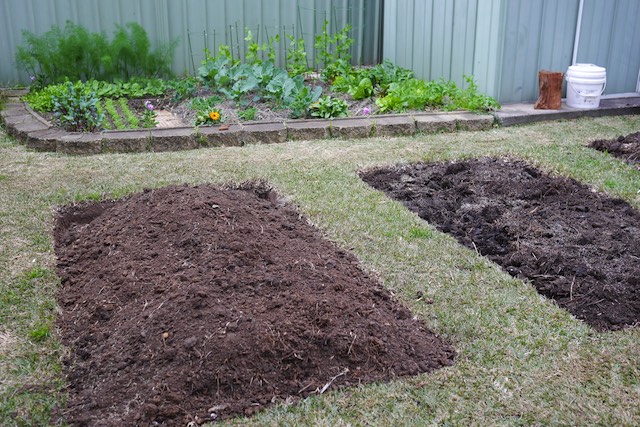
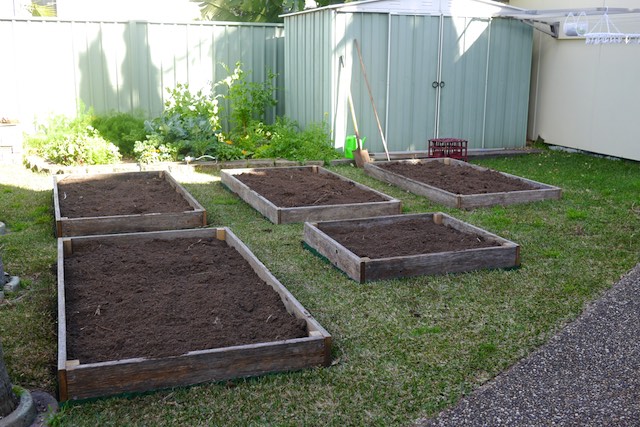
So finally the beds were dug. Huzzah.
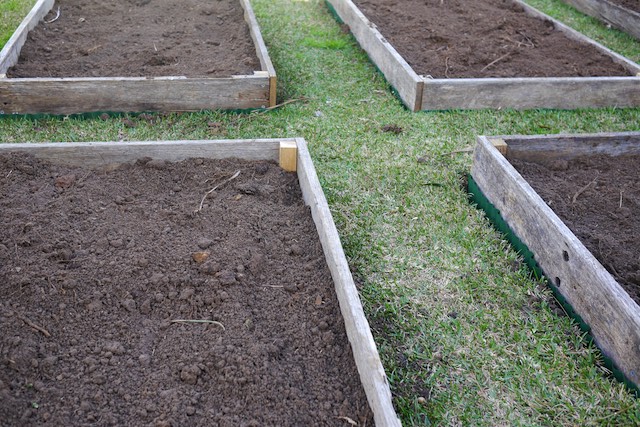
Last thing to do before planting – put the scrap timber garden bed surrounds in!
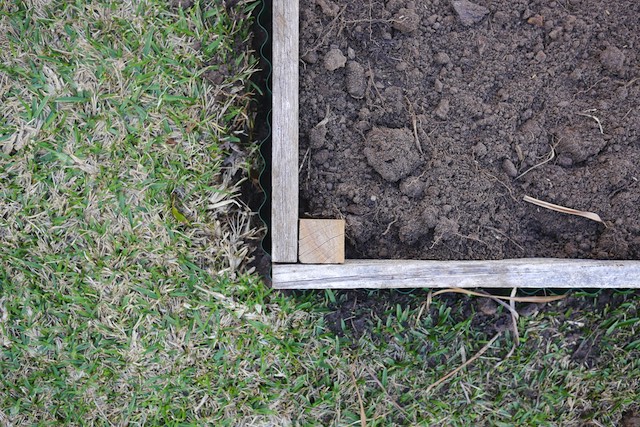
To hedge our bets against the very established turf around the beds, Nick tacked on a garden edging beneath the wooden bed surrounds – in theory this will mean the grass roots have to go a lot further before they can get to our garden bed soil.
And the wooden surrounds themselves ensure that our landlord’s mower man can still do his thing and mow between the beds, so we’re not putting anyone’s nose out of joint.
And now we’re done! Time for planting.
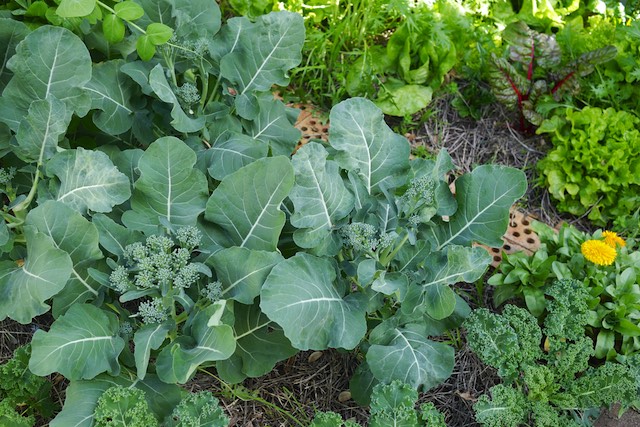
Hopefully, in a few short weeks, these beds should be growing madly, like our first double dig bed is now – currently this one bed is providing us with daily salads, with a sprinkling of other root veg, fennel, kale and brassicas.
With these new beds we’ll be able to get a proper crop rotation going to ensure a great harvest while taking our soil forwards.
I can’t wait to get this garden pumping. Best of luck with your Spring planting too – what have you got going in?
Here’s what happened next, in this lil veggie patch…
Thanks to: Adam for the trailer + Chris for the compost, and to our landlords for not telling us to put it all back again immediately, following our recent rental inspection 🙂




I love it! I did this here in Oregon this Spring. It was a lot of work, but everything was looking beautiful for a few weeks until the gophers (or moles) found the garden. I lost a lot of plants. I’m now in the process of digging all the soil back out and lining the beds with 1/4″ hardware cloth (wire). Maybe you don’t have these varmits in your area, but I should have known better here!
No gophers here….. we only have wombats.
http://www.somuchviral.com/wp-content/uploads/2014/08/wombat-patrick4.png
http://www.abc.net.au/reslib/201208/r981364_10741590.JPG
No way! At least they are cute.
Wow!
giving away all this organic matter than bringing more back, double digging!
Time to do a Permaculture Course and learn to do it the easy way.
I have not dug for probably 30 years and the garden is productive.
What I learned from your exercise is that planning ahead is the key.
Good luck!
Max did you actually read the article, including the bit about context + timeframe, at all?
The information on how to prepare the garden beds with double digging was very helpful. But I would love to know how to get rid of kikuyu grass. It is so invasive and a real pain in the garden.
Ugh, Kikuyu! Best to dig it up, I’m afraid – which isn’t quick, but does work permanently, once it’s gone –