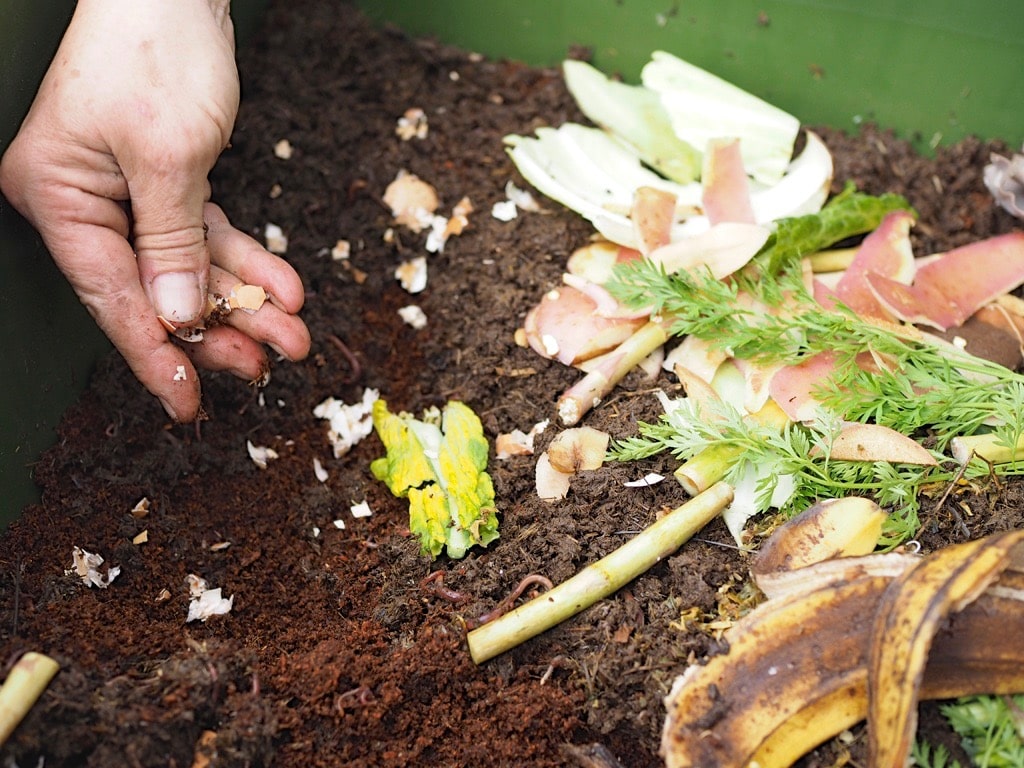

Starting or renovating a worm farm is a great way to use and value your own renewable resources, in the form of food waste. By the time you’re done, you will be turning your food scraps into worm castings, which are solid and liquid gold for your veggie patch.
You don’t need a big backyard to run a worm farm, either – they can work well on balconies, on back steps, or even inside your home. Perfect for any situation, anywhere in the world.
And – worm farms are permaculture in action.
The video and how-to guide below is a lesson from inside our Permaculture Living online course – a 12-week program of new skills, habits and ongoing support to enable you to kickstart your household + community resilience, and start living like it matters. If you’d like to learn more, you can join the waitlist here.
Permaculture principle #5 encourages us to ‘Use and Value Renewable Resources and Services’, making the best use of nature’s abundance to reduce our consumption and dependence on non-renewable resources.
Creating your very own worm farm is a great way to practice this principle, by turning your food scraps into worm castings, which are solid and liquid gold for your veggie patch, or your indoor plants (used sparingly!), or to share with your neighbours.
Why should I bother with a worm farm, and with processing my household food waste?
If you just throw your food scraps in the bin, they will create methane in your local landfill as they break down – a greenhouse gas that’s contributing to climate change.
By feeding your worm farm your food scraps, you are making free fertiliser for your garden, avoiding landfill, reducing household waste, reducing methane emissions AND valuing the resources you have around you.
You’re converting your kitchen scraps into nutrient-dense, bioavailable plant food of the highest quality – with zero waste and zero emissions in the process.
So – let’s learn how to do it.
Video: everything you need to know about worm farming
To find out how to choose a worm farm and set it all up at your place – on any scale, large or small – here’s a video with Kirsten from our Permaculture Living course – which will walk you through everything you need to know.
Next – here’s some more resources to read through and digest…
What type of worm farm works best?
Worm farms don’t need to be fancy to be efficient. You do not need to spend hundreds of dollars to create a functional, happy and healthy worm farm that will eat all your kitchen scraps.
The most common type of worm farms that you will find (or can make) are a series of boxes, stacked ontop of one another, that the worms can pass between.
There ARE some really good shop-bought worm farm designs though we’ve included a few of our faves at the bottom of this article.
However – if you don’t want to spend a chunk of money to get your first worm farm started, you don’t need to.
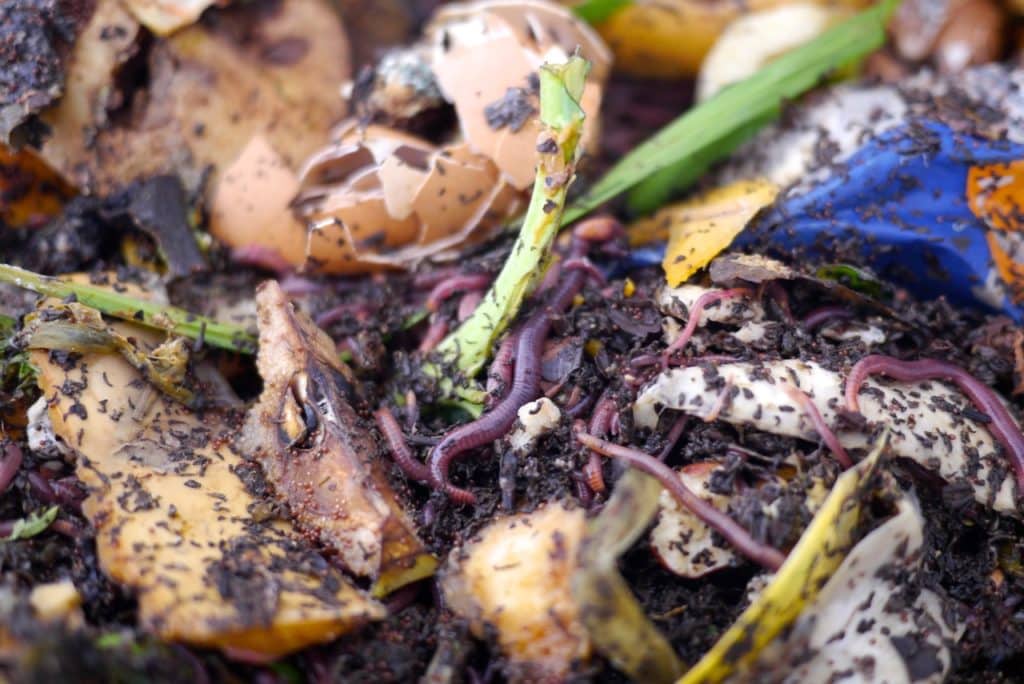
In essence, a worm farm is a container where compost worms eat your food scraps and then quickly create compost, in the form of their poo or castings, which you can then use as garden fertiliser.
One of our favourites, and one of the most simple types, is an in-garden worm tower – a simple vertical pipe with holes drilled in the side that you sink into your garden bed, and put a lid on top. Add some worms, and periodically some kitchen scraps – the castings and juice will leach straight into your garden bed. In six months, pull out the pipe and move it to another part of your garden and start again.
We’ve added a bunch more worm farm ideas and designs, both DIY and off-the-shelf, below in the resources at the end of this guide.
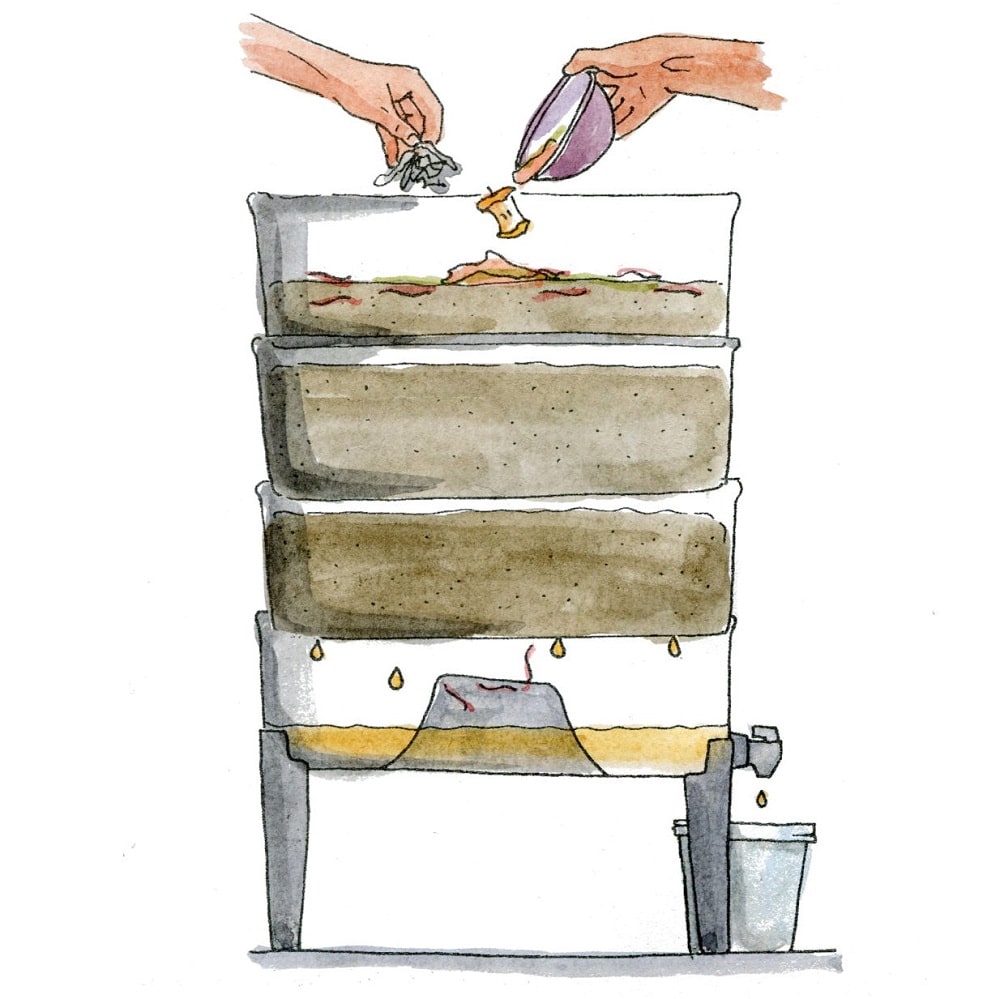
add new organic material from the top… 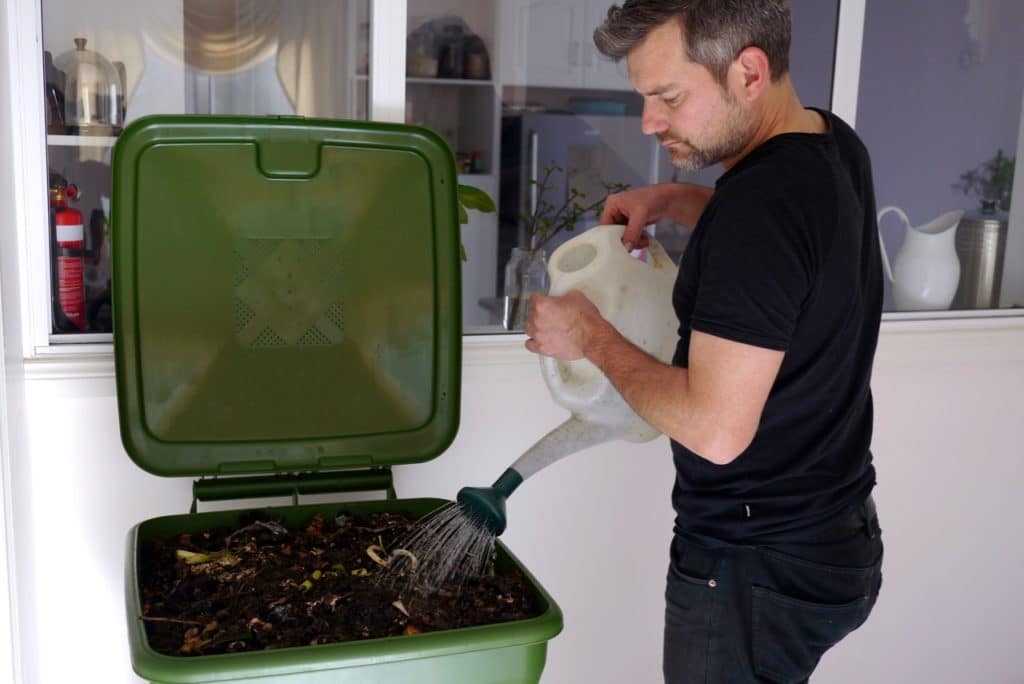
Keep your worms moist 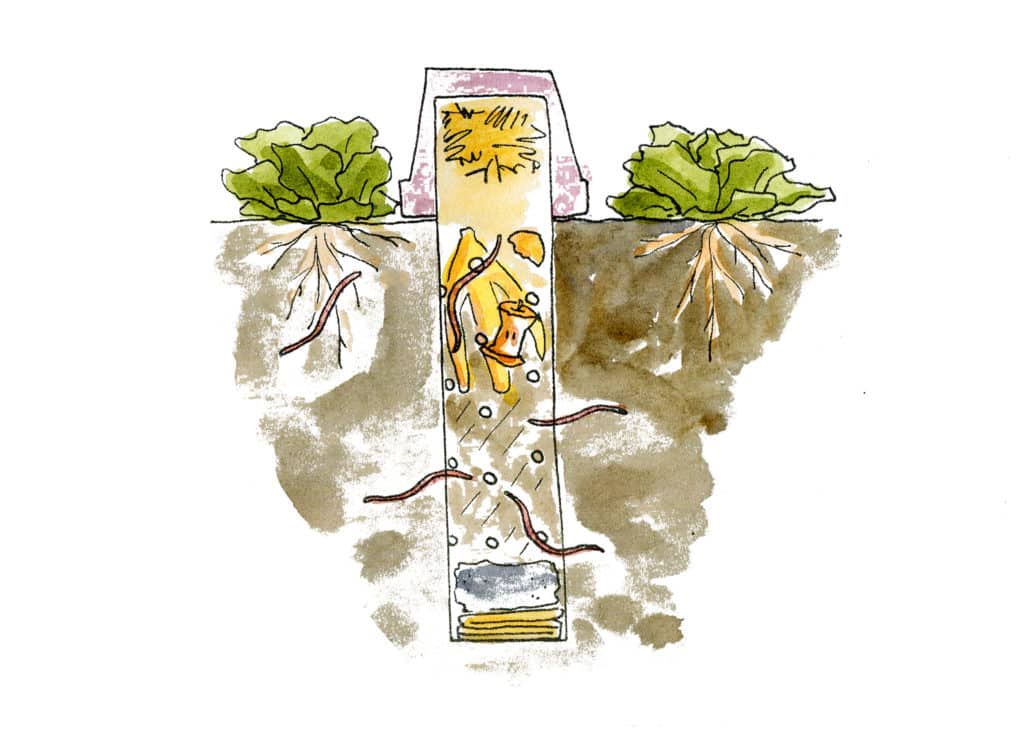
A worm tower is a cheap, in-garden solution 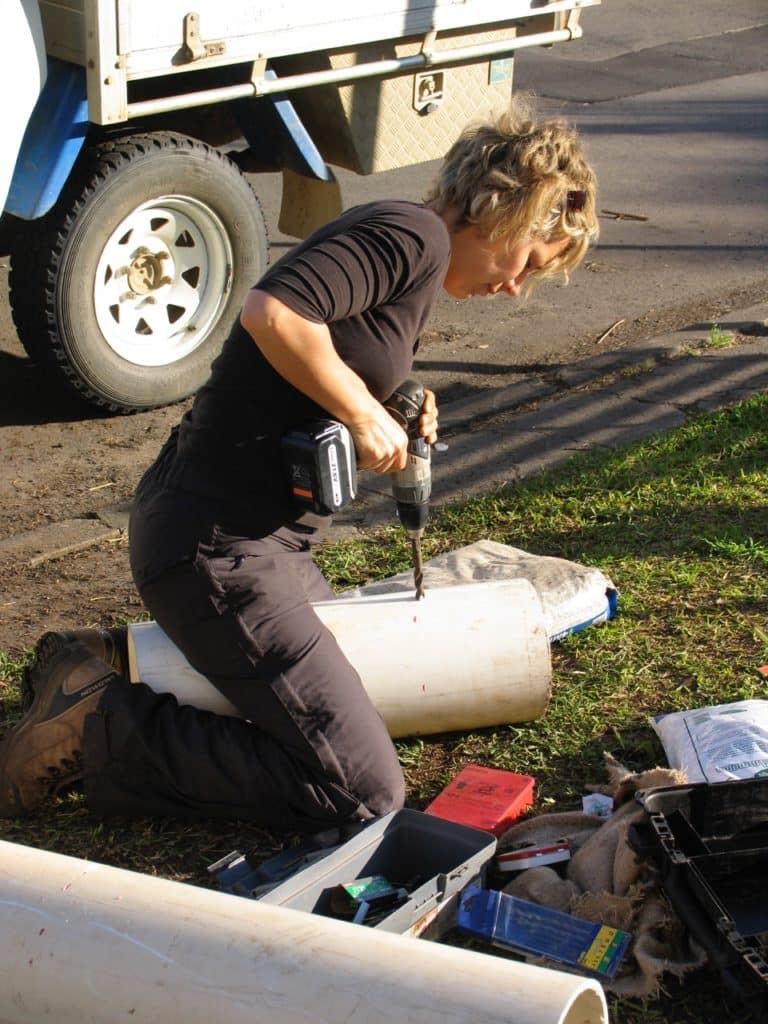
making a worm towner out of junk 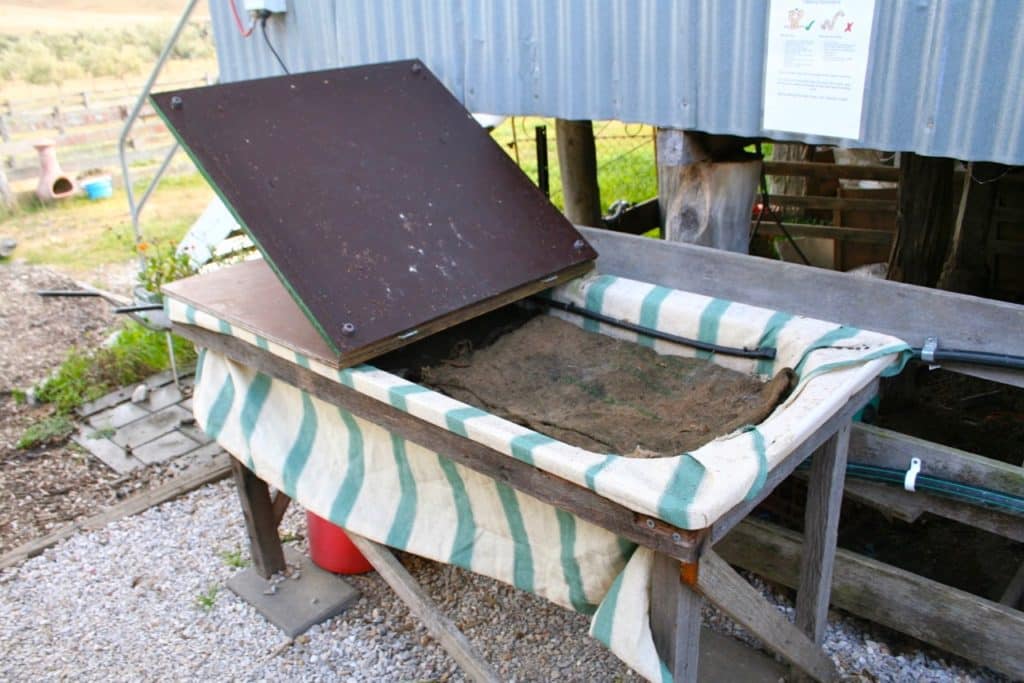
A big bathtub wormfarm at our old farm 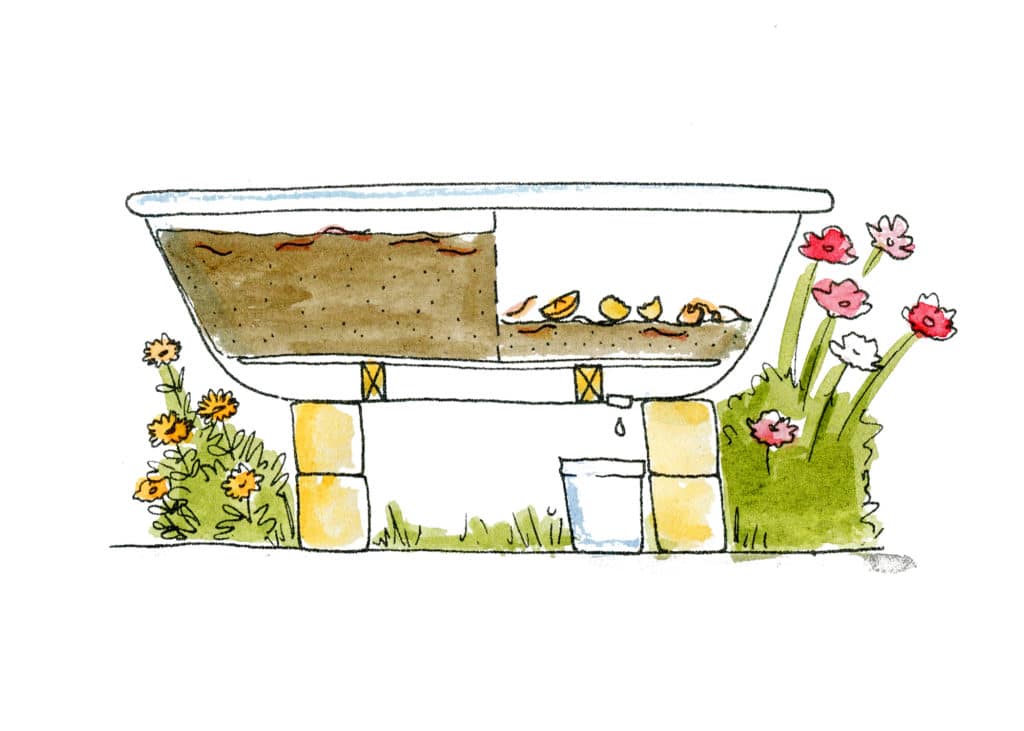
Bathtub wormfarms can be great too!
What type of worms do I need?
Compost worms are the lifeforms doing all the work here.
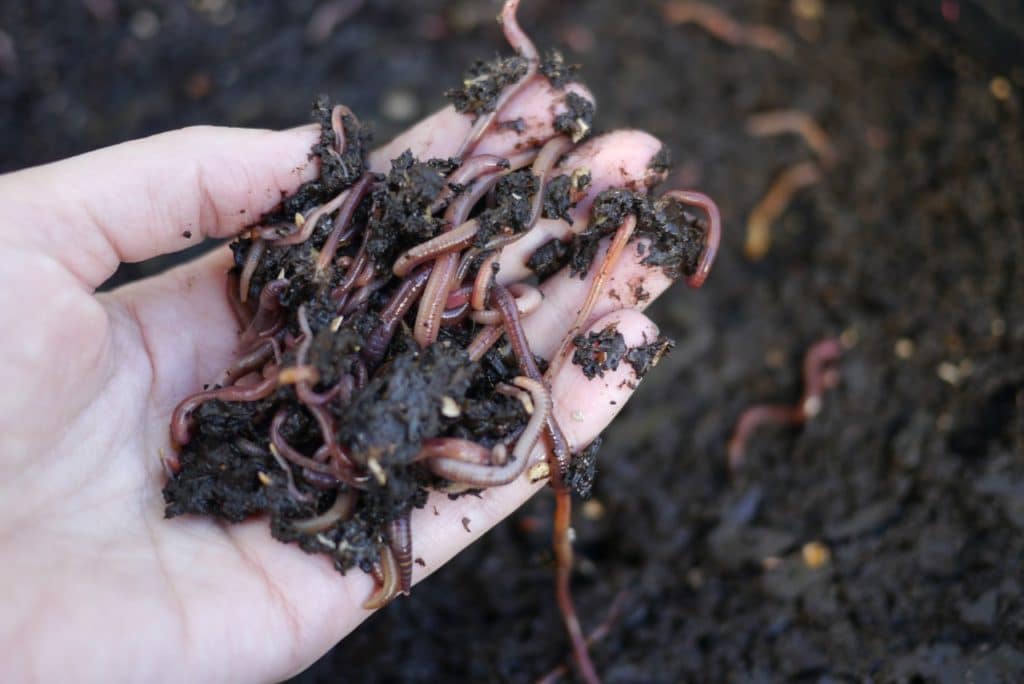
The compost worm is a slightly different species to the normal earthworm that you’ll find in your garden soil – they’re sometimes called red wigglers, brandling worms or tiger worms. These worms eat organic material, and the microorganisms that live amongst that material.
And they eat a lot. Once your worm farm is working well, you can expect your worms to eat their own bodyweight in scraps each day. That means if you start your worm farm with a kilo of worms, they will soon be able to eat up to a kilo of scraps per day. This is seriously awesome food waste processing.
You can source compost worms from a hardware store, community garden, council or a generous worm-giving friend.
What should I feed my worms?
Basically – veggie scraps of most descriptions. A small amount of bread is okay, but not heaps. Veggie scraps are the go here.
What shouldn’t I feed my worms?
There’s some things that red worms do not like to eat, so avoid putting these in your worm farm:
- Citrus is a big one – skip the orange peels.
- Alliums – things like garlic or onion ends.
- Meat scraps, as the worms don’t much like them but flies do (and a maggoty worm farm is no fun for anyone)
- Fats and oils
- Dairy products
- Spicy food.
Now that said, don’t worry if a tiny bit of this non-ideal stuff ends up in your worm farm – it’s not going to immediately poison your worms – they just won’t be keen to eat it, which means that food may rot instead of being turned into castings. Too much rotten food in a worm farm WILL damage the worm colony’s health, because no-one likes rotting things right next to their dinner – and neither do worms.
So – veggie scraps it is.
How do I keep my worm farm healthy and avoid smells?
Firstly, a worm farm needs good drainage. As the worms eat through your scraps, they produce castings – their poo – and also liquid, which needs to be able to drain off effectively so that the worms don’t drown, and so your worm farm doesn’t go all stinky and anaerobic.
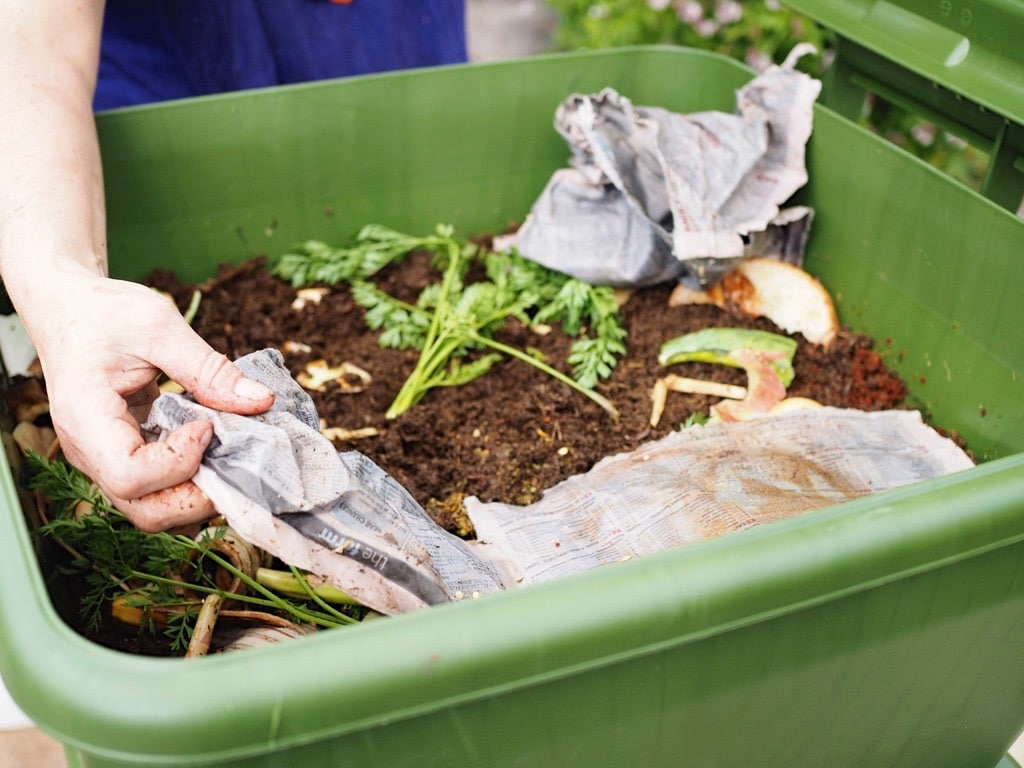
Secondly, your worm farm will need a regular supply of carbon – things like leaves or shredded newspaper – as well as high-nitrogen kitchen scraps. This is to ensure the worms have a balanced diet and, again, so your worm farm doesn’t go all sludgy and stinky.
A good balance to stick to is 50 per cent carbon and 50 per cent food scraps.
Thirdly, remember that worms have small mouths! This means that although they can eventually break down big chunks of scraps, like whole cabbage leaves, they much prefer smaller bits. If you’re putting big bits of stuff in your worm farm, chop them up a bit first and your worms will be super happy.
Where should I put my worm farm?
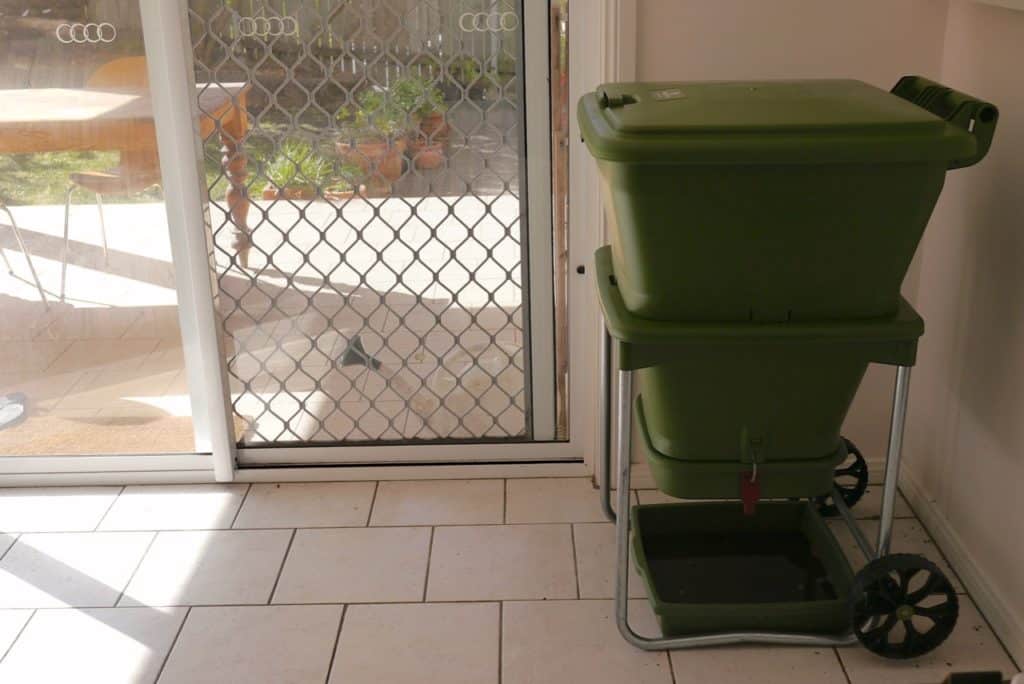
Placement and temperature is the last big thing to consider for your worm farm. Ideally, keep your worm farm somewhere that won’t get too hot, or too cold, and that you visit every day.
Worms like the same temperature range as humans – so they will be most productive at around 15-30 degrees Celsius, or 59-86 degrees fahrenheit. Below that range, your worms will slow right down, and eat much less food.
And above that range, they will abandon the top of your worm farm, where the food scraps are, for a cooler spot down the bottom, leaving your food scraps to rot.
Somewhere close to the house that’s out of direct sunlight is often ideal, or even on your back porch or inside your laundry.
Keeping your worm farm cosy and also nearby ensures regular feeding and an even temperature – two things that will help your worm farm to thrive.

How do I start a new worm farm, or renovate an existing one?
So now you have all the knowledge, let’s look at starting a worm farm. You can also use this method if you have an existing worm farm that’s not doing well – take it apart and renovate it a bit.
The above article will take you through all the steps of actually setting up (or reviving!) your worm farm once you have it, or make it.
How do I use worm castings and worm wee?
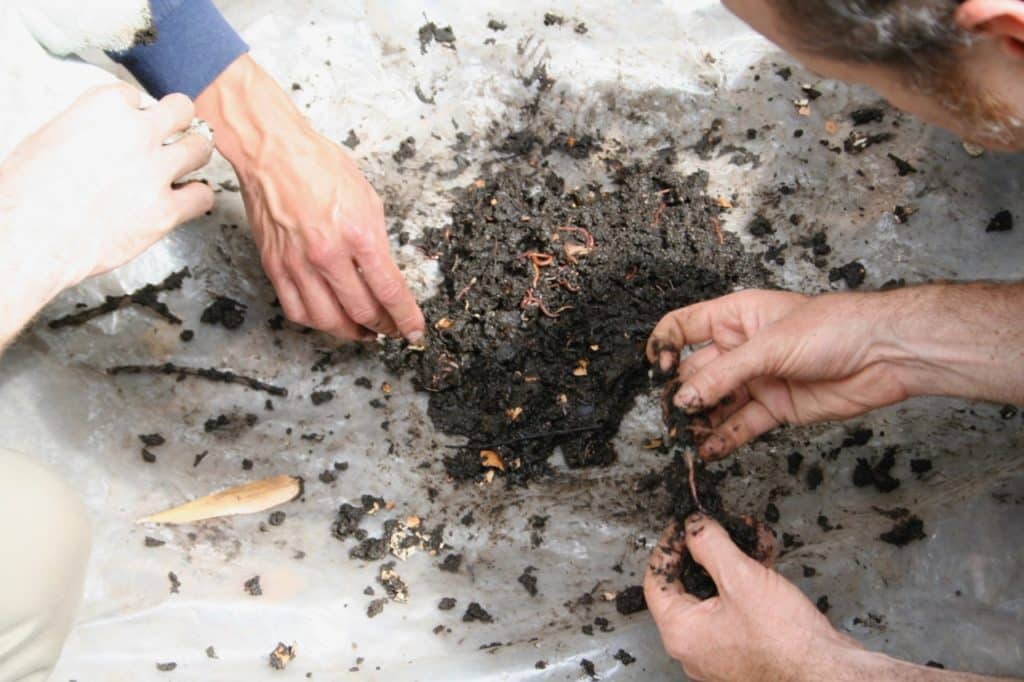
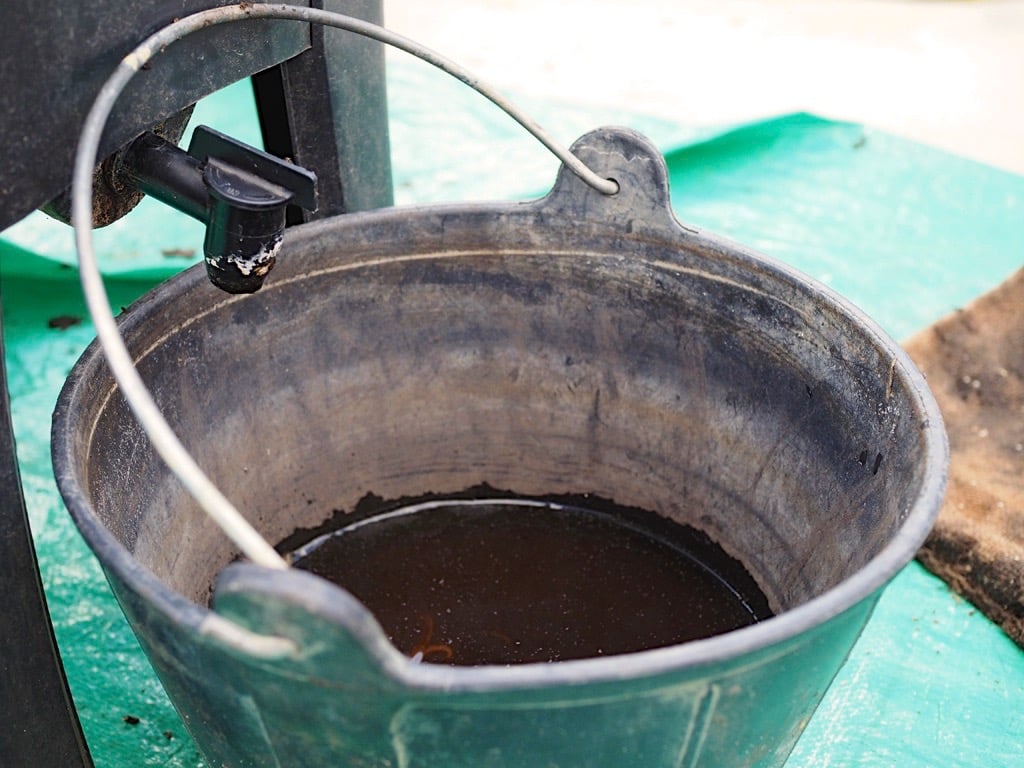
The idea with worm farms is that the worms slowly continue to travel upward in search of food, leaving behind trays and trays of rich worm castings, with the worm juice dripping out the bottom.
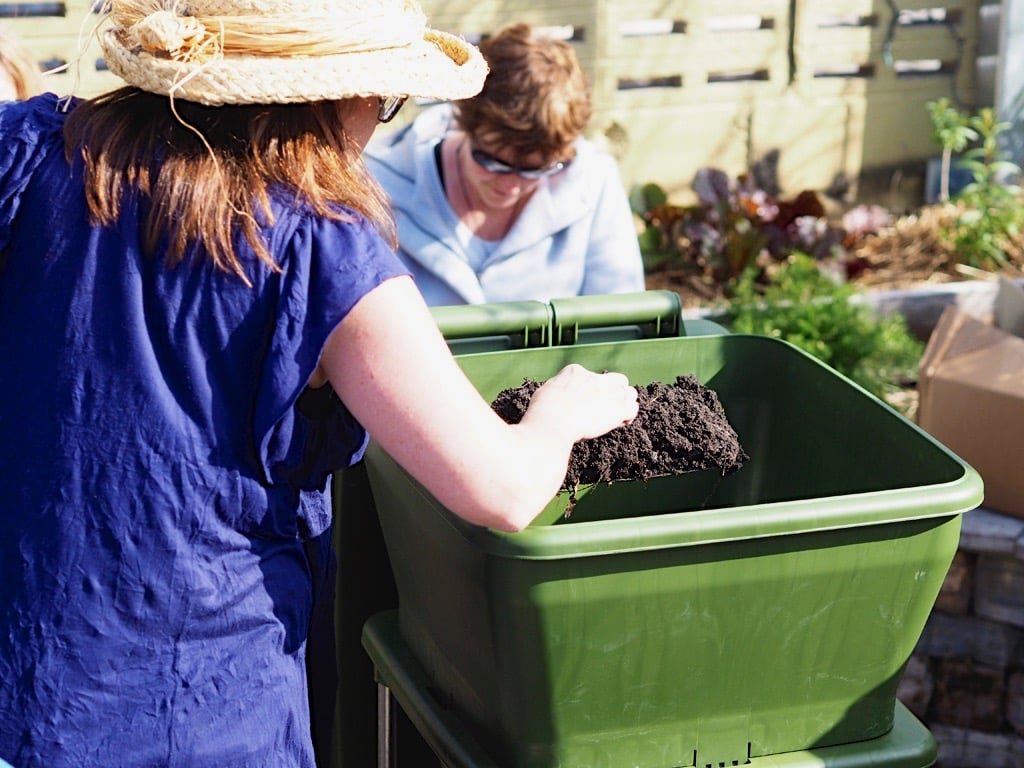
Once you have a few trays of castings below your food scraps, you can start harvesting from the bottom of your worm farm, to add worm castings to your garden, or to swap with your neighbours for their gardens.
Castings are super-duper fertiliser for your plants, but it’s very strong stuff, so don’t use too much in any one place. We sprinkle the castings lightly around the base of plants throughout the growing season, right before watering. Brassicas LOVE them.
We also add worm castings to our seed raising mix because the castings provide a rich fertliser component for the growing seeds.
Go forth and become a worm farmer…
If you get into worm farming and love it, don’t stop there. Your local school or community garden may welcome some help with their worm farming system too.
These are skills to be shared, which have real-life outcomes for the fertility and abundance of your neighbourhood – so don’t be shy, get out there and spread the wormy love.
Good luck, and let us know how you go?
Resources
Articles
- How to Build or Renovate a Worm Farm, Milkwood – instructions, tips, troubleshooting
- How to Make a Worm Tower, Milkwood – simple towers for garden beds.
- Trying Out the Hungry Bin Wormfarm, Milkwood – review of New Zealand innovation, can handle 2 kg of organic scraps per day. PER DAY, people.
- Home Made: 3 Bathtub Greywater System, Milkwood – DIY worm/reed/pond greywater system.
- Vertigation: Passive Injection Worm Juice Irrigation for the Kitchen Garden, Milkwood – fancy words for sucking out worm juice from the collection container, and fertilising your kitchen garden via your irrigation!
- How to Make Best Ever Seed Raising Mix, Milkwood – use your castings in this.
- Community Composting, City of Sydney – worm farm signage in different languages, how to choose the right system for your community, management plans.
- The Farm worm farm, Compost Revolution – a compact design that’s great for apartments and other small spaces, and super affordable too. Made in Melbourne!
- Hungry Bin, Compost Revolution – a worm farm you can keep indoors.
- Best Worm Farm Reviews – Complete Buyers Guide, Worm Farm Guru – $$, suitable for areas in houses or yard, sizes, pros, cons.
Websites
- Compost Revolution – major discounts for worm farms and compost bins for people in participating council areas. (This link will give you $10 off orders over $100).
Books
- Books on Vermicomposting, Red Worms for Green Earth – worm gurus’ top recommended books
- The Formation of Vegetable Mould Through the Action of Worms with Observation of their Habits, Charles Darwin (Gutenberg edition, 1881) – for the natural history buffs, Darwin’s final book, a runaway bestseller, a wonderful example of the scientific method on all things wormy
Video credits…
Thanks to all the team who helped make the Permaculture Living course and all its resources possible. You are awesome. Thank you to Dylan, our videographer. Thanks to Charlie Mgee, of Formidable Vegetable, for the music used throughout. And thanks to Brenna for beautiful illustrations, diagrams and titles.
And for this particular article, thanks to Brydie Piaf for providing a number of the photos!
We acknowledge that permaculture owes the roots of its theory and practice to traditional and Indigenous knowledges, from all over the world. We all stand on the shoulders of many ancestors – as we learn, and re-learn, these skills and concepts. We pay our deepest respects and give our heartfelt thanks to these knowledge-keepers, both past and present.





can I put clean saw dust in my worm farm
yes you can paul, but only a bit – too much will be too much carbon. Also, you’ll need to check that it’s not from treated wood, which will be bad news for the worms. But a bit of clean sawdust will definitely help the carbon levels!
Can I feed worms shredded office paper?
generally speaking, yes you can 🙂 – they won’t like too many colourful inks or paper coatings though, so stick to uncoated office paper?
Great article, practical & easy to follow. Can you please tell me how to lower the pH of worm castings? I don’t understand why they are so alkaline – 9.5, 9 & 8, from 3 can-o-worm towers. pH taken using a Manutec pH test kit. I have this wonderful Black Gold to harvest, but with such a high pH I don’t want to use it. I understand casting pH should be around 7. Thanks in anticipation
Hiya, Sally – hmm. I would be making a weak slurry of those castings and adding them around the place, onto of mulch – between the carbon int he mulch and the soil life beneath, that will still be welcome and should be processed fine. For future reference, maybe add some carbon as you go, to those towers? A handful of shredded newspaper (or leaves) with each scraps deposit, or similar? More carbon in the mix should being the pH up… good luck!
Hi Kirsten! Can you advise me on the safety of using the worm farm leachate?
we dilute it 10 parts water to 1 part leachate, and give a little to our garden beds – as with any fertilizer, always wash any leafy edibles that you’ve recently fertilized! This is great stuff for soil but not good in tummies.
great info on worm farms – I needed prompting to add the paper in winter – thanks – i also prob need to keep it a little warmer and cosy
good luck!
Hi Kirsten, I enjoyed watching the video. Thanks for the information! Just wondering about adding water to the worm farm. You have a picture showing someone watering it but didn’t talk about it. Could you please advise what to do?
You can add water to the wormfarm if the weather is very dry, but otherwise, the moisture from the food scraps should be enough?
I am having a bad vinegar fly problem in the kitchen which I fear may be coming from the worm farm. I’ve tried apple cider vinegar with little success and they keep coming! What should I do?
Robert is your worm farm in the kitchen, or outside? Just wondering. Vinegar flies usually show up when things are very acidic (ie vinegar-y) – I’d recommend adding a bunch more carbon to your wormfarm either way, to help things along and hopefully restore the balance –
Thank you for sharing this information. You are always super helpful!
so welcome 🙂