Selecting a good site for your apiary can make a huge difference to honeybee health, and your hive’s honey harvest too. Here’s some important things to consider when choosing a site.
Natural Beekeeping is about stewarding honeybee colonies in place, in a bee-centric way. Therefore, the idea is that you place your hive well, and place it once.
Moving colonies around can place stress on the bees, and stressed colonies are more likely to present with bee diseases of various kinds.
And since we’re aiming for healthy, beautiful, lifelong relationships here, let’s do the right thing by our bees, from the get go.
1. Bee prepared
The day you come home with your bees, from wherever you purchased, caught or split the colony from, is not the time to decide where they should go.
So, get this all sorted out beforehand – your site, the stand that the hive will rest on, and the access to it.
The day you bring your bees home, you want to be able to calmly deliver them straight to the right place, set them down, and open the front door to let them start orientating. Boom. Welcome home, ladies.
2. North-East Facing
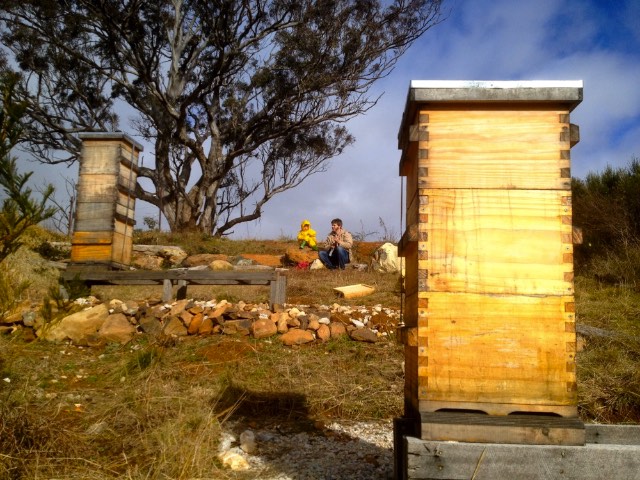
Ideally, a North East facing (or South East, if you’re in the Northern Hemisphere) site is going to be best for your bees.
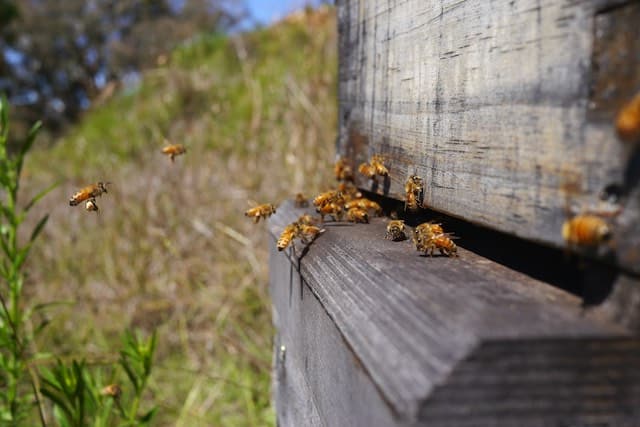
That way, they get the morning sun early, and will fly out to go foraging, first thing. Honeybees will start flying at around 14-16 degrees celcius, so if your hive is somewhere that gets morning sun, out they will go.
The longer the day a bee has to forage and to bring back pollen and nectar, the better that day for the entire hive’s health. So get out your compass, and figure out your options.
3. Shady in the afternoon
Protect your bees from the hot afternoon sun if you possibly can, especially in Summer. As we’ve discussed before, a honeybee colony is a warmth organism, which means that the colony actively regulates it’s core temperature to 37 degrees celcius, both night and day.
Therefore, a hive doesn’t want to be too hot, anymore than it wants to be too cold. And a hive in the full Summer sun, after midday, is going to get hotter than it wants to be.
For a day or two, this is not that big a deal – if the hive gets hot, the bees have various strategies to cool down their brood – fanning at the entrance, and bearding on the front of the hive if need be.
But over time, an over-heated hive will struggle. The heat will affect the health of the brood, and also the entire colony’s ability to fight disease, as the bees will be stressed.
4. Protected from cold + hot winds
As mentioned above, your hive will strive to maintain a stable internal temperature, for optimal colony health.
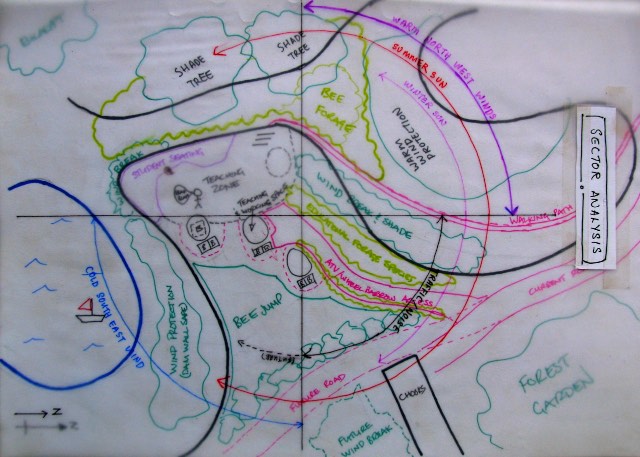
One of the best ways you can help with this is by choosing an apiary site that is protected from hot summer and cold winter winds – get to know where the winds come from in your area, and do a site analysis of your property to define where is and isn’t a good idea to site your hives.
5. Easy access
Access to your hive is really important. If you can, site your bees close to somewhere you go every day.
This will ensure you make a natural habit of checking on your bees regularly, just by passing them and observing entrance behaviour.
The easier your bees are to get to, the more you will spend time with them, observing. And that can only be a good thing, when you’re learning the craft of hands-off beekeeping.
Easy access is also important for the up to a few days a year when you will be harvesting honey. A full box of honeycomb from a Warré hive is about 15kg in weight, and that’s not a box you want to drop.
So the less precarious the path or steps to your hive, the better.
6. Check your nectar sources
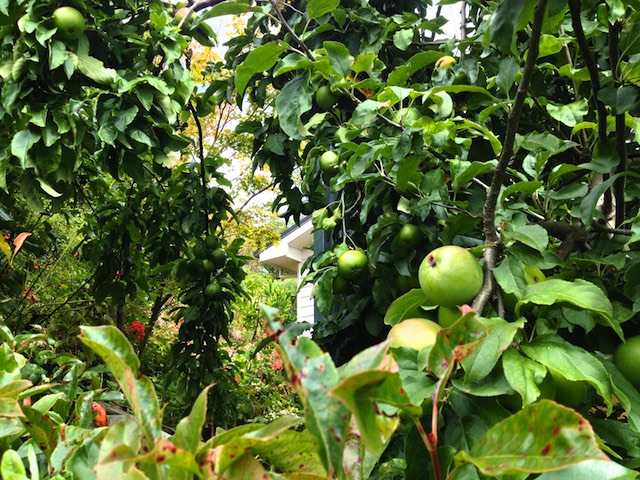
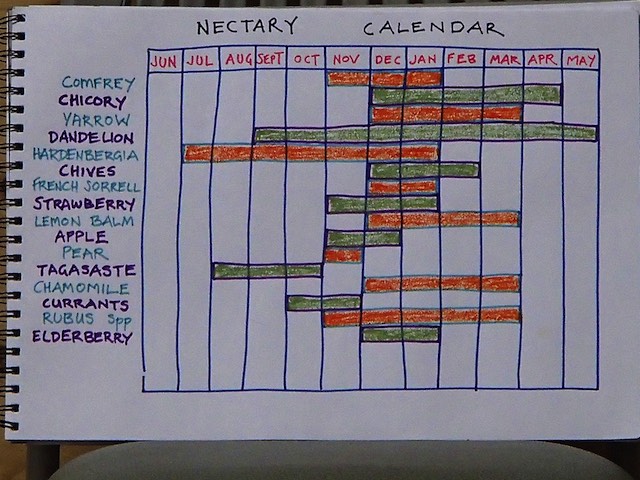
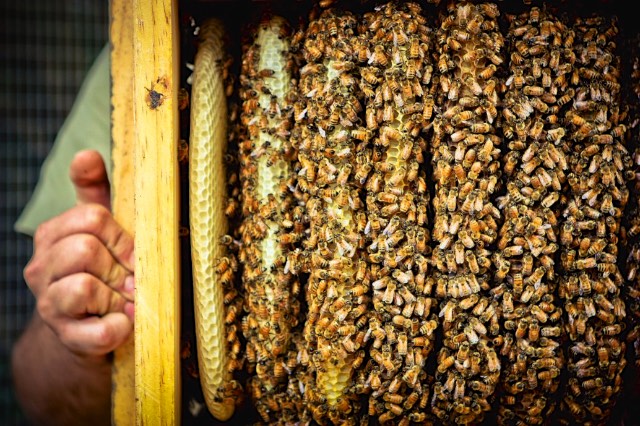
Honeybees have a 5km foraging radius, so before you site your hives, check your environment to see if they will have enough to eat, over as much of the year as possible.
While year-round flowering patterns are prettymuch a given in most urban or suburban environments, on some rural blocks, it’s worth thinking about.
Eucalypts can produce amazing honeyflows, but most species flower only every few years, so ensure there’s other things around too – weeds, clover and under-storey plants can be important.
And obviously, if you live on a farm with, say, a planted pine forest (which doesnt flower) up one end, and a diverse pasture + woodland down the other, site your apiary appropriately.
7. Avoid high-traffic pathways
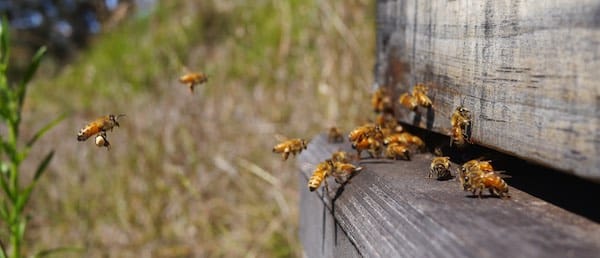
Honeybees are very adaptable, but they prefer a clear flightpath for at least the first few metres directly out the front of their hive. So give them what they need.
While it’s true that, if you keep bees naturally and well, they’re far less likely to be angry and stressed out, there’s no point siting them in a way that may antagonise them.
Keep the area around your site calm – a site that faces walkways where people come and go throughout the day, driveways with loud vehicles moving by and so on are not your best bet.
8. Protected from disturbance
This might sound obvious, but it’s a big one. In an ideal world, nothing would happen to your hive. But reality is often different.
Errant soccer balls + cricket games in urban settings, curious cows, horses or random trail bikers in rural settings… disturbance takes many forms.
A knocked-over hive is not something you want to encounter – it’s terrible news for the bees and their natural comb, and not much better for the beekeeper who has to then try and fix things and save the hive, if possible.
Some folks we know counter this danger by siting their apiaries in fenced-off chicken runs, or in the more planted out part of the garden where cricket + soccer is not on the cards.
On homesteads and farms, this can mean a quiet nook near the house, or in a paddock with an extra, dedicated fence around the apiary site.
9. Good boots and a good hat
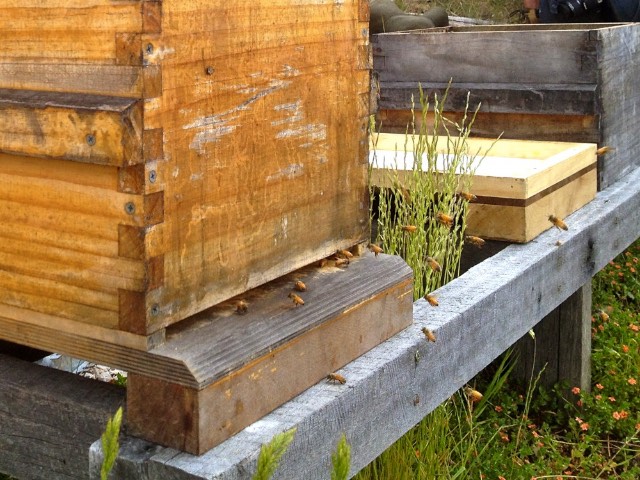
Once you’ve picked a good spot, a hive stand is a fine idea.
At Milkwood Farm we made our hive stands from hardwood, with enough space to set a box down next to the hive, for when you’re doing an inspection.
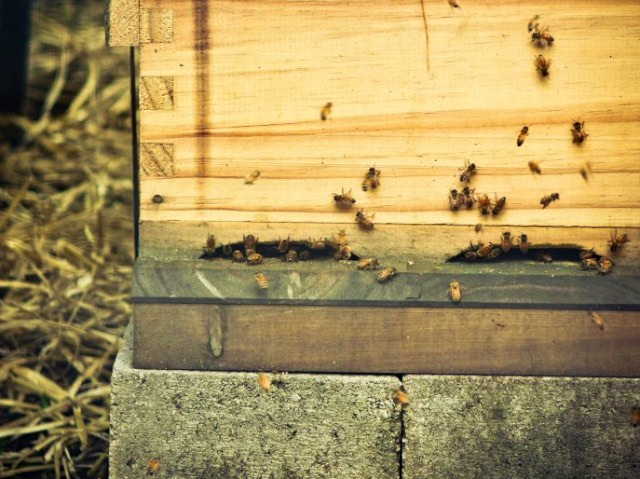
However, a simple cinder-block stand will work just as well – the important thing is to raise the hive off the ground to prevent disease, damp and critters entering.
A sturdy hive stand will also help keep the hive level, which is important as bees draw comb downwards if allowed to make their own, as they are in natural beekeeping. And if your hive is not level, those combs are more likely to be connected to the sides of the hive which can make them very difficult to remove from the hive when the time comes.
Up on top of your hive, a good hat is a great idea – for sun protection, and airflow. The gabled roofs of Warré hives, along with their quilt box system, are a great way to ensure this.
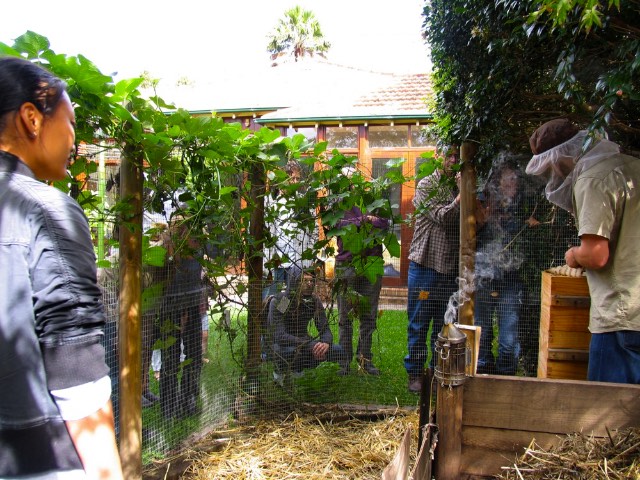
A note about siting hives on rooftops: we get a lot of questions at our natural beekeeping courses about whether rooftops are suitable places for hives – and it’s like all things – ‘it depends’.
Generally speaking, though, rooftops are extremely exposed places, with little or no shade, made of reflective or heat-absorbing surfaces, that are subject to the hottest and coldest weather that site has to offer. They’re also hard to get to, in the main, and not somewhere you would go regularly each day.
There’s exceptions to every rule, of course, but generally, these factors make most rooftops not the best place put a beehive, if you’re aiming for optimal colony health.
If a rooftop is all you have, consider that bees are a bit like a horse – just because you like them, doesn’t mean they’re going to be happy living with you, if you can’t meet their needs.
There’s plenty of other ways to support honeybees + honey harvesters – like planting pollinator-friendly plants, advocating for your local council to not use neonectinoids and/or glyphosate on their street plantings, and supporting local beekeepers who do have the right spot for their bees and care for them properly.
Rightio then, beginner beekeepers – best of luck! All our Natural Beekeeping references, articles + how-tos are here, if you want to read more…
And a note that there’s a whole chapter on Natural Beekeeping in our Milkwood book.

